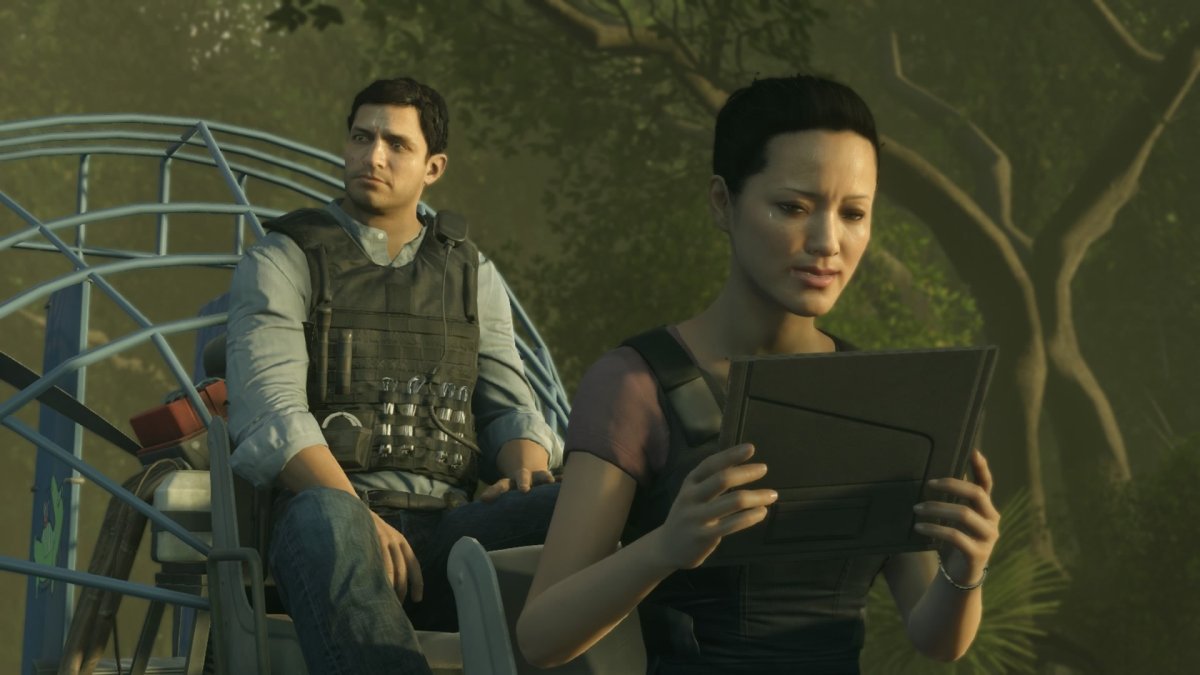
Battlefield: Hardline instead of laptops and files, has a wider array of ‘collectibles’ strewn about the game under the guise of evidence. Makes sense considering you take the role of a police officer. The cool thing is that when you enter the area your controller will vibrate near evidence. Including those on enemies that have warrants. Evidence is separated in this guide by case and evidence name and number as it appears in the game. Warrants are enemies that are thrown into the game to give the player an additional ‘collectible’ type of replay value to the levels. For more information check out our Battlefield: Hardline guide for Episode 1. If you need help with Episode 2, we have that too.
The following Battlefield: Hardline guide is for Episode 3: Gator Bait, of the Battlefield: Hardline single-player campaign tailored to help you find the evidence and grab the wanted criminals in the third level. As the episodes get longer we break it down into sub-sections. These can be found on your scanner in the top left of the screen. It basically tells you the area of the episode you are in and it is helpful for pinning down warrants and evidence in certain areas, as it tells you how many are in that specific area. There are twelve pieces of evidence and three suspects with warrants in Episode 3.
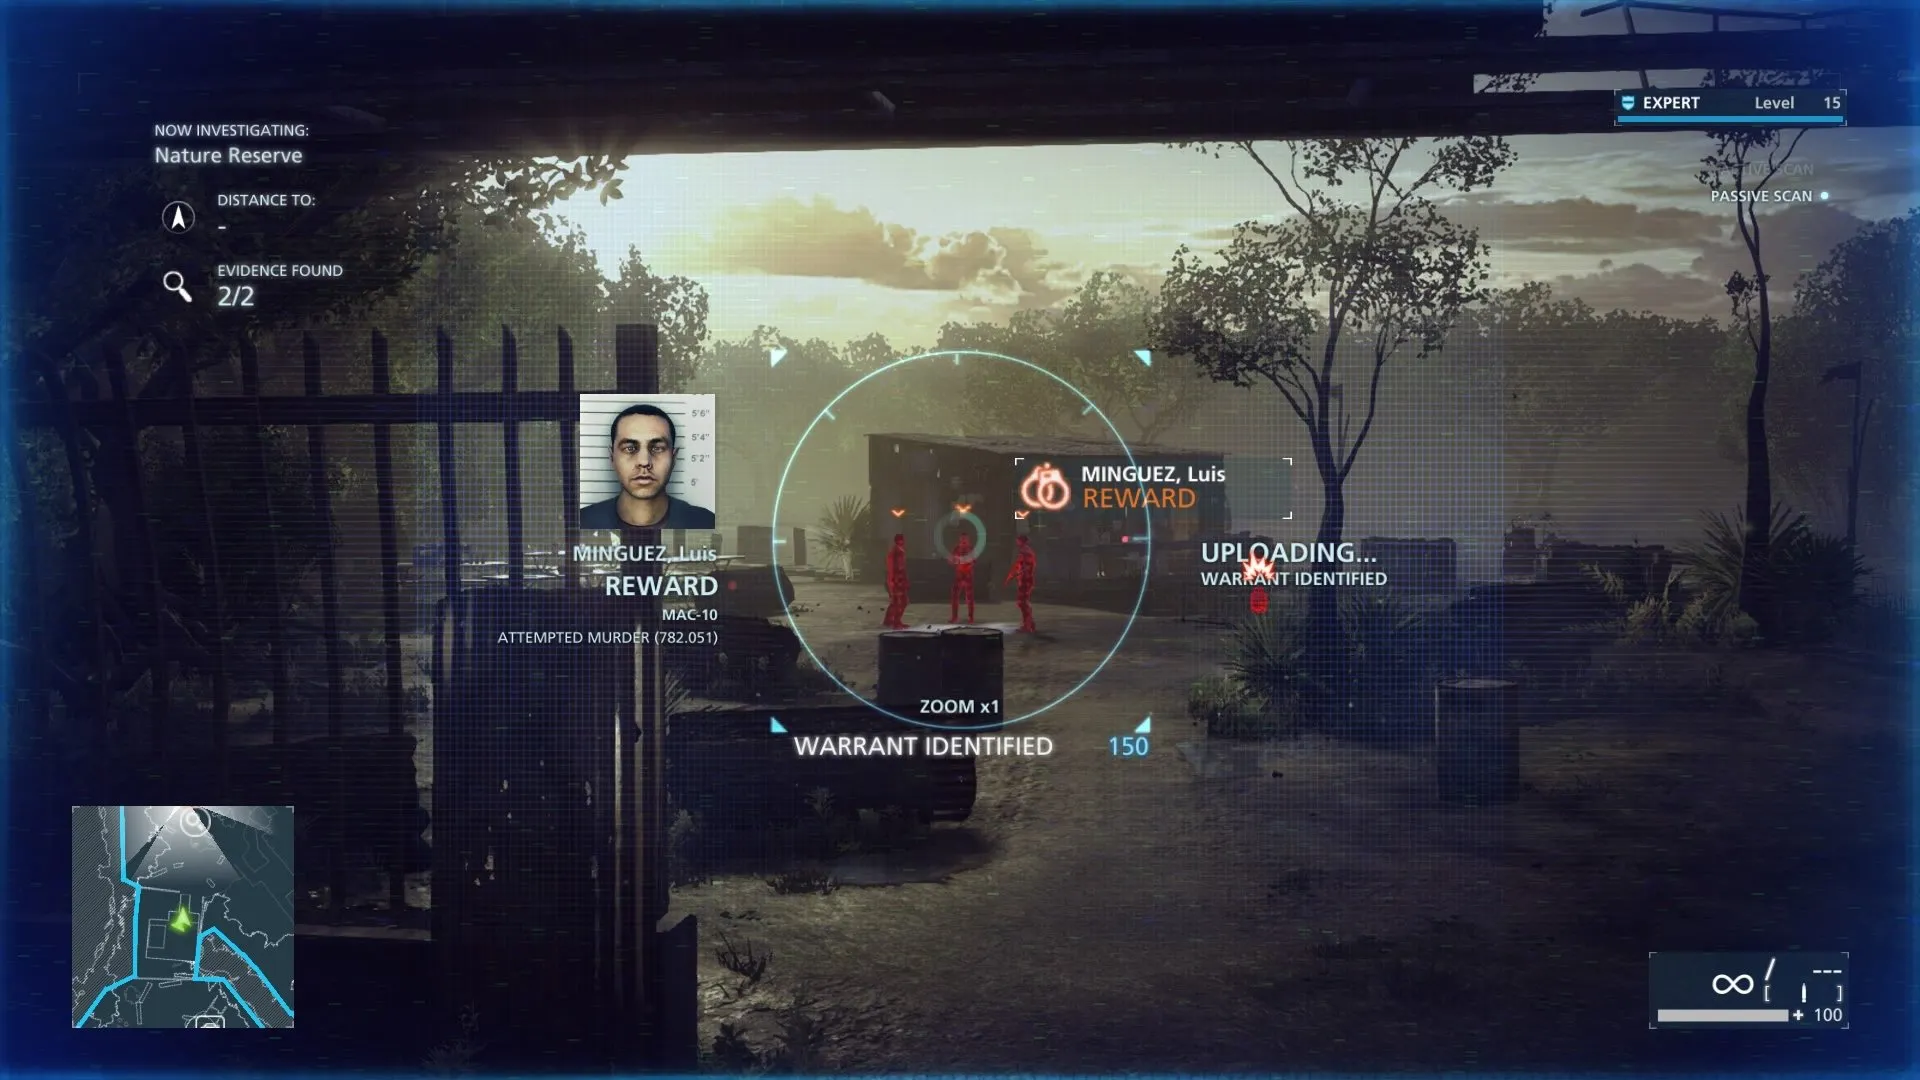
Wanted: Luis Minguez
After you get the grappling hook and zipline training you are told to ‘Investigate The Area’. Directly in front of you are three goons. The one in the middle is Luis. Usually he goes behind the shed, so you can take him out last in the area and collect the warrant.
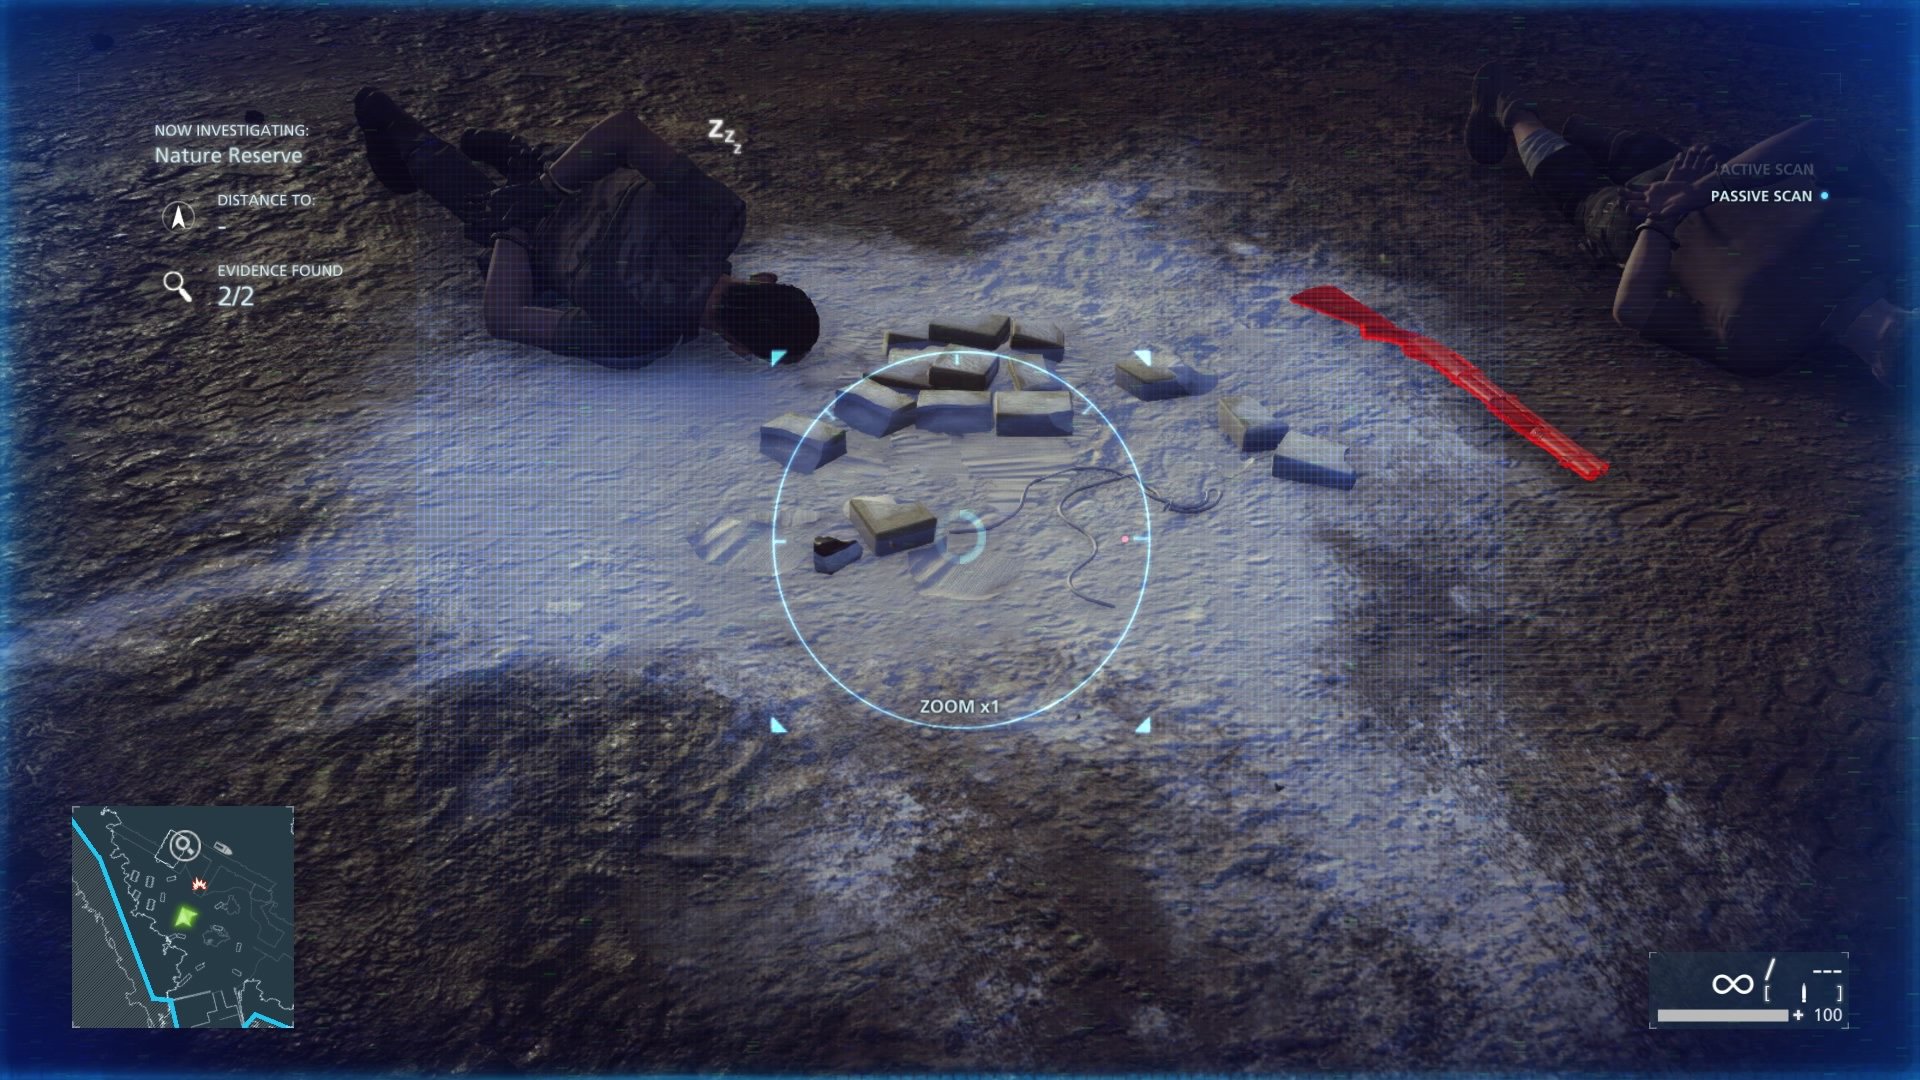
Hot Shot Supply Chain #3 (Exploded Drug Barrel)
In the middle of the area where the three guys were standing. It basically looks like a bunch of cocaine exploded onto the ground.
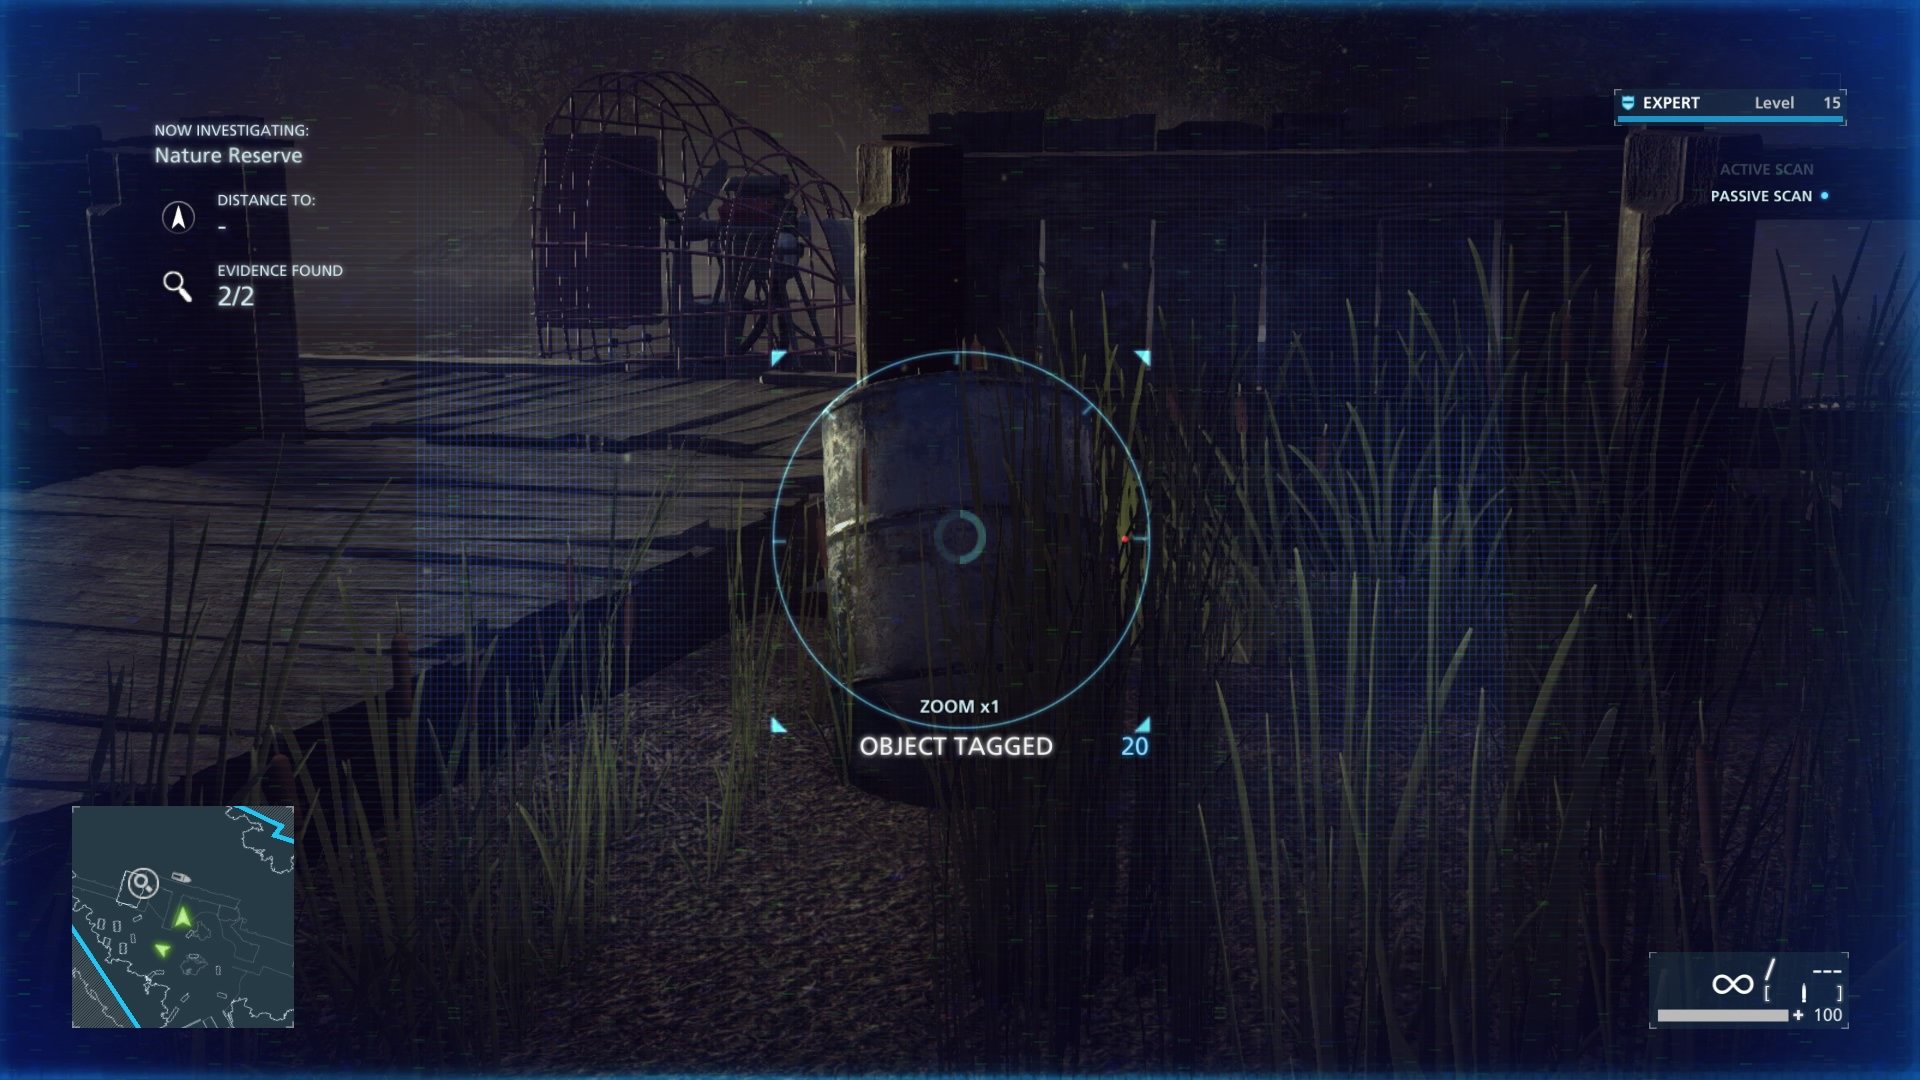
Internal Affairs #1 (Toxic Barrel)
Directly right from the previous evidence. You should see it just before you decide to hop on the boat as it is right before it when facing the water, it’s a green toxic barrel.
Huts
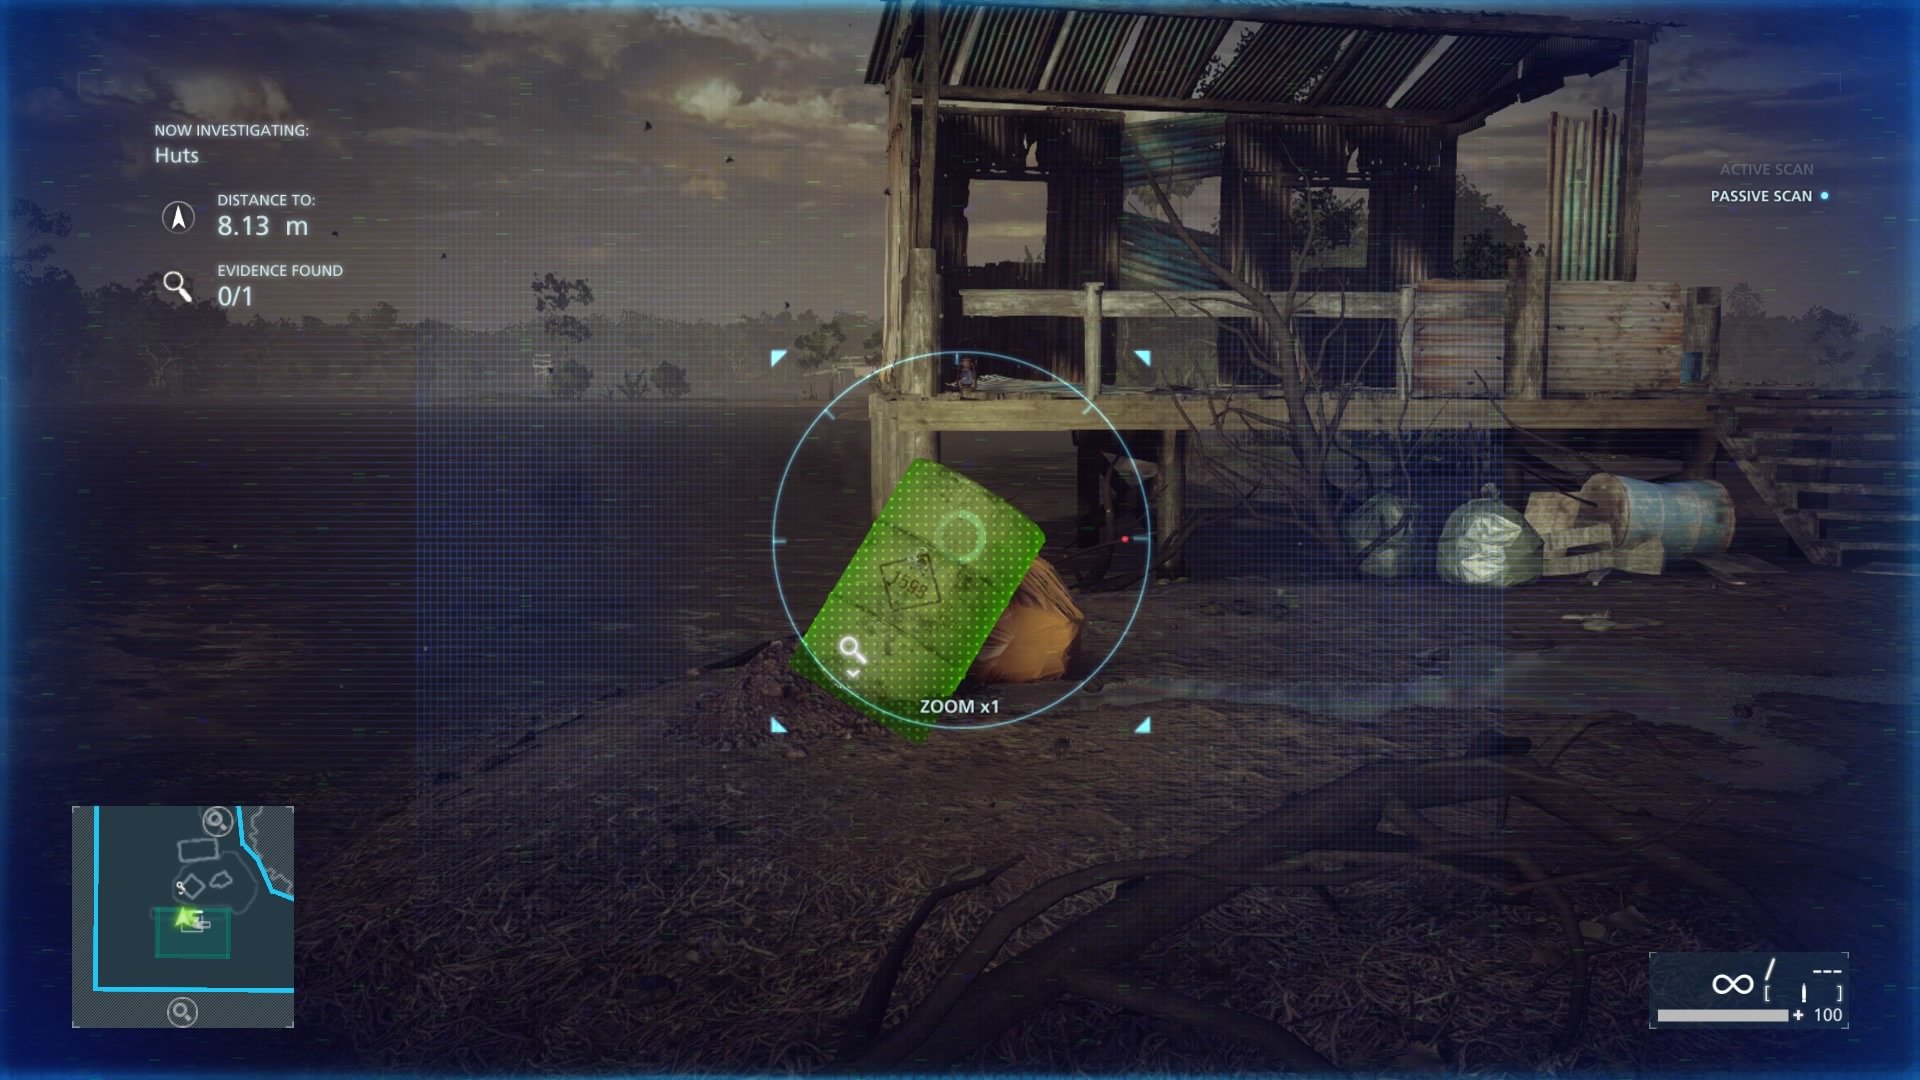
Internal Affairs #7 (Chemical Barrel)
This is on a lone dock that you can get to by traveling north between the two story markers on the map, then when you come to a group of huts (that hold a cool little scene of their own, but no collectibles) then immediately look right, you will see a small dock. On it is the chemical barrel to the left when you first dock.
Lake
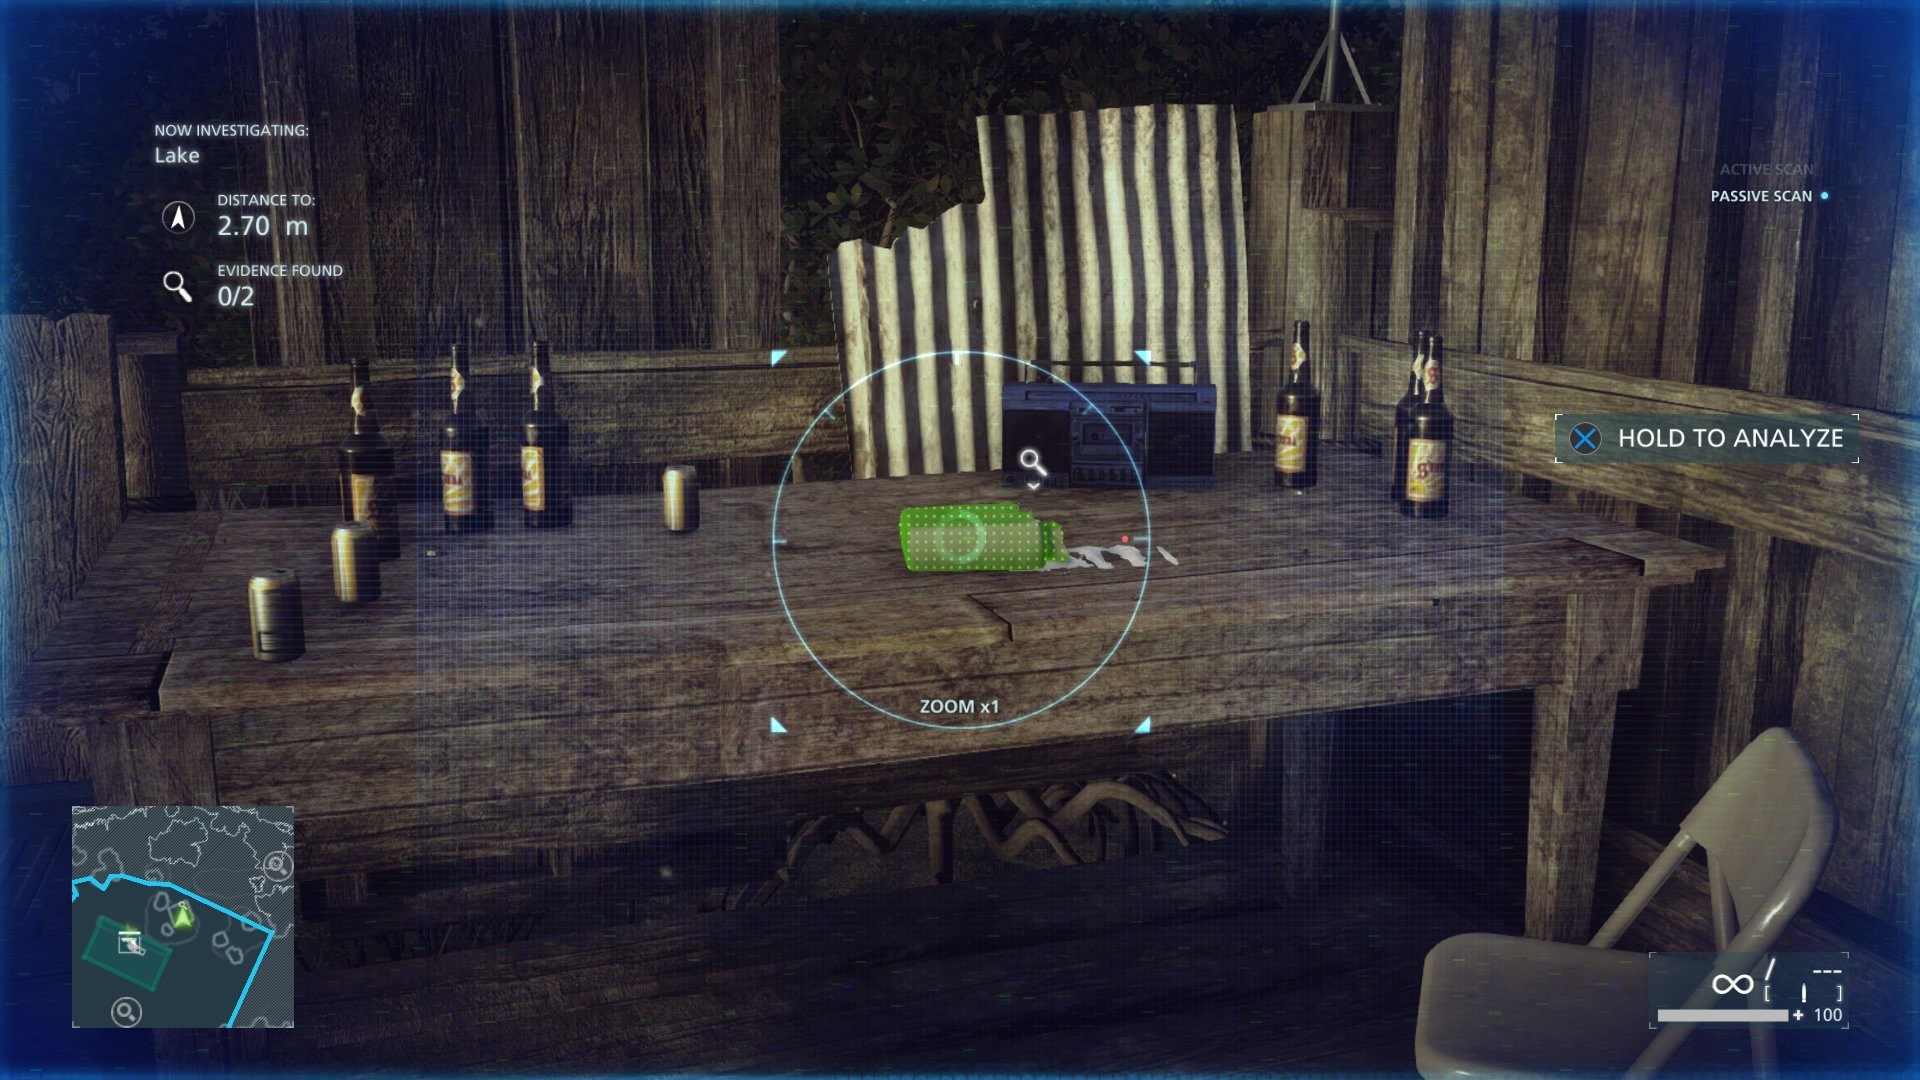
Internal Affairs #2 (Kilo of Cocaine)
From the previous evidence, continue heading towards north on the map in the direction of the top most story icon. You will come to a dock near the end of a the map boarders. You will know you’re at the right one because it has a tower. If you don’t have a zipline and a grappling hook equipped do so now via the airboat. Hook to the tower, look on the table. It’s a kilo of coke!
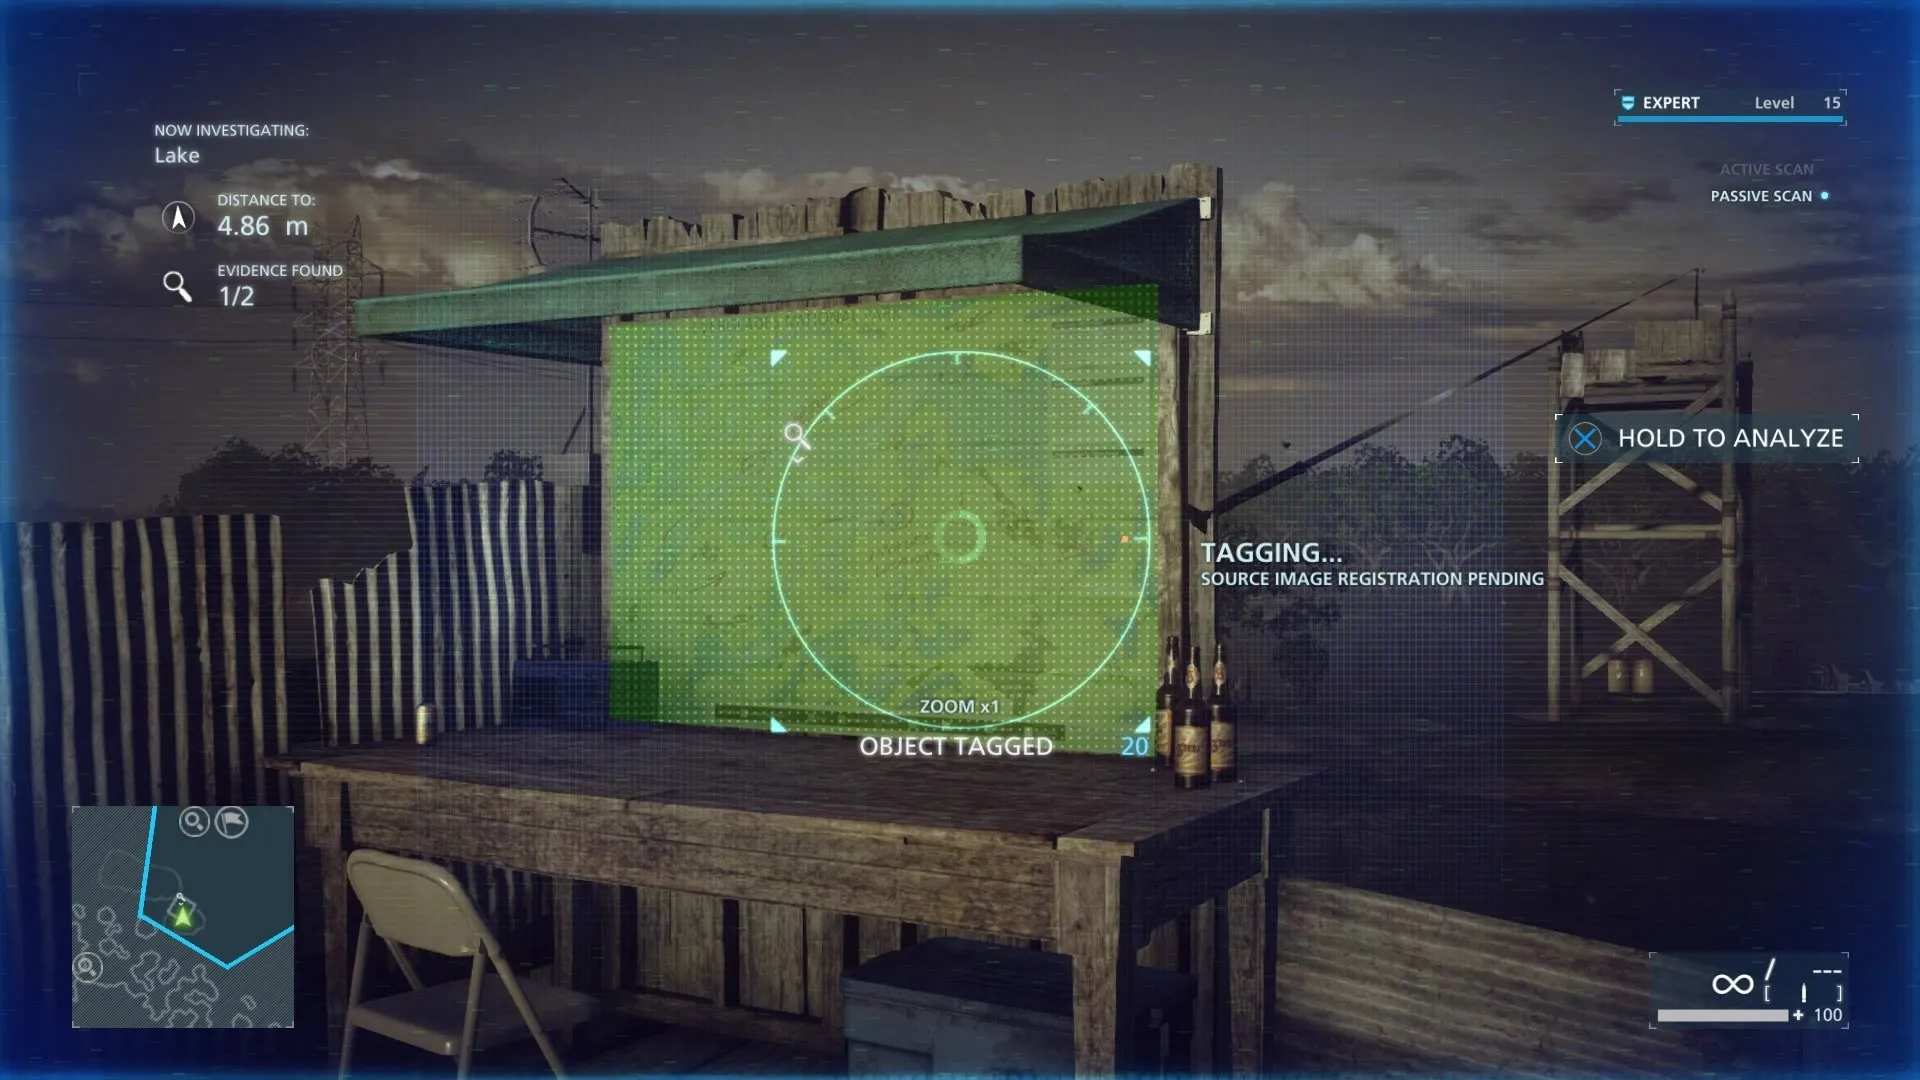
Internal Affairs #4 (Regional Zoning Map)
Also from the piece of evidence that you found in the ‘Huts’ area, in the opposite direction of the previous evidence and up the middle. You should come across a tower, with another smaller tower beyond it. Dock, grapple to the top of the first tower. Then zipline to the tower across, where you will find and scan the map. Shoot a zipline back in the other direction against the tower to get back to your boat.
Gator Farm
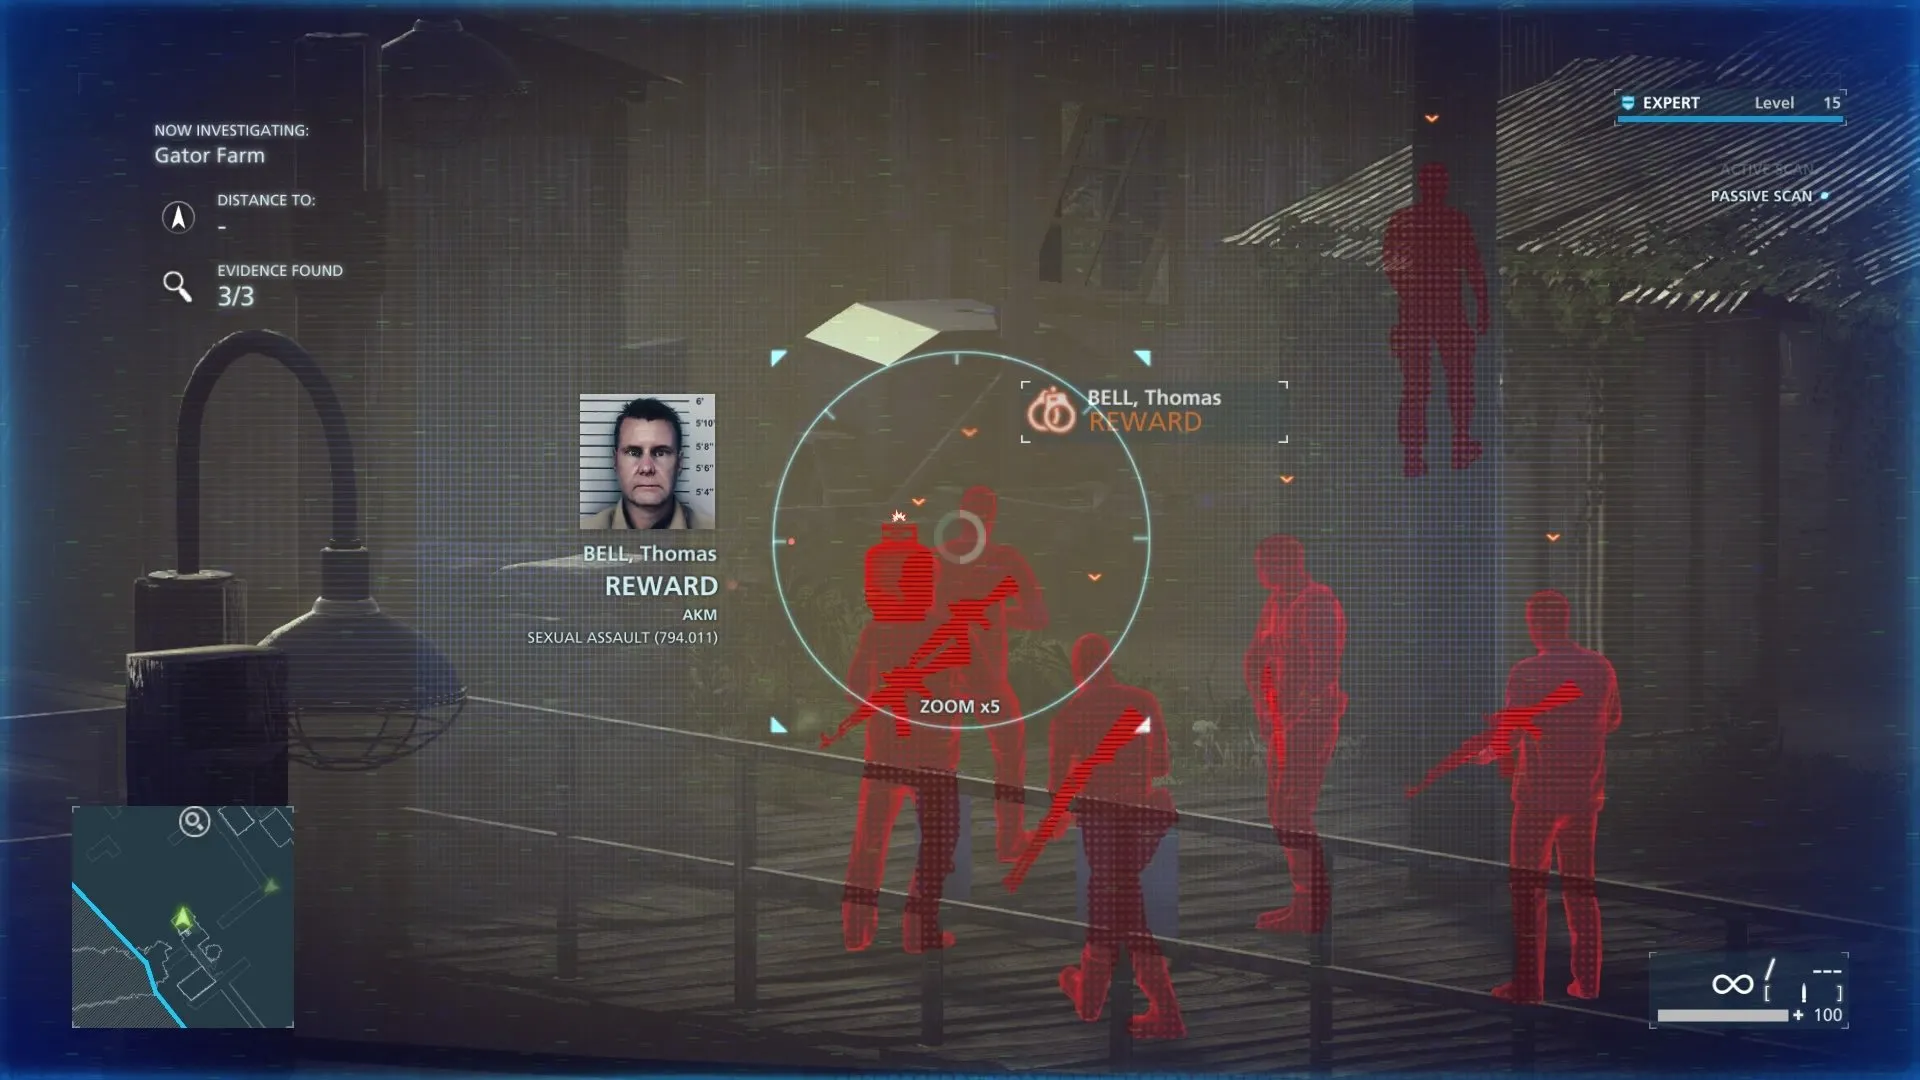
Wanted: Thomas Bell
When you are asked to survey the area on top of the tower, you will see a group of enemies. He’s the guy that is leading them. Sneak your way over and either knock him out or taze him.
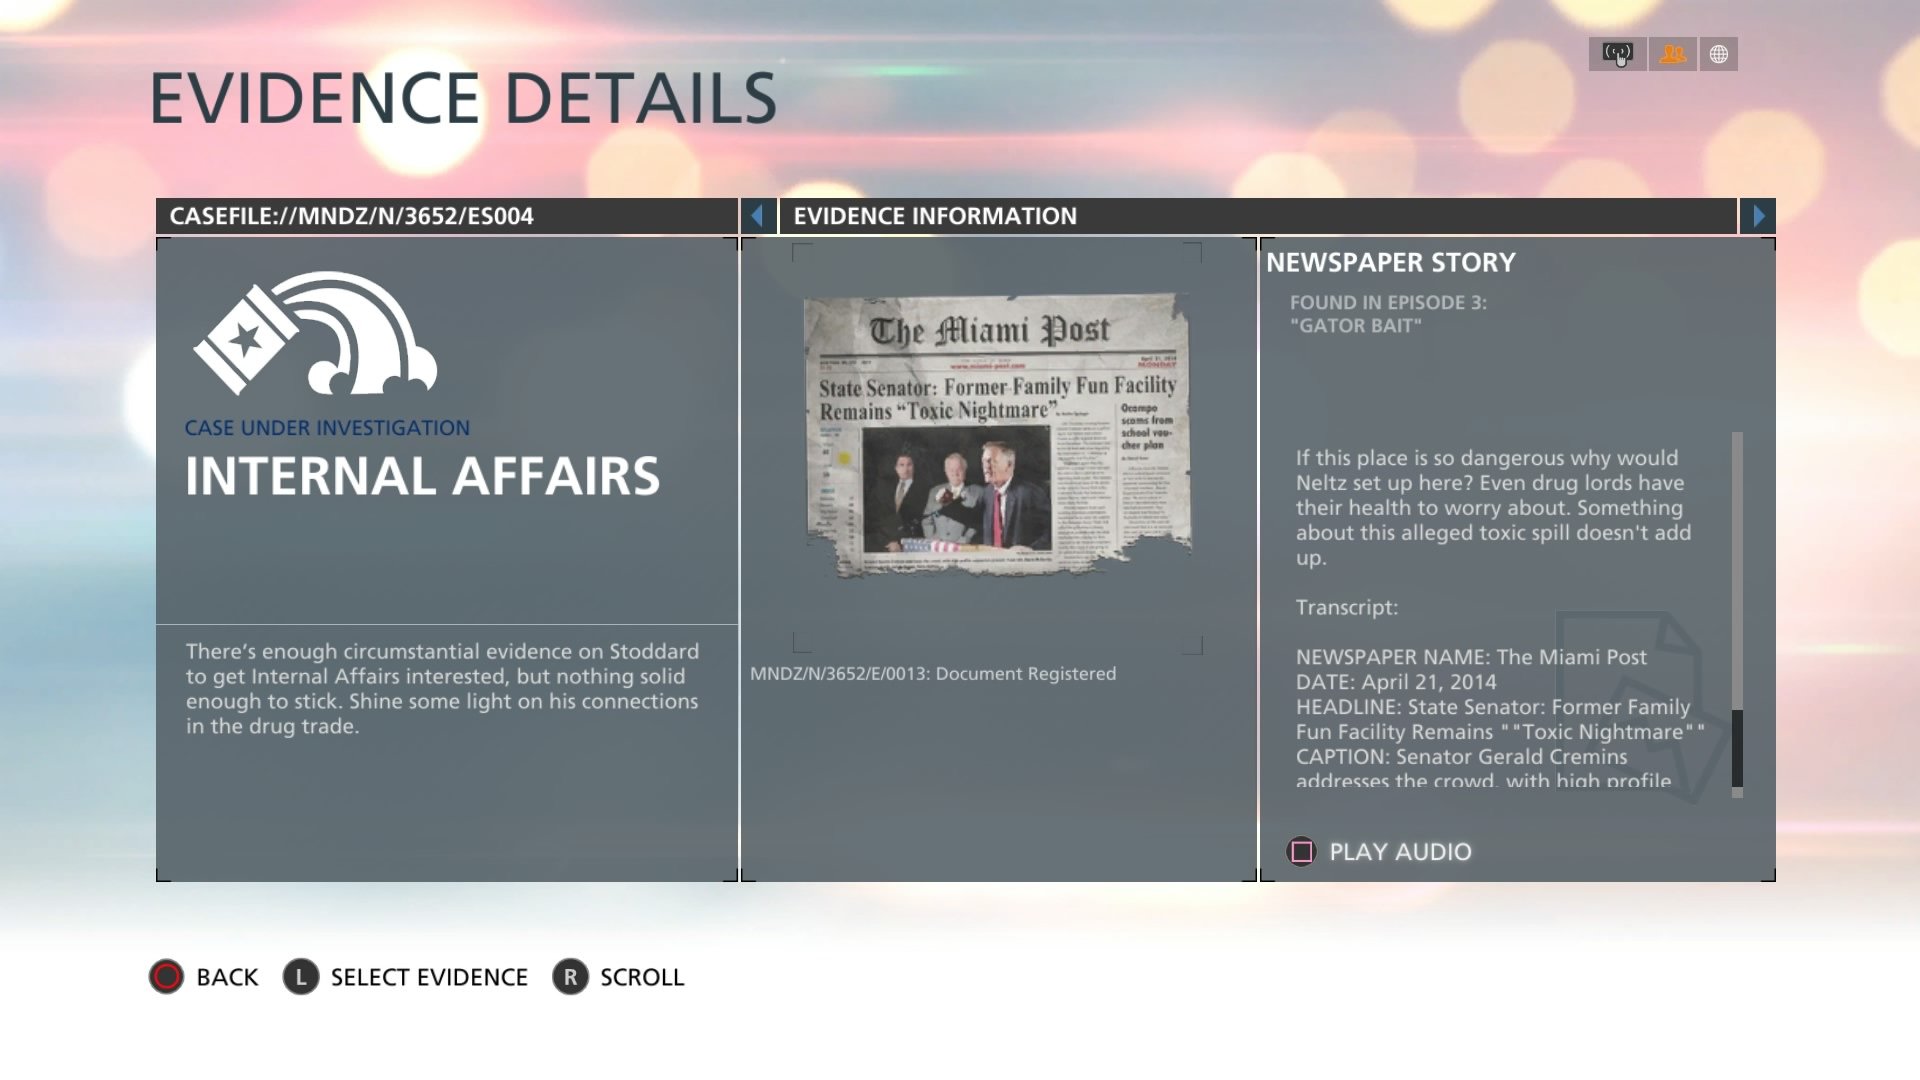
Internal Affairs #3 (Newspaper Story)
You find this one on Thomas Bell once you knock him out/taze him for the warrant. Easy peasy.
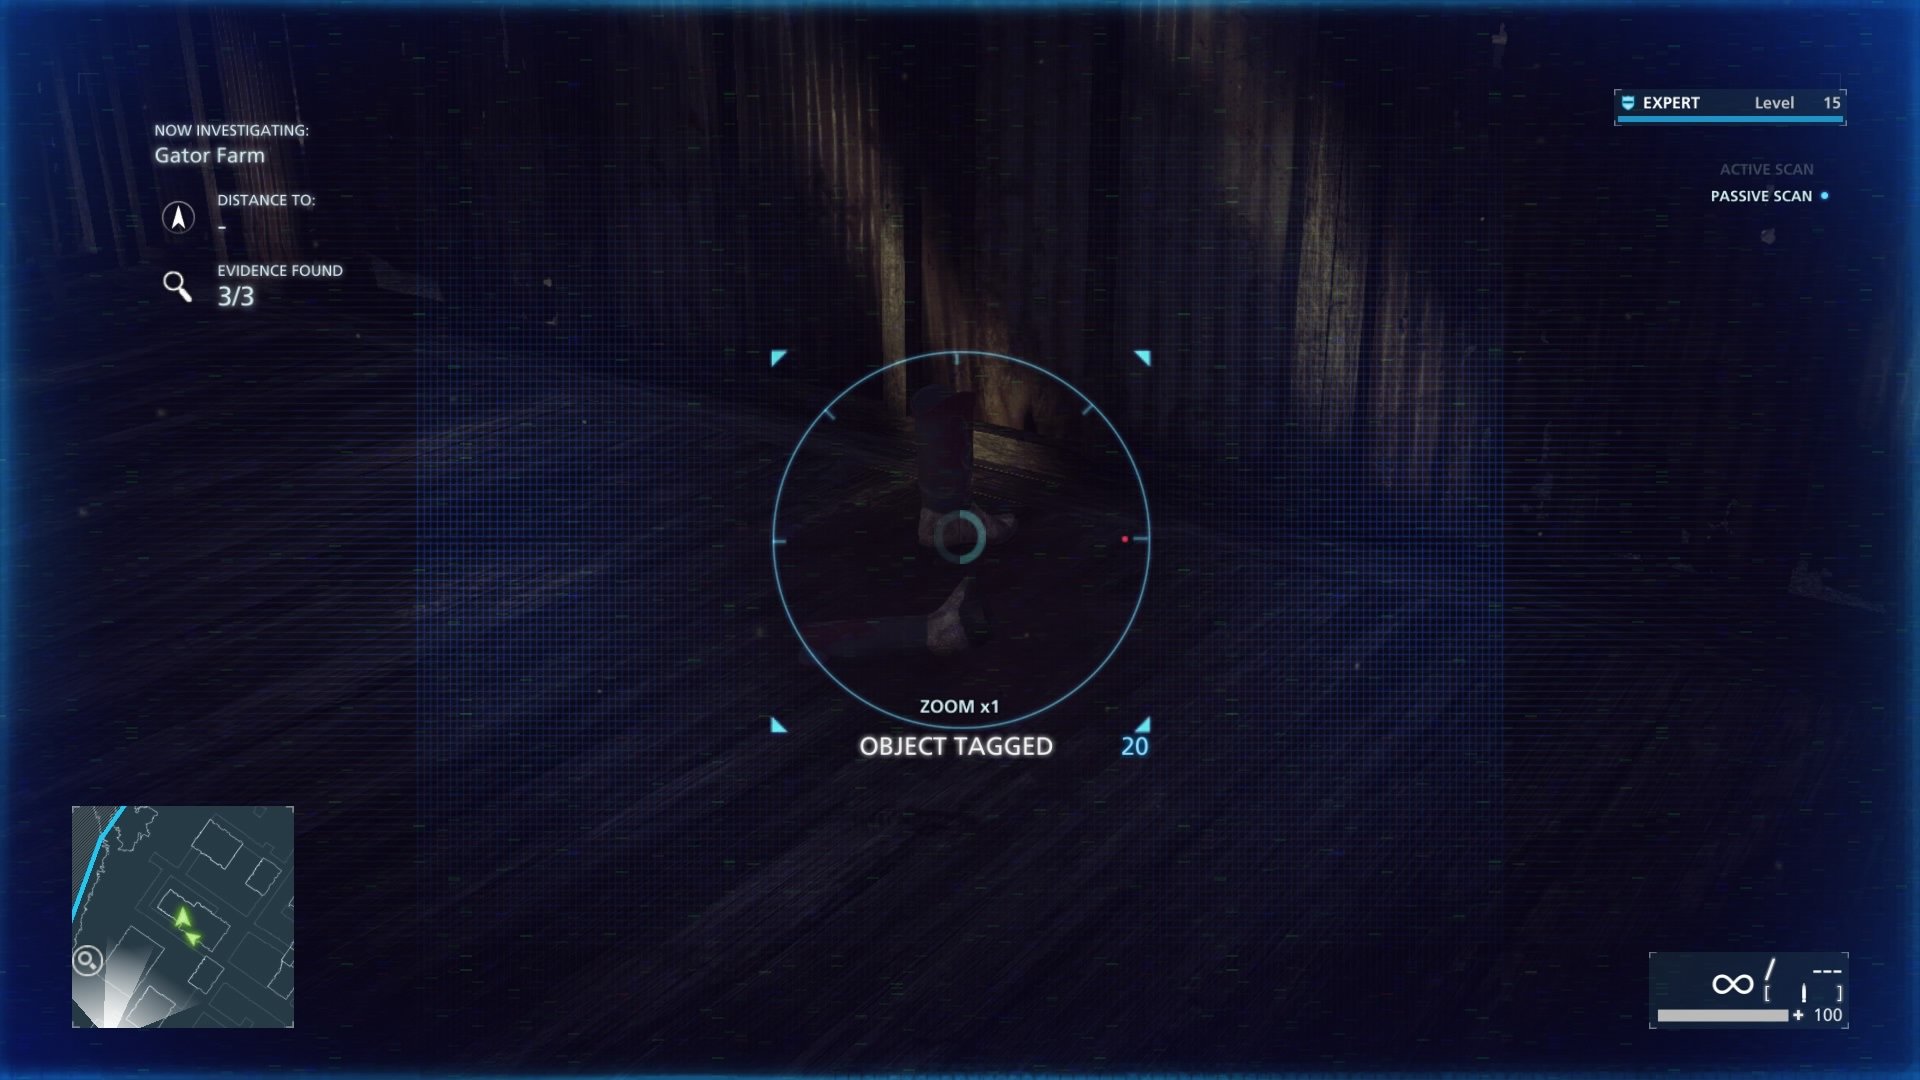
Internal Affairs #6 (Torture Traces)
This one is located in the lower right most building when facing the farm from the tower. Not to be confused with the shed that is floating in the middle of the ocean near it. This one has a tub of sorts in the main room and in the back room on the floor you will find boots. Scan them and bam, evidence.
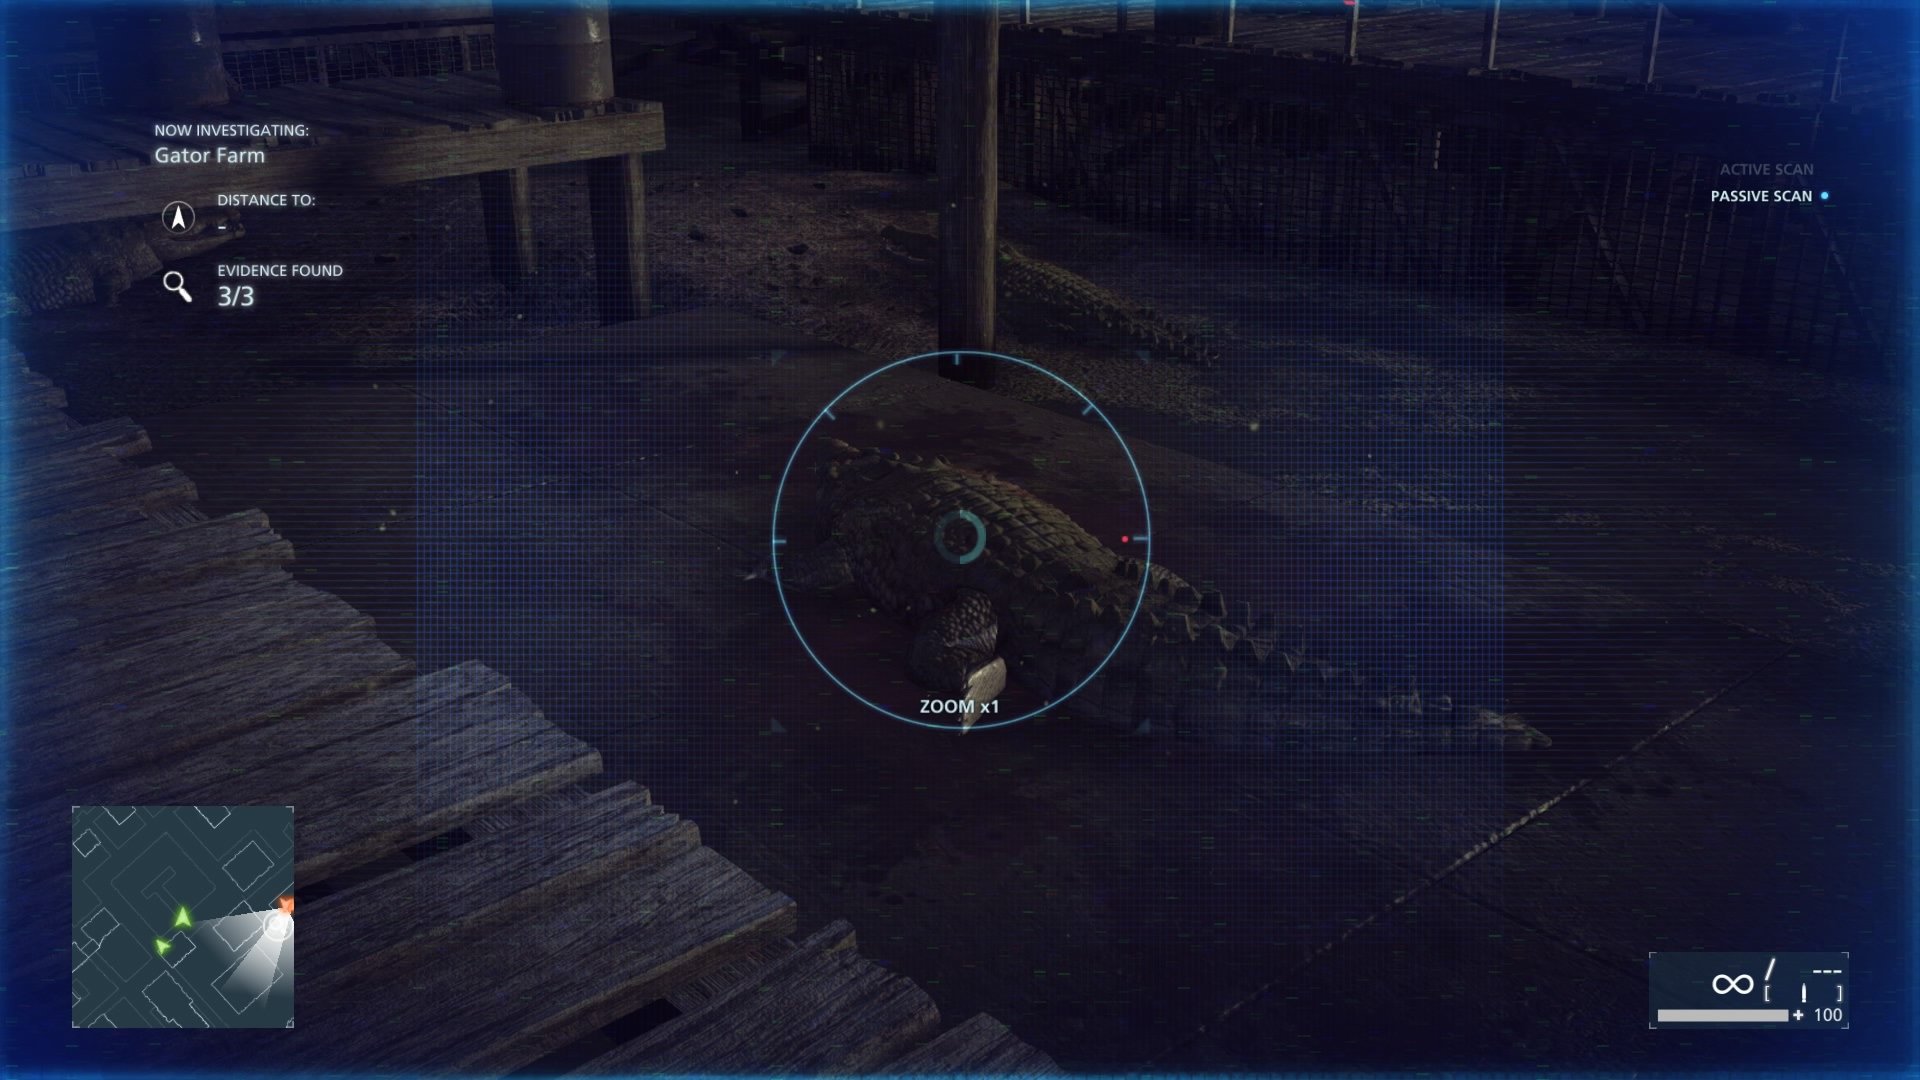
Internal Affairs #5 (Dead Gator)
From the previous piece of evidence walk north (again, in relevance from where you were standing on the tower). This is located dead center of the gator farm. You will see a platform below you with a dead gator. Take a scan and there you go.
Saw Mill
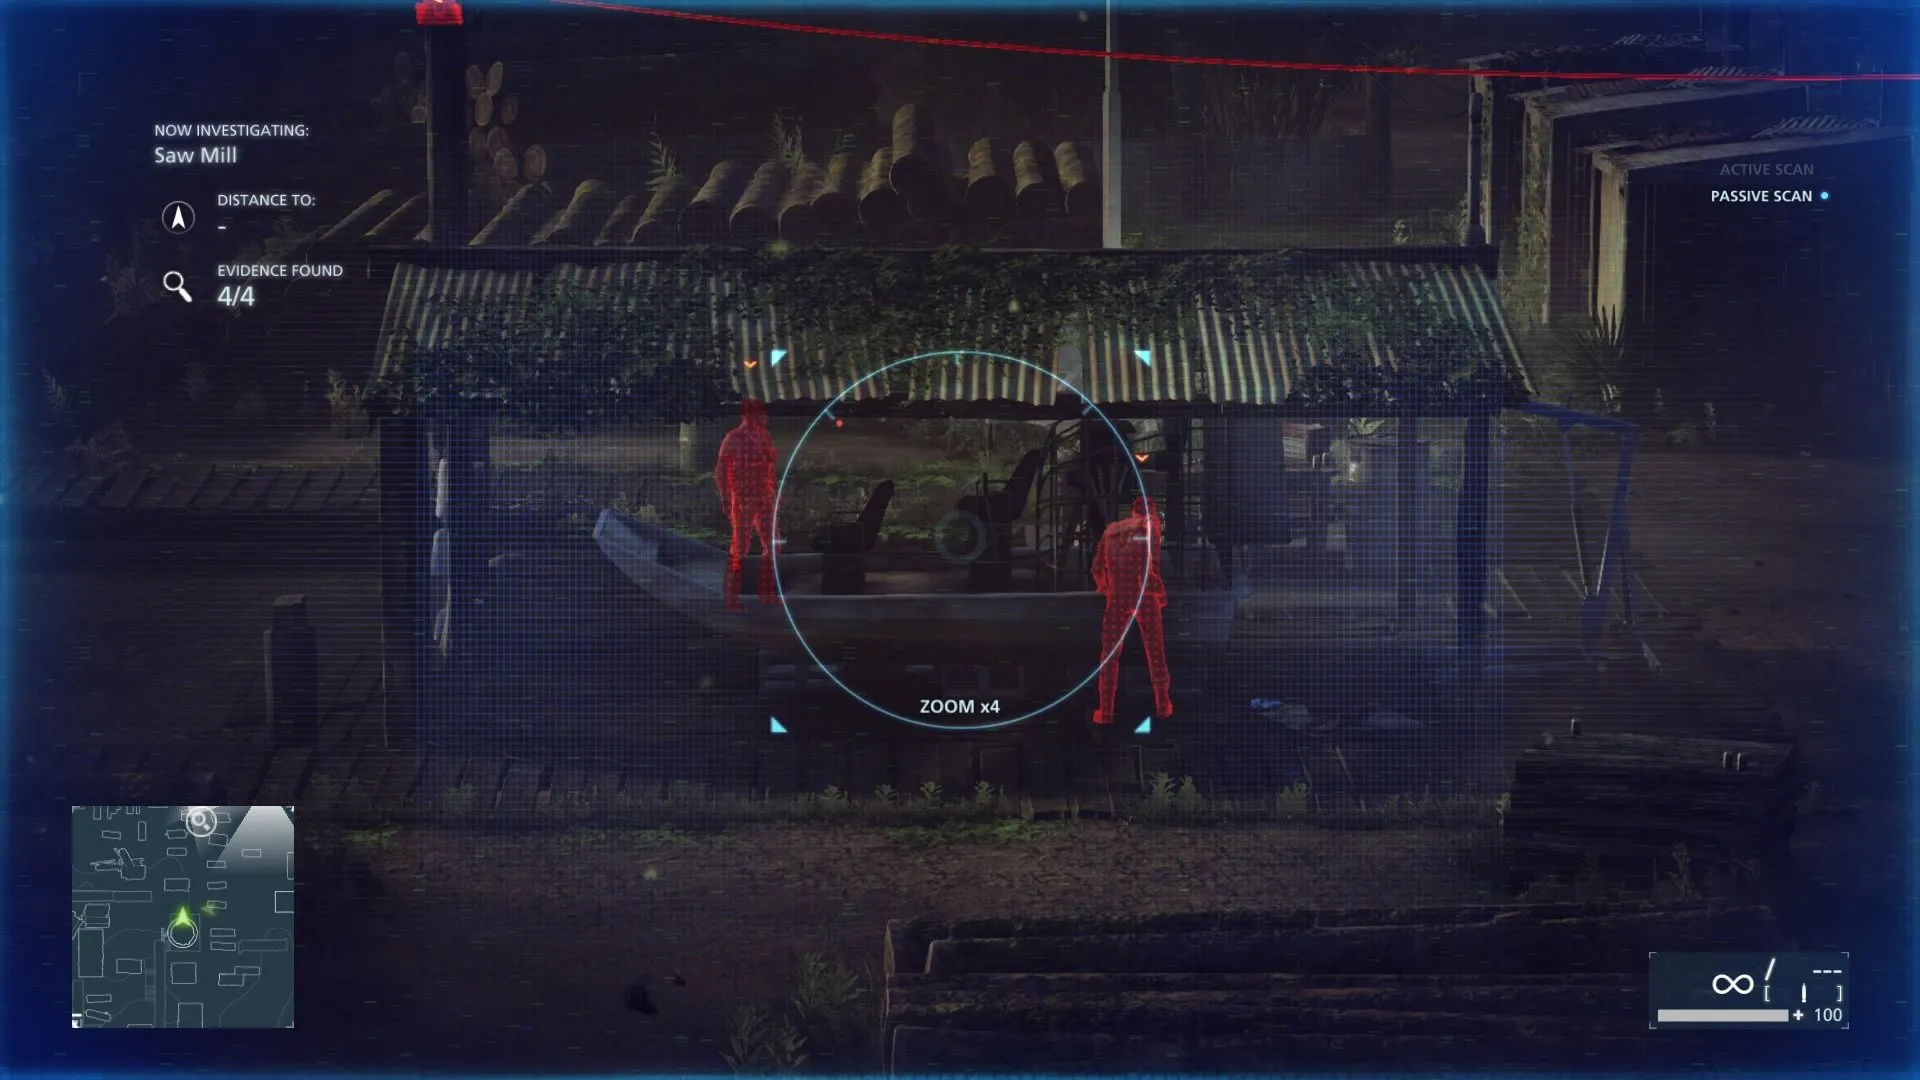
Internal Affairs #8 (Stained Fanboat)
Once you are told to go to the water tower and survey the area, get to the top. At the top look directly ahead at two guys working near a boat. Scan the boat and you are done.
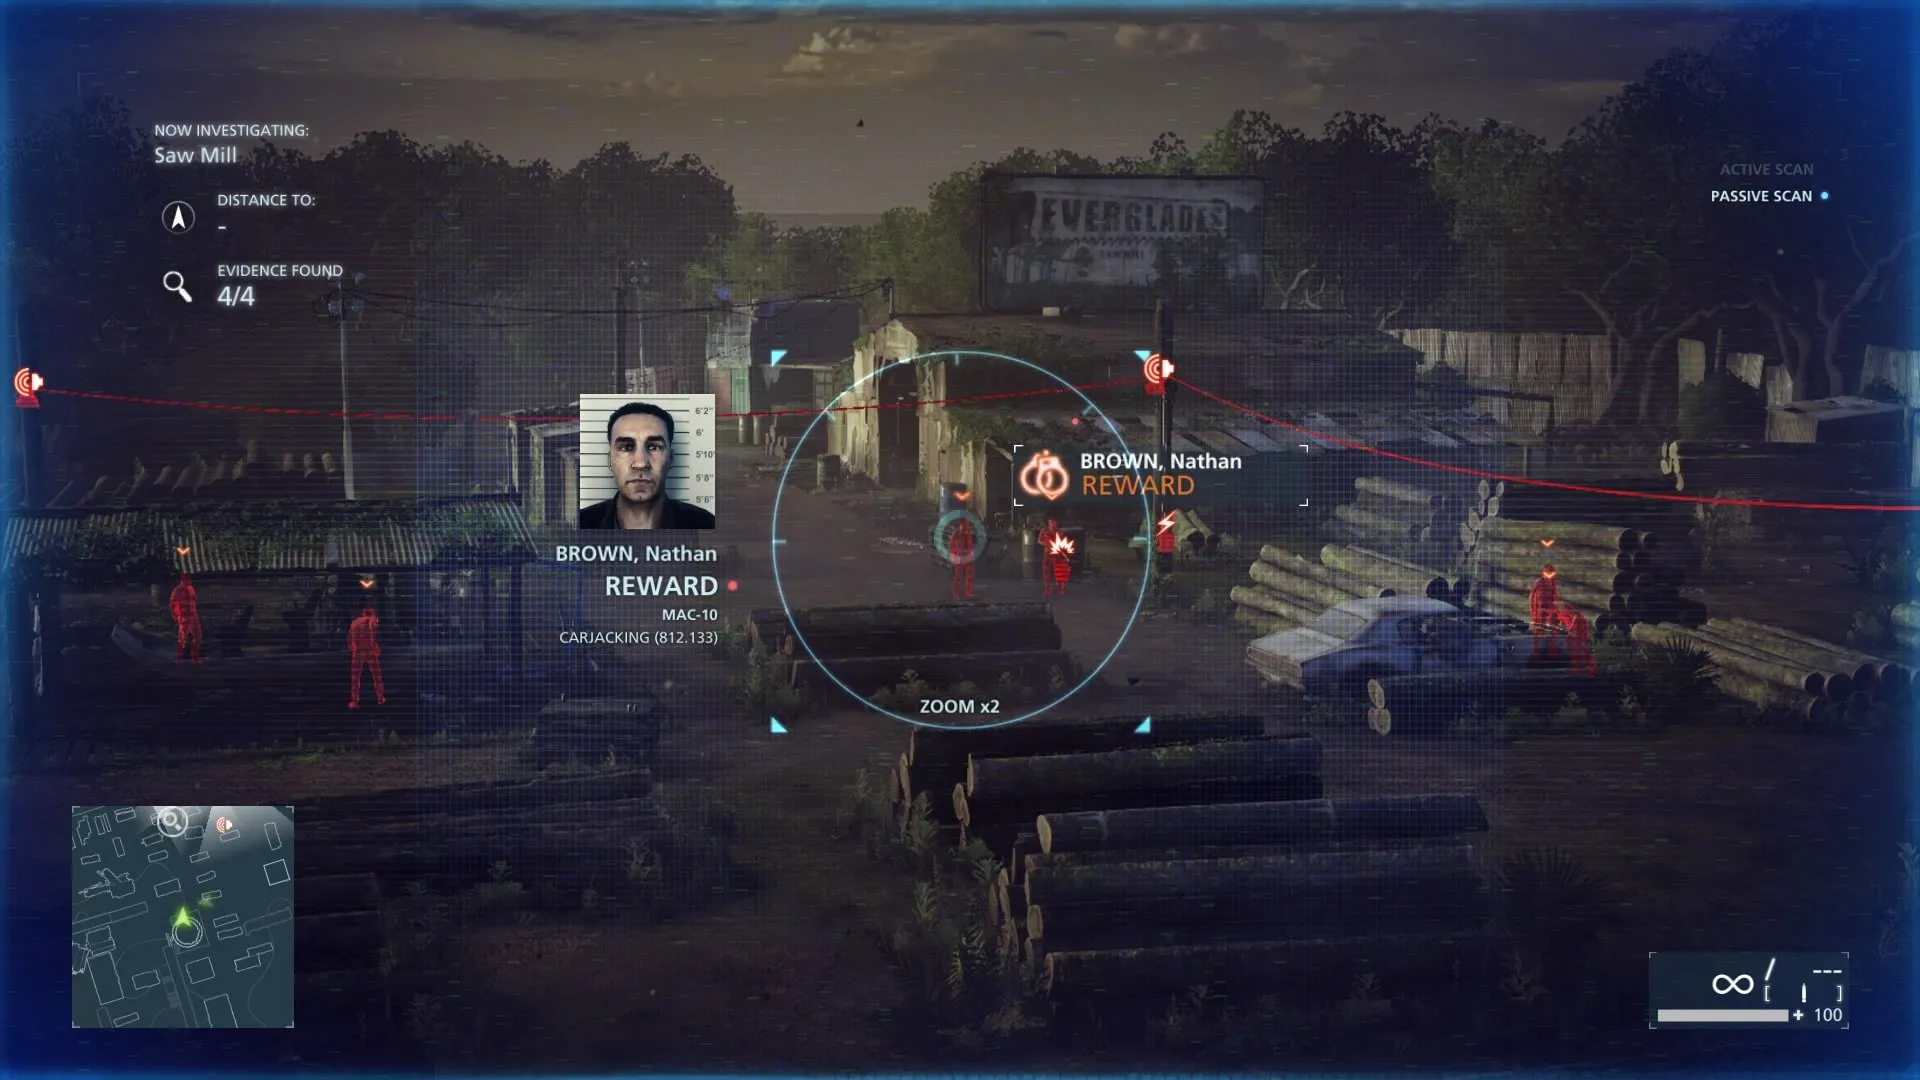
Wanted: Nathan Brown
This guy can be scanned from the tower as well. He resides in the middle talking to the rest of the goons. He tends to walk back and forth in the northern part of this map, so you can likely take him out nearly last as long as you are concise with your shots, knockouts and tazes.
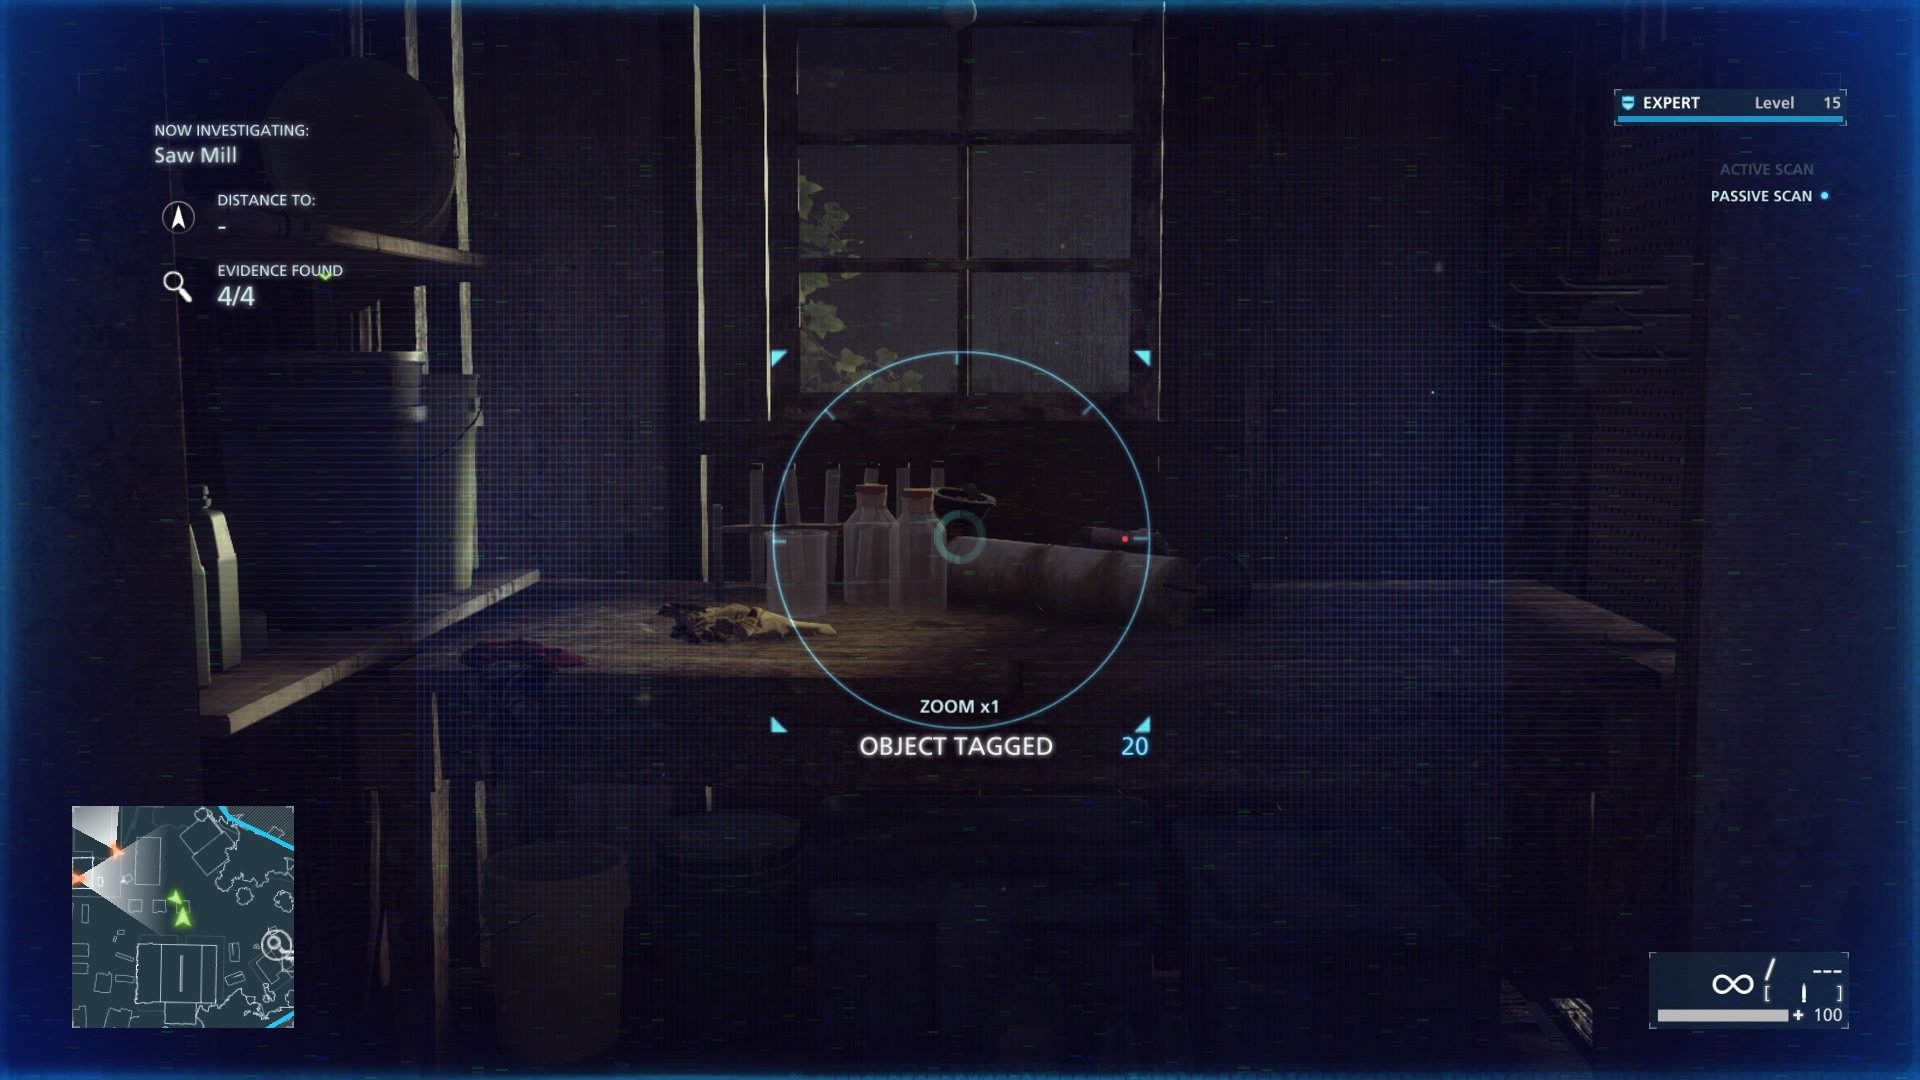
Internal Affairs #9 (Water Sampling Equipment)
Directly in front of the barn structure is three sheds. Inside the right-most shed is the equipment. Scan it and add it to the list.
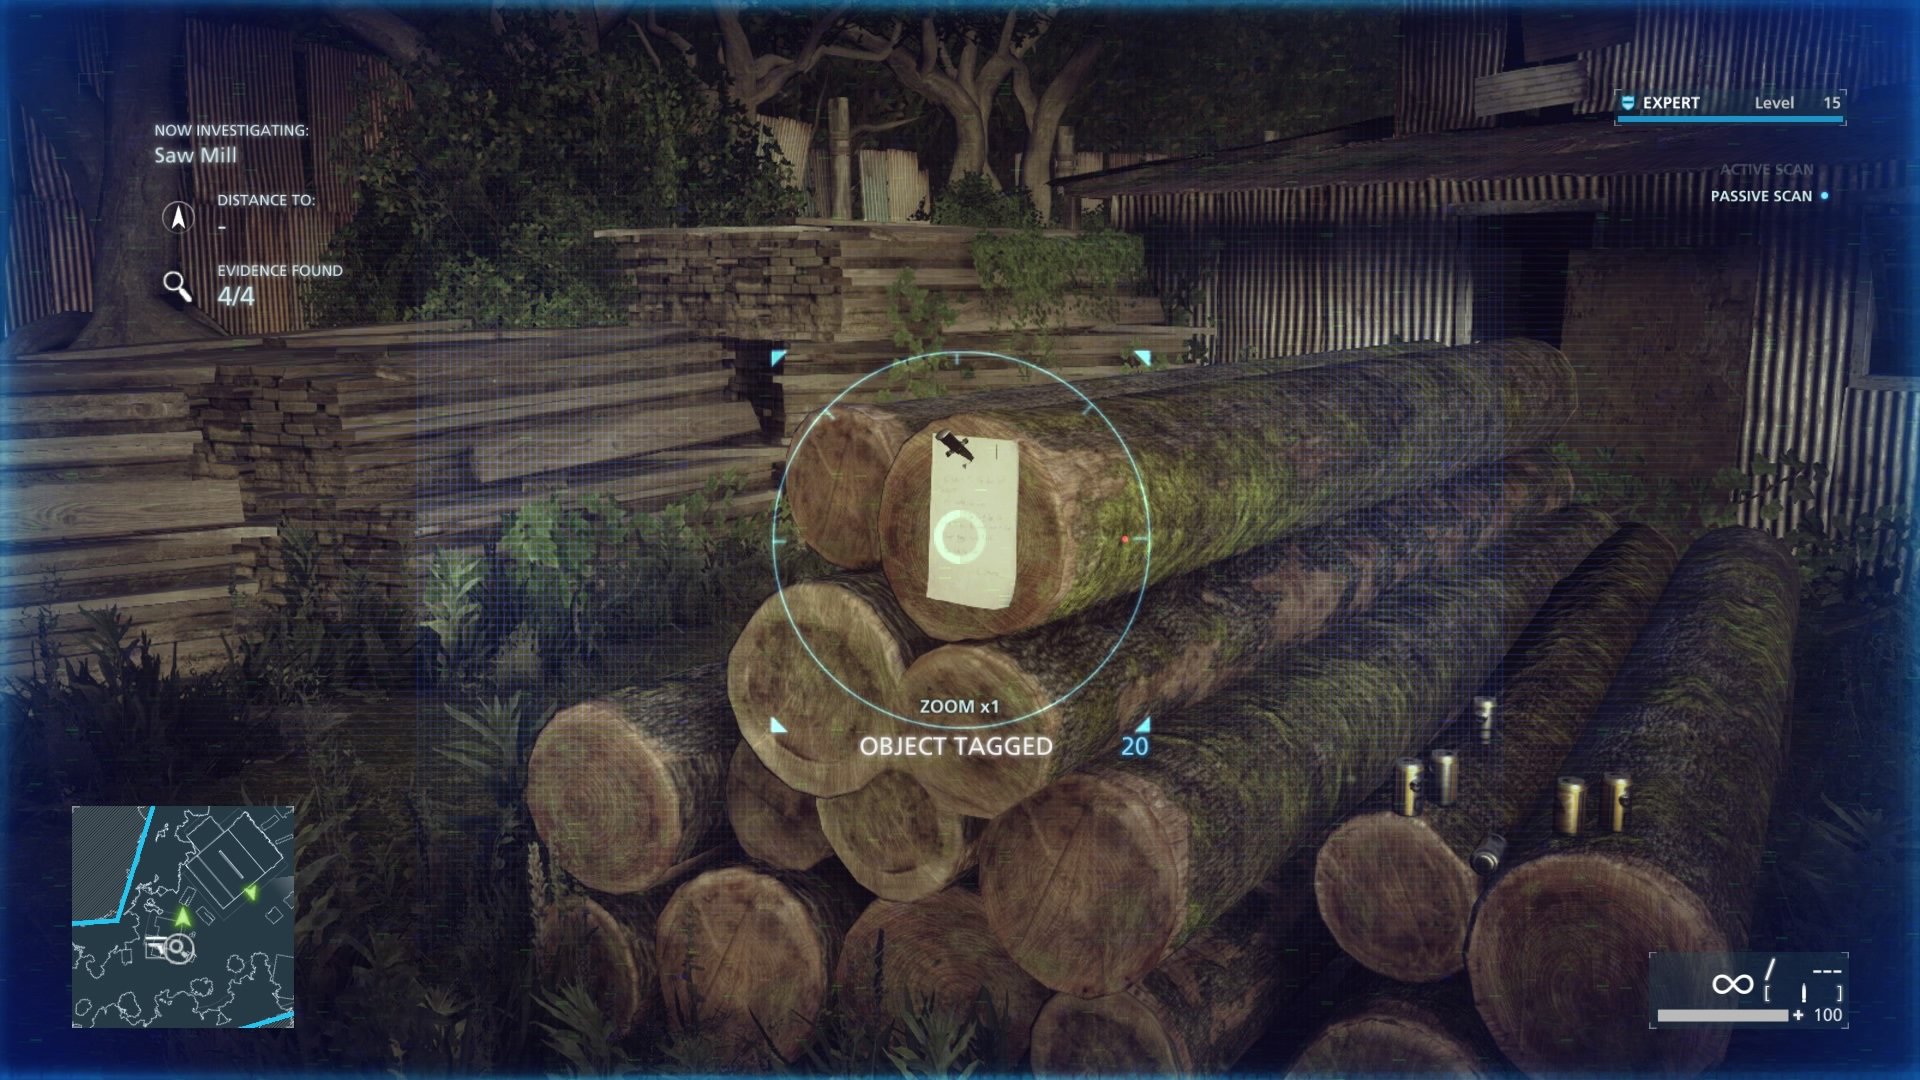
Internal Affairs #10 (Note Pinned With Switchblade)
Behind the large barn-like warehouse are some stacks of logs. There is one with a few beer cans around it. Go around and see a note stabbed to the front of it.
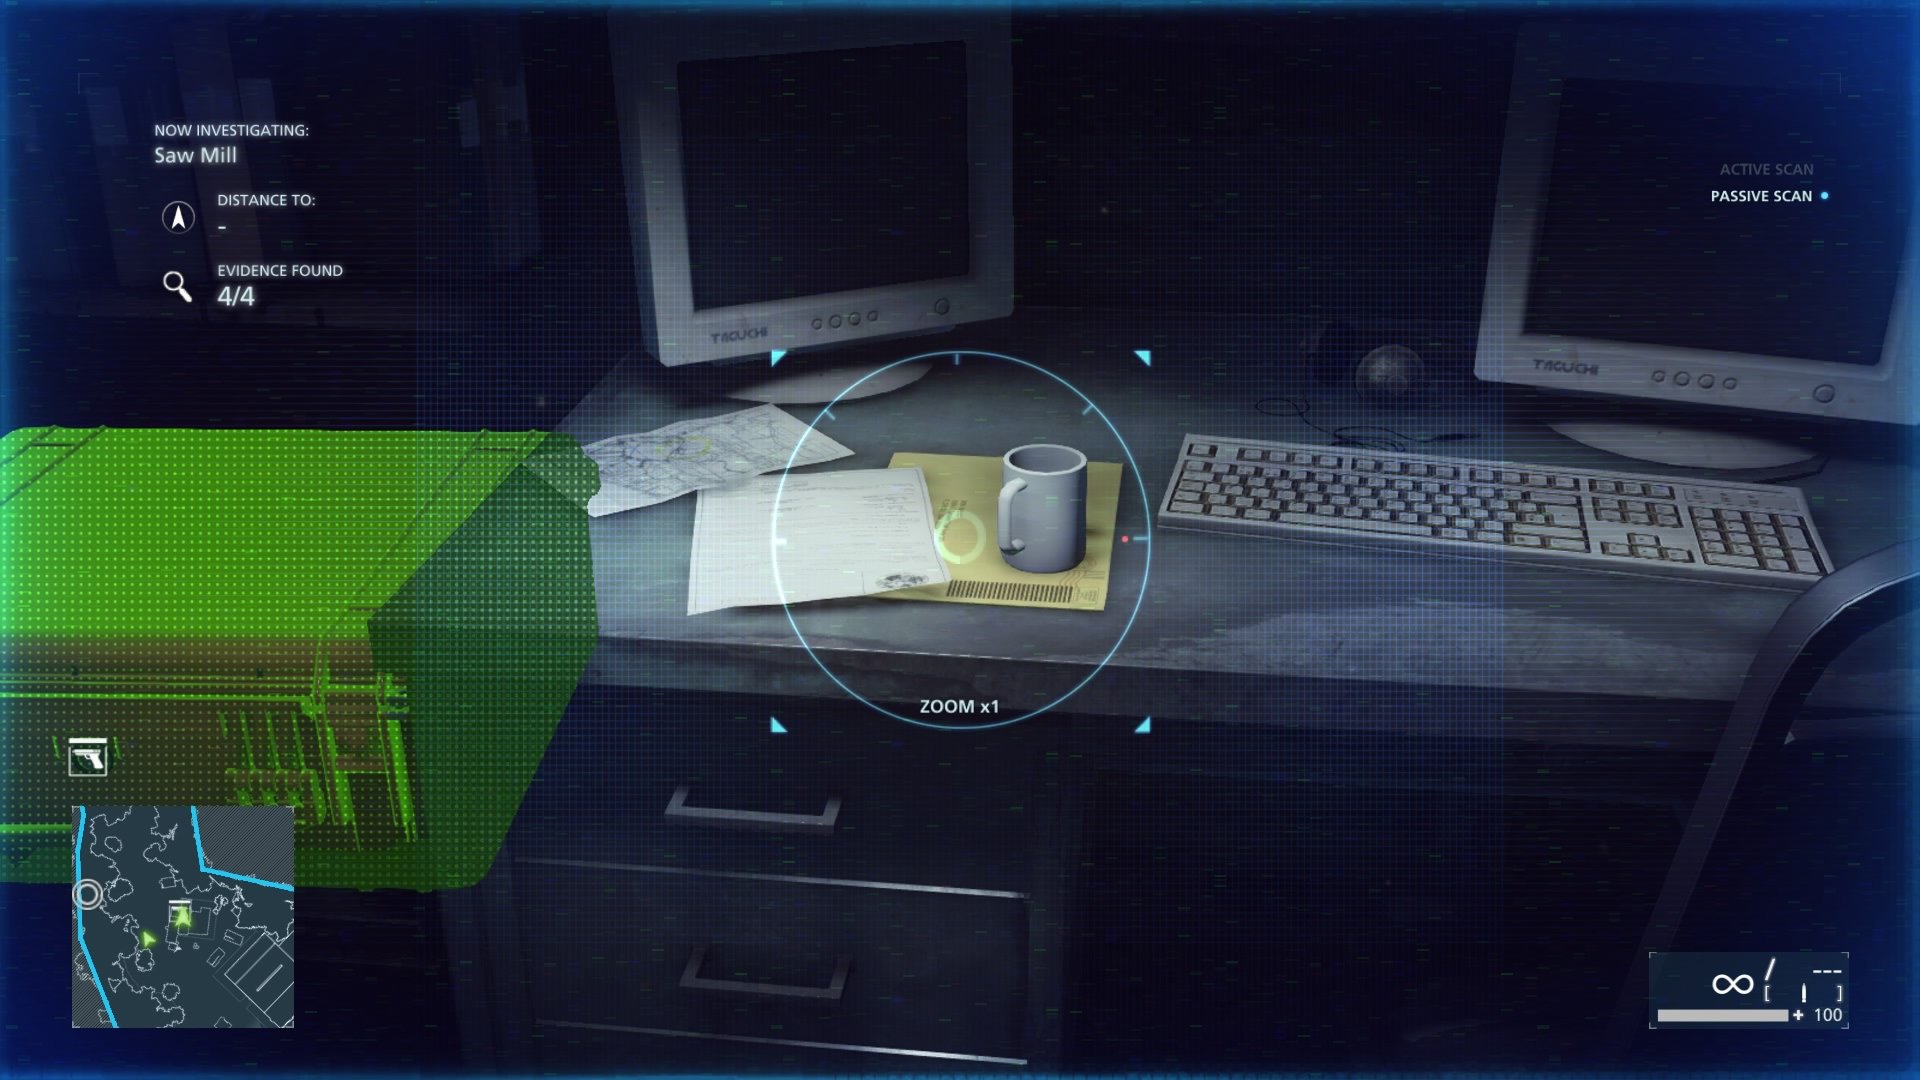
Internal Affairs #11 (Manila Envelope)
Inside the cargo-office room, after the scene look directly to your left. There is a desk and on there is a manila envelope. Scan it and you are all done with this episode.
That is all for Episode 3: Gator Bait, feel free to move onto the next part of our Battlefield: Hardline guide in Episode 4: Case Closed for more collectibles.


