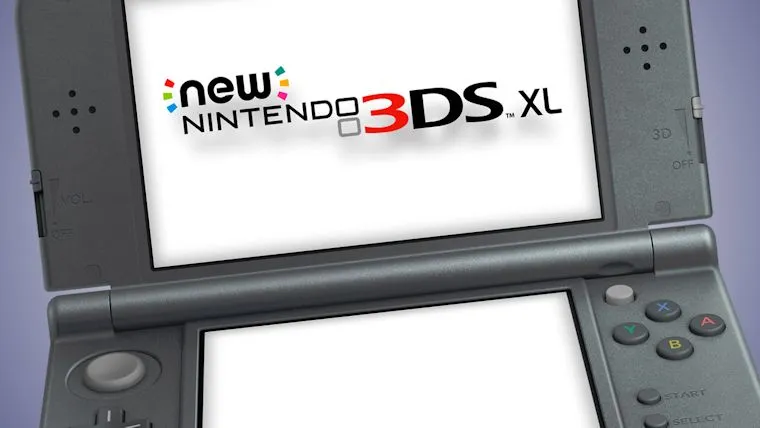
The long awaited release of the New Nintendo 3DS XL is almost here for the US and Europe, following a release in Japan and a few other regions last year. With this offering the largest reason to upgrade from the original 3DS yet, more power that will allow for exclusive games to the handheld, plenty are ready to get their hands on the system as soon as it launches on Friday.
With a good portion of those getting the system upgrading to this new model, rather than getting a 3DS for the first time, it is important to know just how to transfer all of the data from the old models to the new. Luckily, Nintendo has provided us with a video showing us how to do just that. Considering not everyone wants to watch a full video, we thought we’d provide you with the necessary steps in text form.
Items You Will Need:
- Your current Nintendo 3DS family system + SD card
- Your New Nintendo 3DS XL + microSD card of equal or greater capacity than your current SD card. A 4GB card comes pre-installed in the New Nintendo 3DS XL system.
- A size #0 Phillips screwdriver
- A computer and an adapter to connect SD and microSD cards
- Wireless broadband internet access
Now that you have all of the above items, follow the below steps to transfer your data.
- Complete the initial setup for your New Nintendo 3DS XL and update to the latest system software. Do not create a Nintendo Network ID on your new system.
- On the home menu, select System Settings, Other Settings and then select System Transfer.
- On both systems select Transfer from a System in the Nintendo 3DS Family.
- Select Send from This System on your current system and select Receive from Nintendo 3DS on your New Nintendo 3DS XL.
- Follow the prompts to confirm the transfer to the target system.
- Select Delete to erase the content on the microSD card in the target system in preparation for the transfer.
- Select No on the target system to confirm no other microSD cards have been used on the system.
- Select Yes on the source system to confirm you are using an SD card in your current system.
- Select PC-Based Transfer to use a computer to complete the transfer. You can choose the ? buttons to learn about the other methods of transfer.
- Select Move on the source system to start the transfer process.
- Once the transfer is complete the source system will format and your New Nintendo 3DS XL will restart.
- Power off both systems and remove the SD and microSD cards.
- To remove the microSD card from the New Nintendo 3DS XL you will need a #0 Phillips screwdriver to remove the back panel.
- Connect the SD card from the source system to your computer and copy the folder named Nintendo 3DS to your computer’s desktop.
- Connect your microSD card to your computer and copy the Nintendo 3DS folder to the microSD card.
- If you purchased a larger capacity microSD card, transfer your data to that card.
- Once the data is finished copying, insert the microSD card into your New Nintendo 3DS XL, attach the back panel and power your system on.
- The system transfer is now complete. Enjoy using your New Nintendo 3DS XL!
If you prefer, you can always just watch the video below as well, though it is more like a slideshow with the above information than anything else. In addition, you can visit the support page for the transfer right here.


Published: Feb 12, 2015 03:00 pm