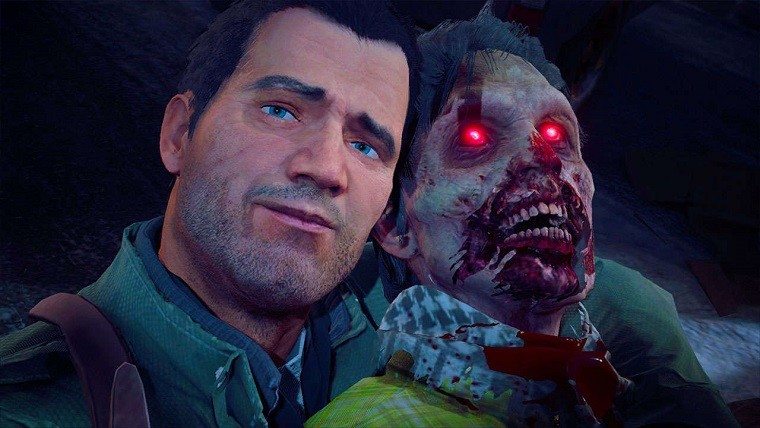
Frank West has returned in Dead Rising 4, and that means he has brought along his trusty camera. This was something that Frank used to snap pics of zombies in the first game, though its uses have been expanded upon greatly in this one. While new lenses mean that he can use both the Spectrum Analyzer and Night Vision modes to make spotting things easier, in true Frank West fashion he can also take selfies. This guide will break down the different facets of the camera and how to wield it like a master photojournalist.
First of all, bringing up the camera is as easy as clicking on the right joystick on the Xbox One controller, which will automatically put you in the normal camera mode. If you wish to switch between the Night Vision or Spectrum Analyzer modes then you can do that by pressing left or right on the D-pad. You can zoom in with the left trigger to get a better shot, and then snap the picture with the right trigger. Of course, if you’re in the mood to grab a silly selfie shot then you can do that by pressing the right bumper.
When it comes to taking the best pictures that reward you with the most PP, you want to frame your shots so that you’re capturing as much in them as possible. You’ll typically want to try and get as many zombies coming at you as you can, and snap a pic of them from a safe spot like on top of a truck. If you’re feeling risky, you can also sneak up behind a zombie and snap a selfie with one, which is obviously hilarious and rewarding.
While Night Vision mode proves to be a big help during certain areas in the game, the camera’s normal and Spectrum Analyzer lenses are far more important and vital to the campaign. You will use the standard camera lens to investigate rooms for important information and secrets, with the center of the camera turning orange if you’re facing the direction of a clue. Inching your way closer to the clue and lining up properly will make the bars on the side of the lens fill up, with the item itself glowing orange when you’ve found the clue. All that’s left to do is snap the picture and you’re on your way to completing the room.
The Spectrum Analyzer works similarly to how the normal lens does when looking for clues. When you’re facing the direction of a clue the lens will turn green, with the bars on the side filling up the closer you get to it. The clue will typically be highlighted in purple and will be things like handprints or hidden messages, and once it’s highlighted just snap the picture and it’s yours. The Spectrum Analyzer is also vital for discovering panic rooms or unlocking safes, so be sure to use it whenever you can.
That’s everything you need to know about the camera in Dead Rising 4. It is far more important in this game than ever before in the series, as it will not only get you more PP but will actually help find side content and progress the story. Now be a real photojournalist and go get snapping.


Published: Dec 6, 2016 08:12 am