Battlefield: Hardline instead of laptops and files, has a wider array of ‘collectibles’ strewn about the game under the guise of evidence. Makes sense considering you take the role of a police officer. The cool thing is that when you enter the area your controller will vibrate near evidence. Including those on enemies that have warrants. Evidence is separated in this guide by case and evidence name and number as it appears in the game.
Warrants are enemies that are thrown into the game to give the player an additional ‘collectible’ type of replay value to the levels. These require the player to take them into custody to get a reward, killing them doesn’t count. Getting a certain amount of these unlock weapons so it is a good idea to get as many as you can by either sneaking up behind them and knocking them down, flashing your badge and taking them in, or shooting them with a tazer to bring them in. Bringing in all wanted suspects alive also garners the player ‘Bring ‘Em To Justice’ Achievement/trophy.
Note: Tasering wanted criminals should be your go-to way of taking down ‘wanted criminals’ as it helps work towards the ‘You Tazed Him, Bro!’ and ‘By The Book’ achievements/trophies. Identifying 10 Wanted suspects with the scanner (even the same ones if you die) count towards the ‘Watched, Dawg’ achievement/trophy as well. You must identify them with the scanner first anyways, plus it tracks them through walls with a handcuff icon above their head, so this should be easy to get on your way to nabbing all the suspects. Nabbing all the evidence and completing all case files will also net the player ‘World’s Greatest Detective’.
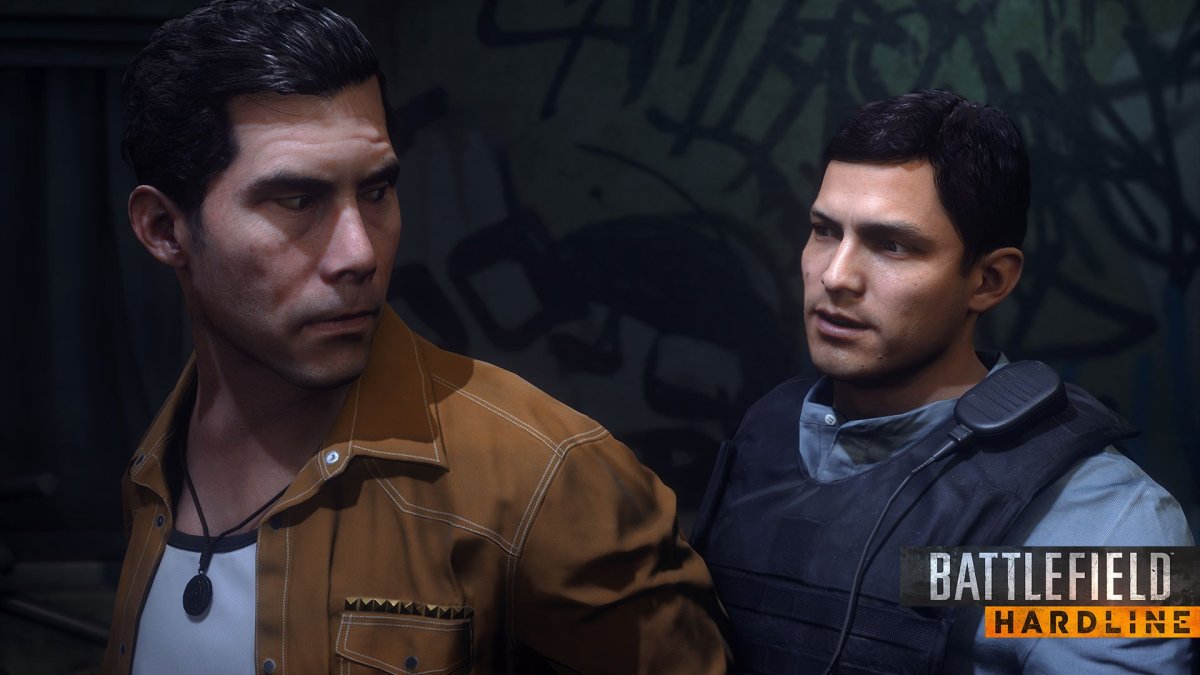
The following Battlefield: Hardline guide is for Episode 1: Back To School, of the Battlefield: Hardline single-player campaign tailored to help you find the evidence and grab the wanted criminals in the first level. Shea Dorset is the first wanted man, but he is part of the prologue and part of the story, so he is automatically nabbed when you catch him.
Since this is primarily a tutorial level This will be pretty easy for the most part, and hopefully detailed enough for players to work through it with ease. There are three pieces of evidence and one suspect in Episode 1.
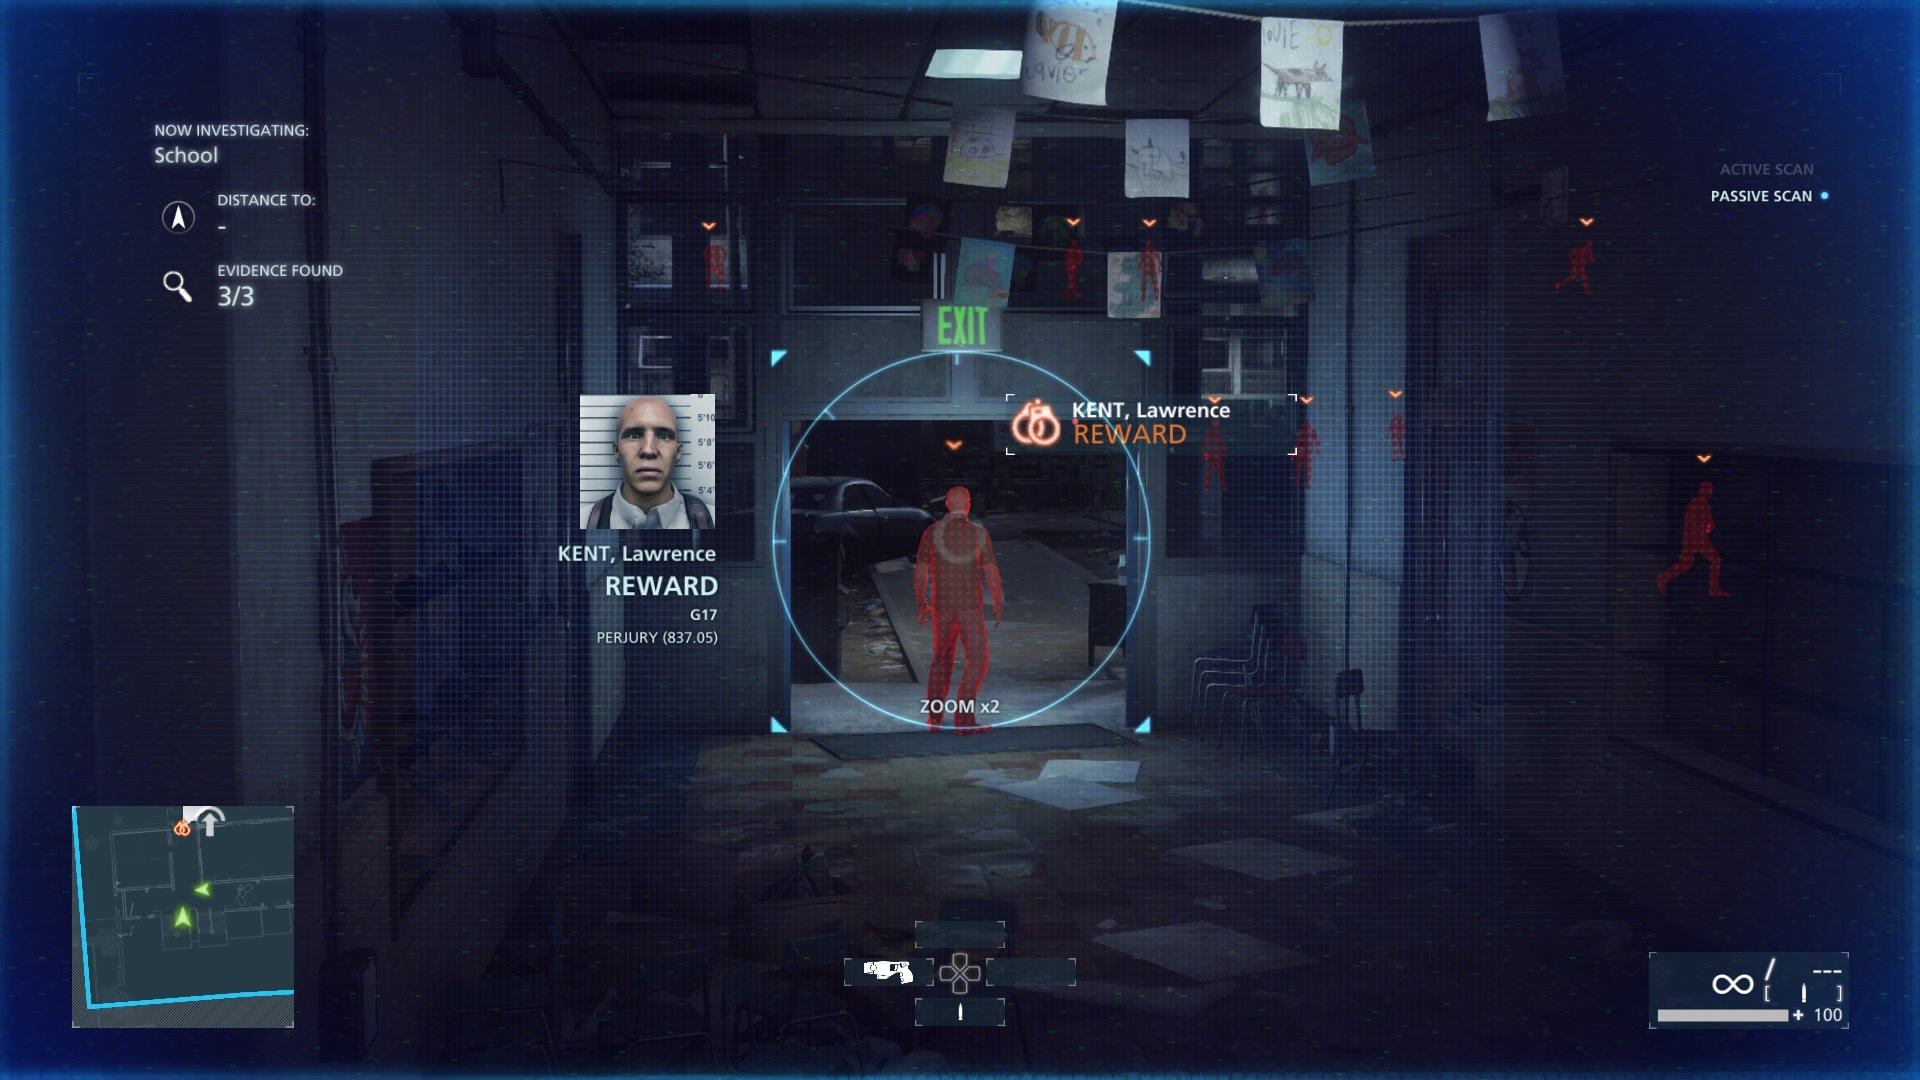
Warrant #1- Lawrence Kent
After players are given the scanner they are told to scan the area and two cars show up with enemies. Scan the eight men who get out of the car, one will be Lawrence Kent, the first guy with a warrant in the game. After working your way downstairs with your partner you will come up behind Lawrence, take him down non-lethally and you will bag your first perp.
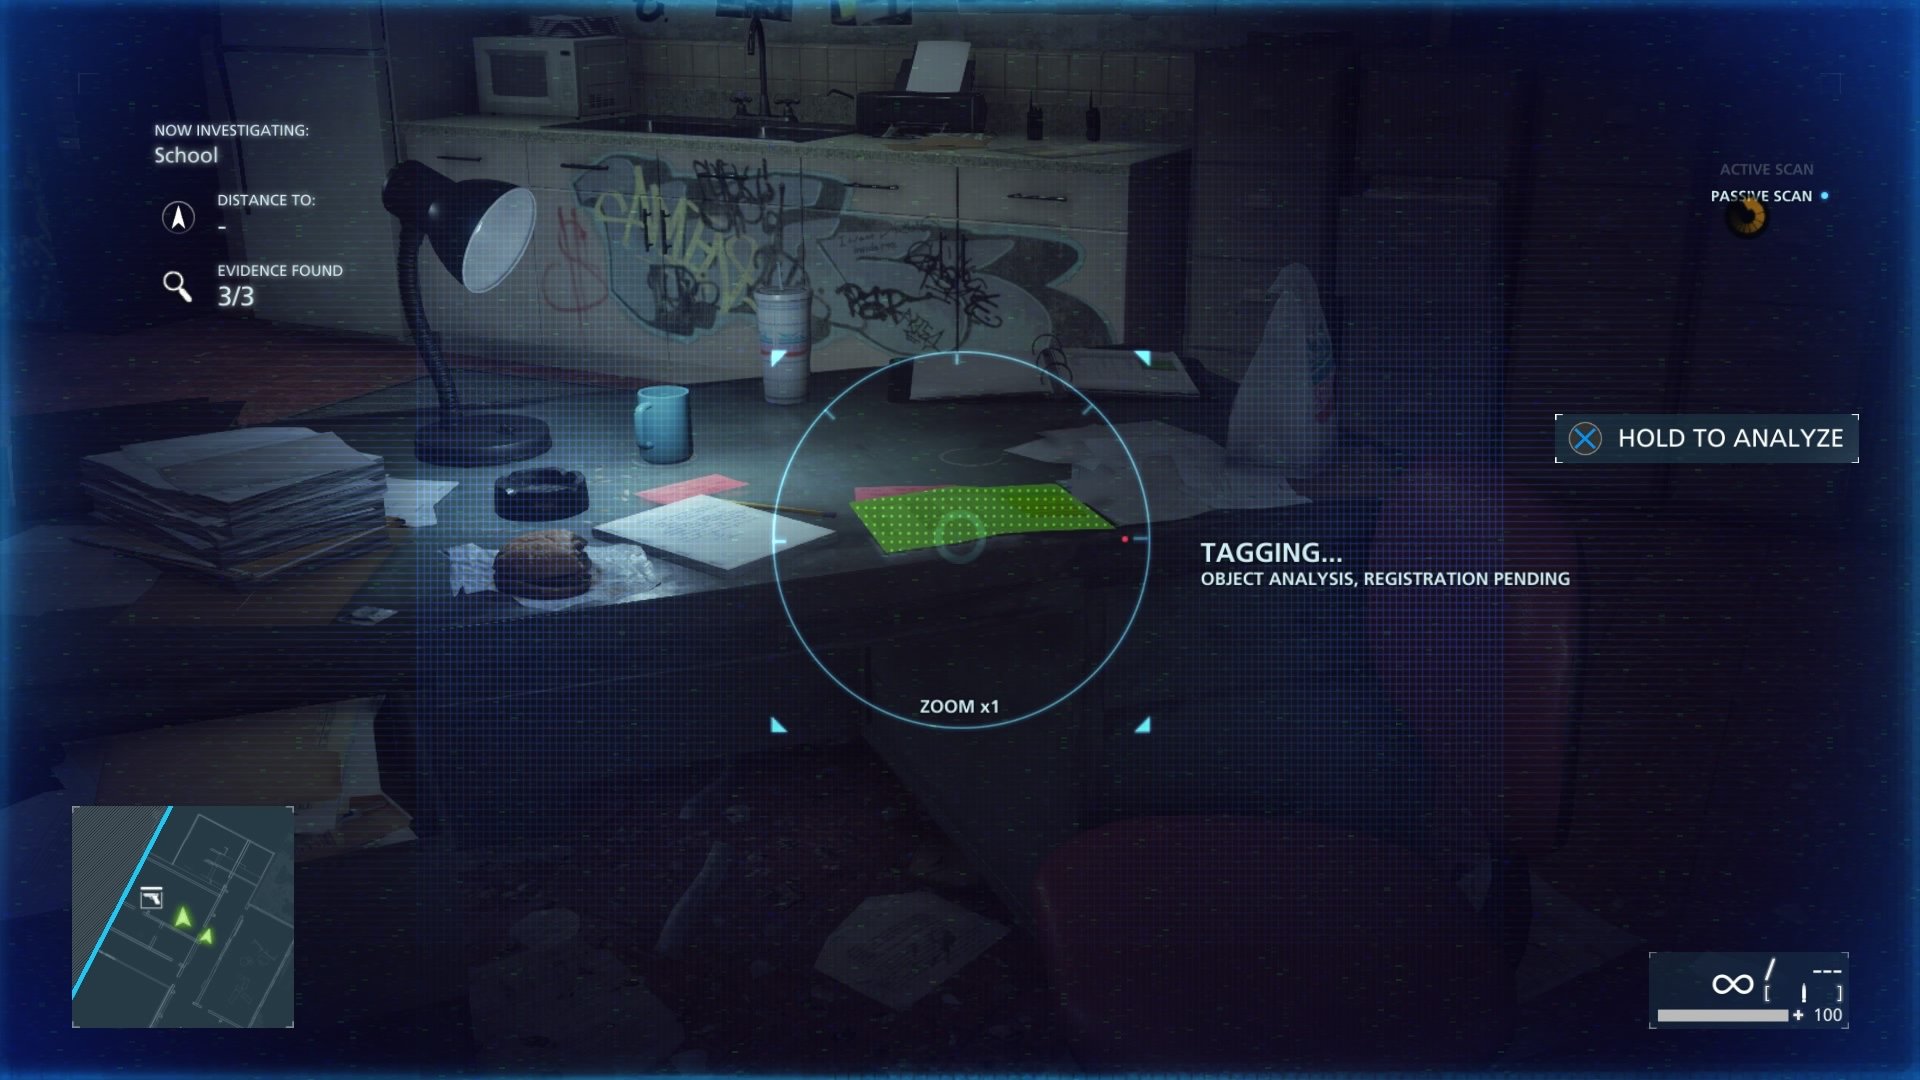
The Hot Shot File- #1 (Leger & Money)
The first piece of evidence in the school after you clear the area of enemies and you are tasked to ‘Investigate the room’. It is laying on the table when you first enter. Scan it and you’re done.
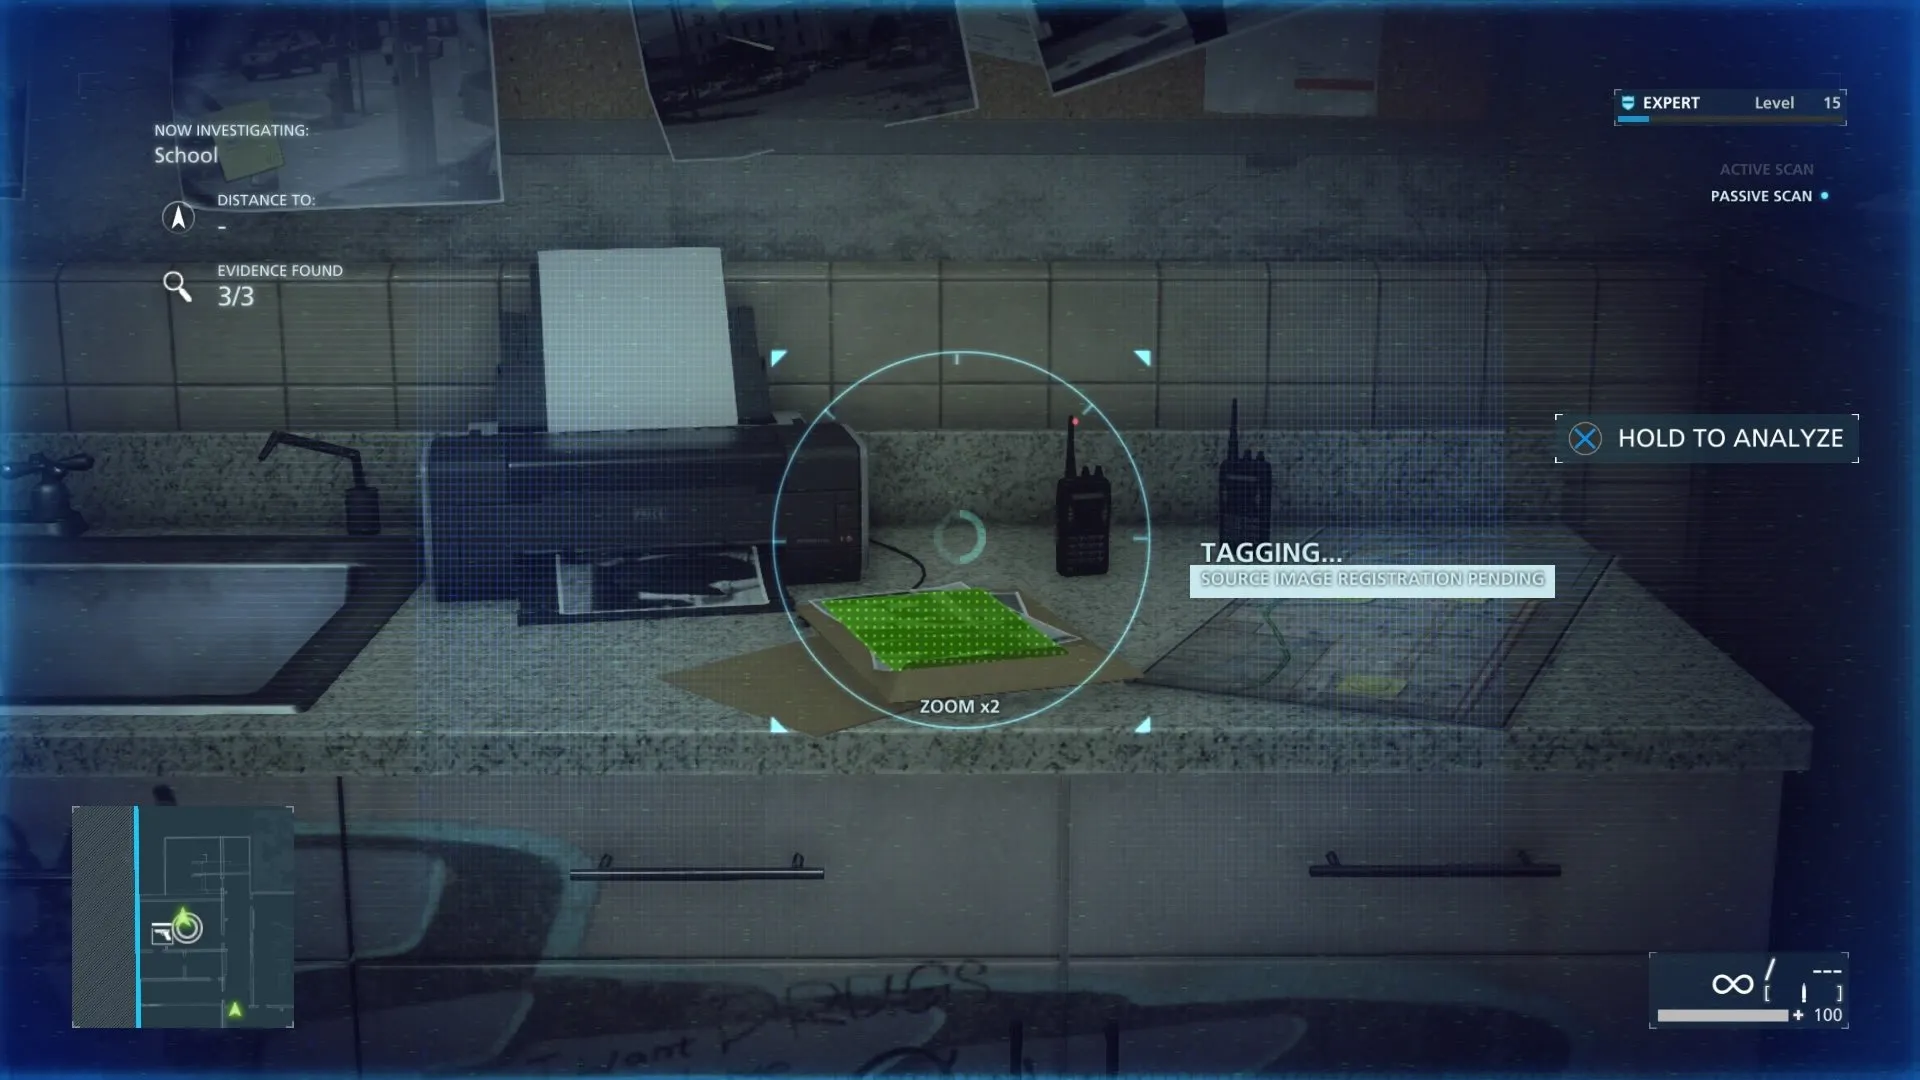
The Hot Shot File- #2 (Surveillance Photo of Stoddard)
The next piece is in the same room next to the printer on the nearby counter. It’s a photograph, so scan it and move to the next room.
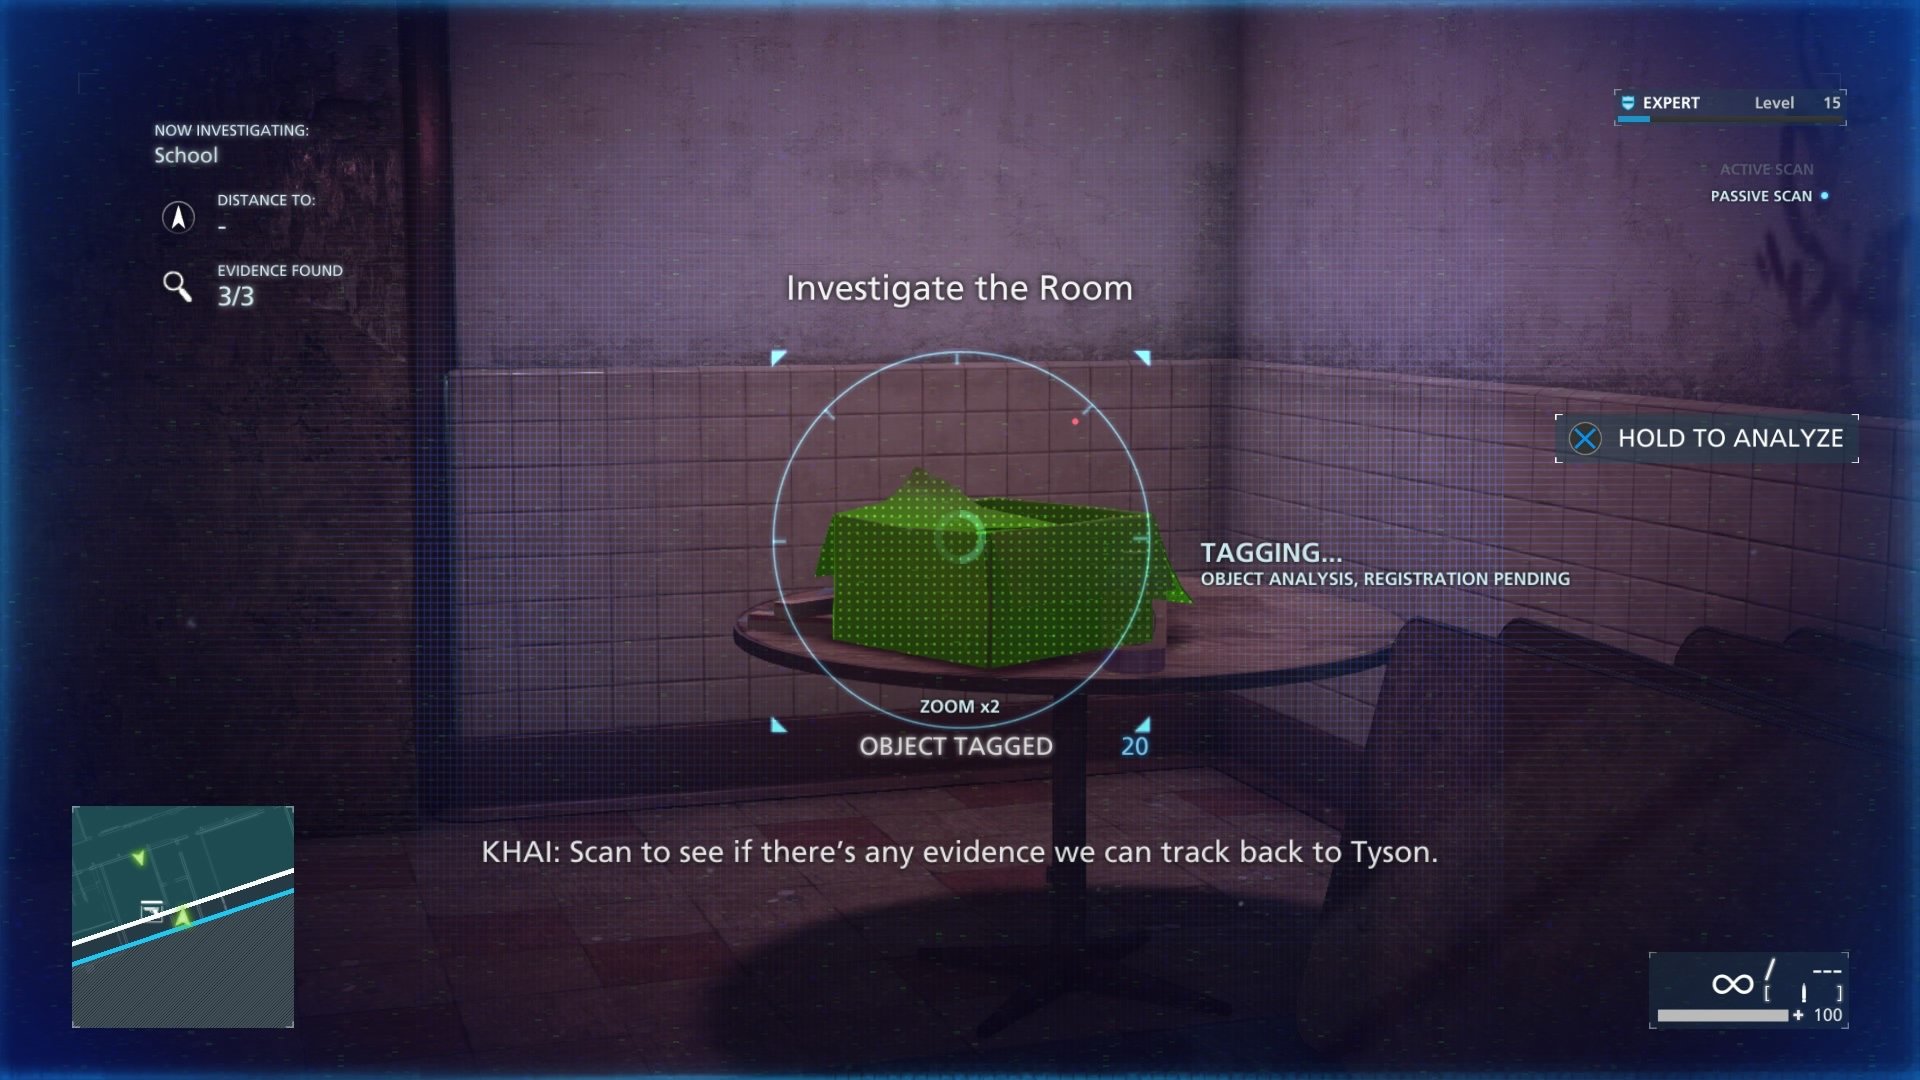
The Hot Shot File- #3 (Box Of Hot Shot)
The final piece of evidence for the tutorial case file is in the next room. It is a box sitting on a table. Scan it and go into the evidence menu and complete the case.
That is all for Episode 1: Back To School, feel free to move onto the next part of our Battlefield: Hardline guide in Episode 2: Checking Out for more collectibles.




Published: Mar 22, 2015 09:39 pm