Battlefield: Hardline instead of laptops and files, has a wider array of ‘collectibles’ strewn about the game under the guise of evidence. Makes sense considering you take the role of a police officer. The cool thing is that when you enter the area your controller will vibrate near evidence. Including those on enemies that have warrants. Evidence is separated in this guide by case and evidence name and number as it appears in the game. Warrants are enemies that are thrown into the game to give the player an additional ‘collectible’ type of replay value to the levels. For more information check out our Battlefield: Hardline guide for Episode 1. If you need help with Episode 9: Independence Day, we have that too.
The following Battlefield: Hardline guide is for Episode 10: Legacy, of the Battlefield: Hardline single-player campaign tailored to help you find the evidence and grab the wanted criminals in the third level. As the episodes get longer we break it down into sub-sections. These can be found on your scanner in the top left of the screen. It basically tells you the area of the episode you are in and it is helpful for pinning down warrants and evidence. There are four pieces of evidence and three suspect to apprehend in Episode 10: Legacy.
Roadblock
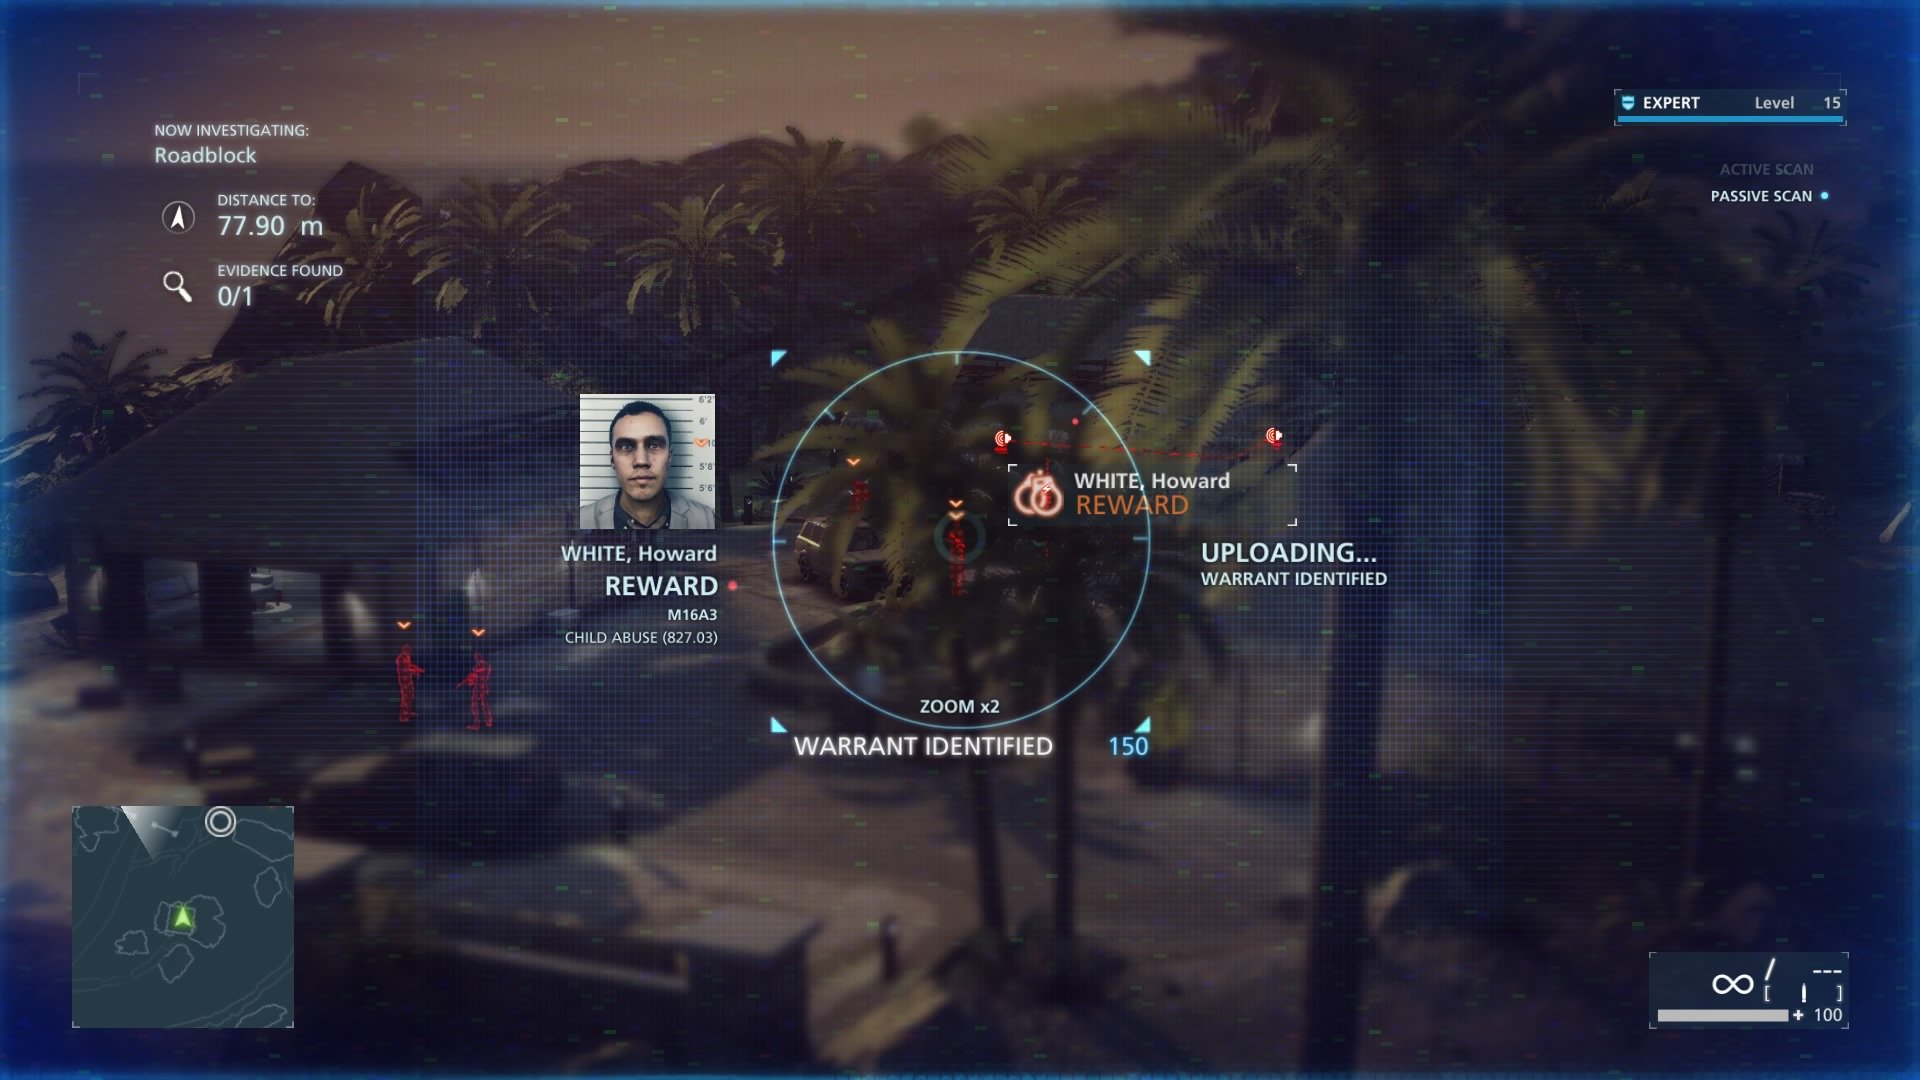
Wanted: Howard White
As you get to the roadblock, to the left is a tower. Climb it and survey the area and scan for Howie. The best way is to go around the right side of the compound and pick the enemies off one by one with a silenced weapon/tazer.
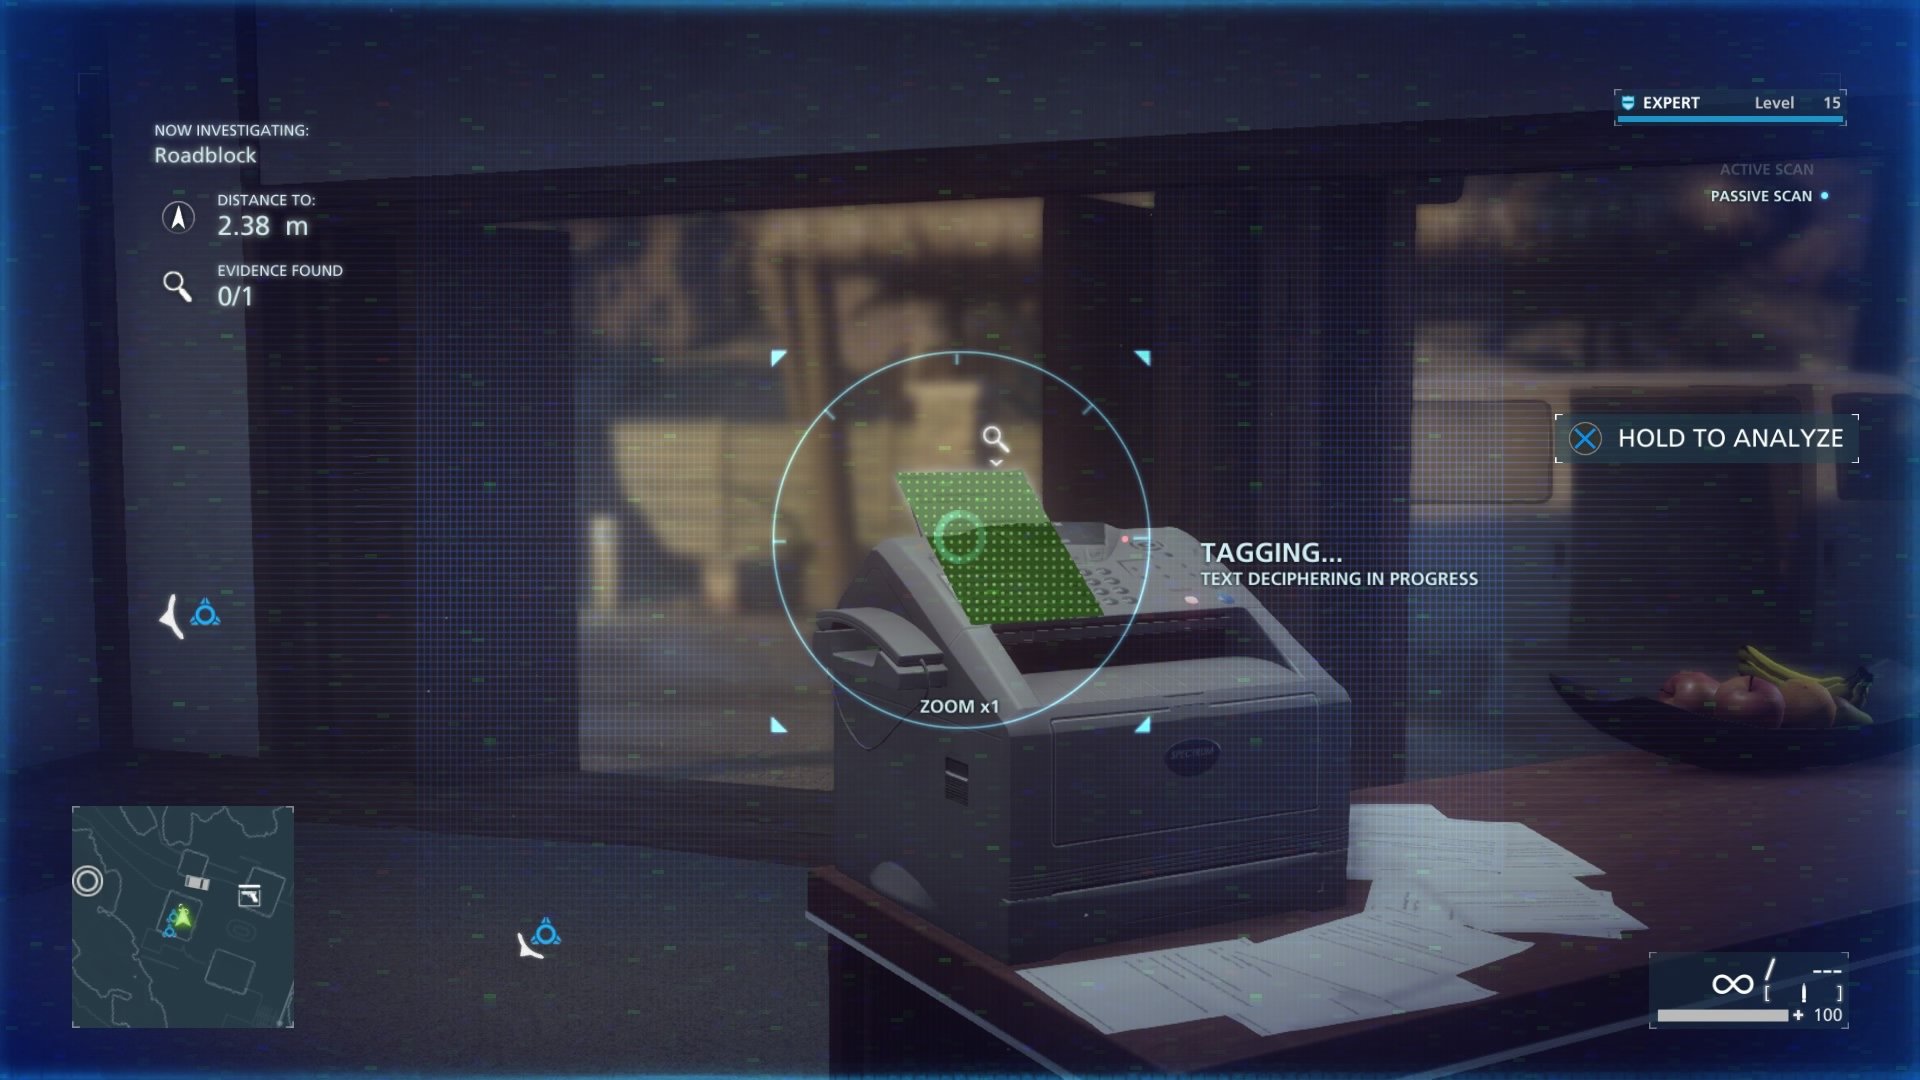
Preferred Outcomes #9 (Fax From Neil Roark)
In the back-most building that looks sort of like an office. It has a guy leaning against it. After you take him out go inside and the fax is laying on the printer/fax machine.
-This next part is dependent if you go left or right at the fork in the road. We went RIGHT for this guide and double backed to the left afterwards. As long as you don’t progress too far to the Helipad/Mansion you should be fine.-
Utility Complex
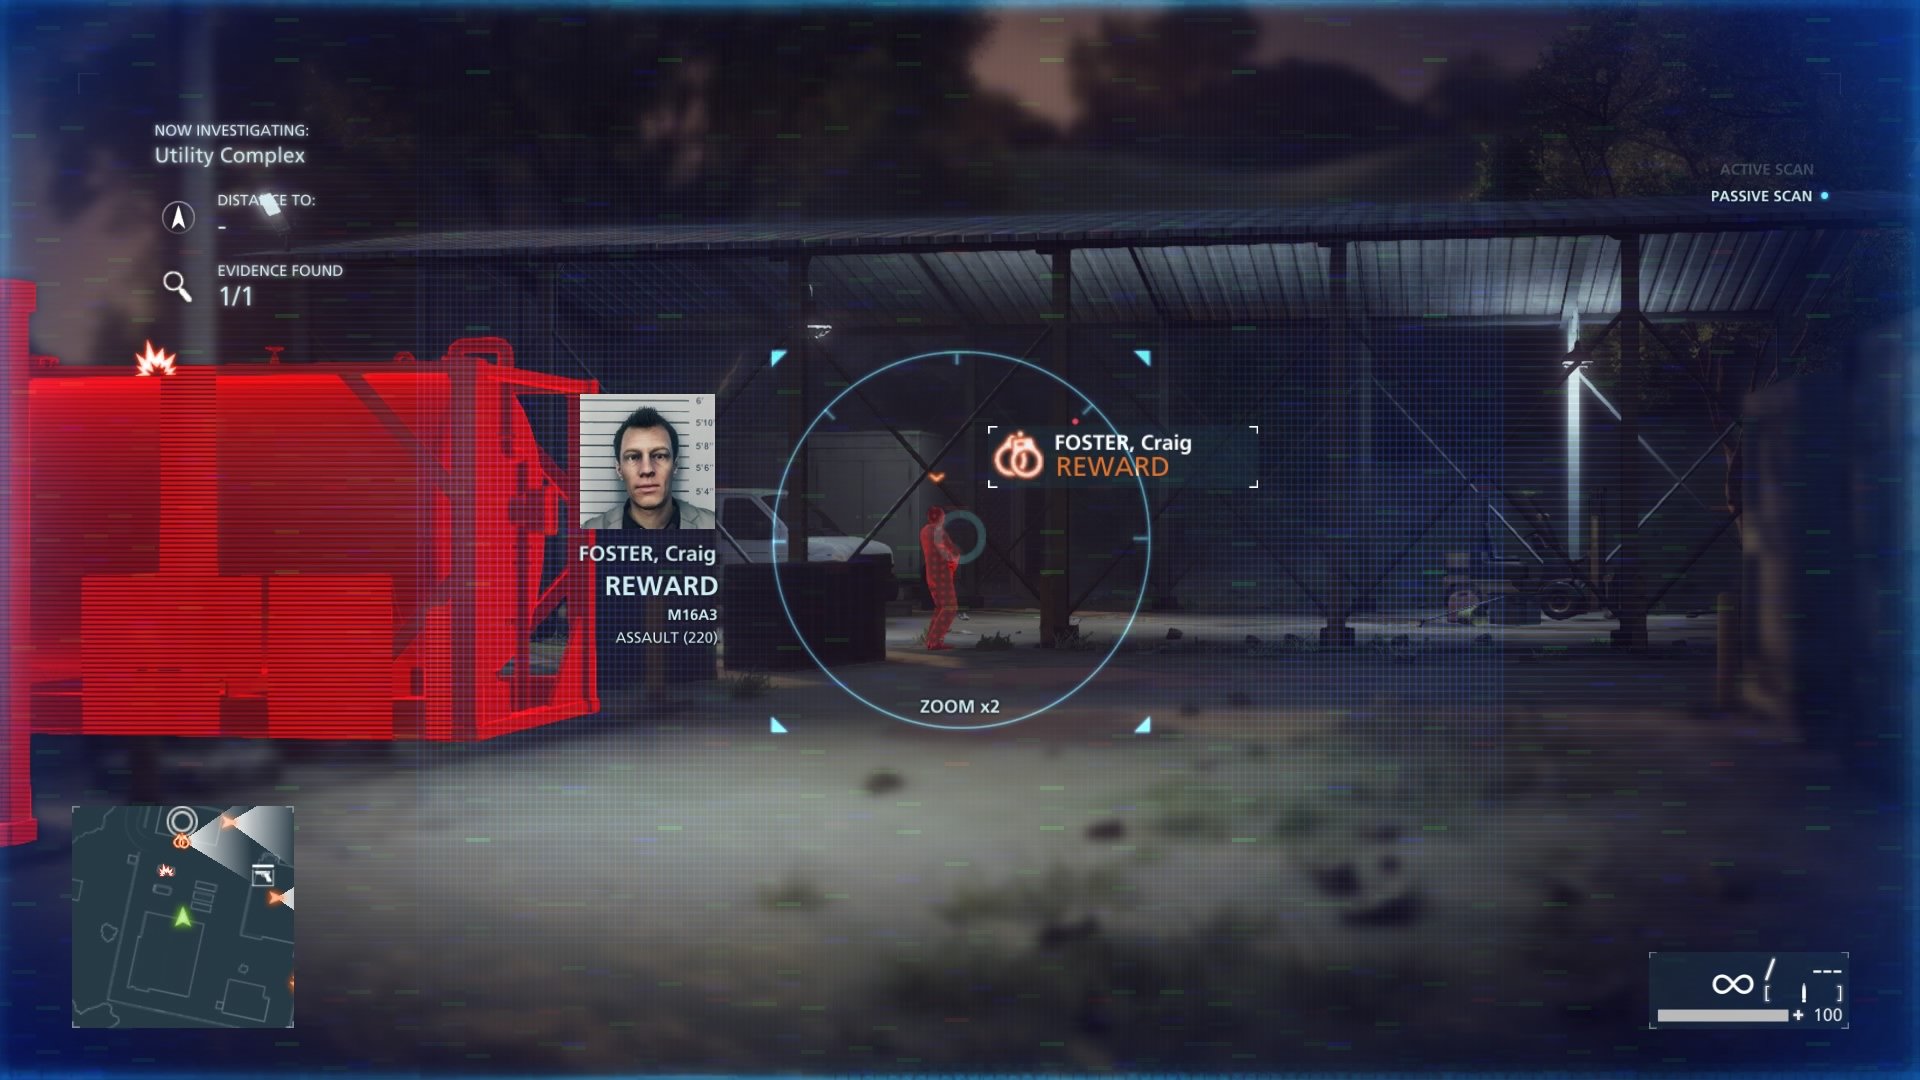
Wanted: Craig Foster
Craig hangs out in the back left of the utility complex, you will have to get in deep to even be able to scan him unless you got a damn good eye from the top of the tower. Sneak up and zap him.
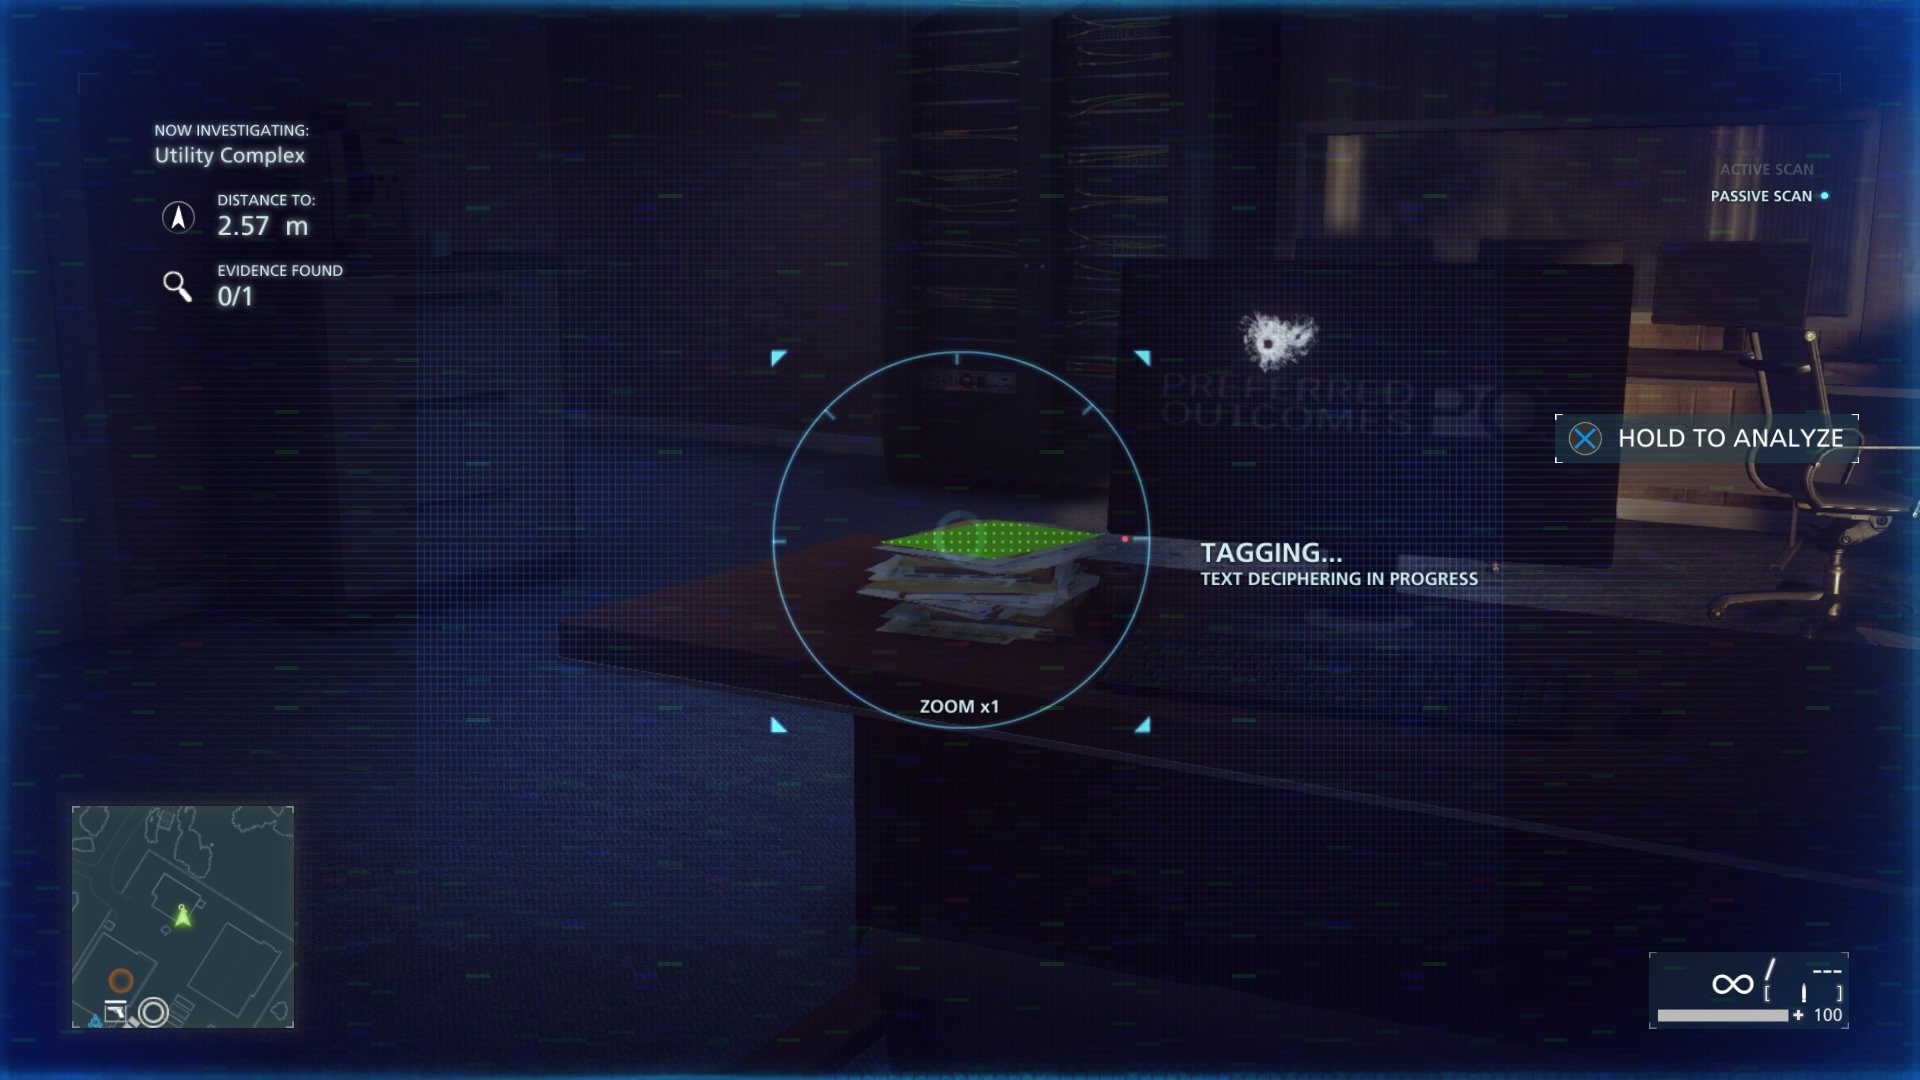
Preferred Outcomes #12 (Surveillance Log)
This is located inside the building near the front of the Utility Complex. It has a lone guy on top of it, and a few solar panels on it. It is on top of the pile of papers on the desk inside.
Cabanas
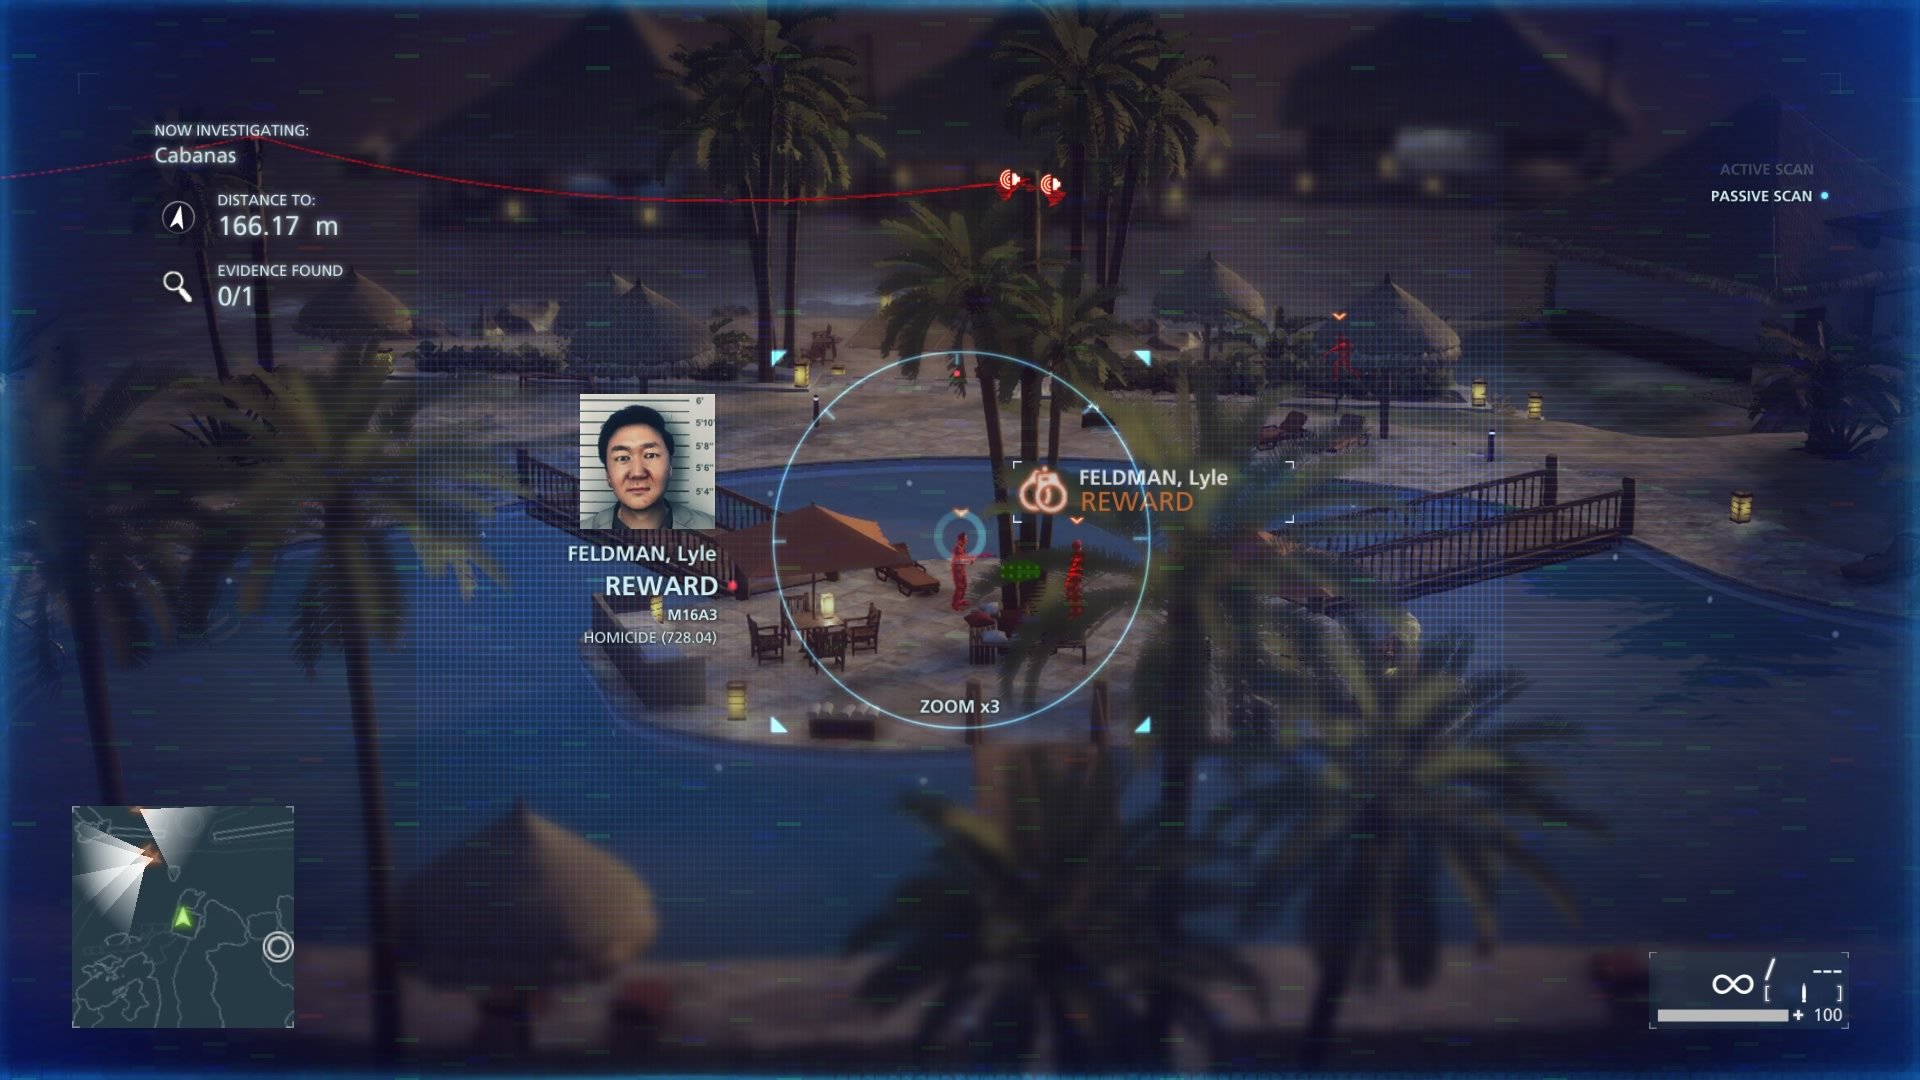
Wanted: Lyle Feldman
When you reach the cabanas area, there is a tower to the right. Get on it and scan the area. Lyle is in the center island talking to another goon. Scan him and prepare to kill a lot of dudes. I worked my way around the front end zapping everyone using bodies to lure enemies then flashed my badge at Lyle and his friend then took them downtown. That’s it, the final collected warrant.
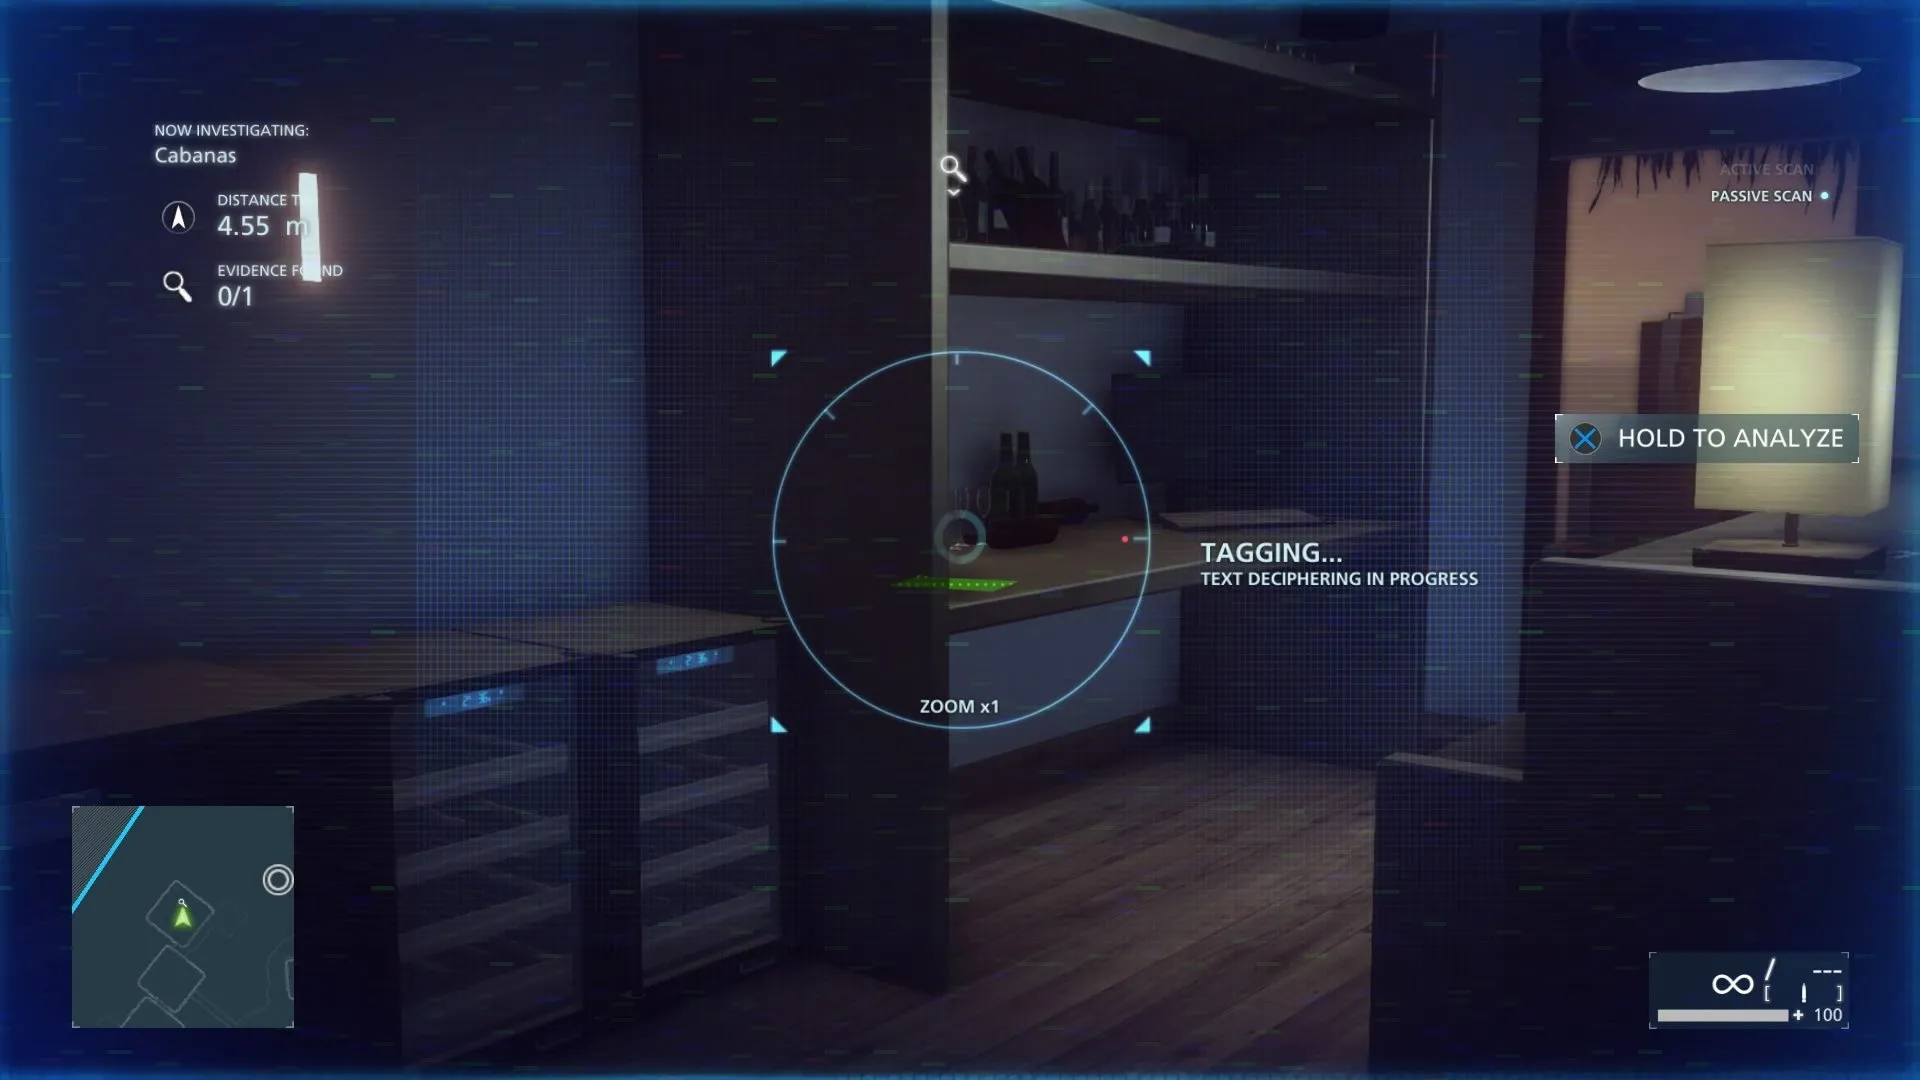
Preferred Outcomes #10 (Summons From The IRS)
This one is located on the water further out. When you go there you will see a dance floor in the center, go right and inside that small building is a bar. Behind the bar is the summons on a shelf.
Dawes’s Mansion
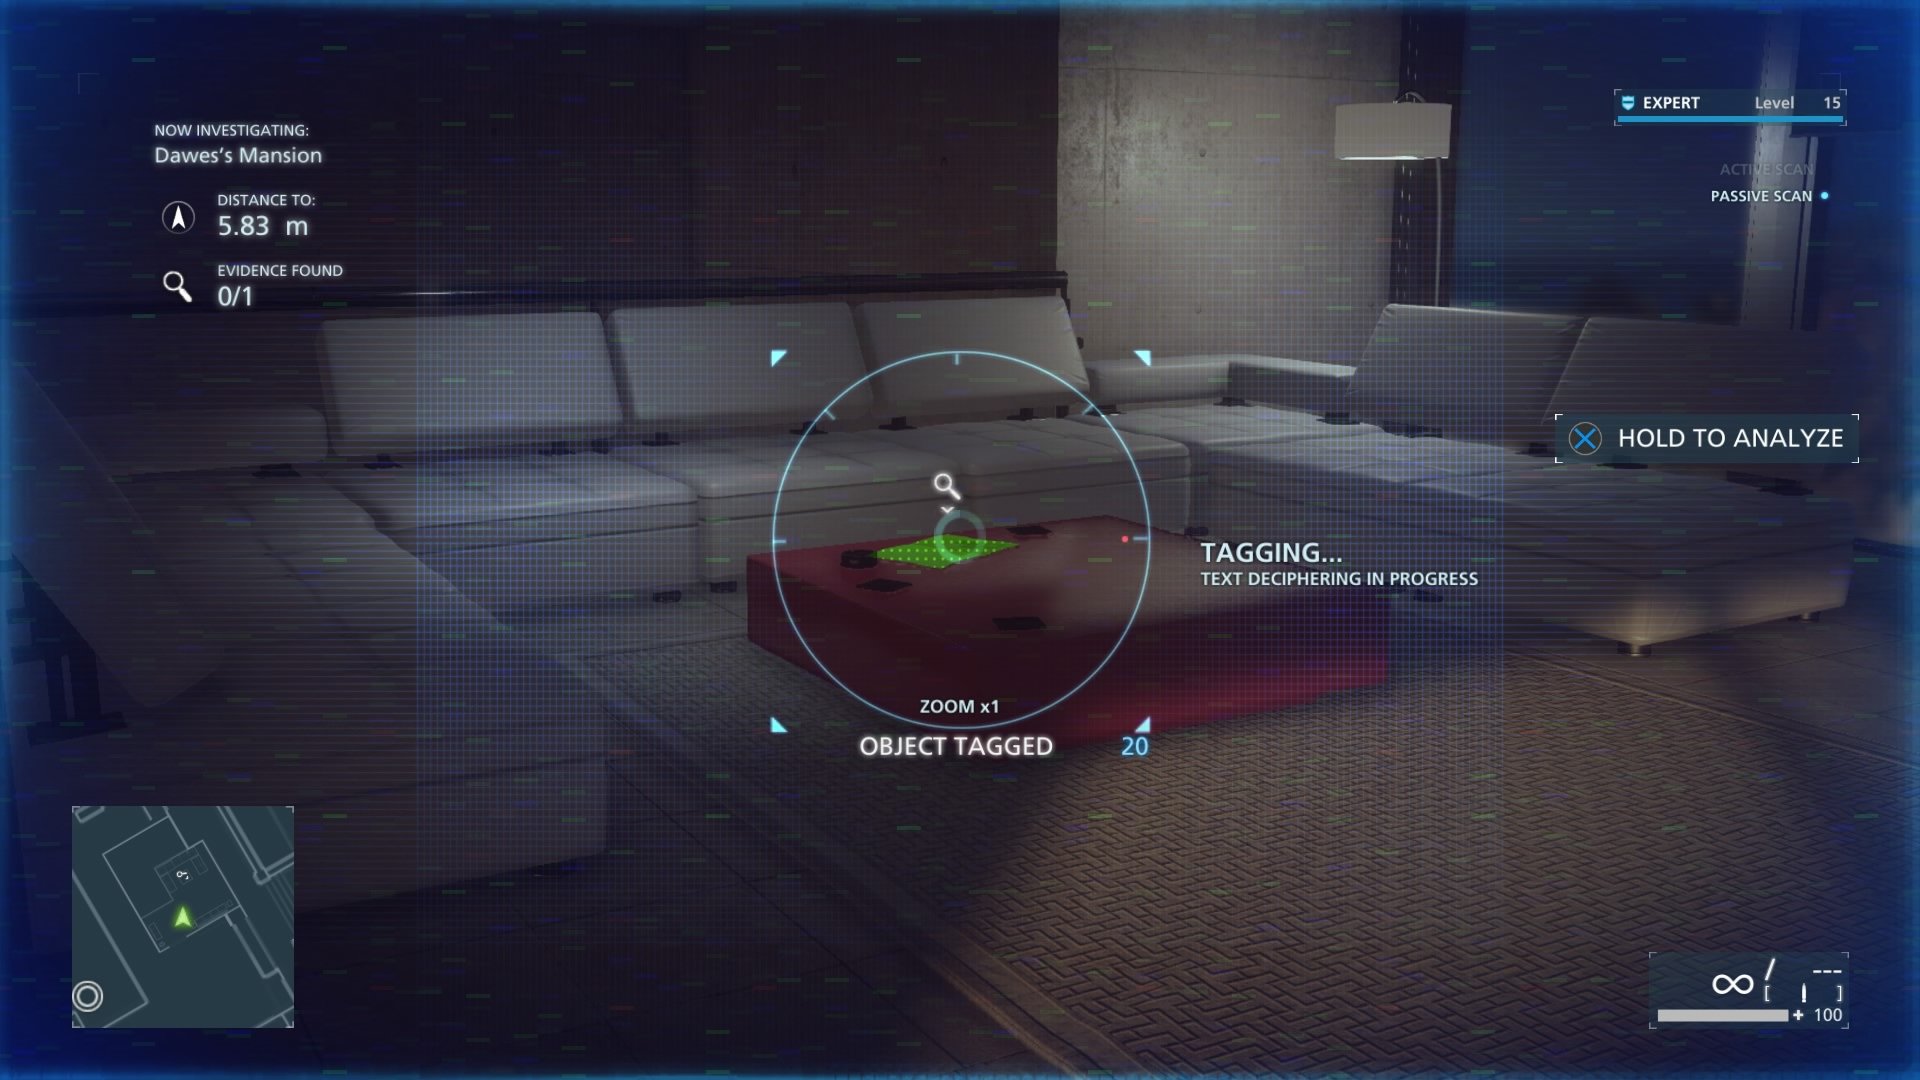
Preferred Outcomes #11 (Dossier On Cpt. Hector Mendoza)
On the third floor of the mansion (roof) is a glass room. Enter it and on the table in the center of the white couches is dossier. Scan it and you are done with all the evidence in the game.
That’s it for our Battlefield: Hardline guide pertaining to evidence and wanted criminals. Hope we helped you and you enjoyed the ride. Stay tuned for more great guides.







Published: Mar 23, 2015 09:41 pm