Battlefield: Hardline instead of laptops and files, has a wider array of ‘collectibles’ strewn about the game under the guise of evidence. Makes sense considering you take the role of a police officer. The cool thing is that when you enter the area your controller will vibrate near evidence. Including those on enemies that have warrants. Evidence is separated in this guide by case and evidence name and number as it appears in the game. Warrants are enemies that are thrown into the game to give the player an additional ‘collectible’ type of replay value to the levels. For more information check out our Battlefield: Hardline guide for Episode 1.
The following Battlefield: Hardline guide is for Episode 2: Checking Out, of the Battlefield: Hardline single-player campaign tailored to help you find the evidence and grab the wanted criminals in the second level. As the episodes get longer we break it down into sub-sections. These can be found on your scanner in the top left of the screen. It basically tells you the area of the episode you are in and it is helpful for pinning down warrants and evidence in certain areas, as it tells you how many are in that specific area. There are six pieces of evidence and two wanted suspects in Episode 2.
Laundry
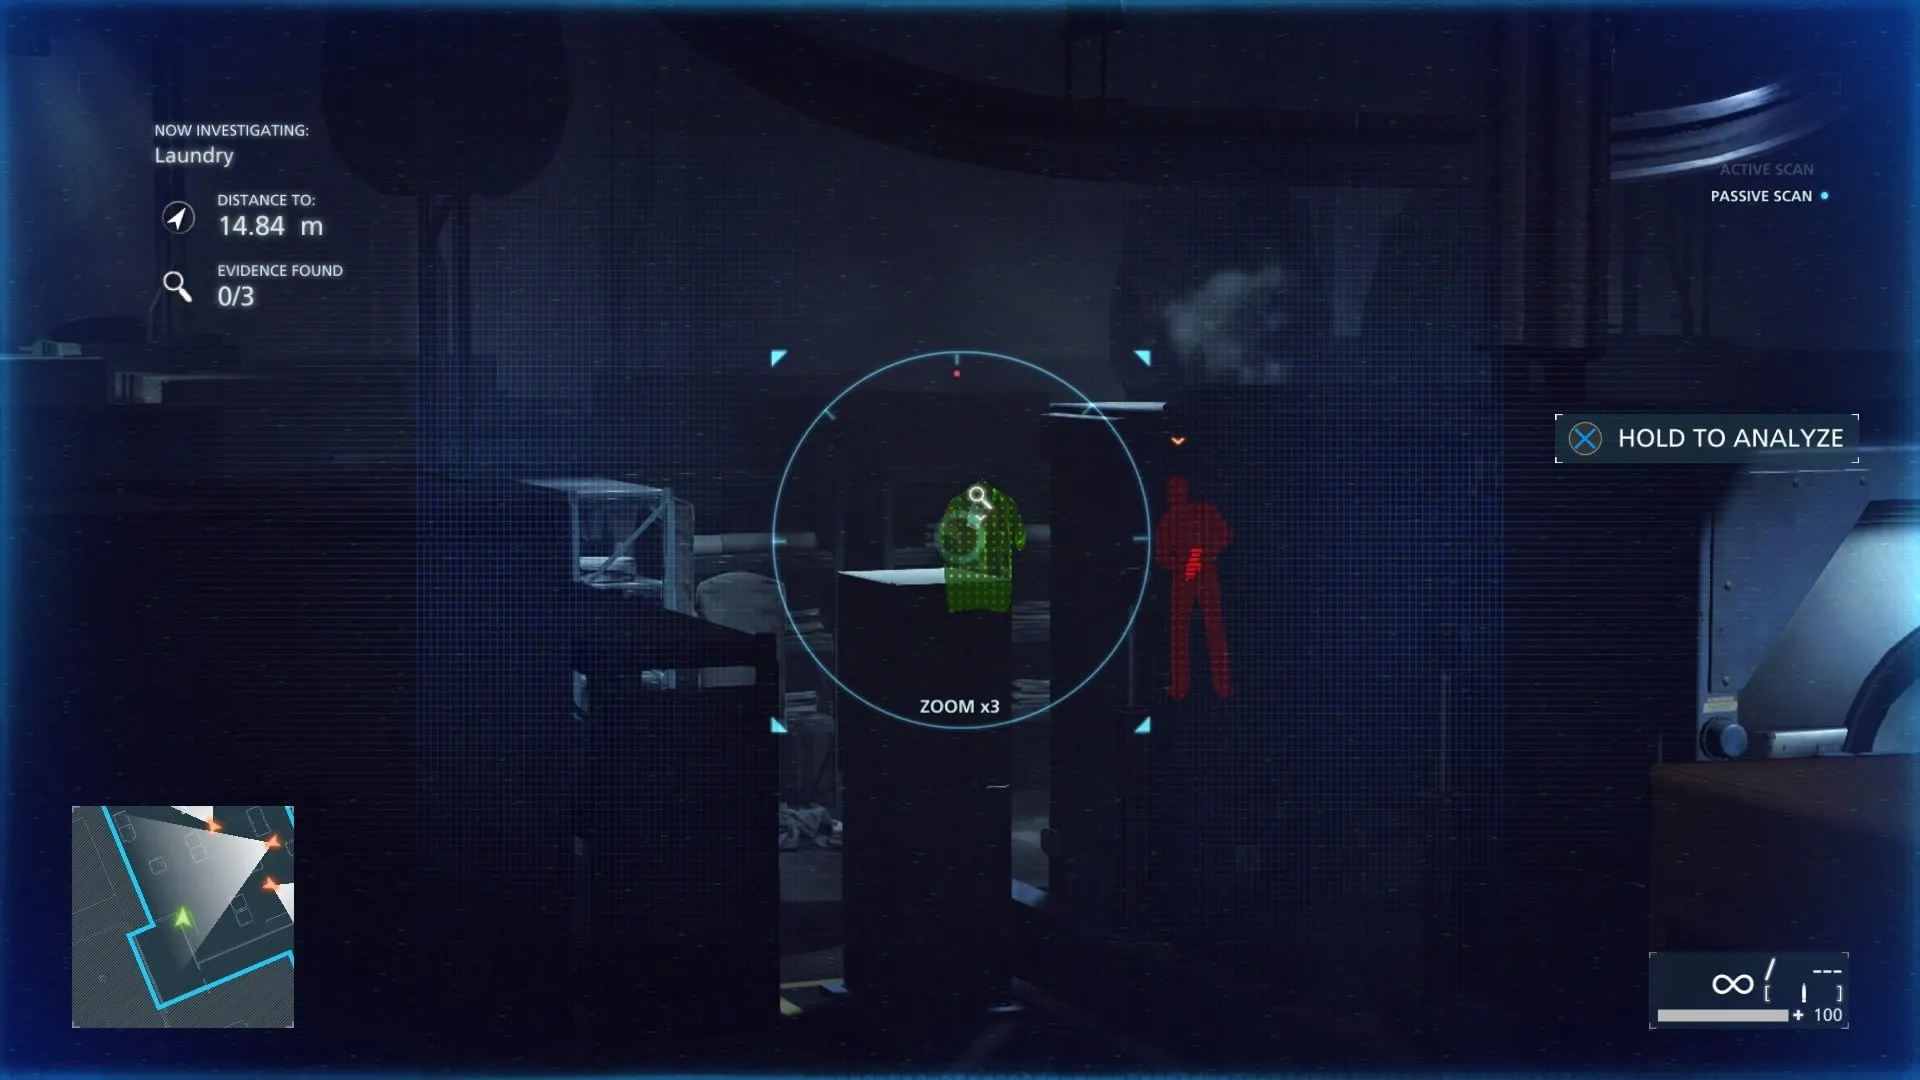
The Elmore Hotel Investigation- #1 (Care Instructions Memo)
When you first enter the main laundry room with all the guys in it. Stop, equip the scanner and look to your left. The Hawaiian shirt will highlight, scan it.
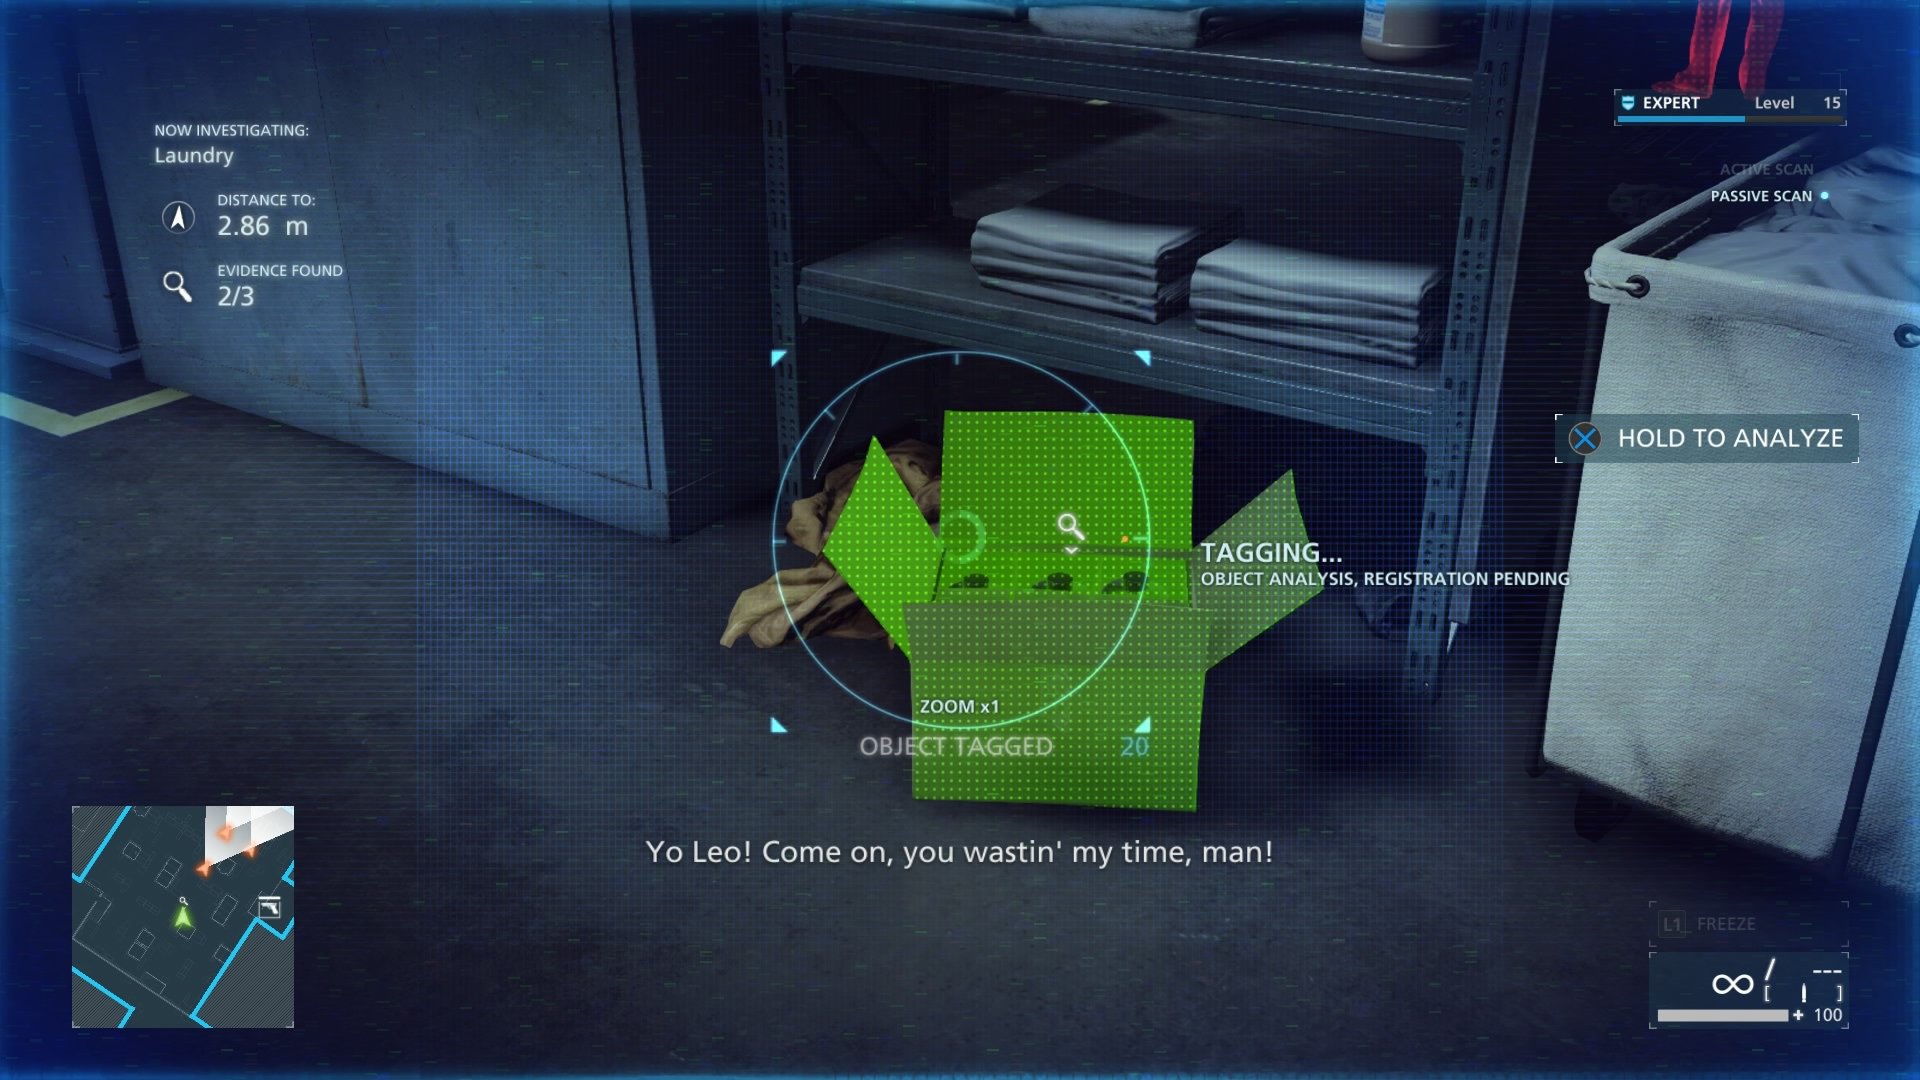
Hot Shot Supply Chain- #1 (Box Of Hot Shot)
In the middle of the room next to a laundry hamper. Look for a small open box.
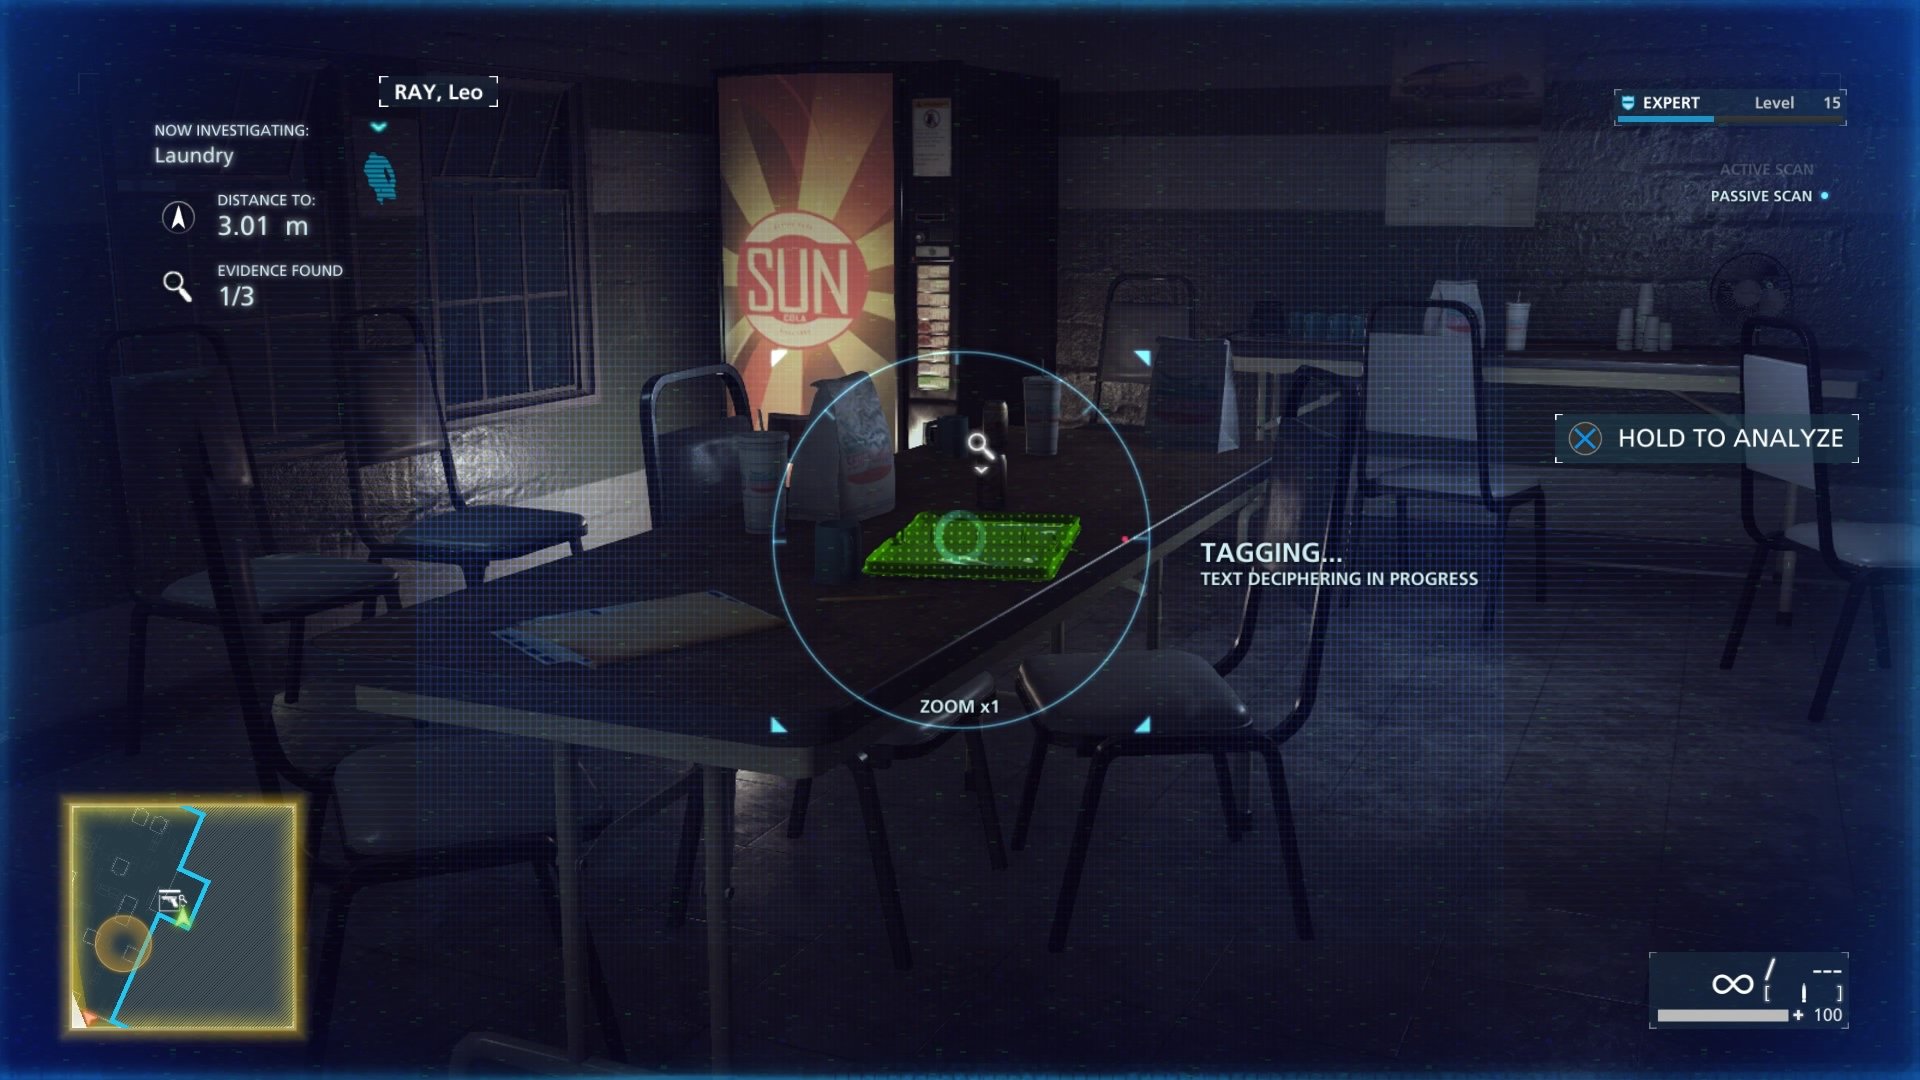
The Elmore Hotel Investigation- #2 (Drug Purchase List)
Inside a small break room across from this rooms entrance. Once inside it is on the table in the center of the room.
Lobby
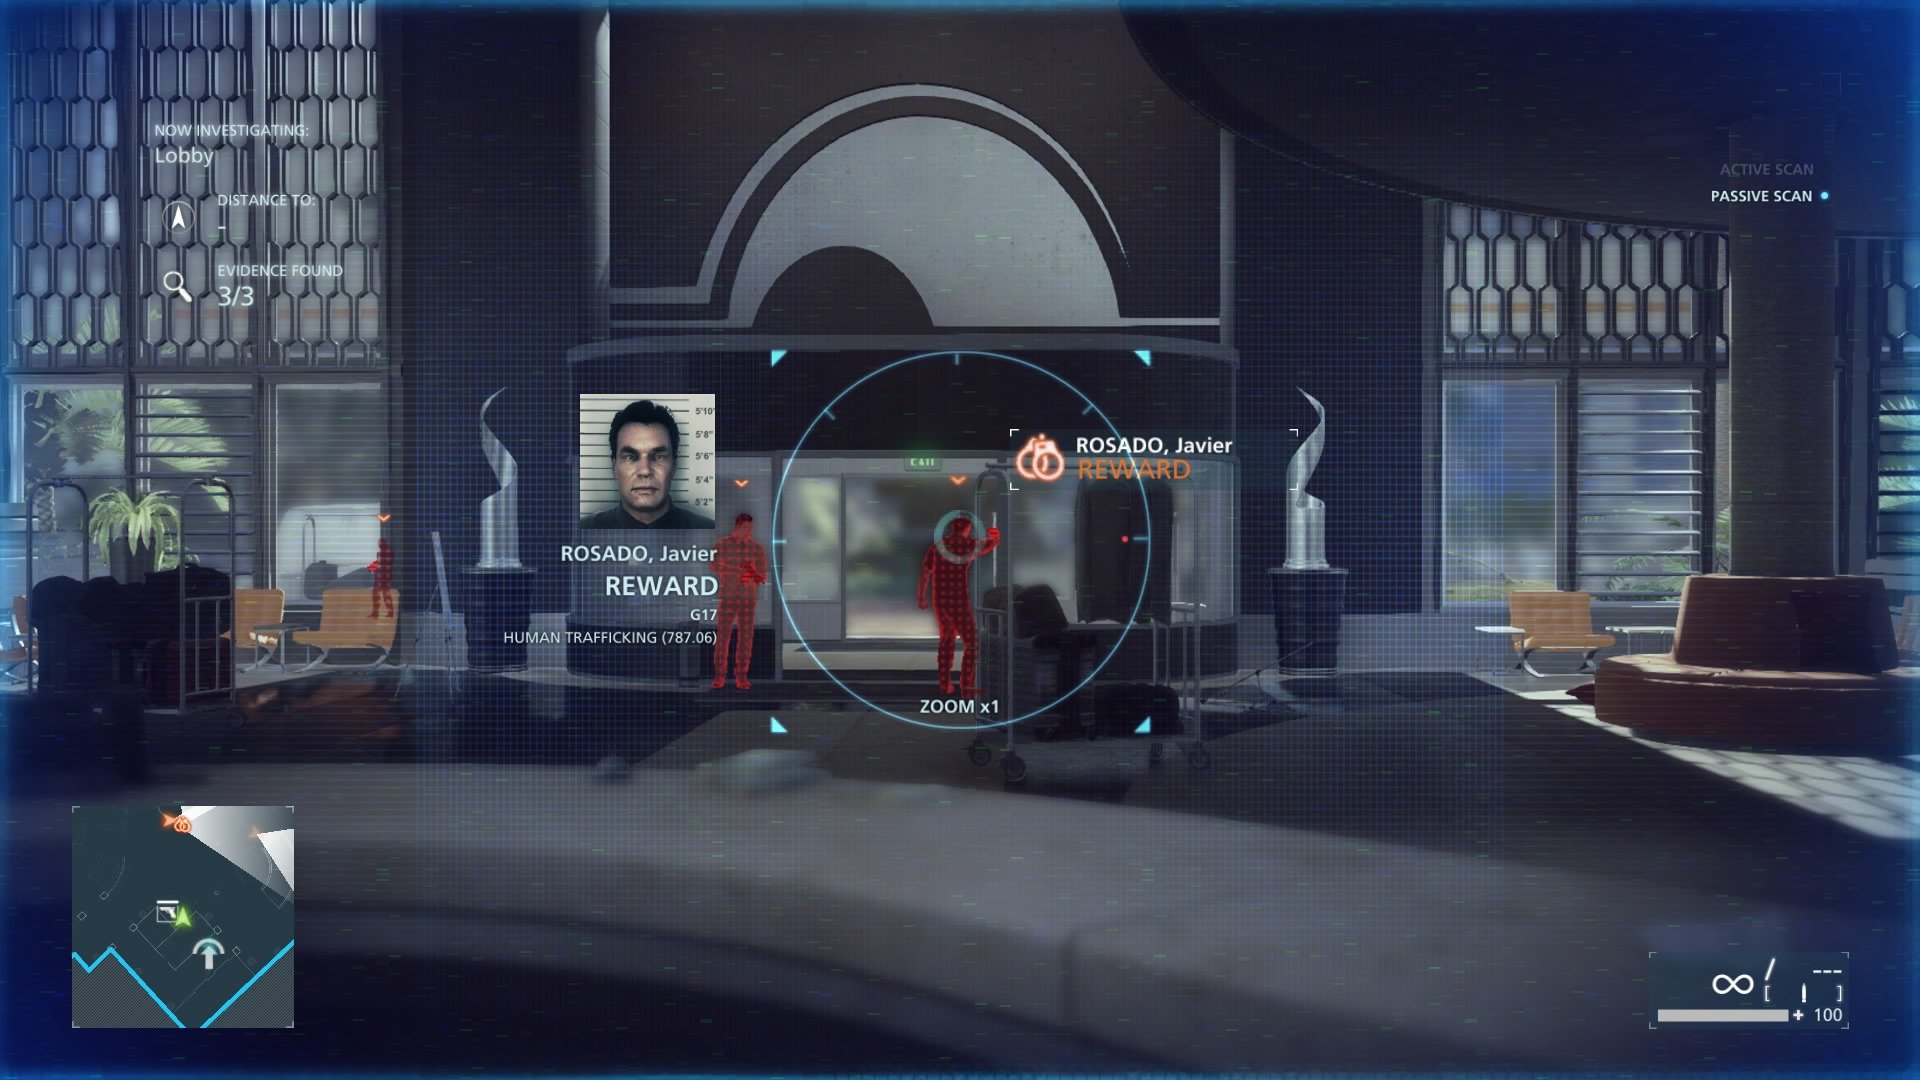
Wanted: Javier Rosado
When you enter the lobby you will see two guys guarding the main entrance to the lobby out front facing outside as lookouts. Javier is the one on the right. Take him out, best way is to flash your badge then arrest Javier first.
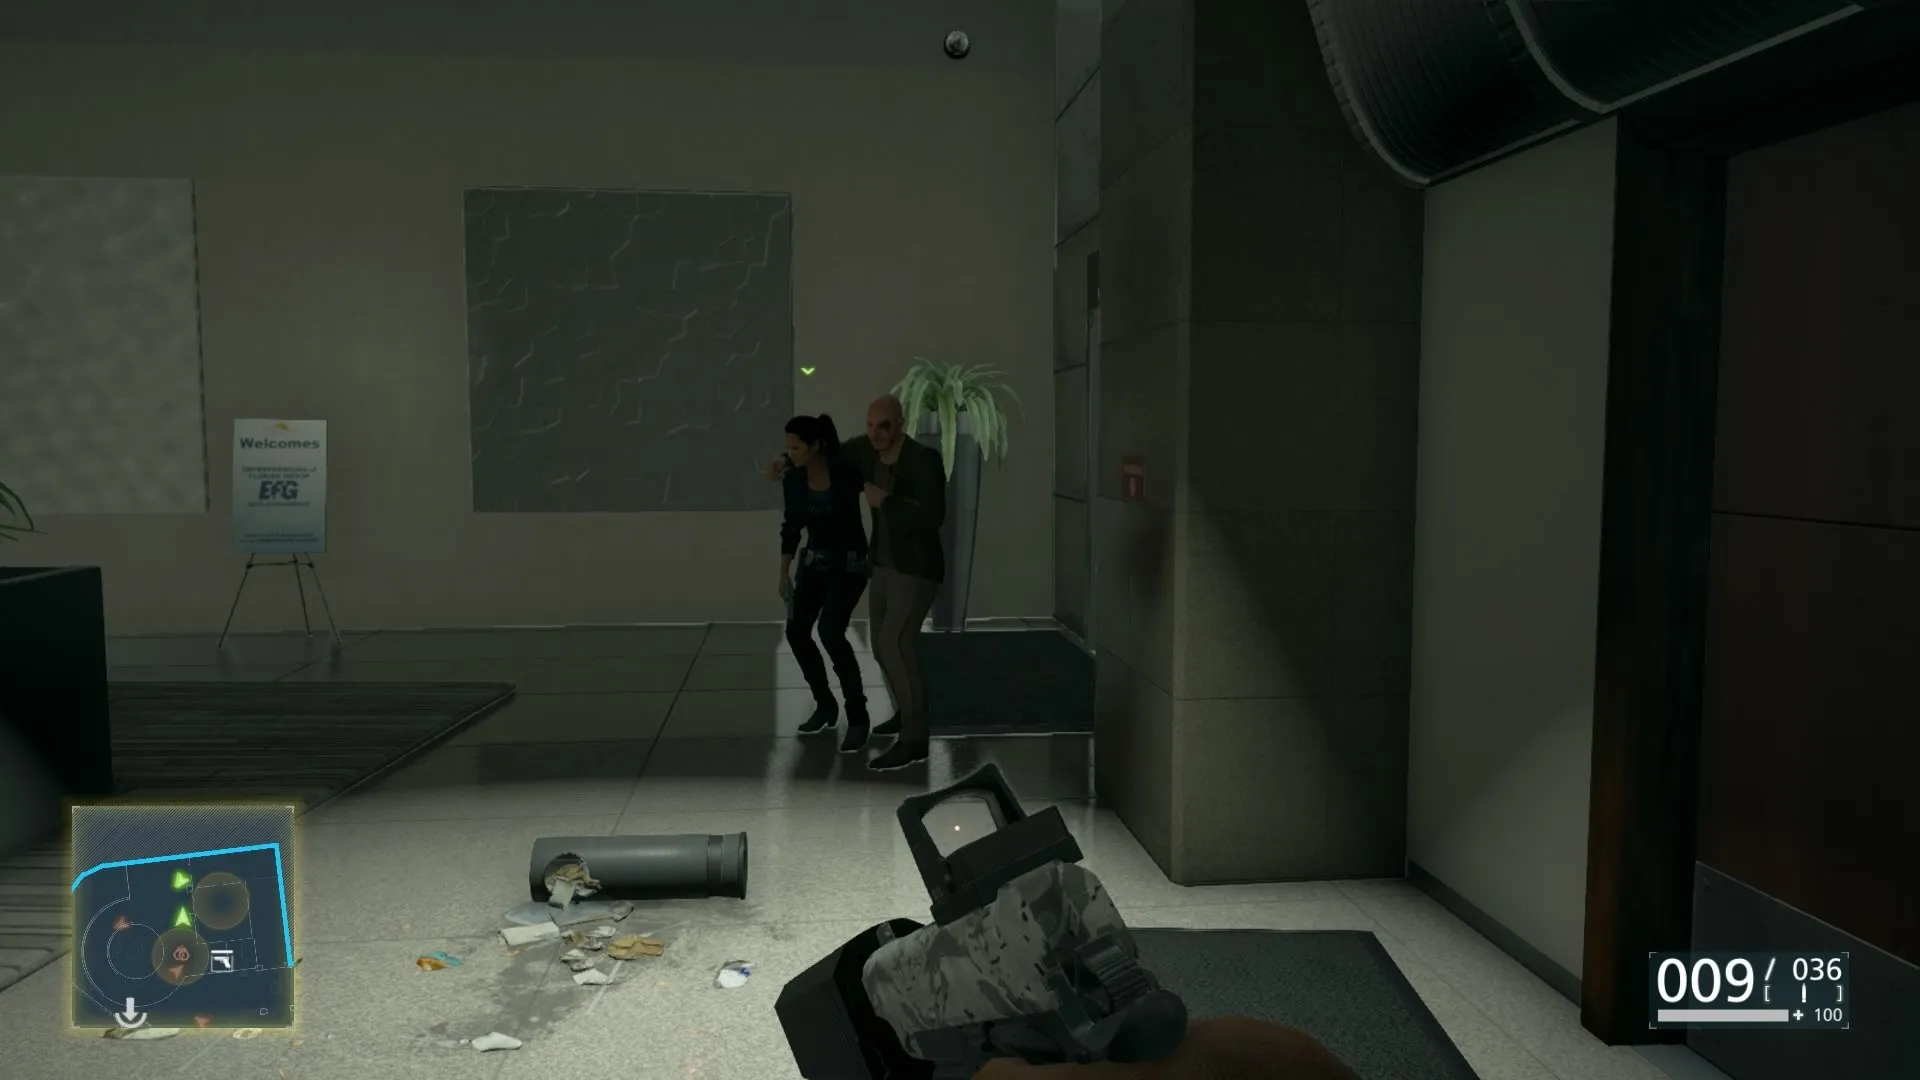
The Elmore Hotel Investigation- #3 (Vial Of Hot Shot)
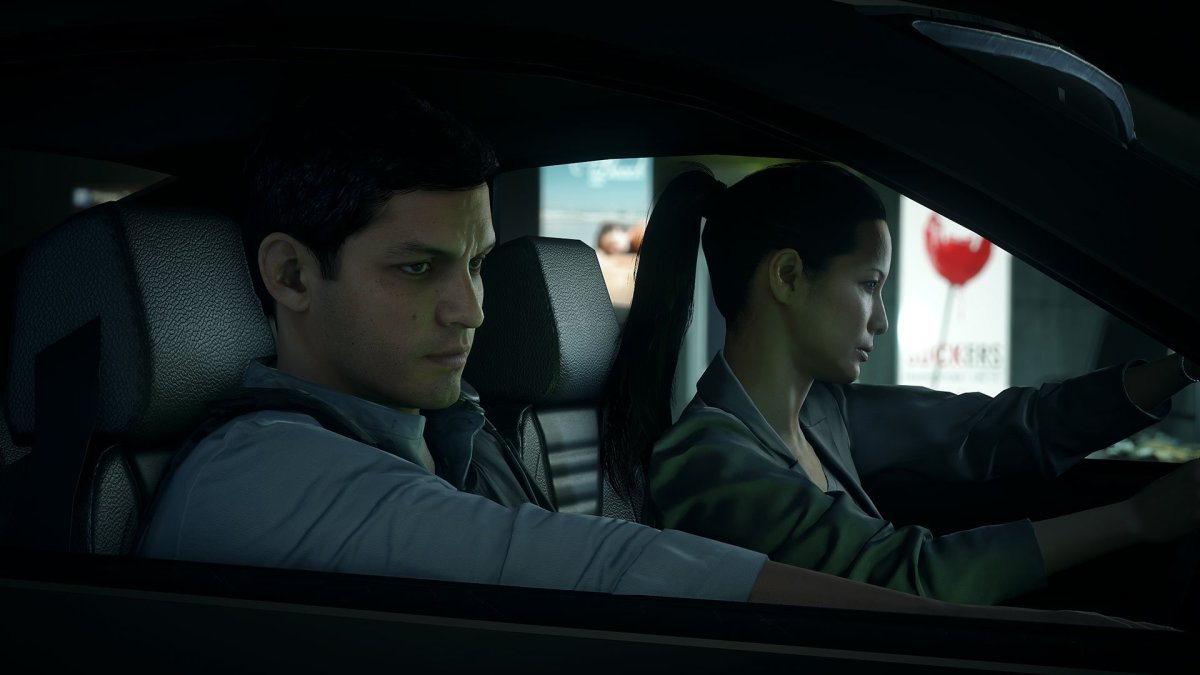
Located on Javier Rosado once you take him out for his arrest warrant. Simply search his body and it is yours. (Since this one was an easy one, and on the body, unless you already got it. We decided to include a nice piture of your partner and Leo.)
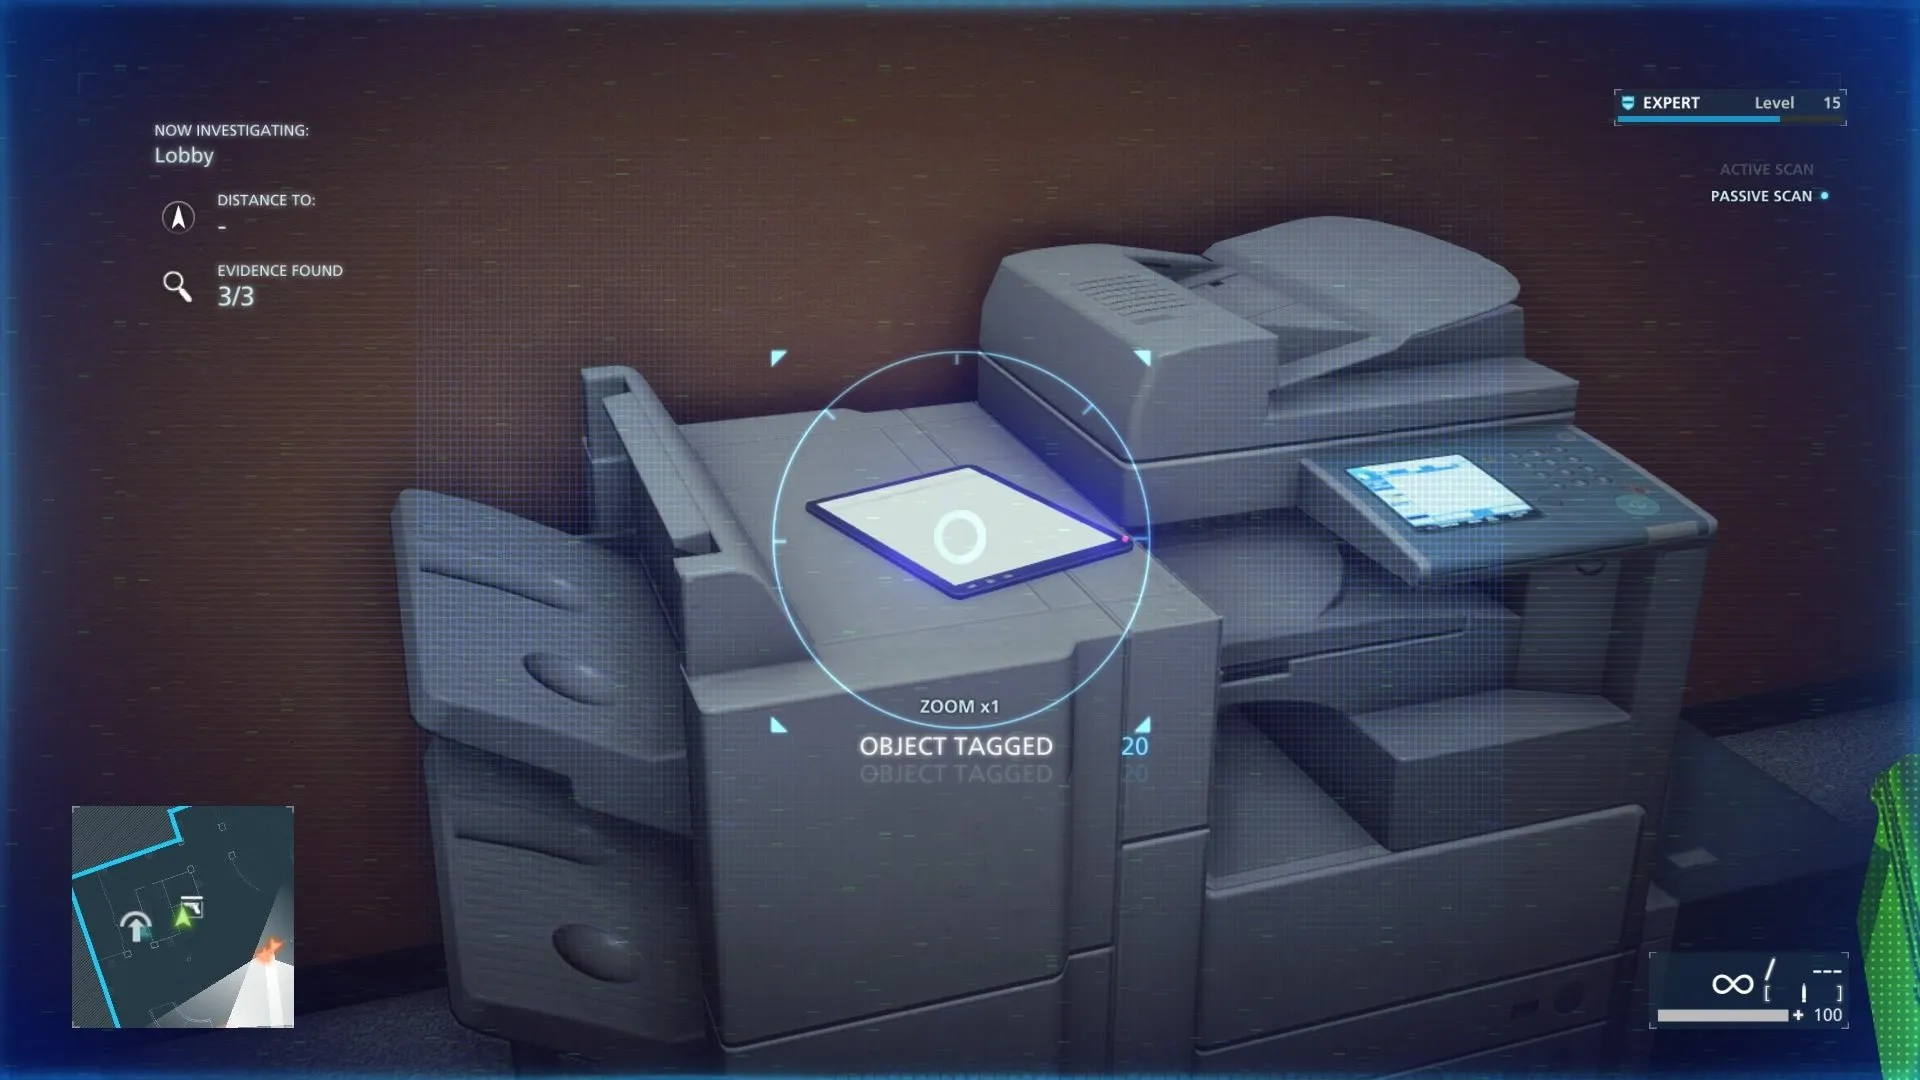
The Elmore Hotel Investigation- #4 (Tablet With IM Client)
Next to the tactical gear box, on top of the printer on the left. Scan it and it’s yours.
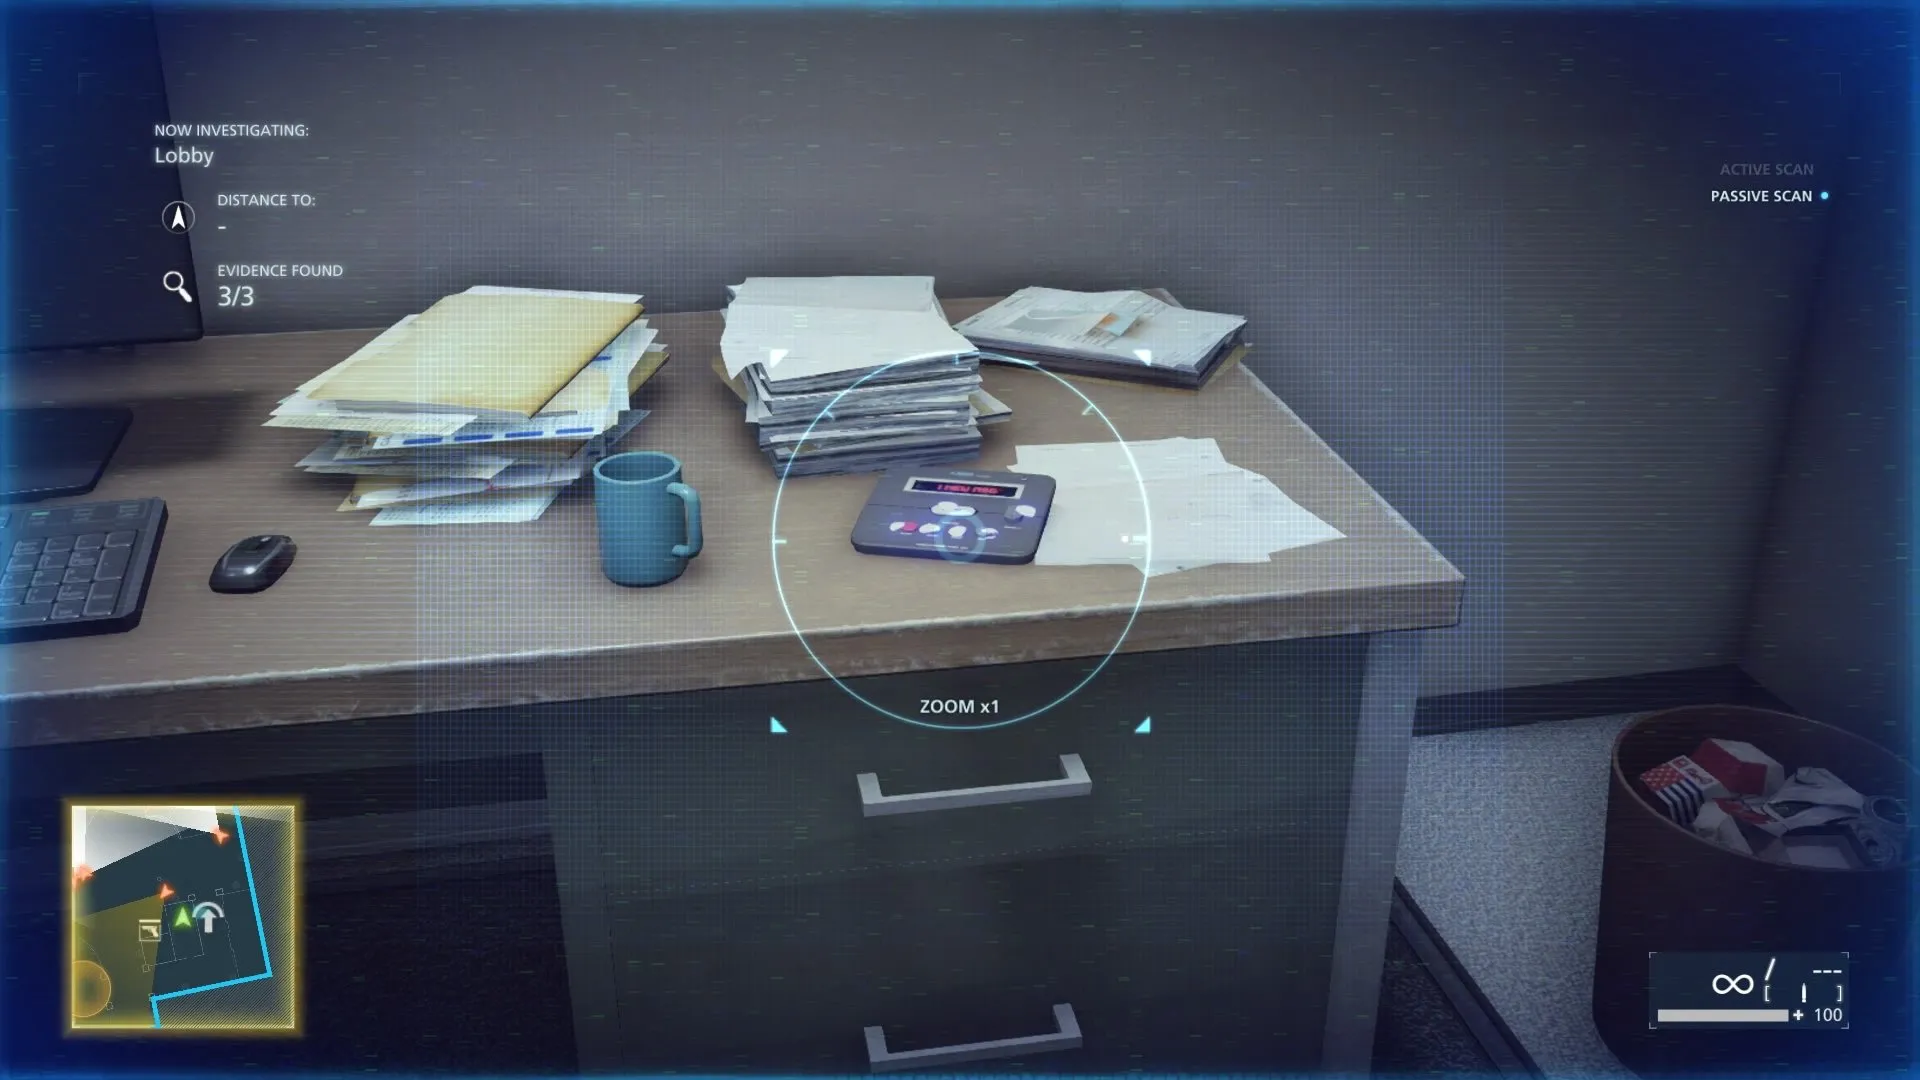
The Elmore Hotel Investigation- #5 (Answering Machine)
Inside the room in the center of the lobby. There is an answering machine on the desk, scan it and that is the final piece of evidence in this episode.
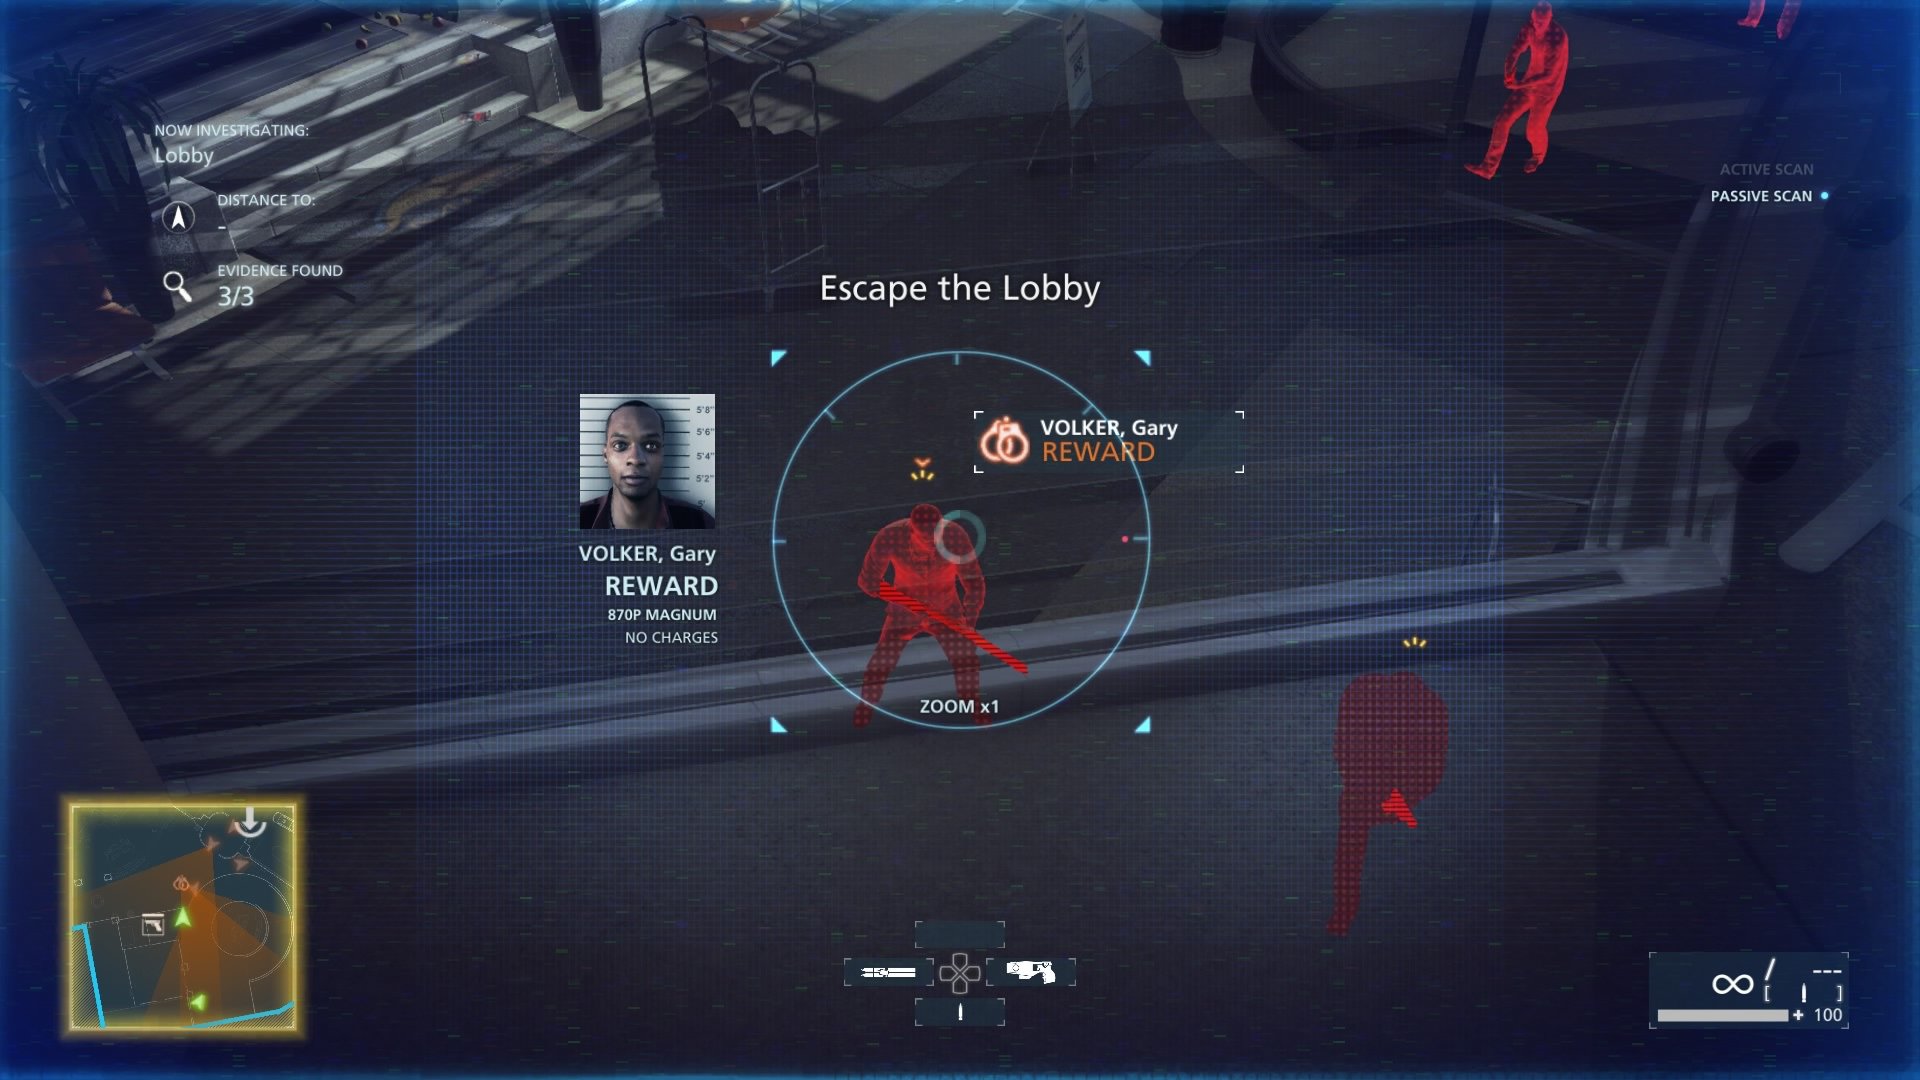
Wanted: Gary Volker
When you are told to extract and the enemies start to come in the lobby, scan them all. Gary is the one who goes underneath the stairs. Find a quick way down, if you wait too long he starts to go up the stairs to search the upper level where you and your partner are. Tazing him is the best option in this situation as it is both quick, and quiet.
That is all for Episode 2: Checking Out, feel free to move onto the next part of our Battlefield: Hardline guide in Episode 3: Gator Bait for more collectibles.





Published: Mar 23, 2015 03:27 am