Battlefield: Hardline instead of laptops and files, has a wider array of ‘collectibles’ strewn about the game under the guise of evidence. Makes sense considering you take the role of a police officer. The cool thing is that when you enter the area your controller will vibrate near evidence. Including those on enemies that have warrants. Evidence is separated in this guide by case and evidence name and number as it appears in the game. Warrants are enemies that are thrown into the game to give the player an additional ‘collectible’ type of replay value to the levels. For more information check out our Battlefield: Hardline guide for Episode 1. If you need help with Episode 7: Glass Houses, we have that too.
The following Battlefield: Hardline guide is for Episode 8: Sovereign Land, of the Battlefield: Hardline single-player campaign tailored to help you find the evidence and grab the wanted criminals in the third level. As the episodes get longer we break it down into sub-sections. These can be found on your scanner in the top left of the screen. It basically tells you the area of the episode you are in and it is helpful for pinning down warrants and evidence. There are nine pieces of evidence and one suspect to apprehend in Episode 8: Sovereign Land.
Trailer Park
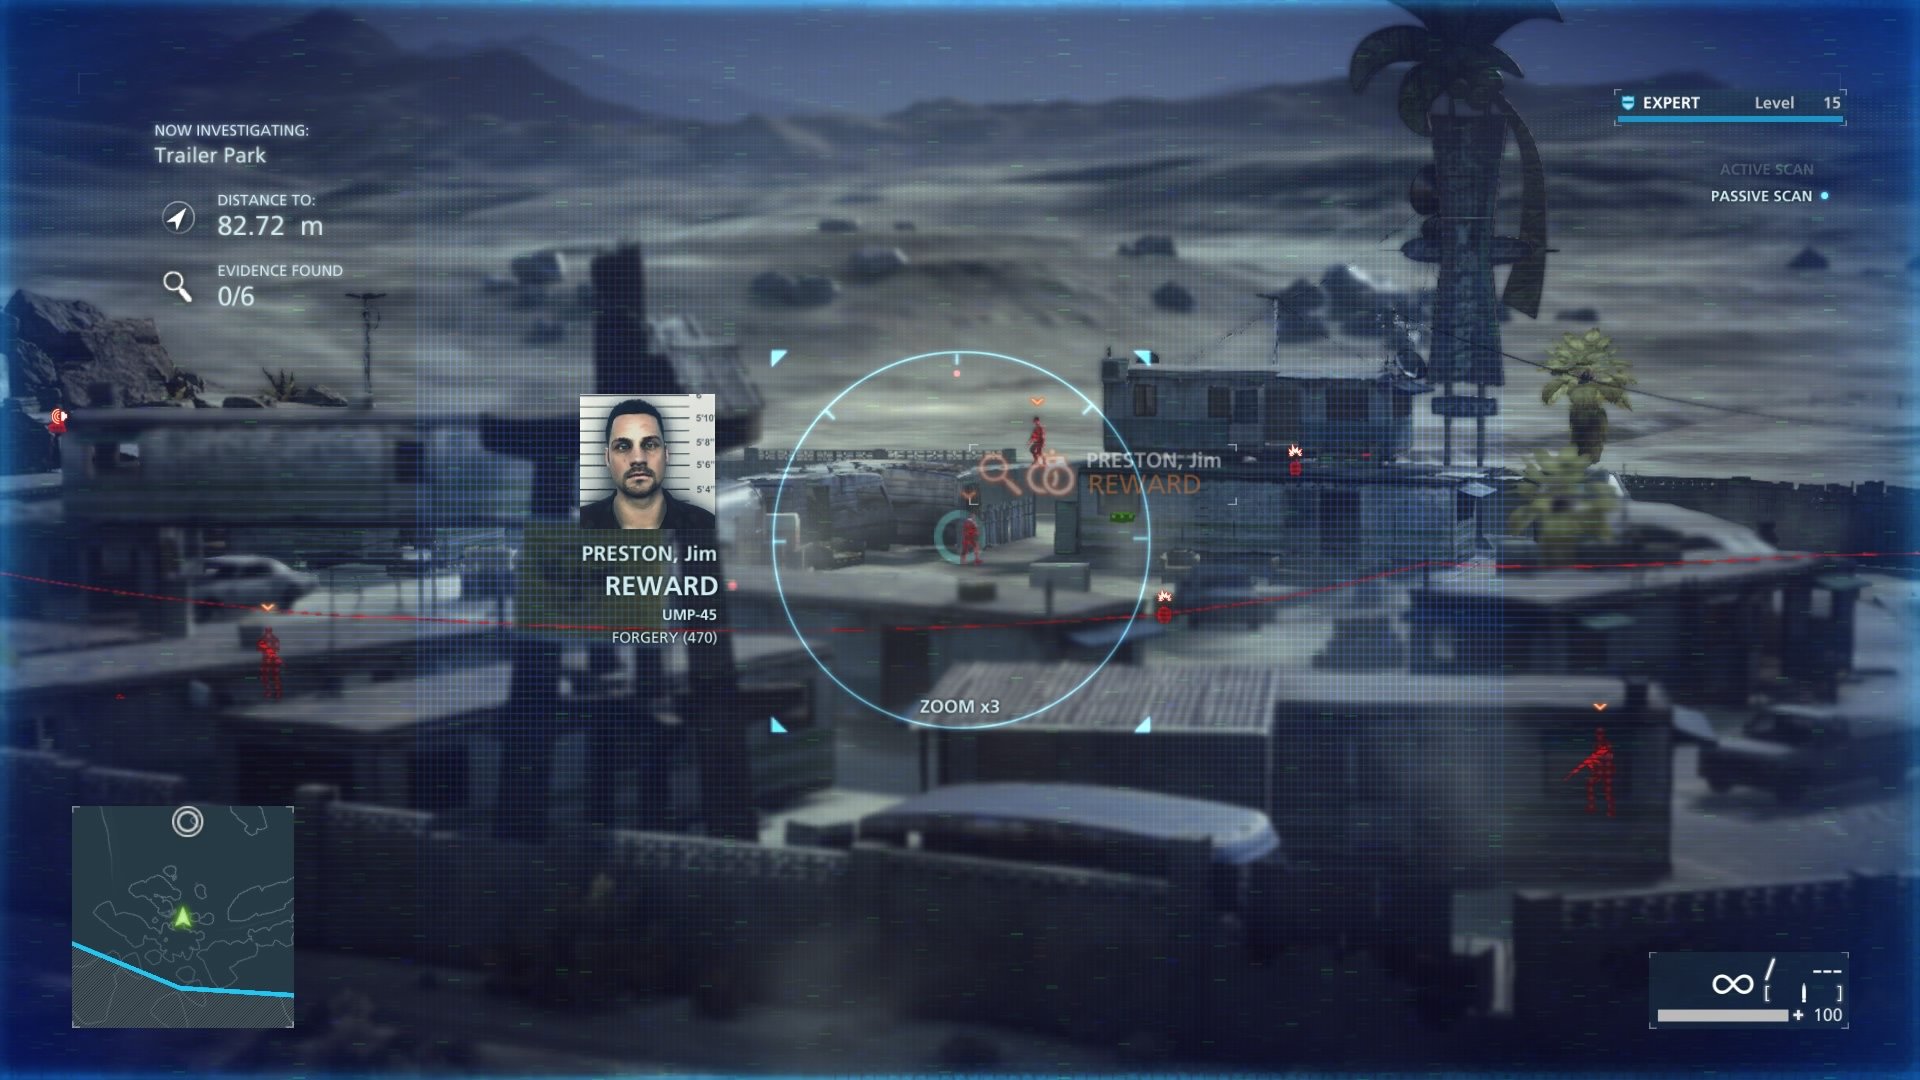
Wanted: Jim Preston
You will see Jim as soon as you escape the Silo. He’s walking around the trailer park. This one is completely up to the player since there are multiple paths inside the trailer park and ways to maneuver around to him. Just remember, when it gets tough, taze ‘em.
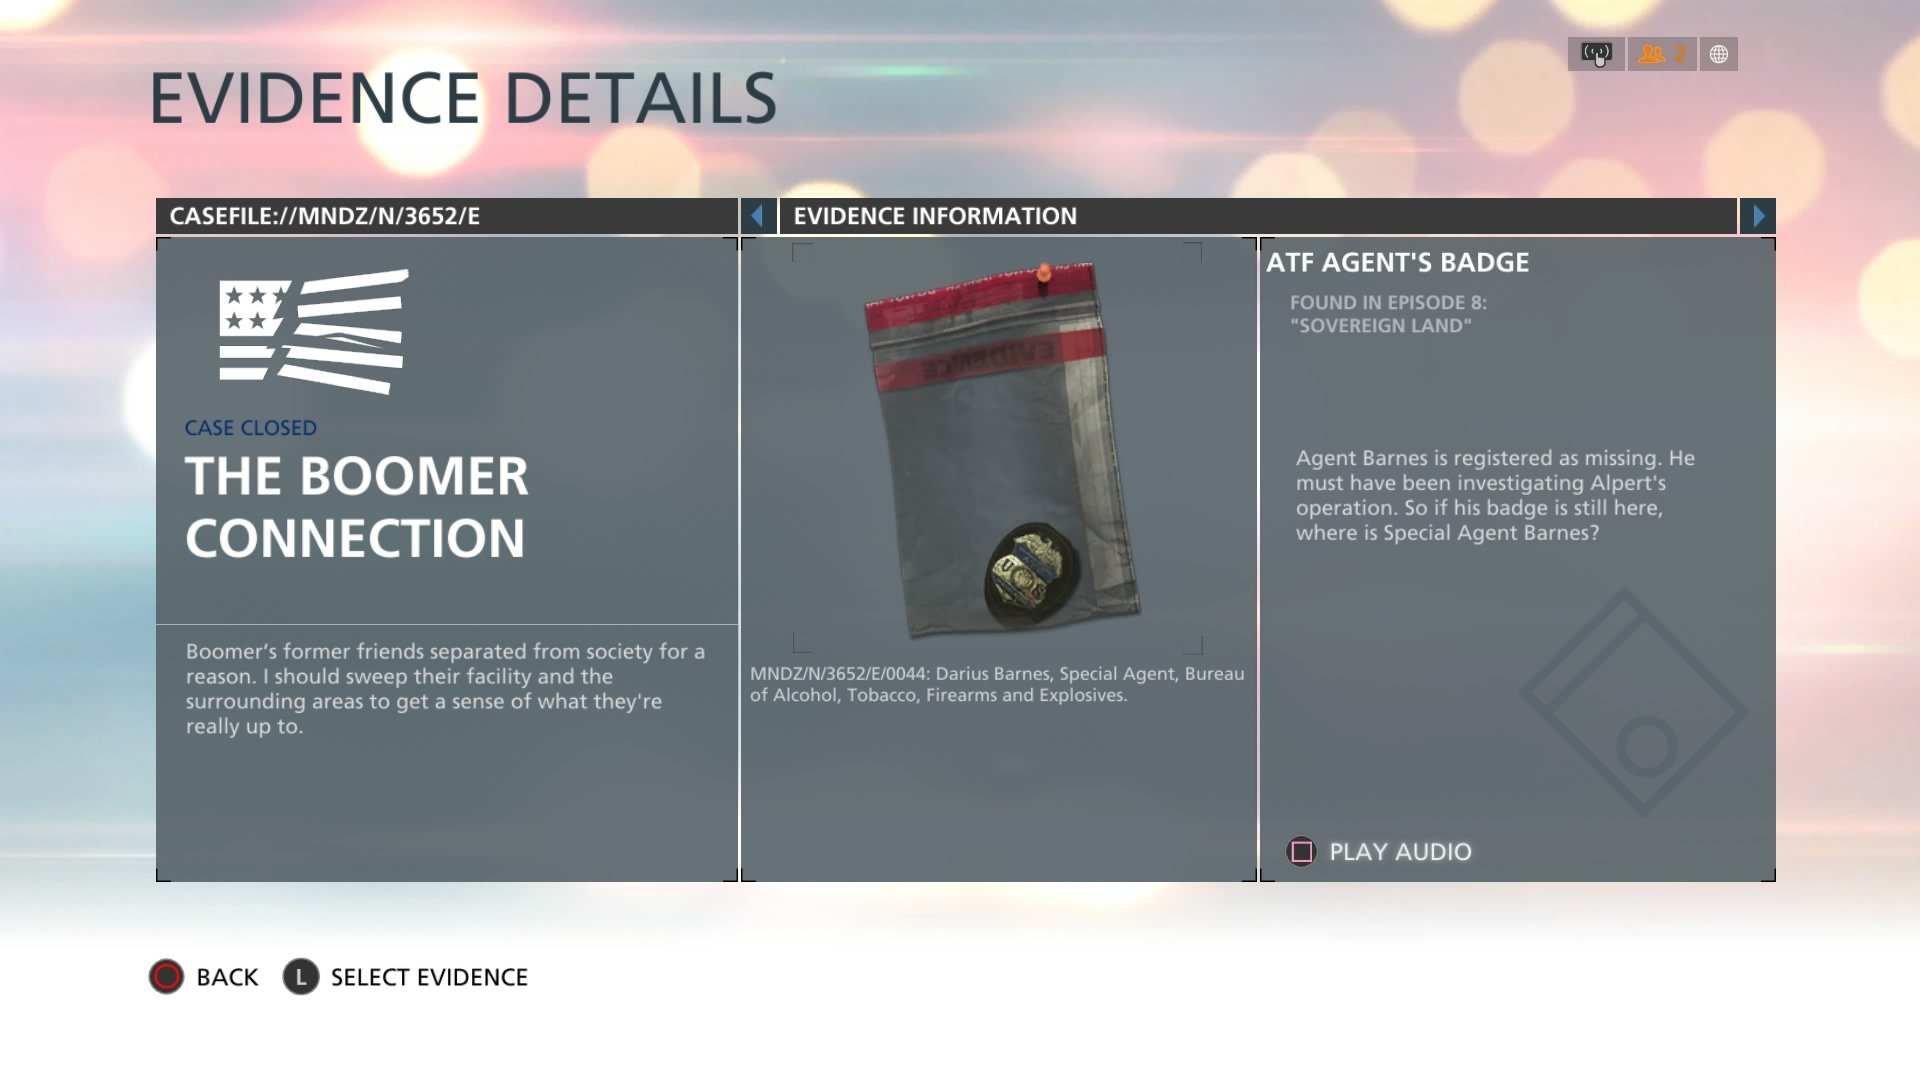
The Boomer Connection # (ATF Agent’s Badge)
This piece of evidence is on Jim Preston. Take him out via tazer or knock-out and this is yours after searching his body.
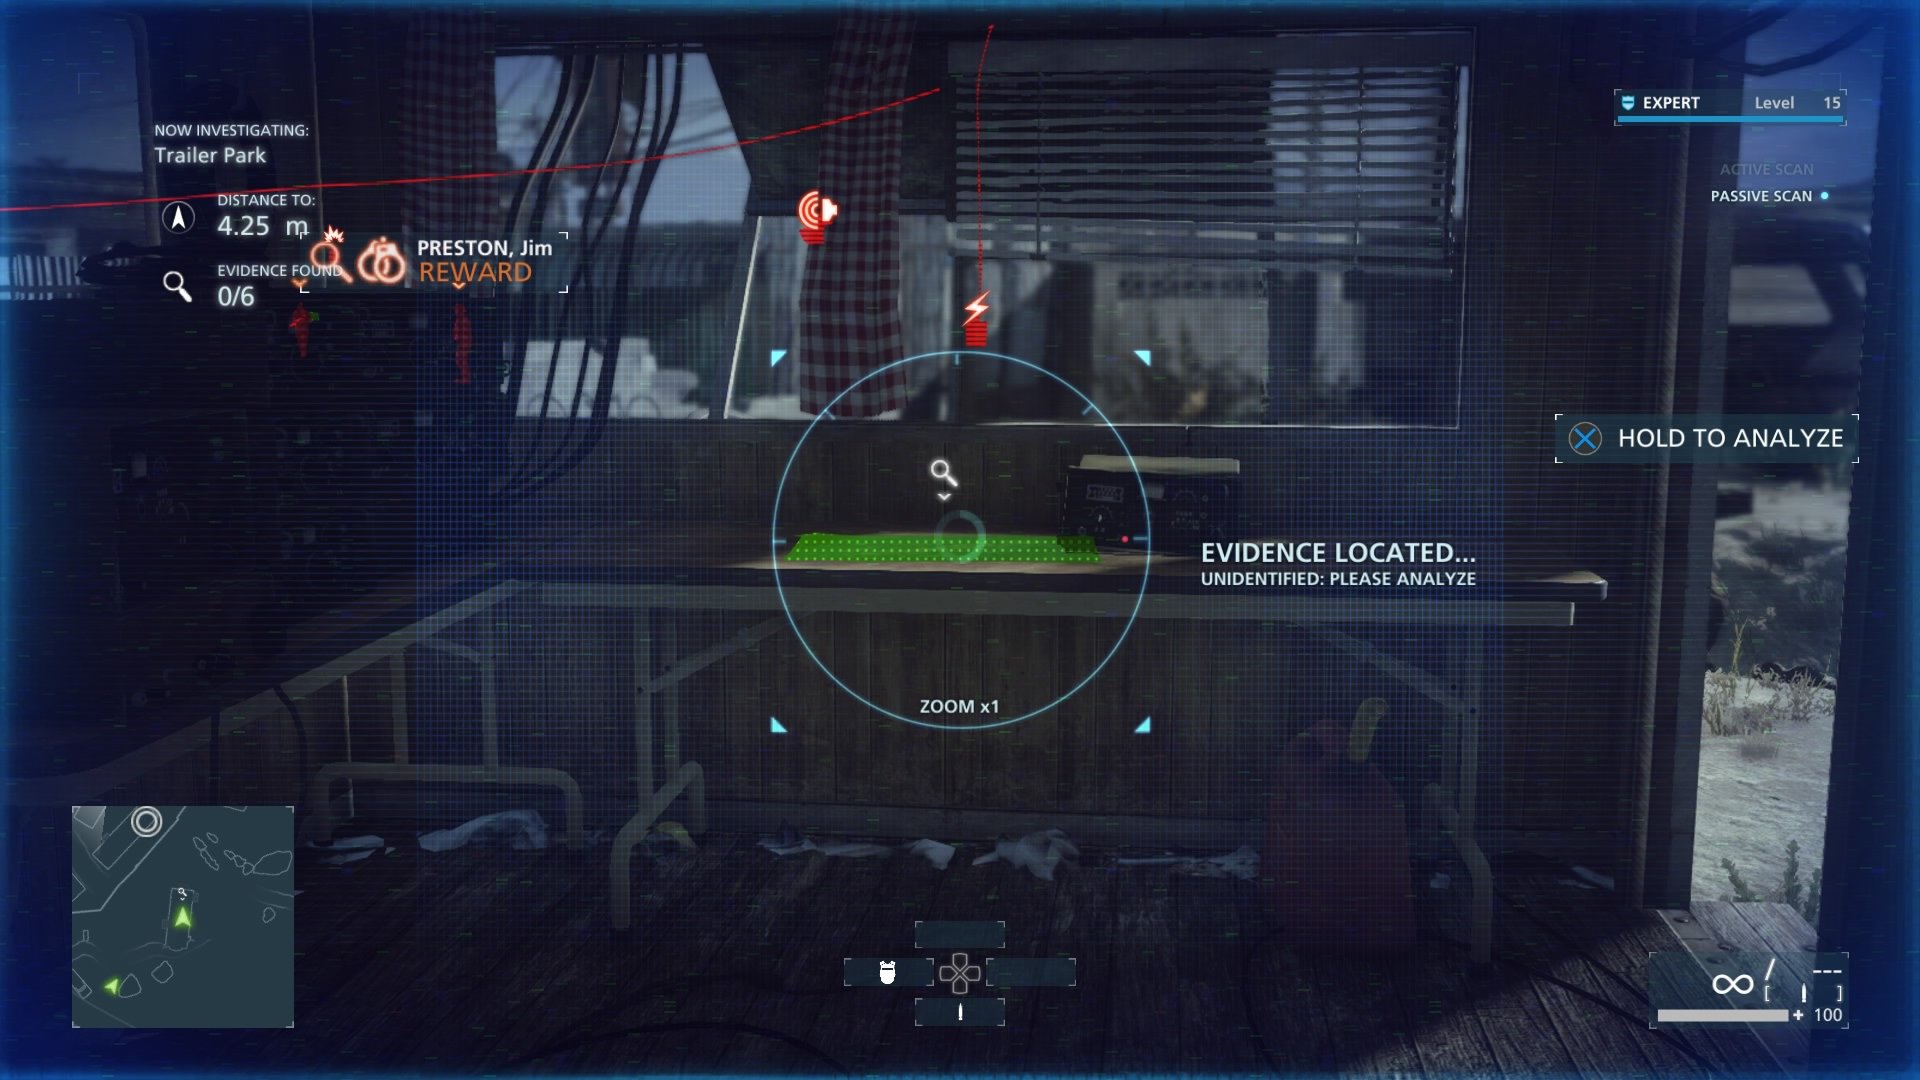
The Boomer Connection #1 (Bomb Blueprint)
If you decide to infiltrate the trailer park using the ‘going right’ method, you will see a trailer outside the trailer park itself. Go inside and on the table is the blueprint to scan.
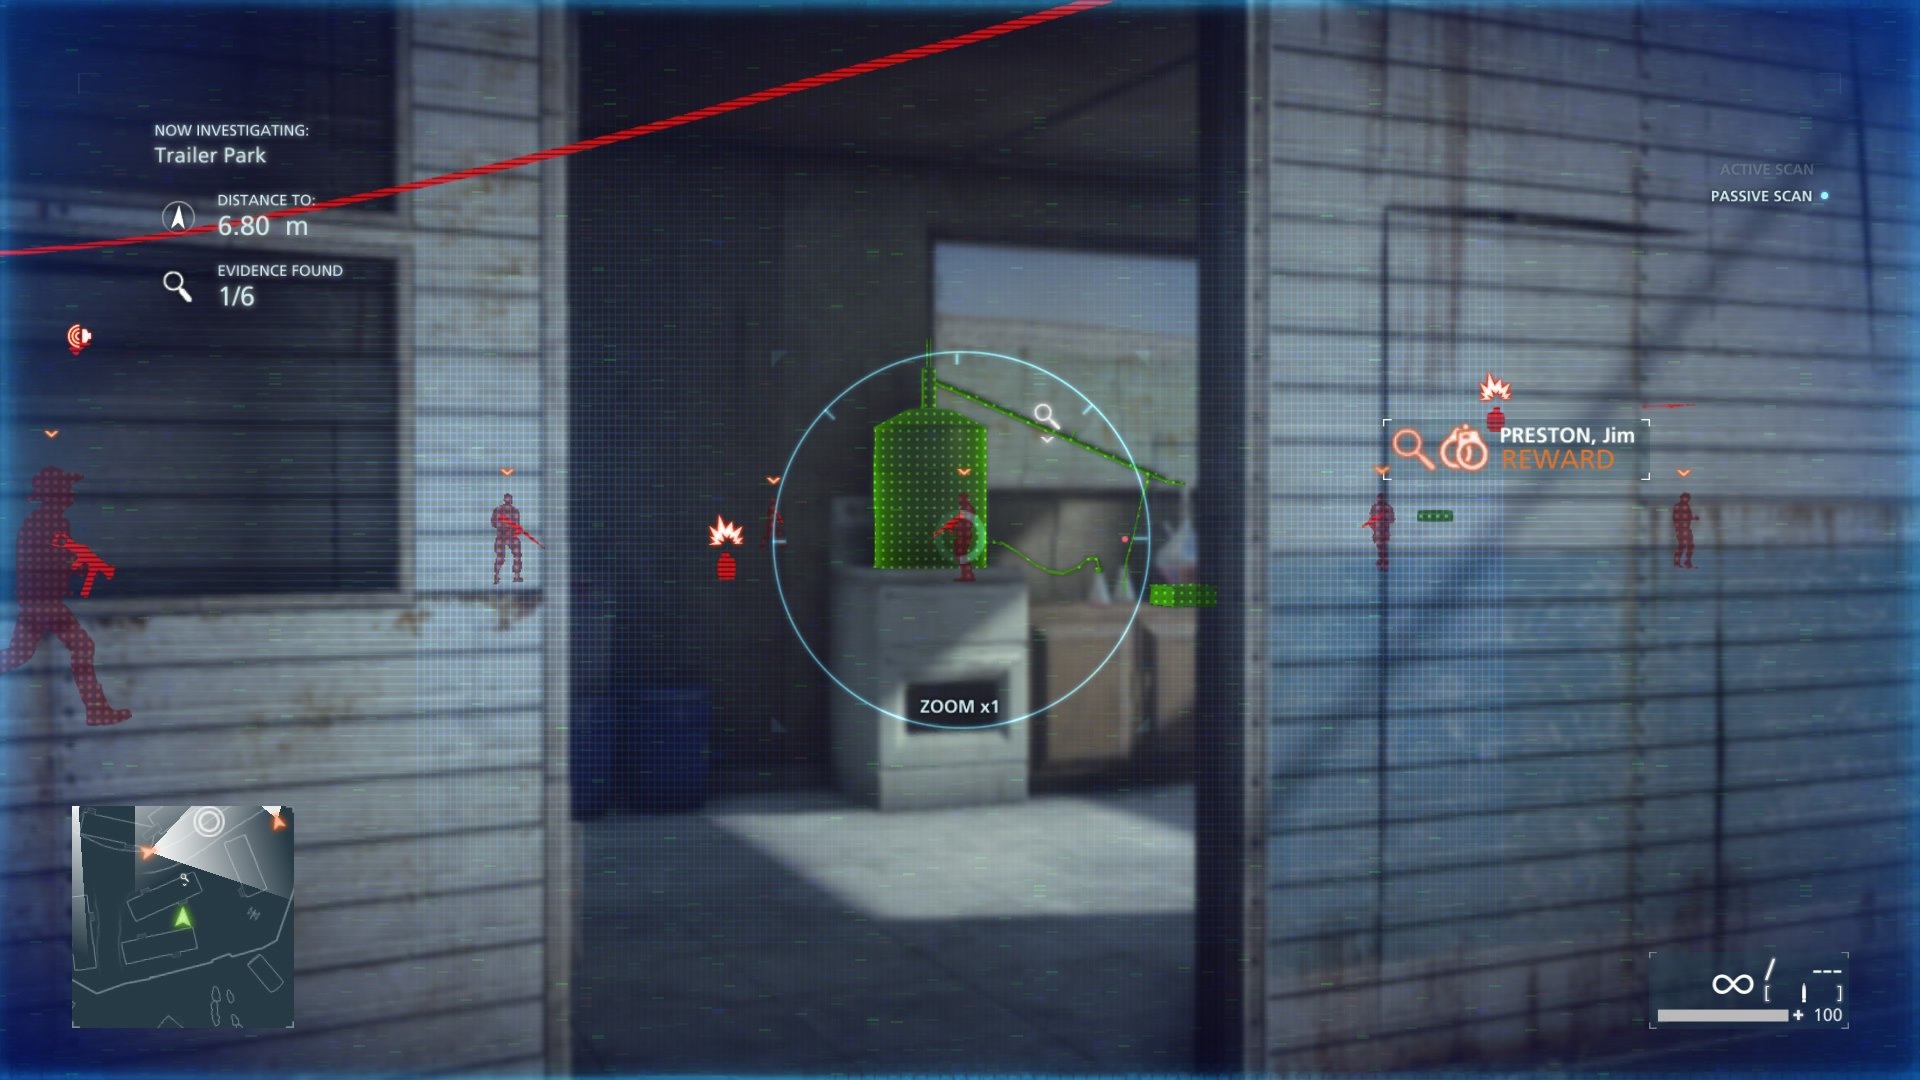
Hot Shot Supply Chain #5 (Hot Shot Lab)
After you sneak in under the fence on the right side and take out the guy, there is a trailer to your left. Go inside and you will see some drug cooking materials. Scan it and done.
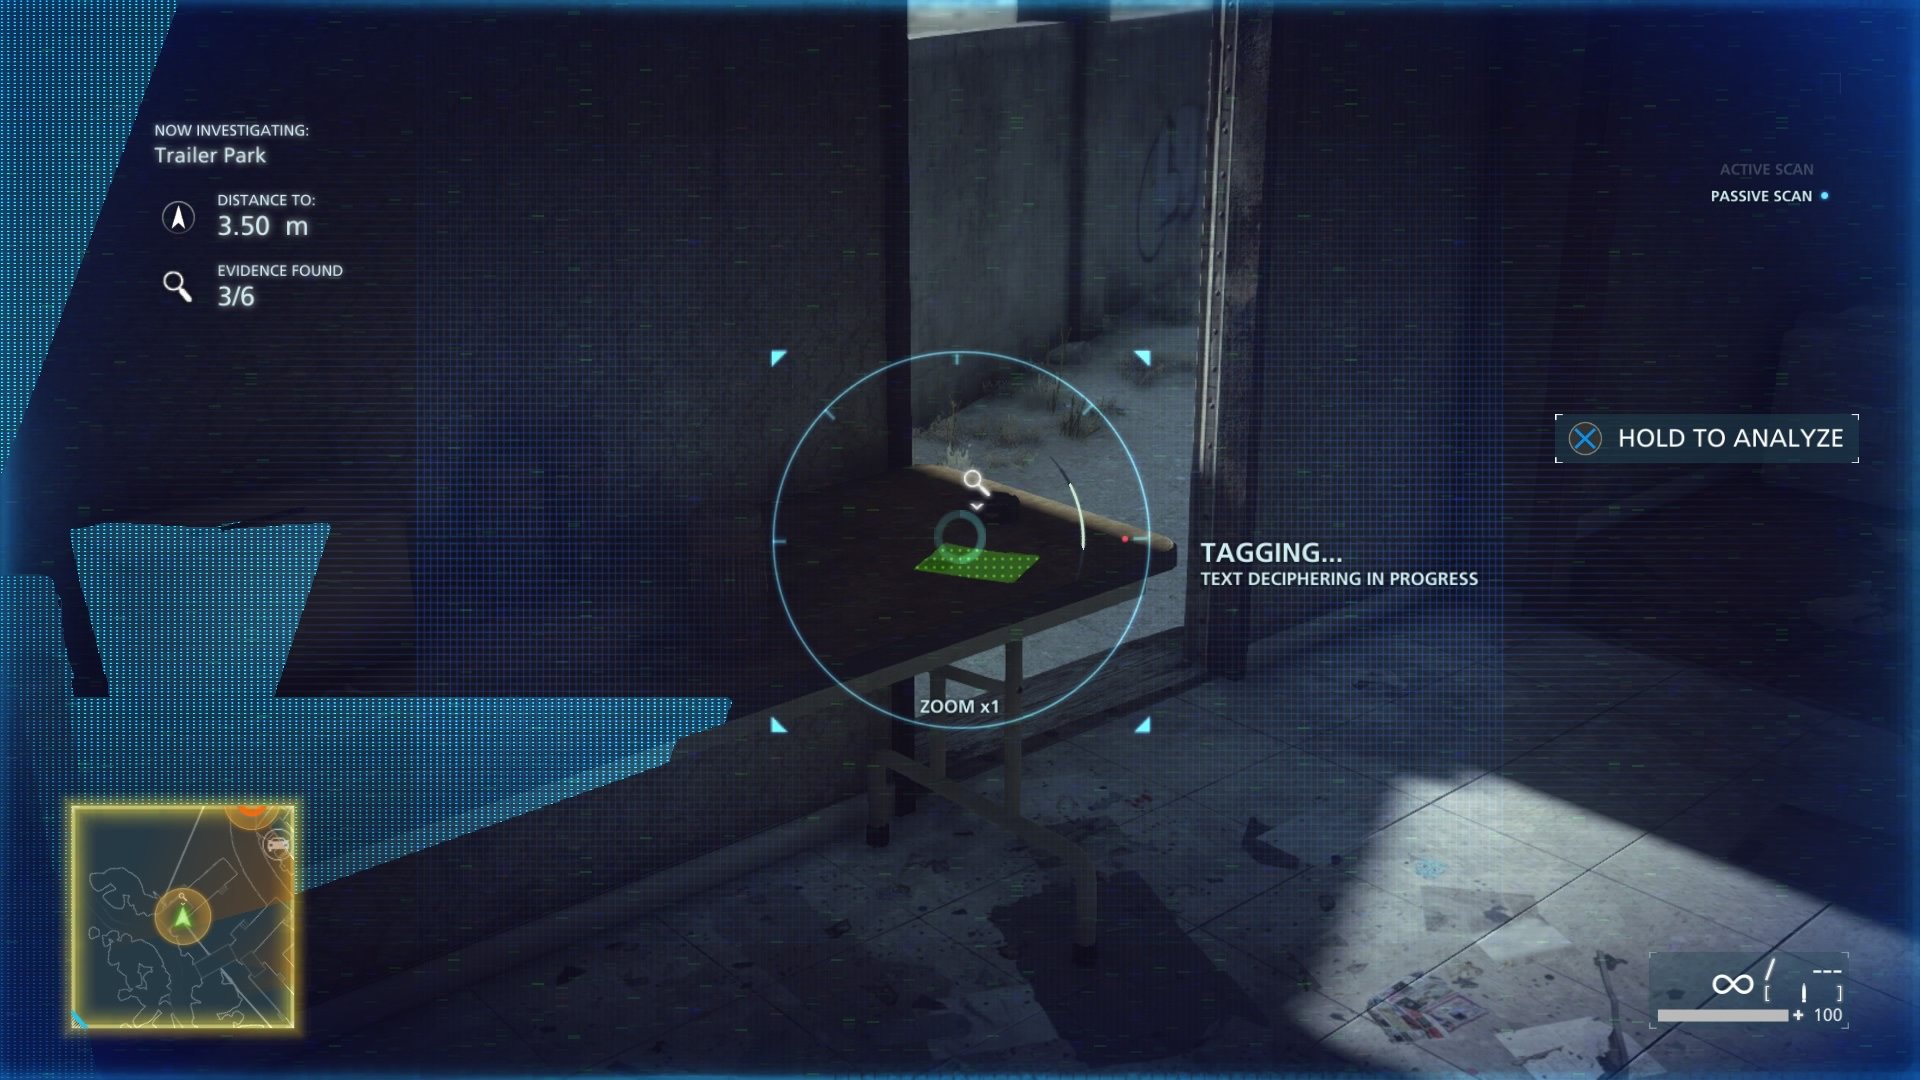
The Boomer Connection #3 (Boomer Dossier)
After you get your guns back (or before), there is a trailer way to the corner. It is located near where your equipment is. From your equipment go out the back door where there was a guy standing guard, look left and in that corner is a trailer, go inside and scan the dossier on the desk.
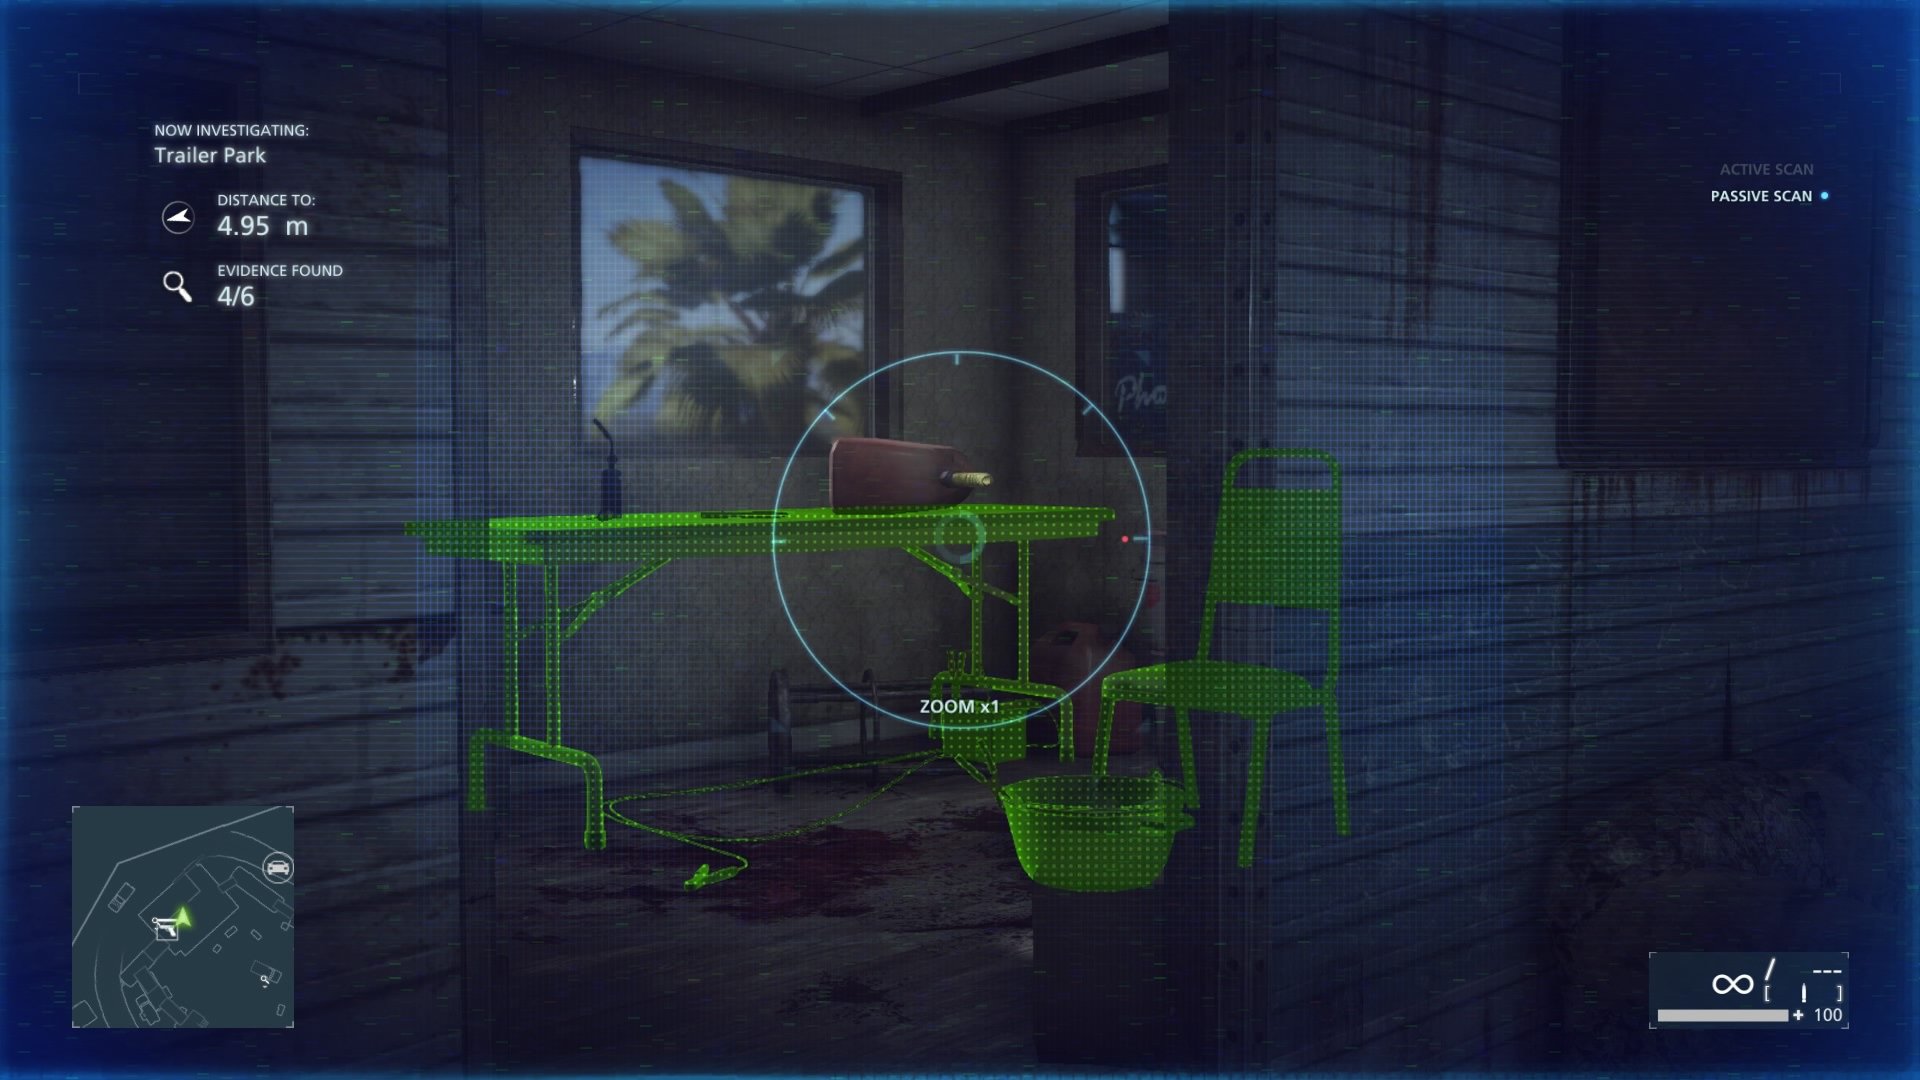
The Boomer Connection #4 (Torture Room)
This one is located directly above your equipment. Go outside into the main compound and there will be a ladder that leads to the top. Inside is a chair, equip your scanner and bam, torture room.
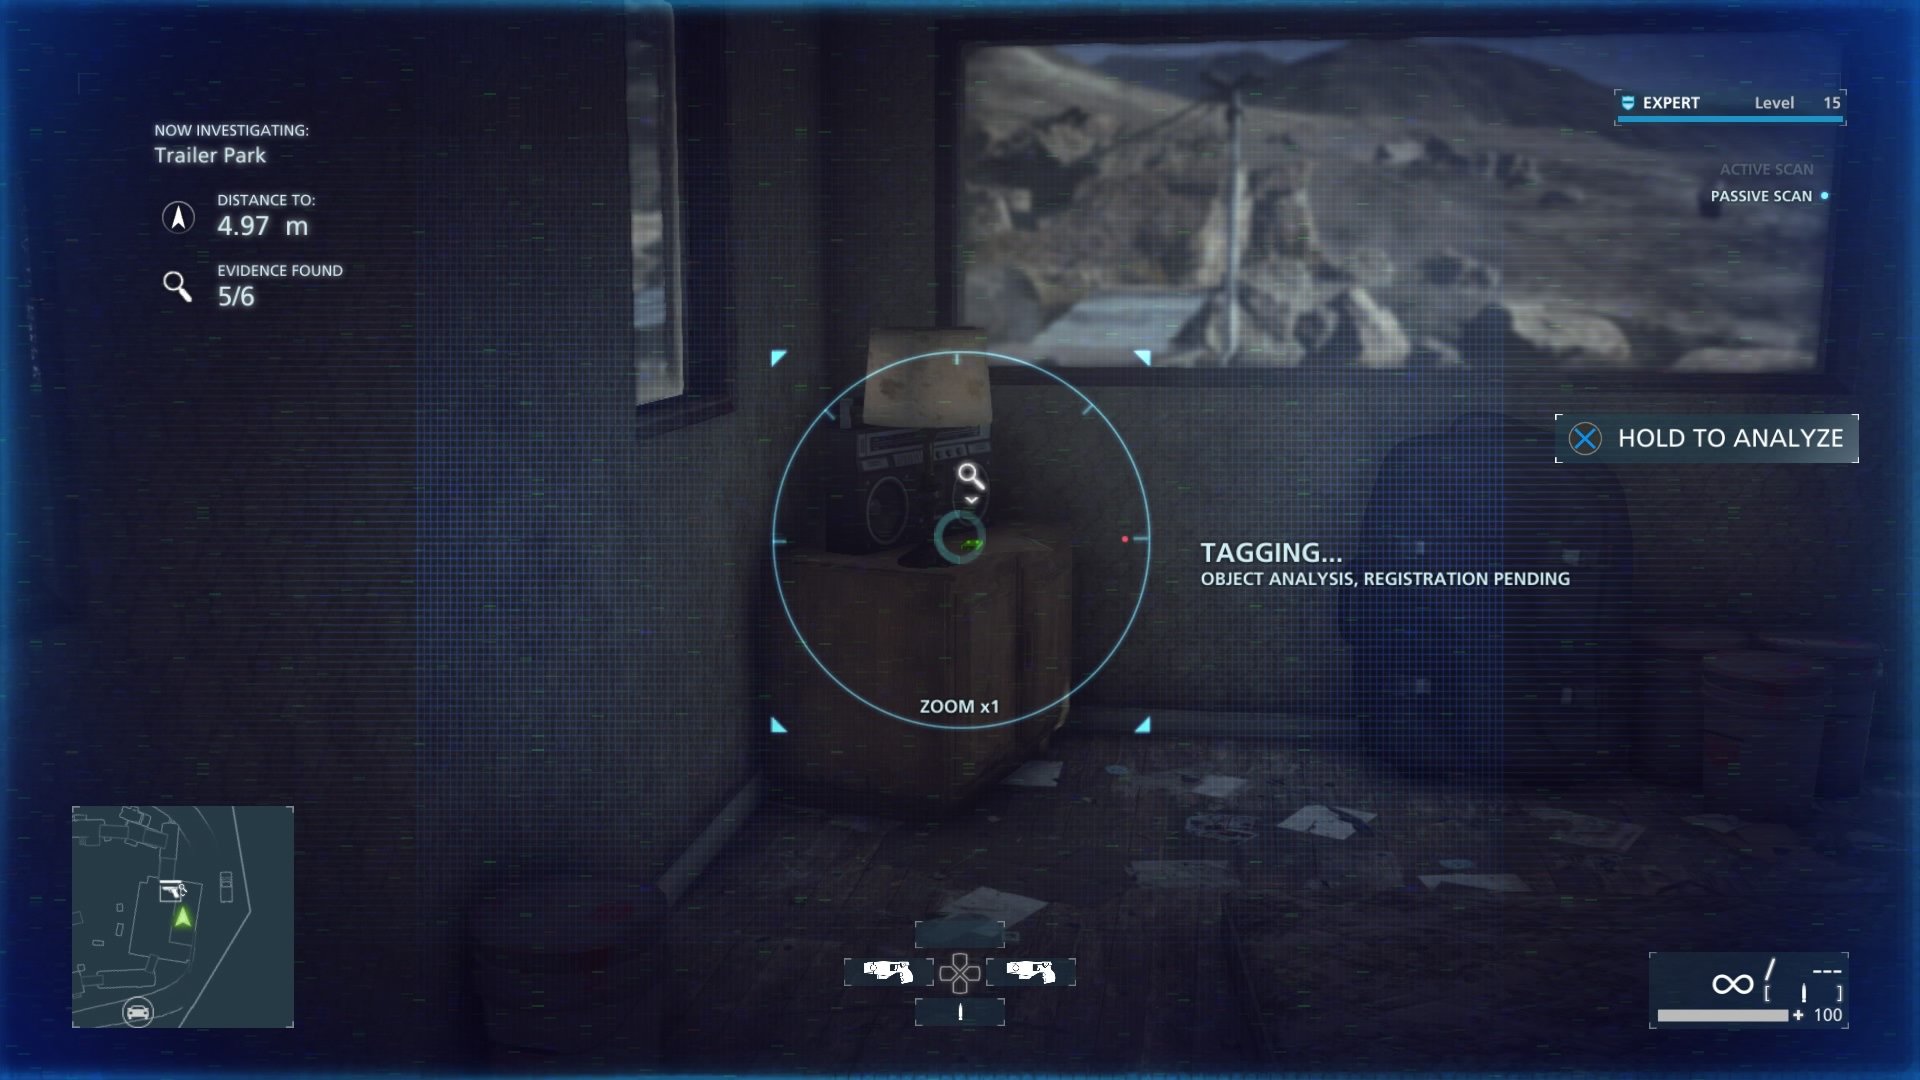
The Boomer Connection #5 (Cell Phone)
Located in the next room from the torture room is a cell phone. You will find it on the table where the television is.
Gas Station
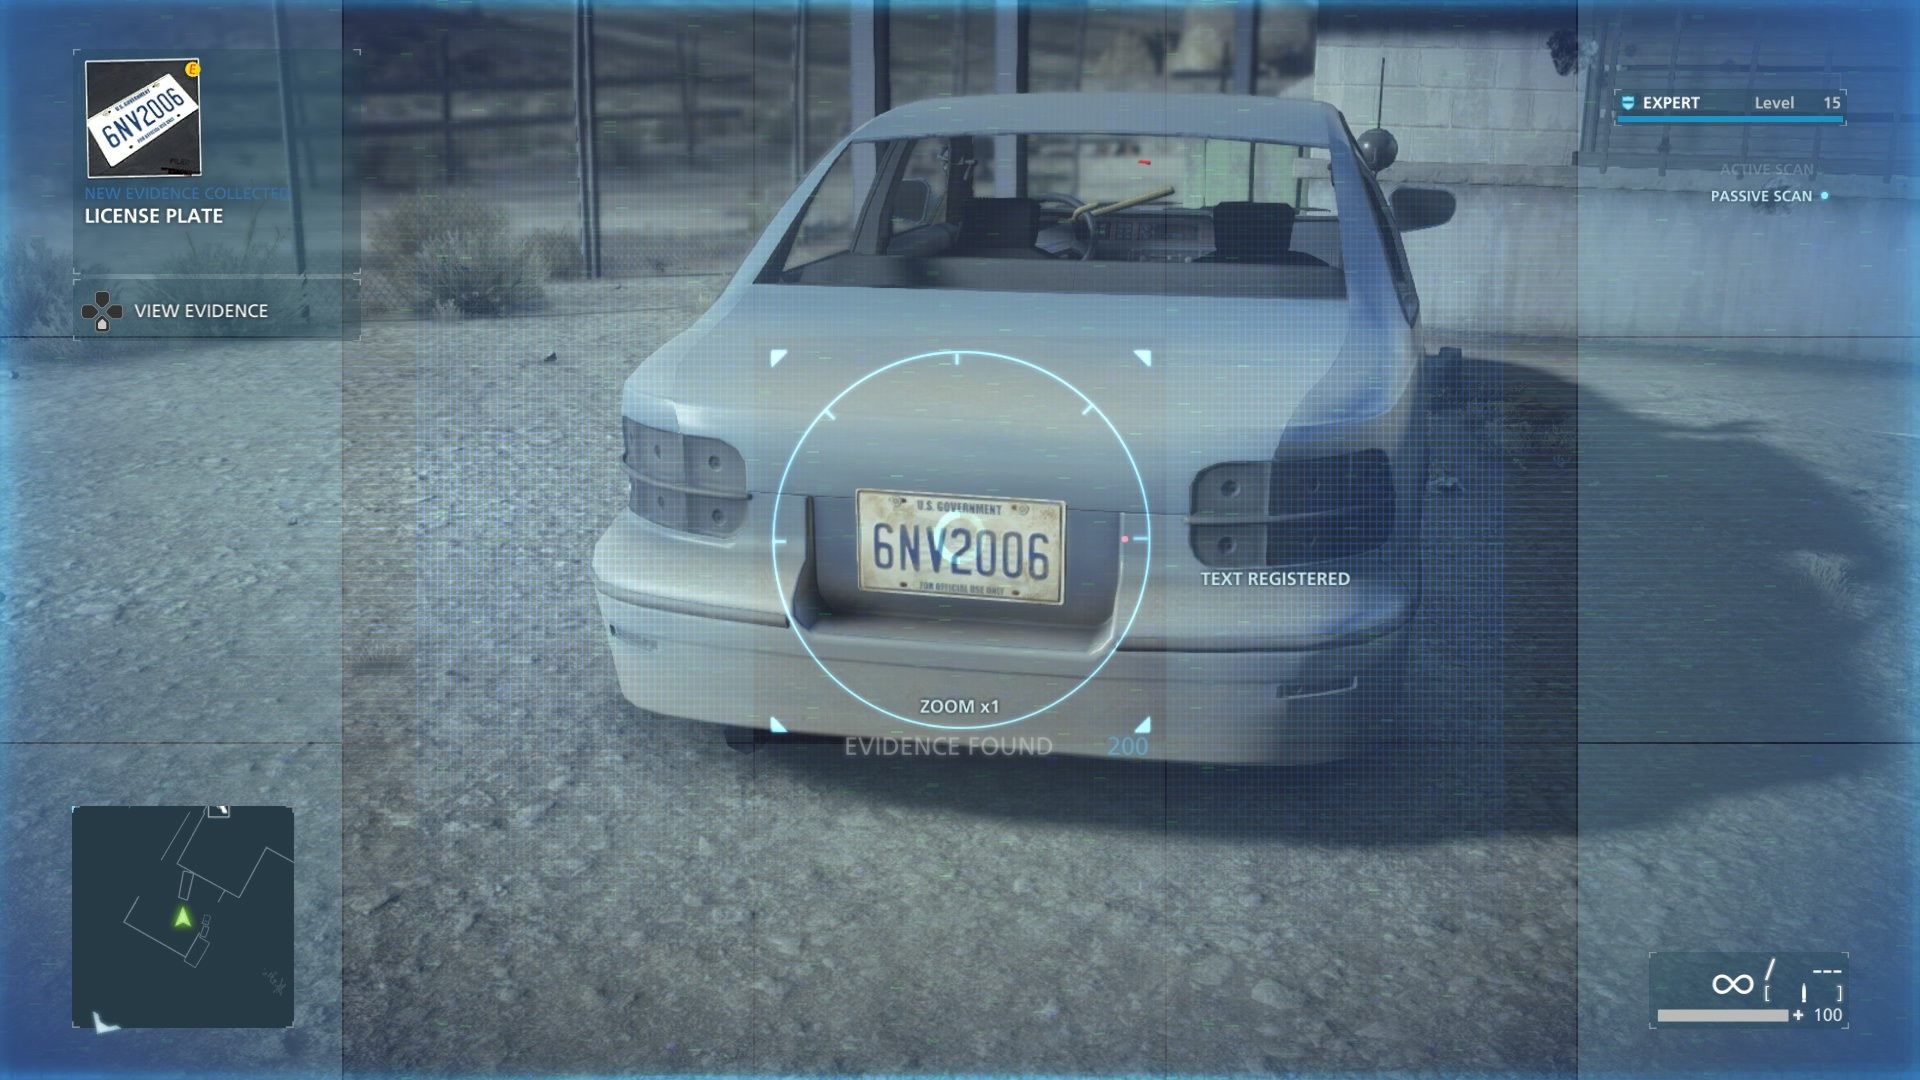
The Boomer Connection #6 (License Plate)
If you go around the gas station to the left side (when facing it) you will see a four door car on bricks. Go behind it and take a scan of the license plate. Easy.
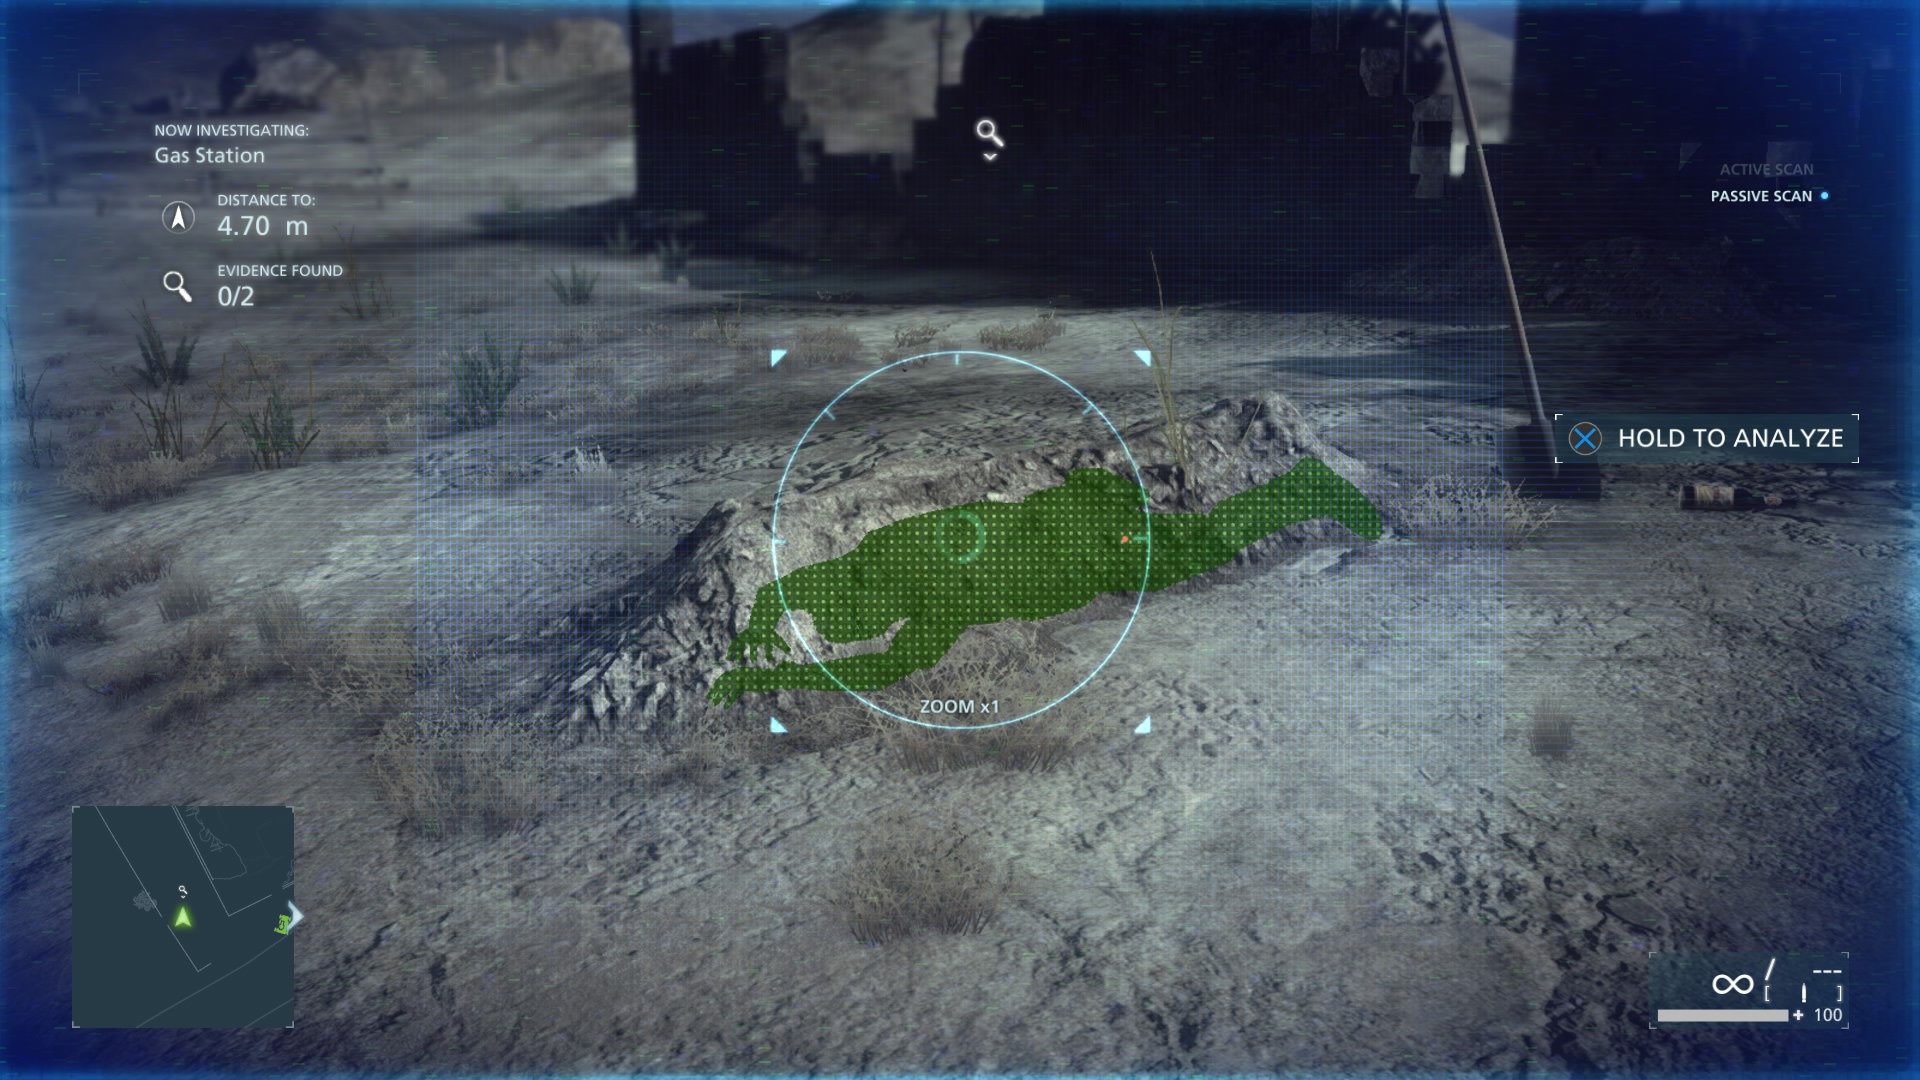
The Boomer Connection #7 (ATF Agent’s Grave)
Directly across from the gas station that you have an epic stand in. To the left of the burnt down house is a grave. Scan it to find the body.
Airfield
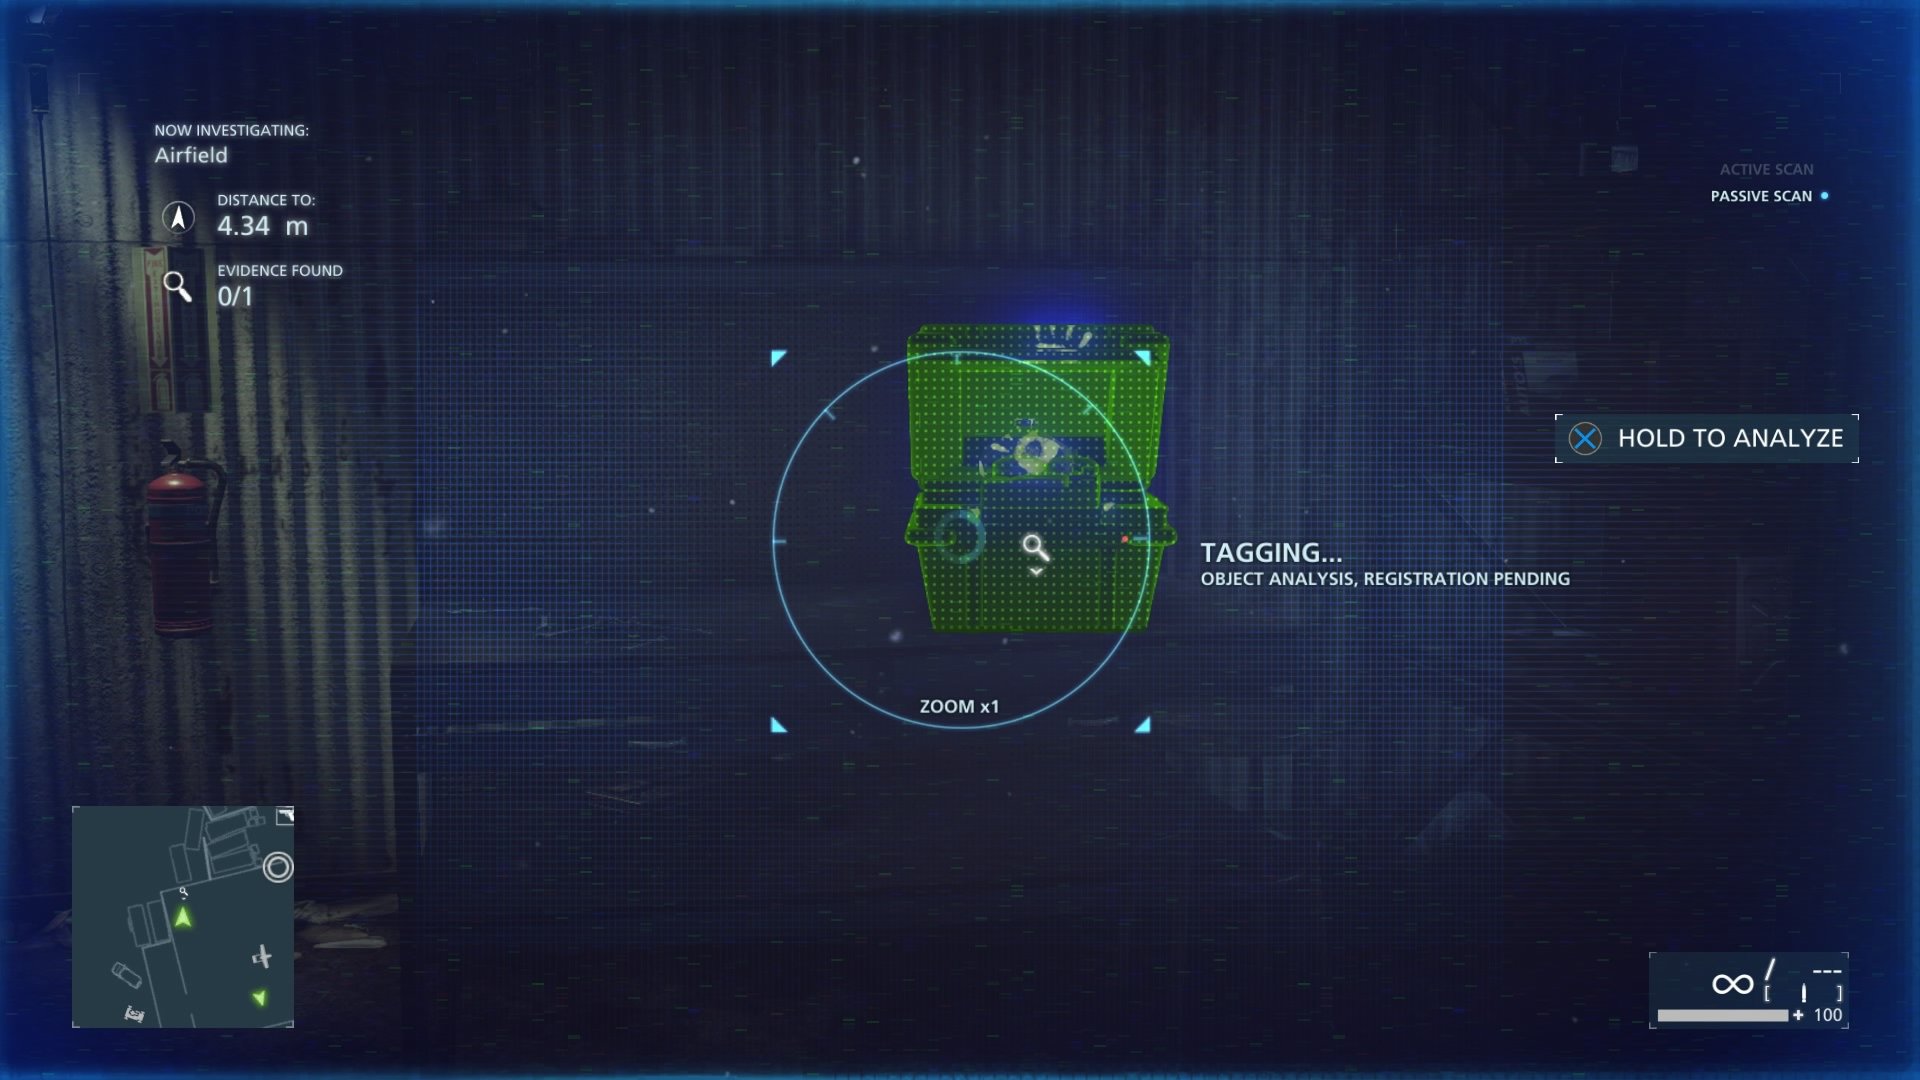
The Boomer Connection #8 (Ricin Bomb)
Once you arrive at the airfield and go inside to see the giant plane turn left. The bomb is in a box-like container against the wall on a workbench.
That is all for Episode 8: Sovereign Land, feel free to move onto the next part of our Battlefield: Hardline guide in Episode 9: Independence Day for more collectibles.





Published: Mar 23, 2015 06:23 pm