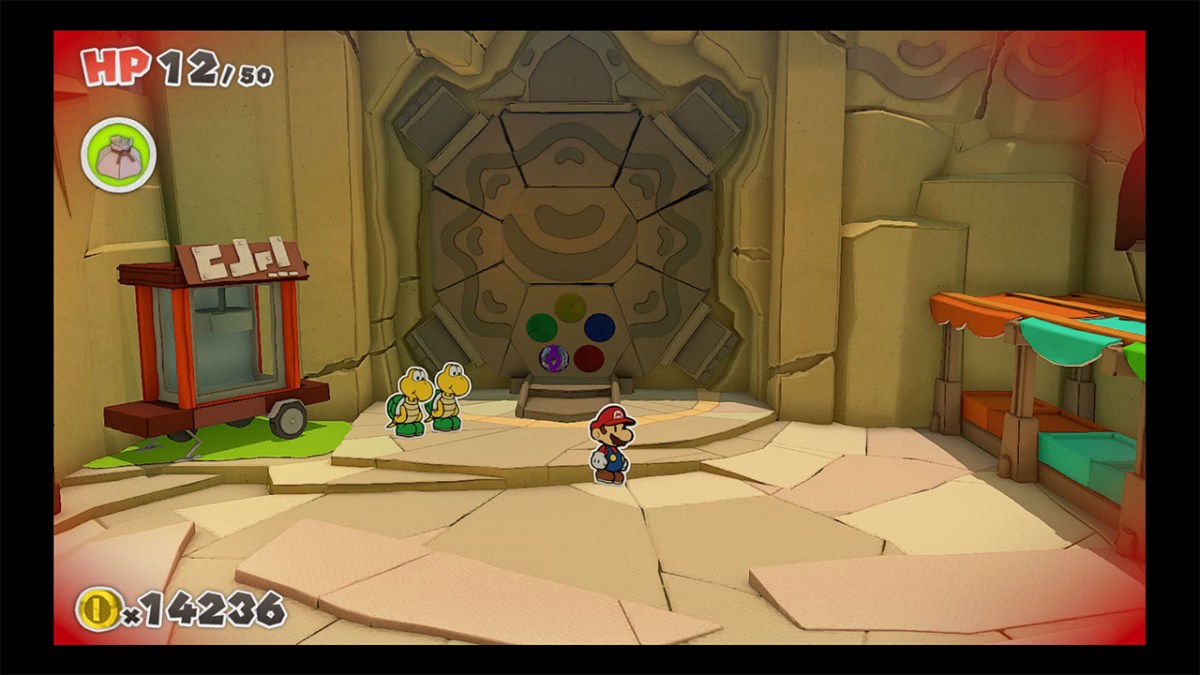
Once you reach the the Picnic Road area in Paper Mario: The Origami King, you want to head down the stairs to the right when they pop up to head to to a shrine that you cannot enter thanks to it being locked. You will learn this after defeating a Shy Guy and speaking with the Koopa Troopas nearby, where you learn that you have to find the remaining four Shell Stones to open the gate. These are scattered around the next area known as Overlook Mountain and this guide will tell you where to find each of them.
How To Find The Four Shell Stones
While these Four Shell Stones can be obtained in any order, we are going to be going with the order that you should come across them to make it easier for those playing through.
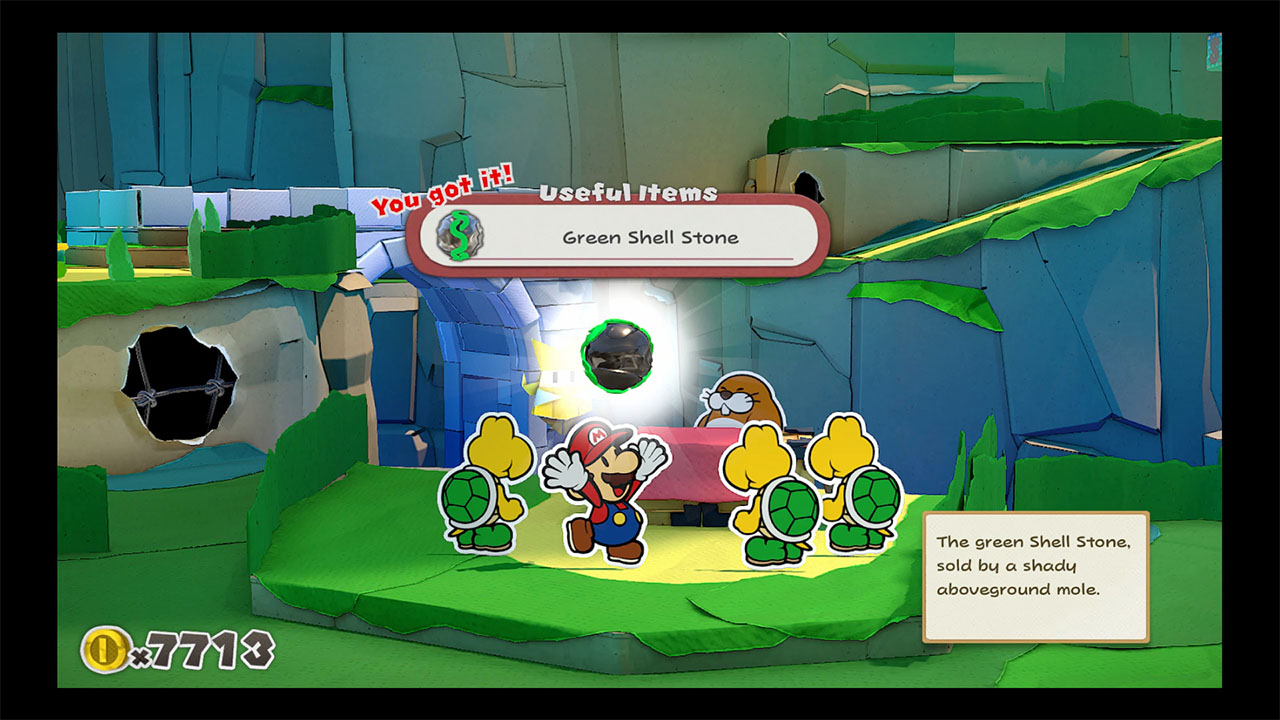
The first of these can be found when you see a Monty Mole and three Koopa Troopas standing around a table along your path. Go up and speak with the Monty Mole to discover this is an auction for one of the Shell Stones. He will first say the auction is for 10,000 coins, which you can technically pay. However, we definitely want to haggle him down instead as you can get him down to 500 coins instead. Once you do this you will have the Green Shell Stone in your possession.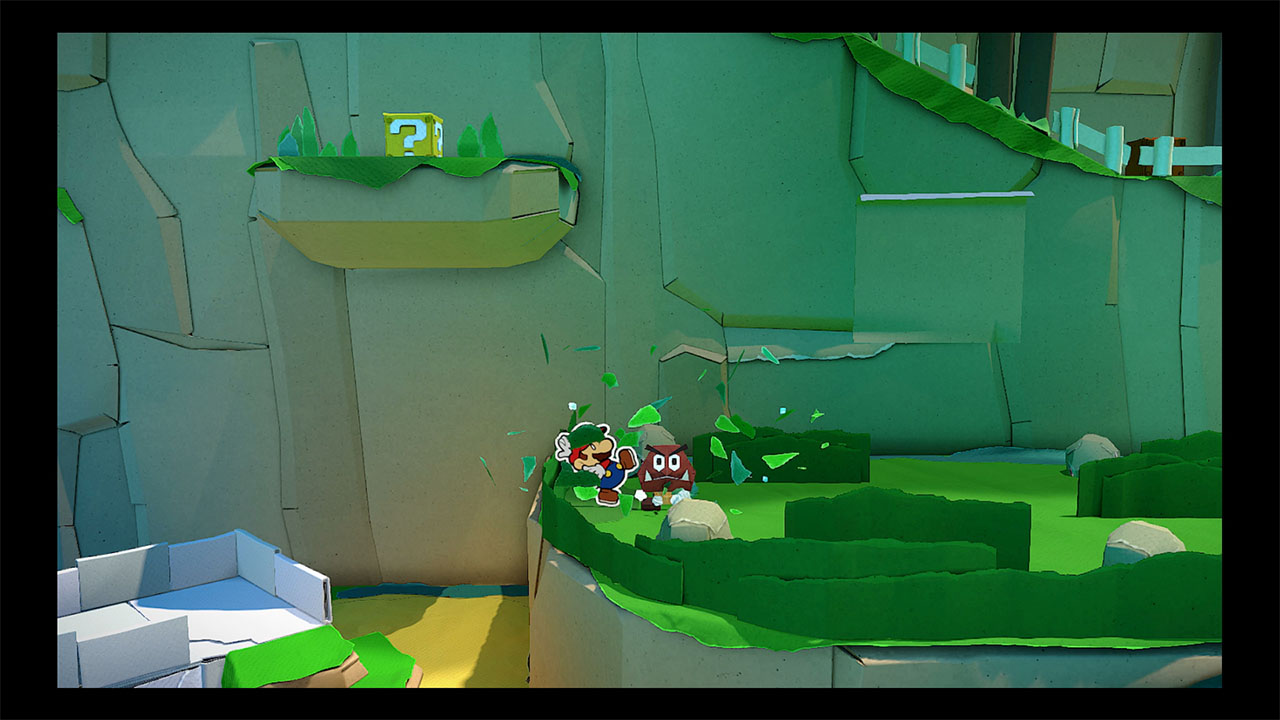
The next Shell Stone is actually the trickiest to find and it was the last one I actually came across, even though it’s just a little further down the path from the Green Shell Stone. After crossing the bridge, you will see some pushes on an upper platform. You need to take a closer look at the one of the bushes on the left side that starts moving, which you need to hit with your hammer to reveal a Goomba. Fight this Goomba here and it bring out a platform that allows you to use your 1000-Fold Arms.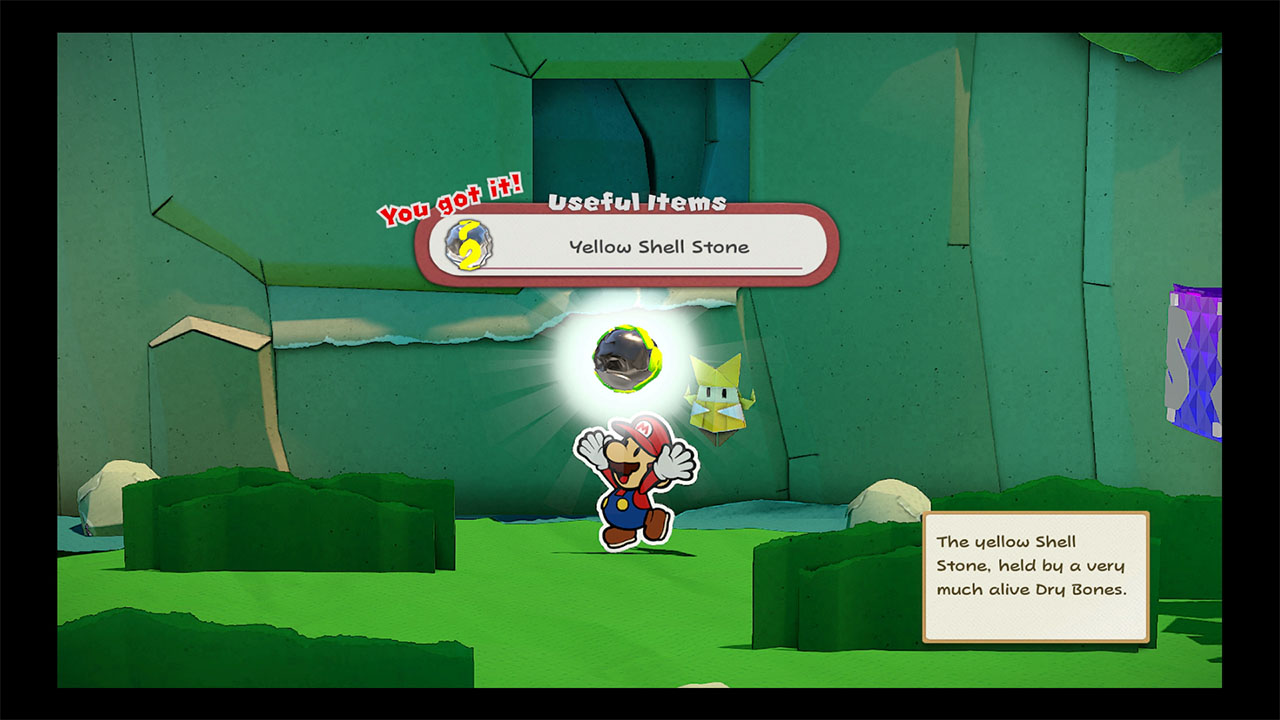
With the 1000-Fold Arms, all you have to do it reach up and pull down the wall to reveal a Dry Bones behind the wall that was stuck. With Dry Bones is the Yellow Shell Stone that you needed.
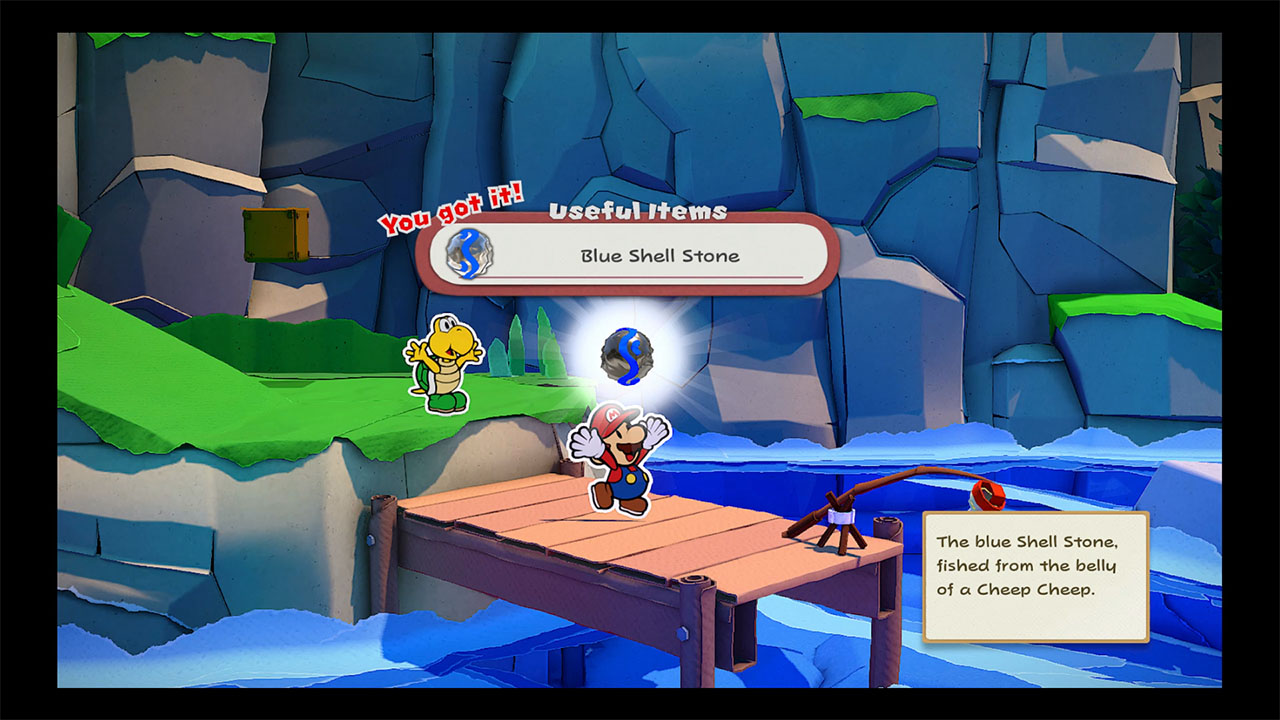
Keep heading east from the last Shell Stone to find a dock with a Koopa Troopa on it. He will tell you that a fish stole his stone and asks you to fish for it. Grab the fishing pole and the Koopa Troopa will explain the very easy controls here. Once you get a bite, a Cheep Cheep will come out and attack you in battle, so take it down. After doing this, you will be rewarded with the Blue Shell Stone, which Koopa Troopa lets you have.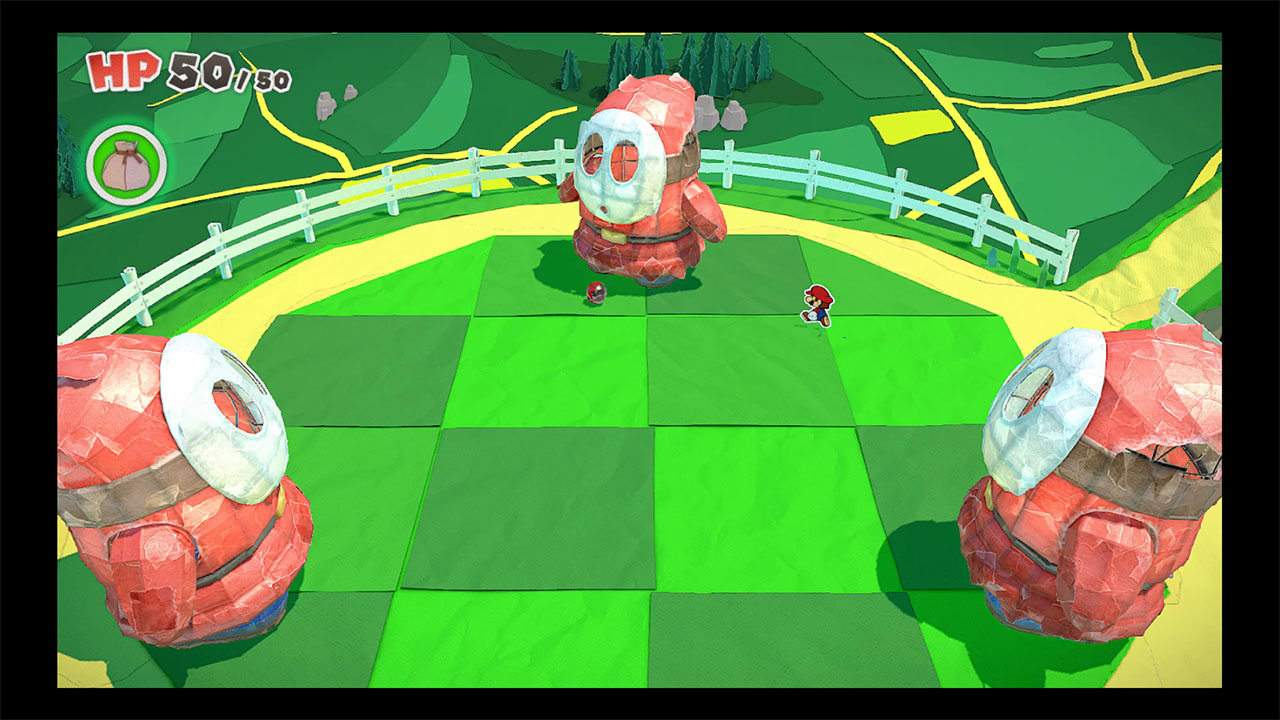
Now comes the fourth and final Shell Stone, which comes a good bit further up the path near the end of the area. Head up the mountain and over to the left until you eventually come across the giant Shy Guys that are playing soccer with the Red Shell Stone.
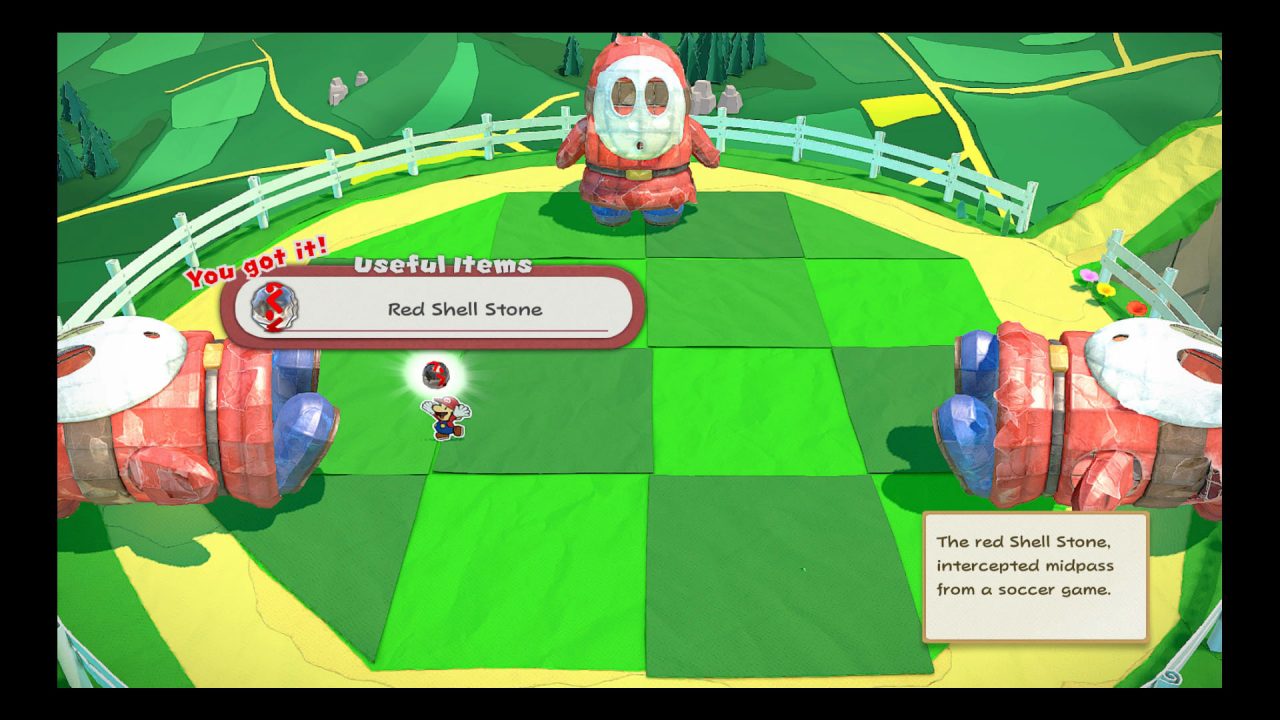
Unlike the giant Goombas before that allowed you to hit the spots on the back to make them vulnerable, these Shy Guys will keep turning to where you can get to them. Instead, you can hit them once to cause them to fall down for a short time. This means you need to try and hit them to where you can intercept the pass from them and retrieve the Red Shell Stone.




Published: Jul 19, 2020 05:23 am