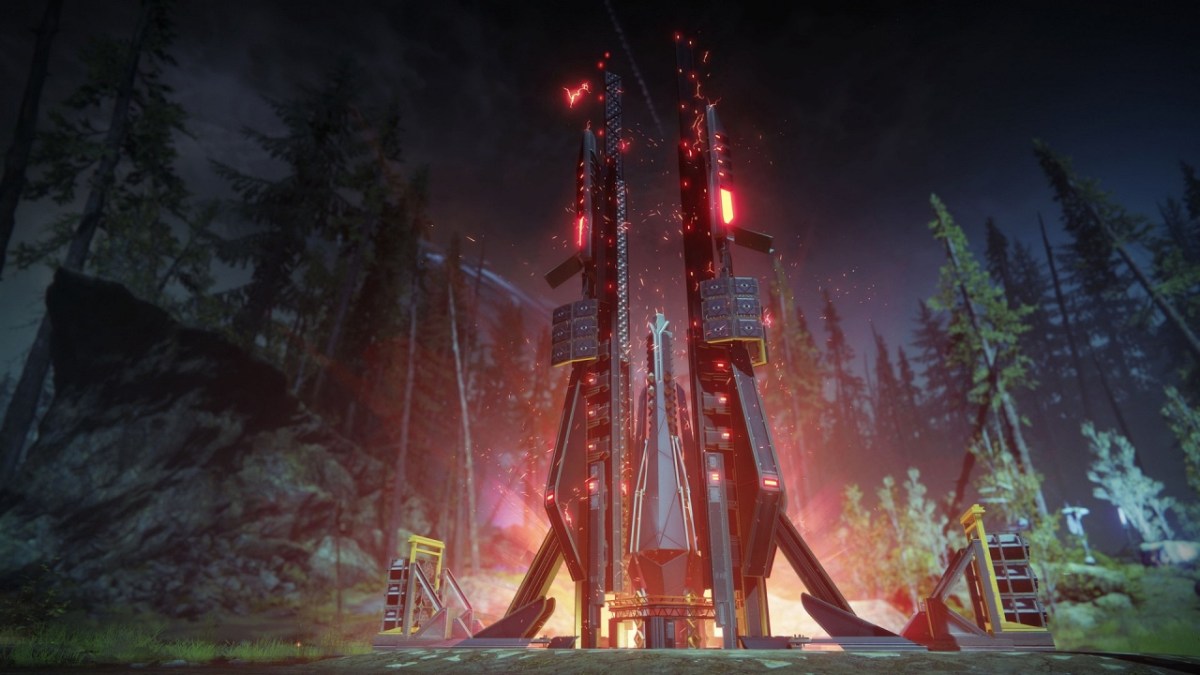
If you’ve participated in any of the Seraph Tower public events in Destiny 2, chances are, you’ve failed to properly complete it more times than you’d care to admit. And if you haven’t tried it yet, you will likely have a similarly disorienting experience. No need to worry though, Guardian, because with almost no instruction for the event provided in-game, we can relate. That’s why we’ve created this guide; to help you suck a little bit less at this perplexing and chaotic Season of the Worthy activity.
Locating the Seraph Towers
With the Seraph Bunkers on rotation, the first obstacle to this activity is actually locating the Seraph Tower you should be engaging. Just as there are three bunkers, there are also three corresponding Seraph Towers. You can find them in the EDZ, on the Moon, and (starting April 7th) on Io for a while before the rotation repeats.
If the active Seraph Bunker is in the EDZ, then you will want to go to the Seraph Tower located at the EDZ’s Winding Cove, just north of the area’s spawn. If the active bunker is on the Moon, then spawn in at the Anchor of Light. If it’s time to do the public event on Io, head to The Rupture. All of the bunkers and Seraph Towers can be easily located on your map.
Getting Started
Once you have located the Seraph Tower public event you want to participate in, be sure to “Rally to the Flag” to max out your ammunition and abilities levels before (or closely after) the event begins. Also, you should have Rasputin bounties from the active Seraph Bunker equipped as you’re likely to chip away at a few of them while you participate in this public event. Additionally, it’s essential that you equip a loadout that can wipe a mob of enemies fast as well as take down champion enemies. Since this event is public, you cannot trust that everyone will know what they are doing. You want to be ready to make up for what other players may be clueless about.
Keep Enemies off the Active Plate
There is one main tower, called the Seraph Ordinance Satellite Construction Tower, which is surrounded by three support towers with charge plates in these events. The point of the event is to charge the main tower, and this cannot be done if no one is defending the active charge plate. I cannot stress this enough: do NOT allow enemies to crowd or stay long on the currently active plate, or you will fail the event. Use your Super ability, grenades, rocket launcher, etc.–whatever it takes to keep the enemies away from that plate to ensure you get the maximum rewards possible .
When the plate becomes overwhelmed by enemies before charging the main tower completely, the active plate will change to one of the other two plates, indicated by the glowing orange ball overhead. The active plate will also change once its job has finished and it’s time to move on to a new one. Stay aware.
Throw Orbs at the Glowing Orange Ball
The faster your team can thrown orbs at the glowing orange ball to get it to the next support tower, the faster the main tower will charge. Just do not focus so much on the orbs and the orange ball that you allow too many enemies to interrupt the charge plate, resulting in an event failure. Focus more on killing the adds than on killing the mini-bosses, as the more enemies you end up defeating, the more orbs the support tower will shoot out. And the more orbs there are to throw, the faster the event progresses, assuming most of the throws are not missed. If too many enemies are overloading the charge plate when the support tower spits out orbs, however, there will only be two orbs to throw. If you notice that you keep missing the glowing orange ball, try lining yourself up with the tether between towers the orb is traveling on before you throw. This will almost guarantee a hit.
Defeat the Champions
You will repeat the above two steps a few times the main tower is close to charge capacity. Once it is close, champion enemies will spawn that your team will have to take down. Unleash whatever you have on these champions, but always remember to defend that active charge plate! (I really meant it when I said I couldn’t stress this enough).
Collect Your Rewards
Assuming you completed the public event in its entirety, two chests will spawn–one of which being Rasputin’s Seraph Tower Cache, which players can access provided they have Encrypted Warmind Bits to spend. You can also hit the smaller chest, which will drop a “rare” blue piece of gear, and successful completions net players 10 Warmind Bits each. If the event does not reach its full completion, only the smaller chest will spawn, and players will only receive 4 Warmind Bits and earn no progress on their Seraph Tower-related bounties. Once the Seraph Tower’s corresponding Bunker is upgraded to level 4, the Seraph Tower chest will provide a more powerful drop once per weekly reset. More information on Warmind Bits and Encrypted Warmind bits can be found in this guide.
Concluding Thoughts
While still chaotic, the Seraph Tower events are fairly straightforward once you know what you’re doing. Since it’s a public event, you will frequently run into players who still have no clue. Just be patient with them and hold up your defense. There is also no way to make this event heroic; it’s heroic enough just to carry it all the way through with success, which you should have much less trouble with after reading this guide.


Published: Mar 26, 2020 05:42 pm