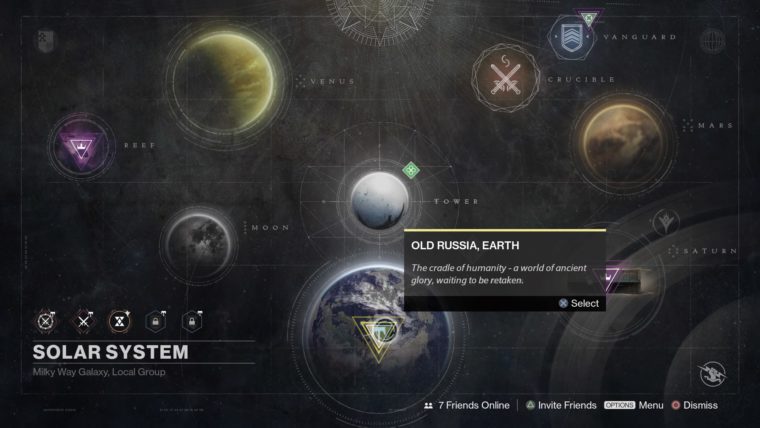
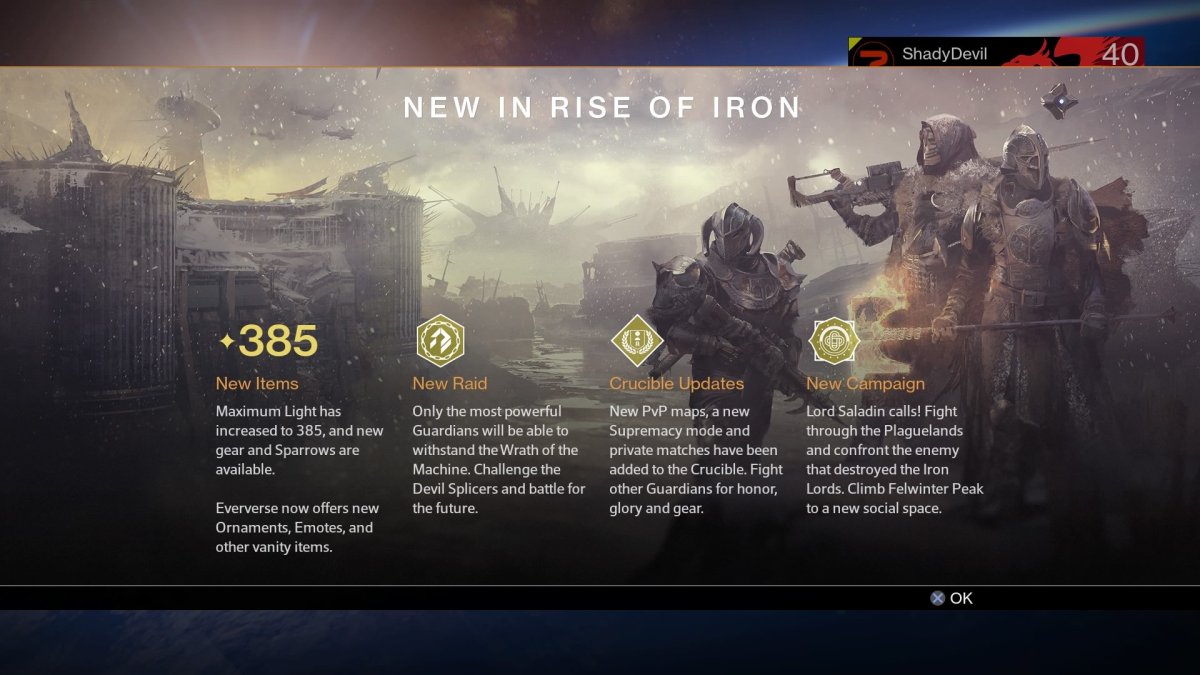
Destiny fans have a lot to enjoy now that Rise Of Iron is available, but how do you access the new content? Where do you go? Well, we made a guide for that.
Although it may be simple, some people might be having a hard time getting started and getting through the first bits of Rise Of Iron to really get the ball rolling on the wealth of new content. Once you have the content all paid for and downloaded, and all your patches updated. Rise Of Iron is recommended for Light level 280 and above. Follow these easy steps to get started.

Step 1: Log On
Simply log into the game with your character. If you are having issues signing in, keep trying. Some had a hard time at launch.
Step 2: Be Level 40
Rise of Iron is only available to Level 40 players and doesn’t have to be downloaded. It was pre-loaded for everyone already via patch. So if you bought the content, you were also given a free upgrade to Level 40 that you can use on one character. You can get this by going to any mail spot in the various social areas, and using it within the social area.

Step 3: Land On Felwinter Peak
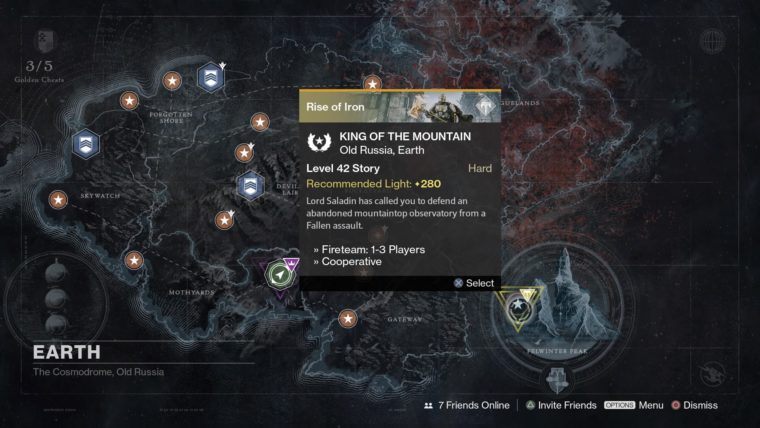
Simply go to the Cosmodrome map, and click on the new area to initiate a cutscene. The mission is called King Of The Mountain. This can be tricky if you are under the recommended 280 Light Level, especially the gondola ride. Try to keep moving and shoot as many Fallen snipers as you can in the head. If you have a Sniper rifle use it or a burst rifle.
Step 4: Survive Sepiks Perfected
Another giant orb comes and tries to ruin a Guardian’s day. Try not to die too much. Thankfully this is unlimited respawns. A good strategy here is to just funnel them down the bridge dodging, and when your special is full go out and rain fire on Sepiks. Rinse and repeat. Alternatively you can find a good spot to kill him from once the waves stop (finally) and snipe him until you run out of bullets, go grab more and repeat.
Step 5: Enjoy Rise Of Iron
From here on out it is all Rise Of Iron. Enjoy.


Published: Sep 20, 2016 07:13 am