Professor Layton VS Phoenix Wright: Ace Attorney just recently released for the Nintendo 3DS, so it seemed fitting to put together a series of guides to help you out with the often difficult puzzles in the game from the Professor Layton side of the game. Without further ado, here are puzzles #1-5 in the game, with the description, three regular hints, the super hint, and the actual answer. Thanks to N3DSItalia’s YouTube videos, we also have some screencaps of said puzzles.
Puzzle #1 – Paths of Light
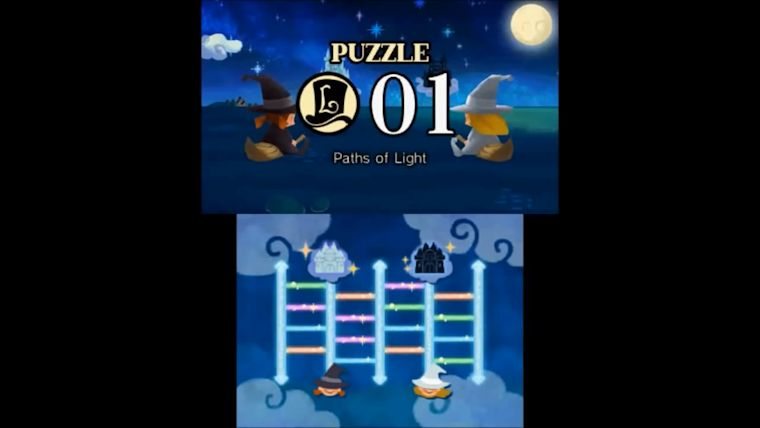
A light witch and a dark witch are trying to fly back home to their castles. Each castle is coloured to match each witch.
Their way home is connected by colourful paths of light. Touching one of thse paths will cause all of that colour to disappear.
Help the witches find the right path to their respective castles by removing the unwanted paths!
- Hint 1: Neither one of the two witches will have to use the rightmost path
- Hint 2: The path highlighted below is essential to both witches getting home (The second path on the second column from the left)
- Hint 3: The green paths should be removed and the orange paths should remain. That just leave purple and blue…
- Super Hint: Here’s a bit of a helping hand. The green and blue paths should both be removed.
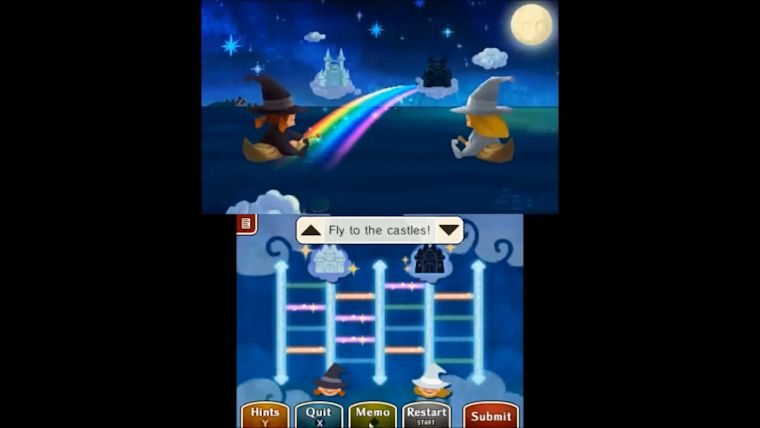
Solution: This is a case where the Super Hint completely gives it away as all you must do is remove the green and blue paths and hit submit.
Puzzle #2 – Barton’s Burger
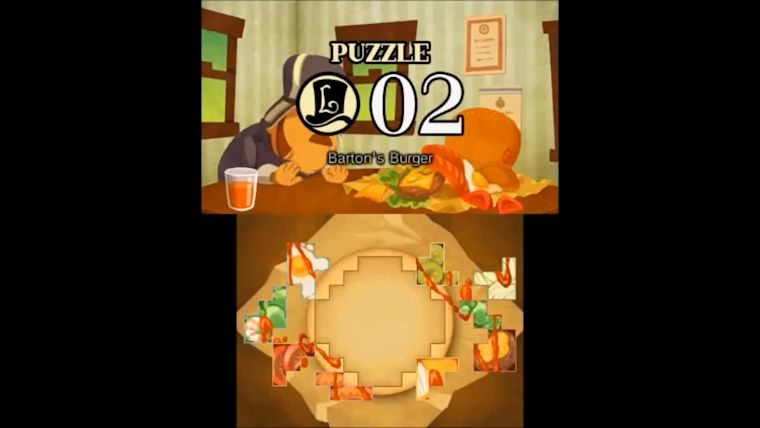
The investigation into the night’s mysterious events has come to a screeching halt.
Constable Barton’s favorite meal, the “Scotland Yard Burger,” is in shambles and he will not report back until he has had his meal.
Help Barton put his precious burger back together! Don’t forget to get the ketchup on the burger just right!
- Hint 1: Notice that some ketchup has spilled over on to the right side of the bread. The lettuce and meat have a suspiciously similar line of ketchup on them. Try fitting that piece on the right side. Tomatoes would go nicely, don’t you think?
- Hint 2: Something appears to be missing from the lettuce and meat…A bit more protein wouldn’t hurt. Try adding a bit of egg next to the lettuce and patty.
- Hint 3: Barton is known to have a particular fondless of gherkin in his burgers. He’s also been known to eat them together with eggs. See if you can fit the gherkin somewhere near the eggs.
- Super Hint: It wouldn’t be a “Scotland Yard Burger” without sausages. Place them beneath the gherkin. Next, add the onions under the sausage and gherkin. That leaves just two more fillings.
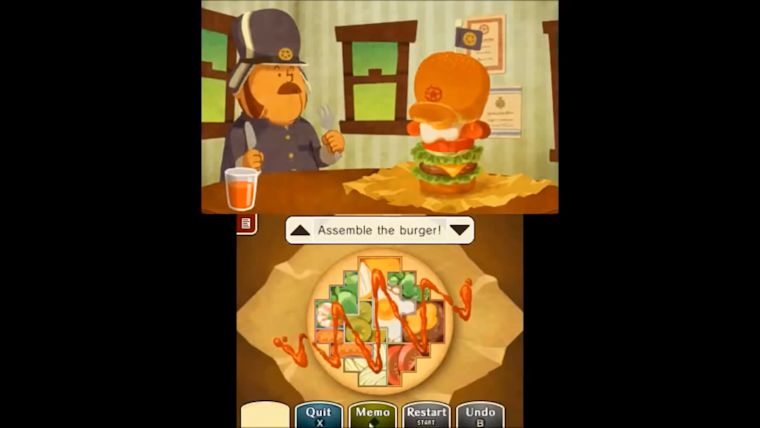
Solution: Assemble the burger as shown in the picture above. The patty will go on the very far right fitting into the middle alcove. The tomatoes go directly under that against the right wall. The eggs go directly to the left of the patty, which should fit in perfectly if you have the patty and tomato in place already. The onions go on the very bottom of the left of the tomatoes to fill in the entire bottom portion. The sausages then go above the onion to the left side, with the gherkin right above that. From there, the final two pieces fit in the top left and very top portions, both of which you can figure out easily.
Puzzle #3 – Security Showdown
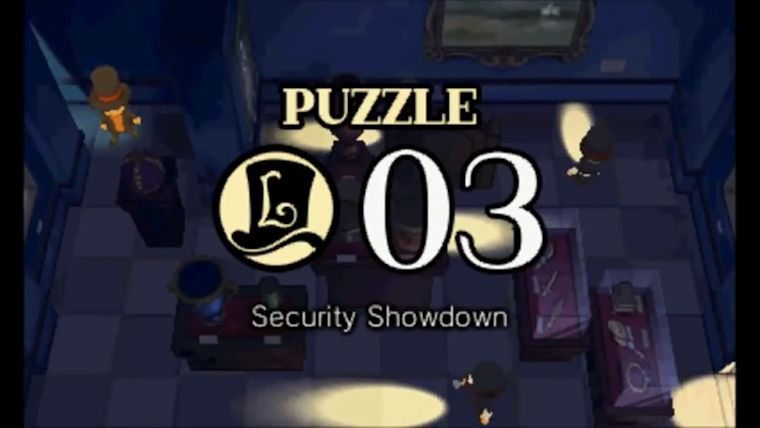
The local police force is assisting a museum to increase its security.
The guards’ torches allow them to spot anything up to three squares away.
Do your best not to be seen and sneakily make your way out of the room!
- Hint 1: Notice that the guards all follow a set path. That said, start off by moving down towards the wall at the bottom. Don’t worry about the guard at the bottom.
- Hint 2: Next, follow the guard as he proceeds right. After moving four steps to the right, move up one step and narrowly escape the guard’s torch
- Hint 3: In the previous hint, you cleverly used the guard’s pattern against him and slipped behind him unnoticed. The next area is being patrolled by three guards. Timing is key here. Be sure to wait for the right moment before jumping out!
- Super Hint: Once behind the passing guard, follow his path to the right until you make it to the rightmost wall. From here it’s only a few steps down to the goal!
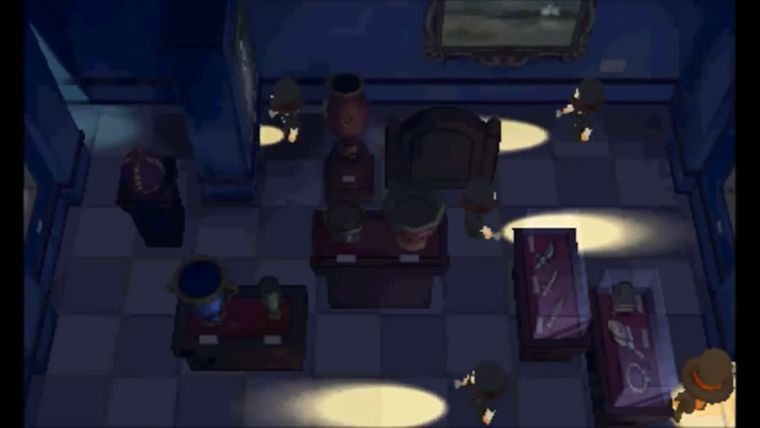
Solution: Walk down 5 steps. Right right 4 steps. Walk up 1 step. Walk right 2 steps. Walk up 1 step. Walk down 1 step. Walk up 2 steps. Walk right 3 steps. Walk down 3 steps. At this point, you will reach the exit. There are a number of other ways to complete this puzzle as well.
Puzzle #4 – Walled In
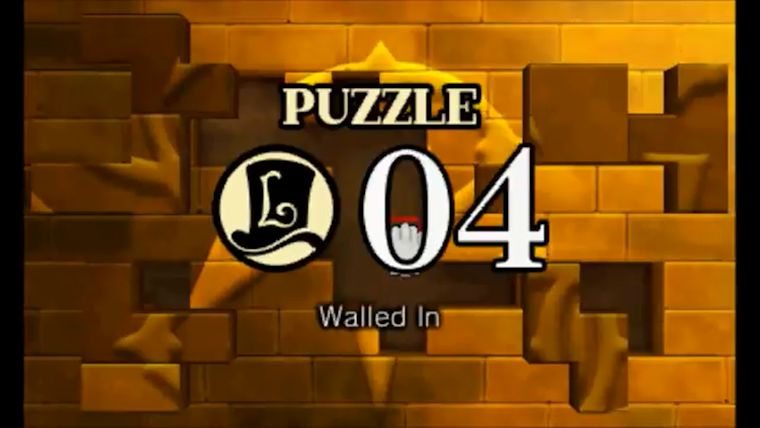
The sudden shifting has dislodged a number of bricks from the wall.
Drag the blocks along the wall and arrange them so that the design on the wall is properly displayed.
- Hint 1: Place the square brick down in the bottom right and the Z-shaped brick in the hole behind another block in the bottom left.
- Hint 2: Next, place the sideways T-shaped brick in the middle recess. Then place the small rectangular brick in the hole to the right.
- Hint 3: Place the right-facing L-shaped brick in the top left hole. Then place the small square brick in the hole directly above it.
- Super Hint: Lastly, place the left-facing L-shaped brick in the middle of the wall. That only leaves one piece left.
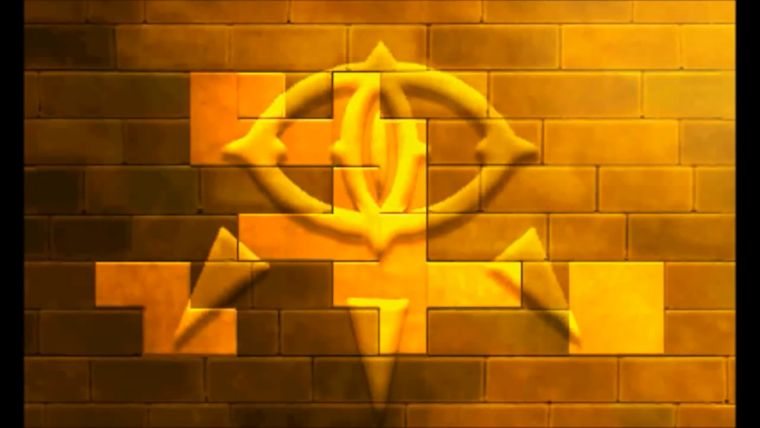
Solution: The key in this puzzle is that you must work around the outside to move around the map, as pieces cannot fall in the gaps as you move them around. All you have to do is follow the directions from the hints above exactly, and that will leave you with only one piece left, the vertical Z-shaped piece. Move it to the remaining empty space and you have solved puzzle #4
Puzzle #5 – Help Espella!
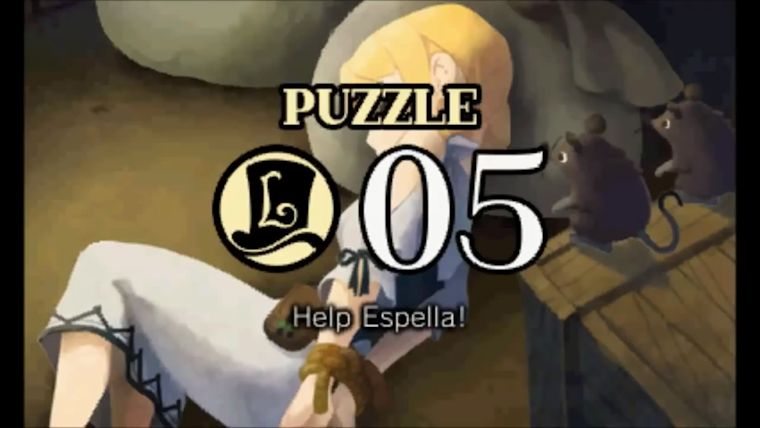
Espella’s hands have been tightly tied behind her back. Quickly, untie her!
Which rope (A or B) will not result in a knot when both ends of the rope are pulled at the same time?
- Hint 1: Using the Memo Function will make solving this puzzle much easier.
- Hint 2: It’s clear the ropes intersect at the middle. Look carefully at the two possibilities of how the ropes can overlap to form a knot. Don’t think about how to untie a knot. Think about what it takes to create a knot. Understand that and you’ll free Espella.
- Hint 3: If the two ropes are not criss-crossing from behind, then making a knot would be impossible. One rope would have to cross behind the other to form a knot.
- Super Hint: Here’s a bit of extra help for this one. The answer is B!
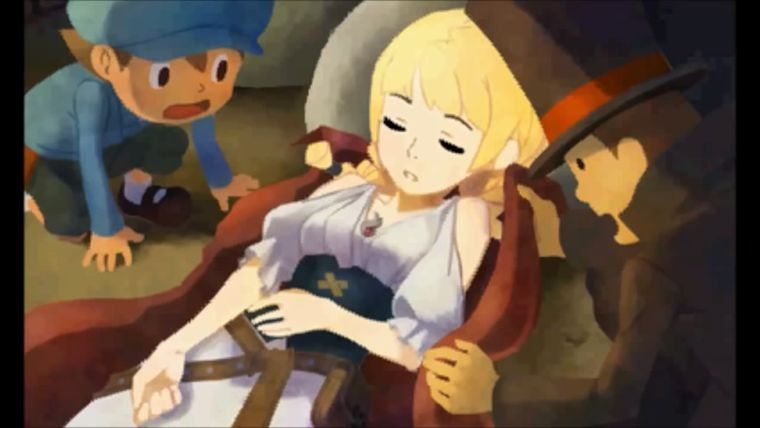
Solution: Well I don’t even have to say anything on this one other than look at the Super Hint.


Published: Sep 2, 2014 09:00 am