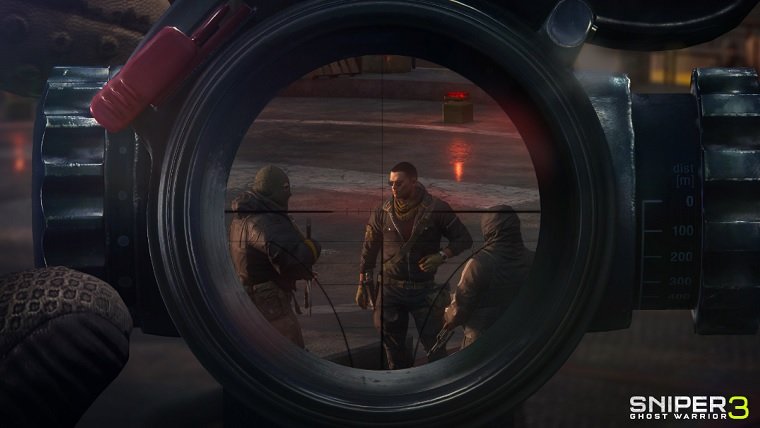
While there are a few ways to go about taking down your enemies in Sniper Ghost Warrior 3, sniping is by far the most gratifying option. There’s something very rewarding about finding the perfect sniping spot, tagging all of the enemies in the area, and then picking them all off. However, this game’s sniping mechanics are a little more in depth than your typical FPS, but we’ll teach you how to be a pro.
The big thing that sets this game’s sniping apart from most other games is that you need to adjust the sniper rifle’s scope elevation, which depends on the distance from you and your enemy. Your scope’s elevation will start off at 0m, before then being adjusted to 100m and then will increase by 50m beyond that point with each adjustment. Adjusting the scope distance can be done with the d-pad on PlayStation 4 and Xbox One, with left decreasing the elevation and right increasing the elevation.
The idea is that you want to get your enemy in your sights, and then take note of the elevation that comes up once you’re focused on them. You want to get the elevation as close to the number shown by the enemy as possible, going a notch higher if you can’t get it exact. For example, if an enemy’s distance is at 130m, then adjust your scope to 150m to ensure that you’ll nail the shot. You’ll also want to hold your breath to steady your aim temporarily, which you can do by pressing and holding the left analog stick. Wind may play a factor in whether or not your shots will be successful, as well, though that aspect is more noticeable in the higher difficulties.
Remembering to get your scope distance correct before firing at an enemy is essential to succeeding in any particular mission, as if you miss a shot then it likely leads to the entire area being alerted by the enemy you failed to kill. Get the get the scope elevation correct, and you’re pretty much guaranteed the hit.


Published: Apr 24, 2017 06:14 pm