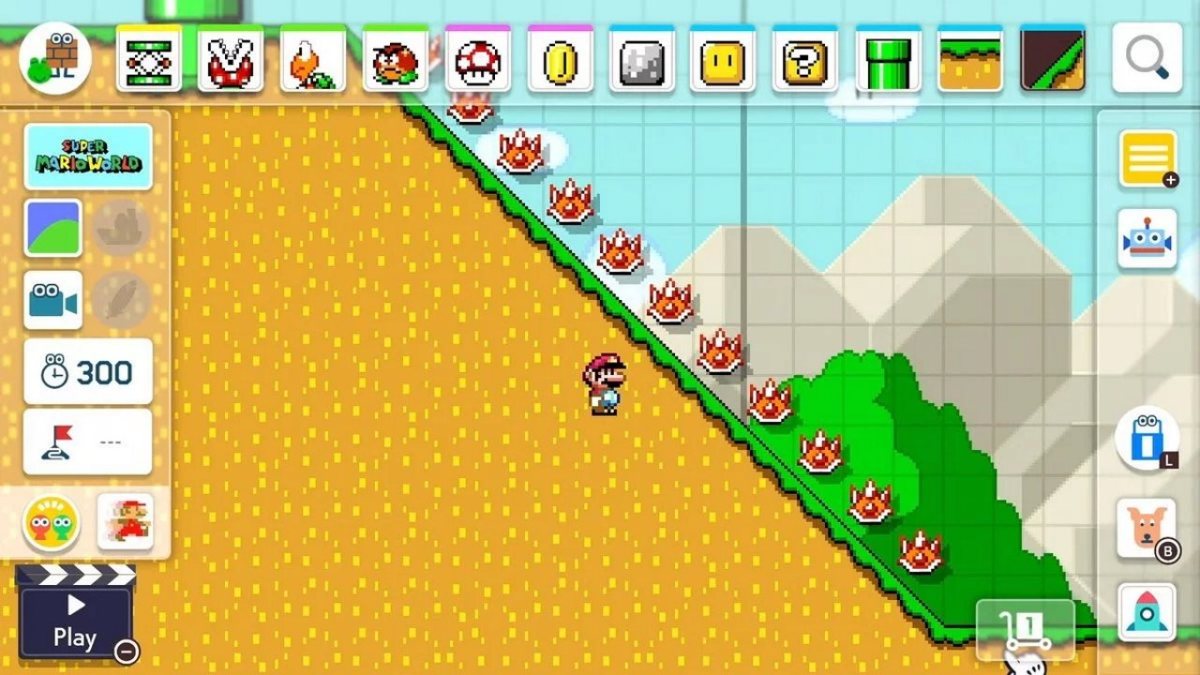
After dealing with various player-crafted workarounds, Super Mario Maker 2 finally adds in the highly requested and very much anticipated slopes. These slanted parts of the level might seem simple, but their inclusion totally reworks how players can create their own levels. And while the method to create them is rather simple, it’s somewhat hidden away if you aren’t exploring the level editor enough. To help, here’s how to make slopes in Super Mario Maker 2.
How to Make Slopes
As I said, the answer is a bit simple but many players struggle with the Super Mario Maker 2 level editor for a number of reasons. In regards to slopes, they’re found within the crafting menu itself. This means if you’re simply layer standard, flat pieces of the level and wanting to turn them into slopes you’ll not be able to. What you have to do instead is open the editing menu by tapping in the top right or selecting the magnifying glass with your cursor.
Once open simply scroll all the way to the left using the L button. This takes you to the ground or platform menu. Here you can choose a number of different options, such as standard ground for your template, mushroom platforms, warp pipes, or the one we’ve all been waiting so long for: slopes. There’s two options here, gentle and steeper slopes. Pick the one you want, then get back to the editor to place it.
Tap or select the square you want the slope to start in. This will place a small patch of sloped ground which you can edit later. To make it longer, select either end that you want to extend then drag it to the desired length and height. If you want to change it’s orientation just select and drag one side across the other. Basically once placed you can drag the slope however and wherever you want, but the incline will remain the same, so choose the right slope for you level before getting too far into the edit process.
And that’s how to make slopes in Super Mario Maker 2.


Published: Jul 1, 2019 04:49 pm