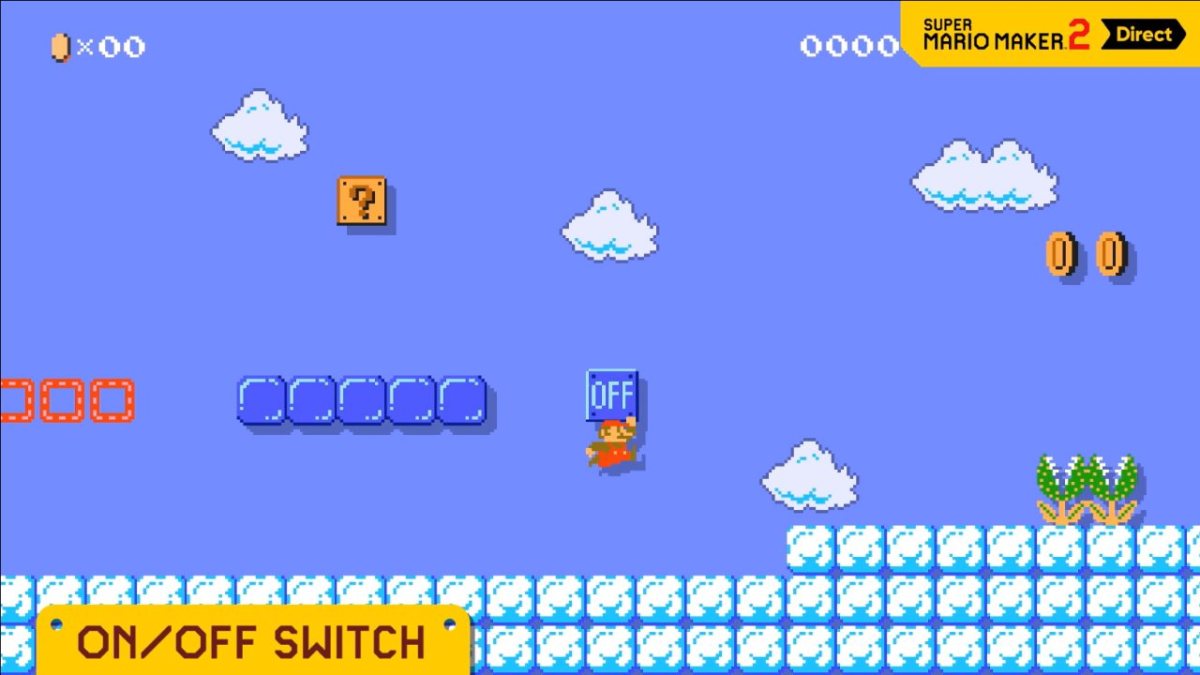
Super Mario Maker 2 is chock full of new stuff to try out and new items to use in the creation of your platforming masterpieces. One of the coolest and most impactful is the brand new On Off Switch, which was introduced to players long before the game arrived. This new mechanic was so earth shattering for the Mario Maker community that players have been frothing at the mouth to think of ways to use it in their levels. But to do that you need to know the basics. Here’s how to use On Off Switch in Super Mario Maker 2.
How to Use On Off Switch
Before we get into the nitty gritty of the On Off Switch, what exactly is it and what does it do? Basically the item acts as a switch between two sets of blocks. There’s blue blocks and red blocks. When the switch is On, lit up in red, the red blocks will be active, meaning they are placed physically on the stage. Flip it off and they disappear, leaving an outline in their place, but blue blocks will pop into existence if they’re on the level as well. You can use this in your levels for different things, either making special, hidden paths, or building stairs that you need to activate in order to use. But let’s dive deeper into how to use the On Off Switch now…
First off, you need to be in the Edit mode if you’re looking to add an On Off Switch to your level. Once there you’ll find the item to the far right of the search screen. Tap the magnifying glass to pull this up, then scroll using the right bumper button. Once you find it, you can add both the On Off Switch and the red/blue blocks it controls from this same menu. Place the switch wherever you want, making sure it’s accessible by the player, then decide which blocks you want to place where.
Red blocks show up by default, so pick them and place them wherever you want. To switch to the blue blocks just hold down on the red block to swap it to blue. This will create an outline in its place. The player will have to flip the switch while playing in order to make those blue blocks show up properly.
And that’s how to use On Off Switch in Super Mario Maker 2. This is just the beginning, so be sure to use it often and share your own tips in the comments below.


Published: Jun 28, 2019 12:41 pm