Most video game platforms offer the ability to take screenshots at will, which is a good way to capture those moments worth remembering. A good number of games though have taken this another step further by including actual photo modes that let you do more than take a simple screenshot. The Division 2 is one of those very games and this guide will explain just how you can access that photo mode in the game.
How To Access Photo Mode In The Division 2
Some games such as the recent Kingdom Hearts 3 had photo mode accessible with just the press of a button. However, The Division 2 is a little more hidden than that, though still not too overly hard to find.
Whenever you would like to take a picture in The Division 2, open the pause menu first of all. Once you have this menu up, hold down the X button on Xbox One, or the equivalent button on other platforms. Doing this will not open up the actual photo mode for you to use.
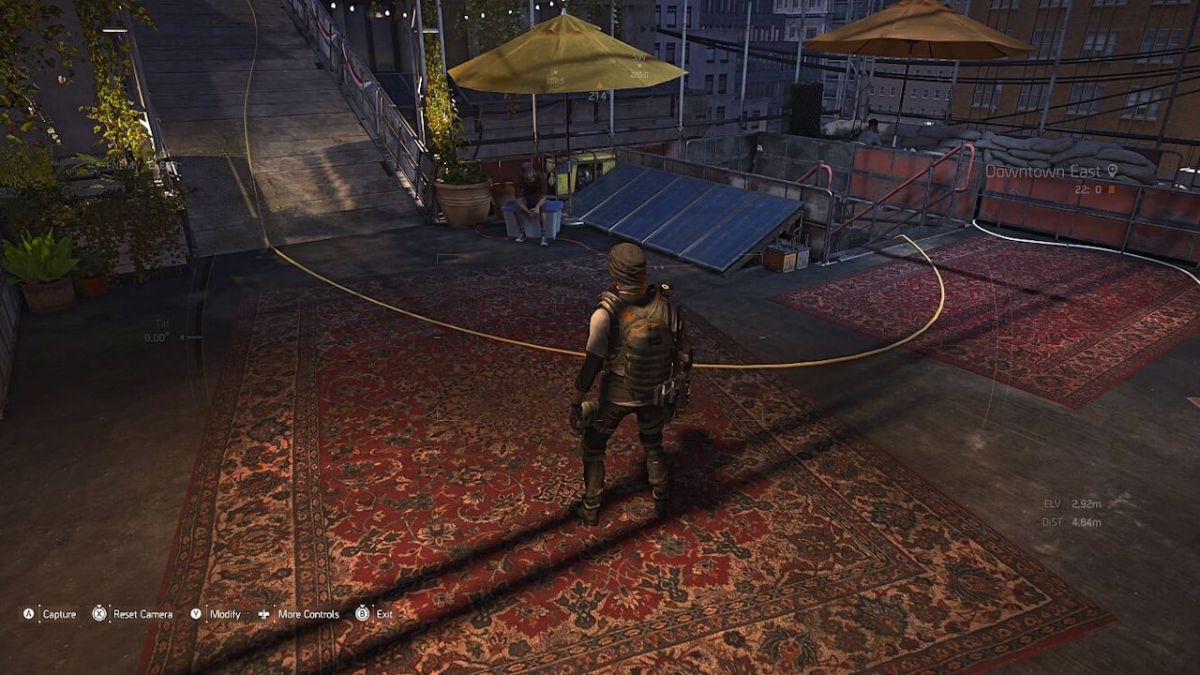
Within photo mode, you can move the camera around your character in whichever way you like or play your selected emote as well. By pressing Y, you can then access additional settings as well, including filters, Pose, Border, as well as adjustments to things like Contrast and Saturation.
The screen shows that you can press A to capture on Xbox One, but that is not actually the case. Upon pressing A, you will be prompted to open the Xbox Guide to capture a photo. All you have to do for this is press the Xbox button on the controller and press Y to snap the screenshot. This means the game sets up the way the images will look, but you still have to use the platform’s photo technology to actually snap the picture in the end.


Published: Mar 21, 2019 03:30 pm