The game is getting harder, so time to upgrade your items to match the challenges The Surge 2 throws at you. Luckily, it’s as easy as crafting.
Upgrade Items at the Med Bay to make them more powerful
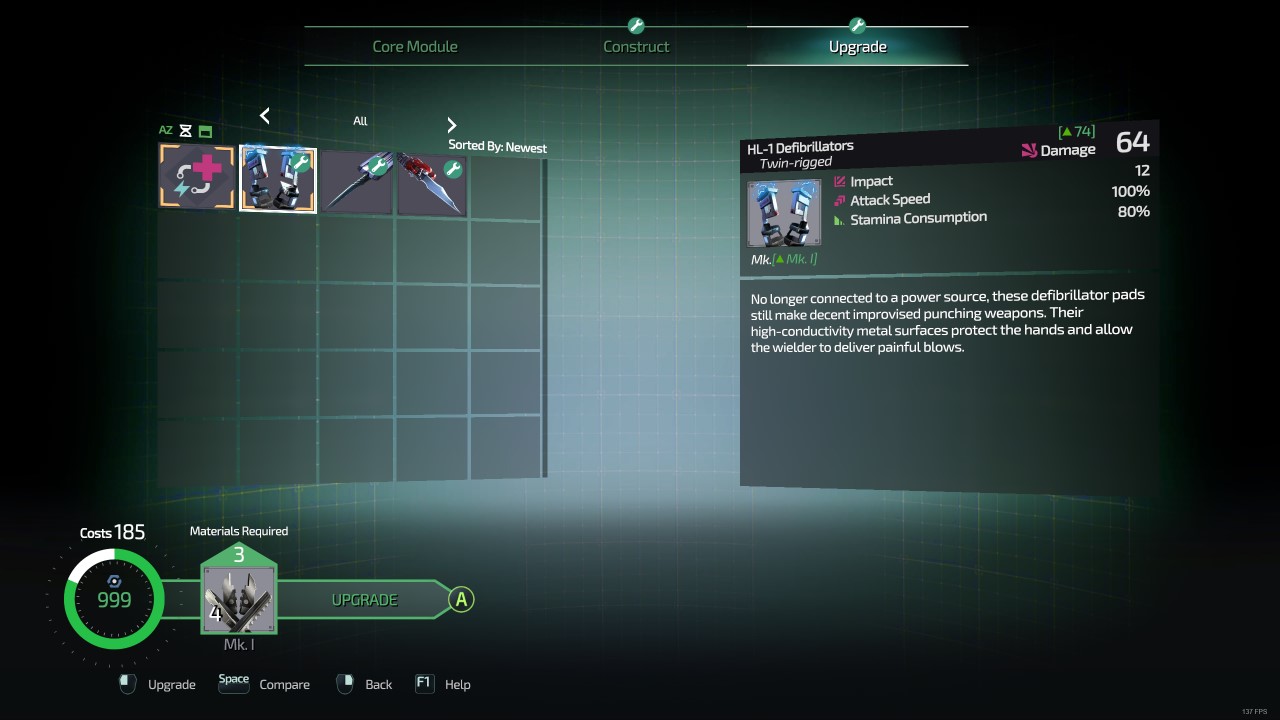
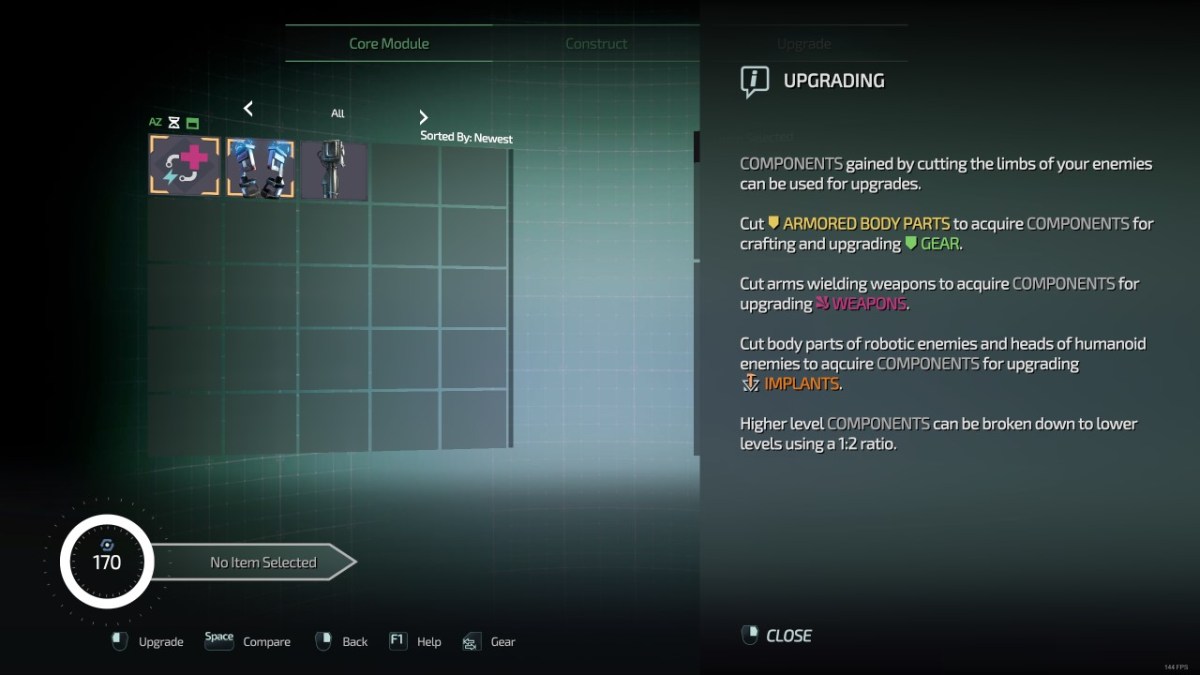
At any med-bay you will have access to the upgrade screen, where you can upgrade any weapon, armor piece, and injectable implant with components retrieved throughout the game. Any item that can be upgraded with have a green wrench icon on it, indicating you have all the required components and scrap.
Upgrading does require tier-equivalent components, though. Say you wanna raise your weapon from tier 1 to tier 2: you will need tier 2 weapon components. You can also downgrade components the same way you did with crafting: the UI will highlight the highest tier of component you have that can be broken down at a 1:2 ratio, and will move down the chain until you have the tier of materials needed.

What is being upgraded statistically will be shown in the right panel, and can be compared against your current equipment. Once upgraded, the green upgrade wrench will either disappear, or remain if you still have the necessary components and scrap to push that item up another tier.
Remember: harvesting components means dismembering your enemies for the parts you need. If you need weapon parts then take out weapon holding arms. Heads will reward head and implant component pieces. The Omni-Health Observer implant will also show the “level” of enemies you target, and that level corresponds to the tier of material they will drop: use it to maximize your farming and expedite your crafting. Also, remember energy costs for equipment can change when upgraded, so keep that in account when doing so.
That’s all there is to it: upgrading is as easy as crafting. Engage your enemies and dismember the body parts associated with what you need, collect scrap, and return to a med-bay to boost your equipment to take on harder and harder challenges.


Published: Sep 23, 2019 07:33 pm