Are you wondering where to find Climbing Gear in Zelda Tears of the Kingdom? There are three pieces of Climbing Gear; each will increase your climbing speed, making it easier and quicker for Link to climb walls. However, the gear is hidden inside caves throughout Hyrule, making them hard to find. So here is an easy guide on where to find all three climbing gear pieces in Zelda Tears of the Kingdom.
All Climbing Gear Locations in Zelda Tears of the Kingdom (TOTK)
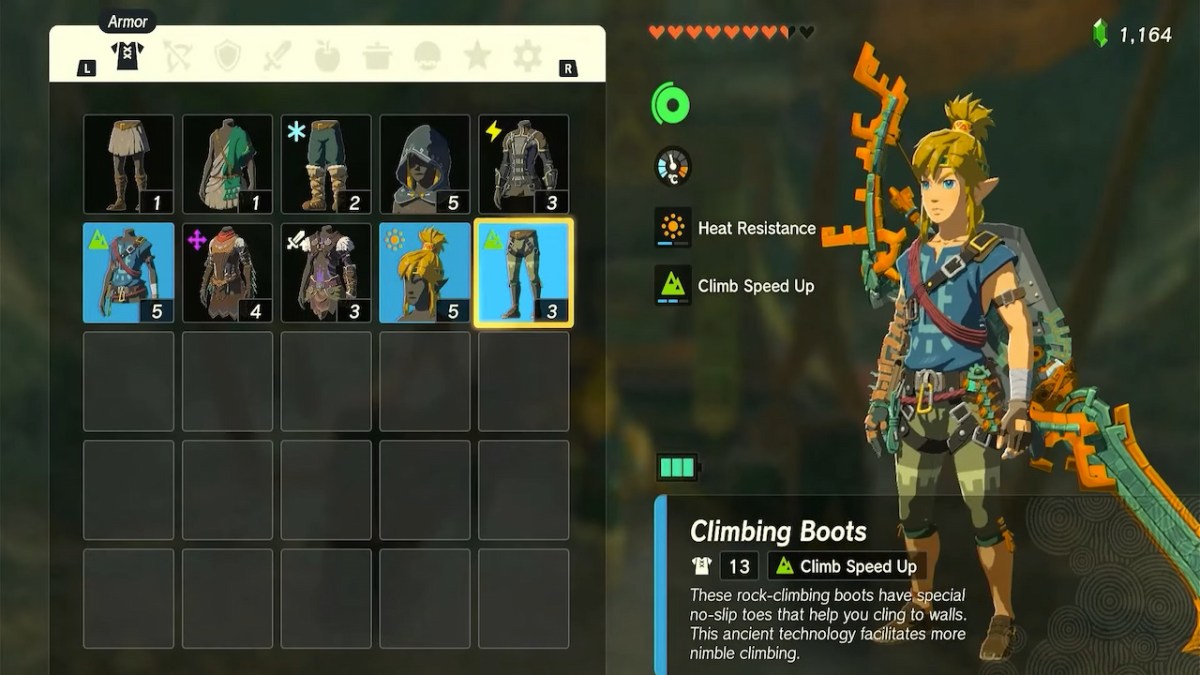
The Climbing Gear set will provide the following bonuses once all three are equipped at the same time:
- 1 Piece: 20% climbing rate speed increase
- 2 Pieces: 30% climbing rate speed increase
- 3 Pieces: 40% climbing rate speed increase.
In addition, you can improve the stamina drain by upgrading each piece, which I will discuss in greater detail below. To learn how to get a specific piece of Climbing Gear or how to upgrade them, click on the link below:
How to Get Climbing Gear in Zelda Tears of the Kingdom (TOTK)
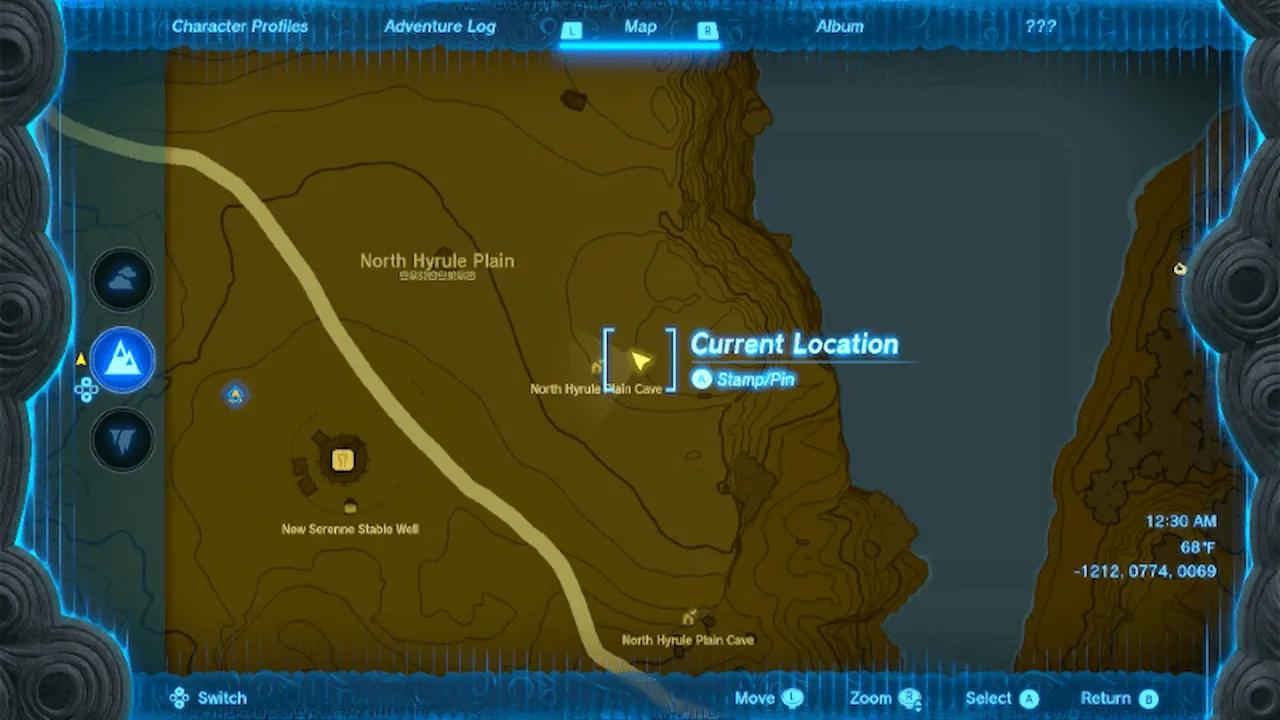
You can find climbing gear in Zelda Tears of the Kingdom in the North Hyrule Plain Cave. There is more than one way to reach it, but here is how I found it. There is a small hole in the ground Northeast of New Serenne Stable, near the geoglyph and roaming horses. The coordinates to this location are: – 1212, 0774, 0069.
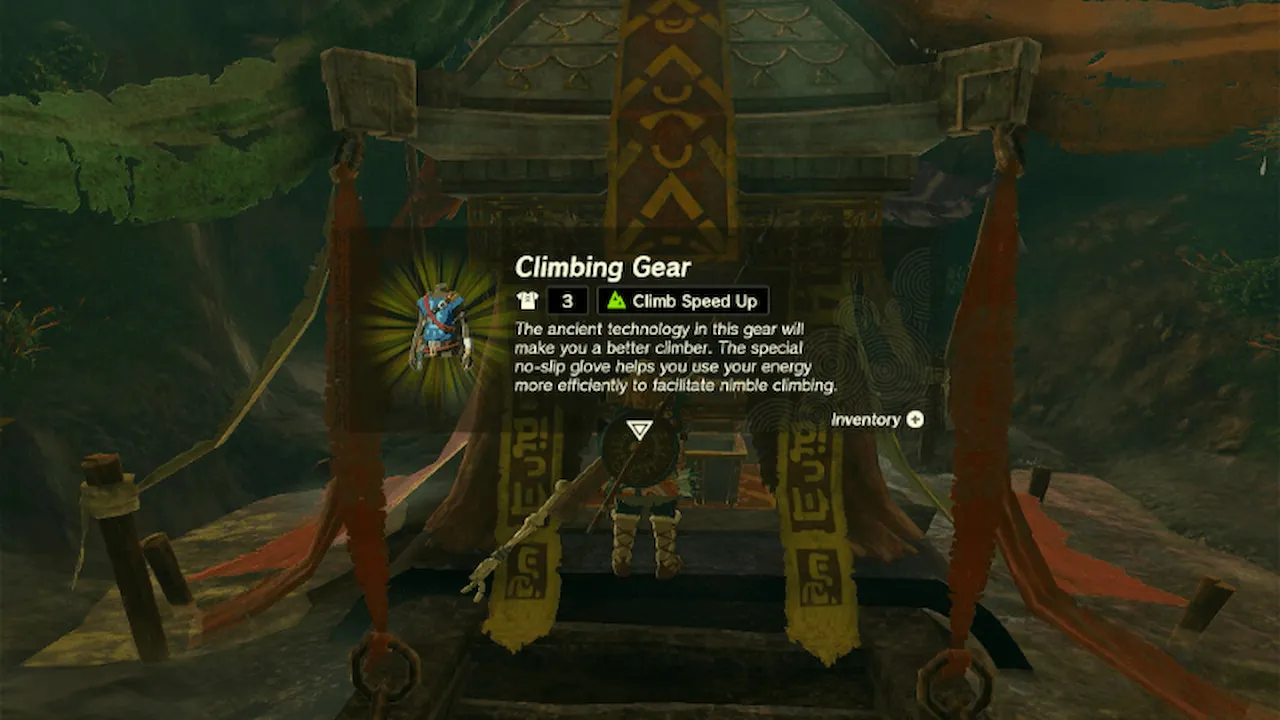
Jump through the hole and defeat the Horriblin that will attack you. Keep heading through the cave until you reach a small waterfall, where you will find an alter with the chest containing the Climbing Gear.
How to Get Climbing Boots in Zelda Tears of the Kingdom (TOTK)
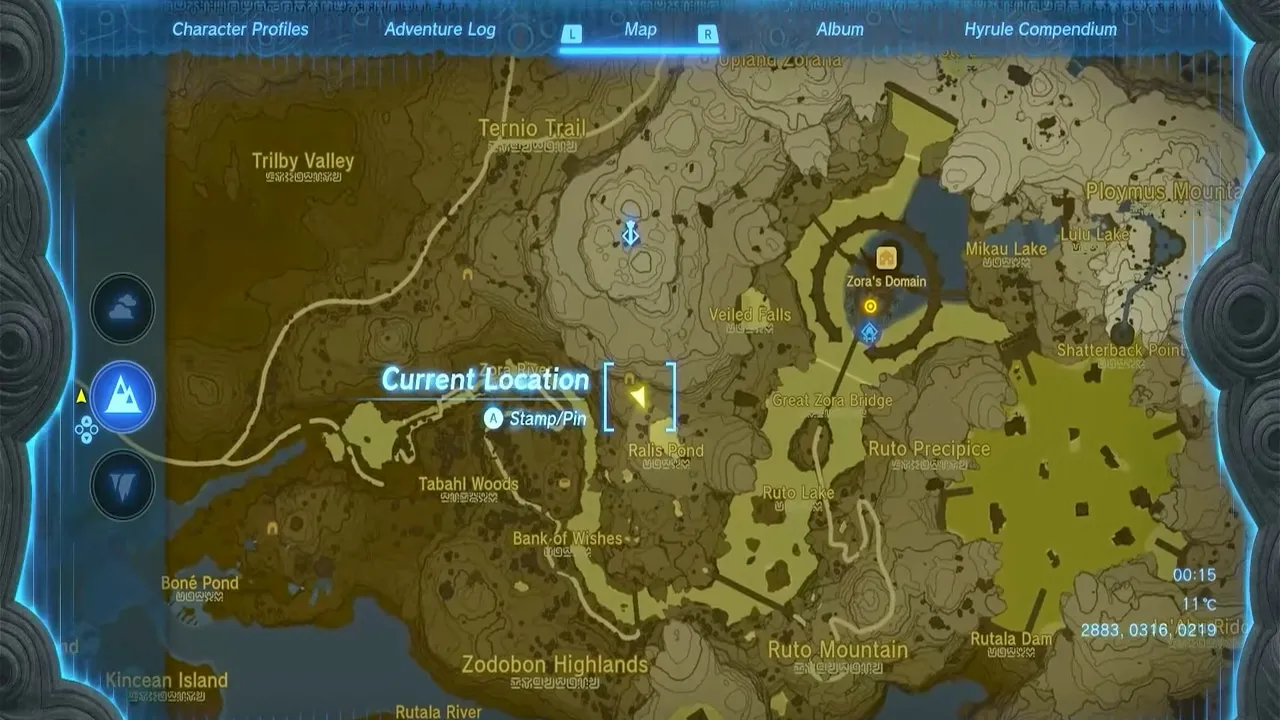
To get the Climbing Boots in Zelda Tears of the Kingdom, you must head to a cave in the Upland Zorana Byroad location, Southwest of Zora’s Domain and North of Ralis Pond. The coordinates are 2883, 0316, 0219.
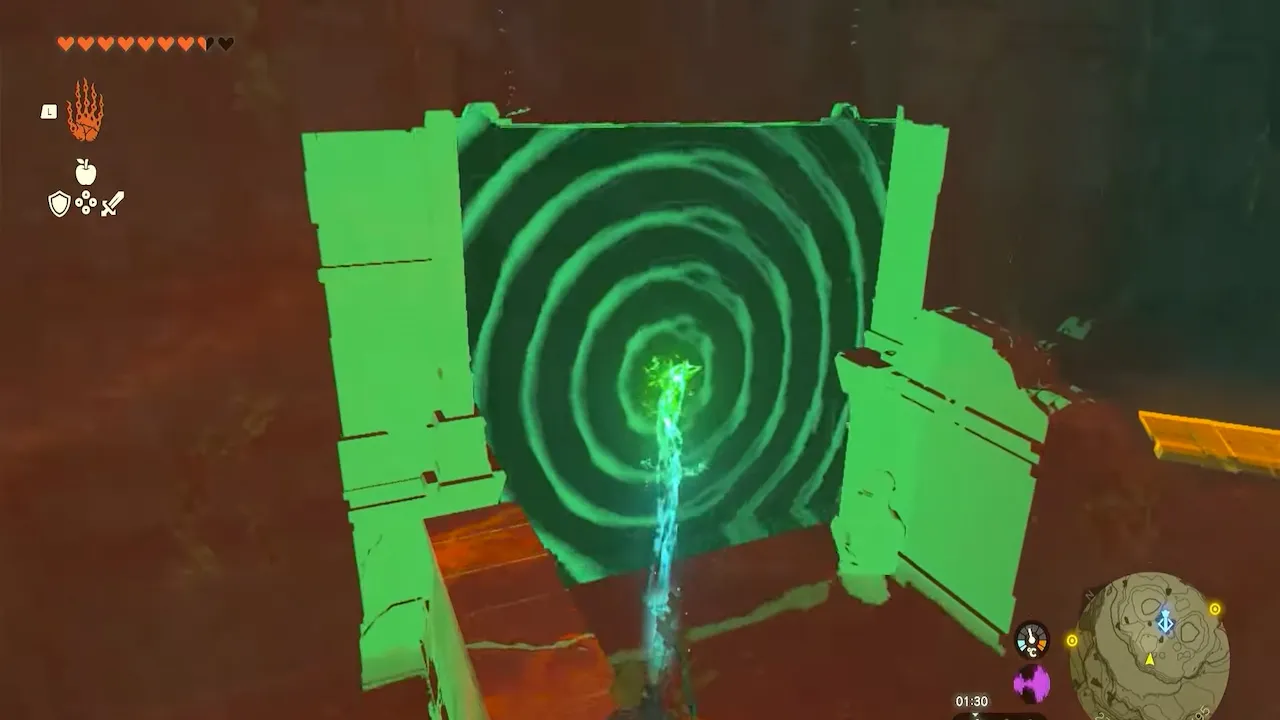
Head to the back of the cave until you come to a wall you can lift using the Ultrahand ability.
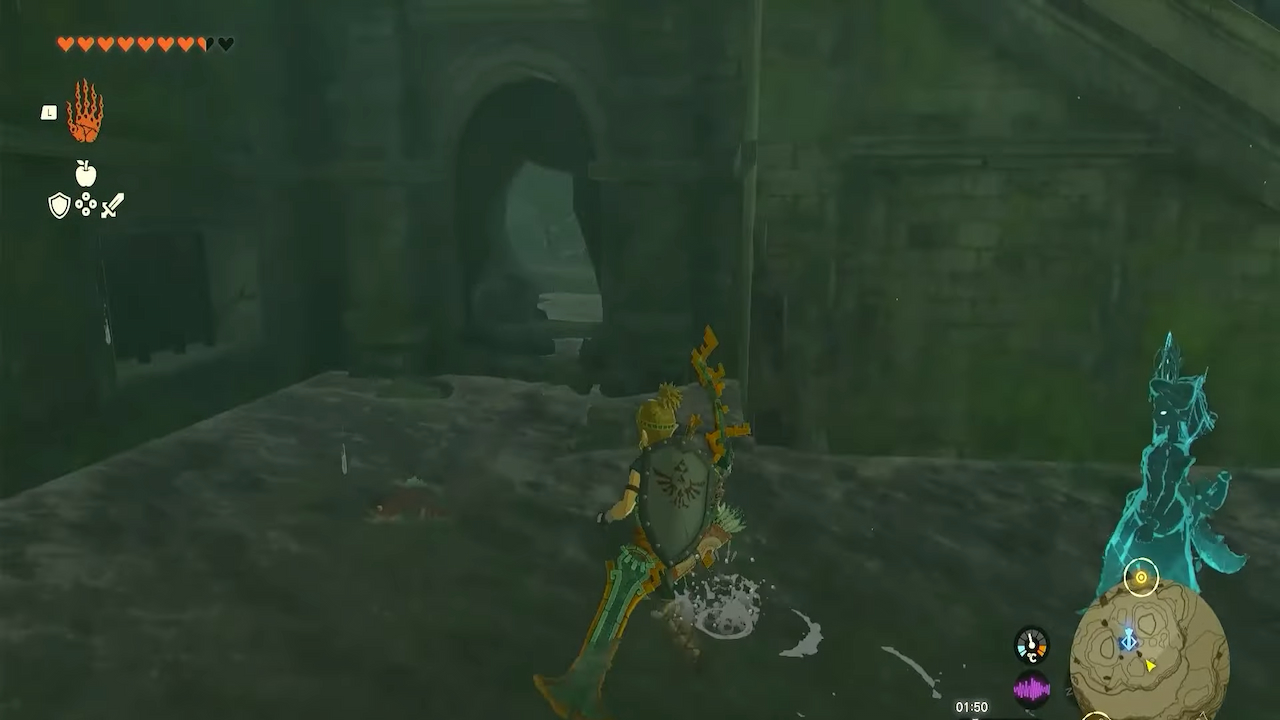
After lifting it, you want to drop down to your right and head through the revealed passageway.
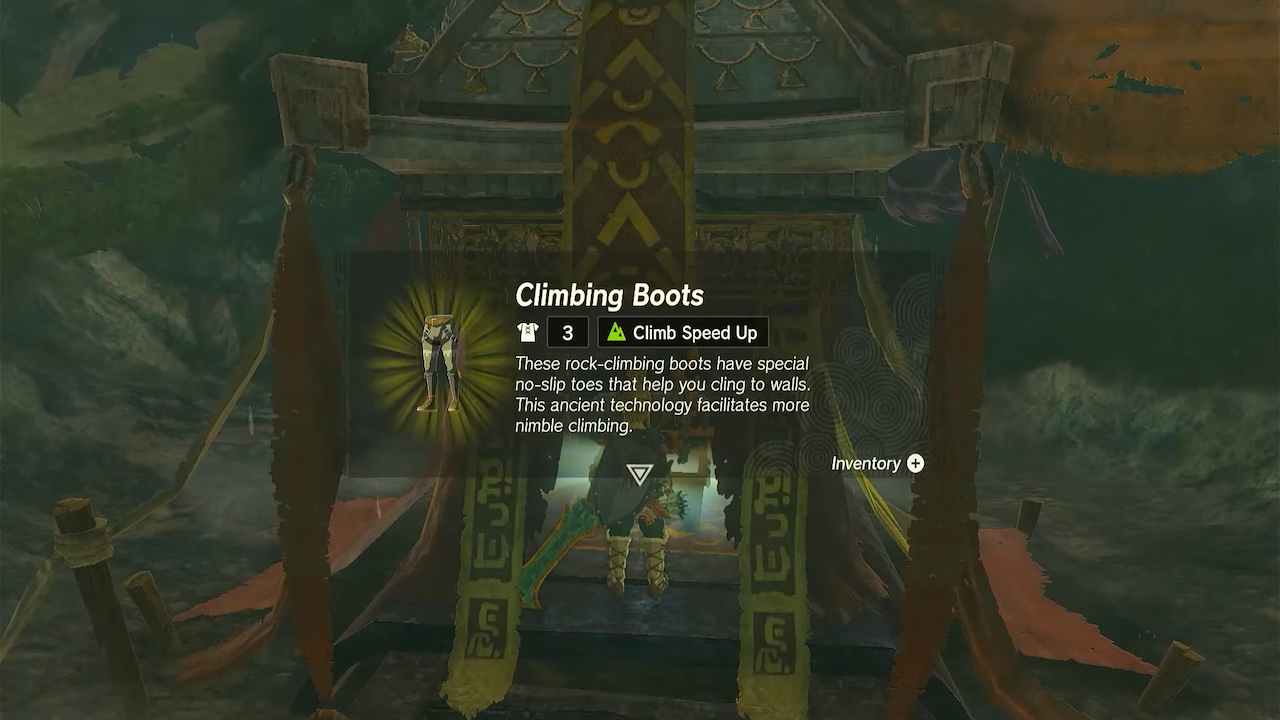
Continue to the altar, where you will find a chest with Climbing Boots.
How to Get Climber’s Bandanna in Zelda Tears of the Kingdom (TOTK)
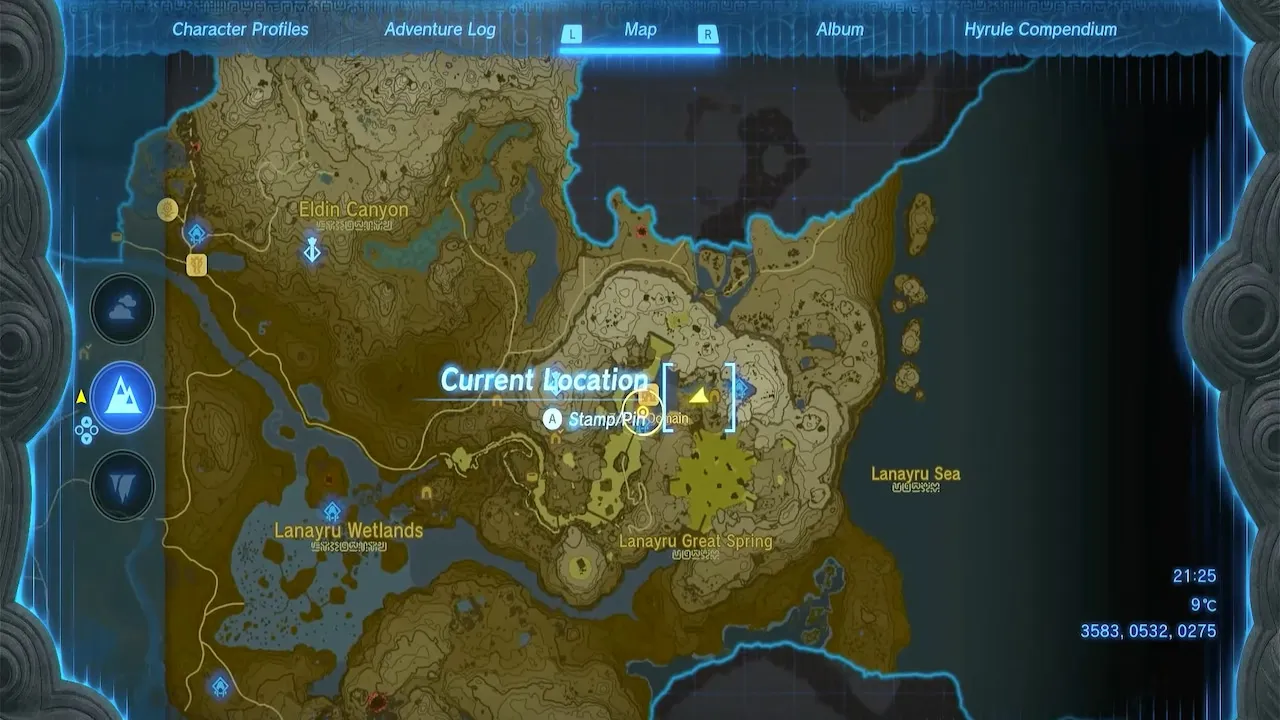
To get the Climber’s Bandana in Zelda Tears of the Kingdom, you will want to head to the Ploymus Mountain Cave location east of Zora’s Domain. The coordinates to this cave are 3583, 0532, 0275.
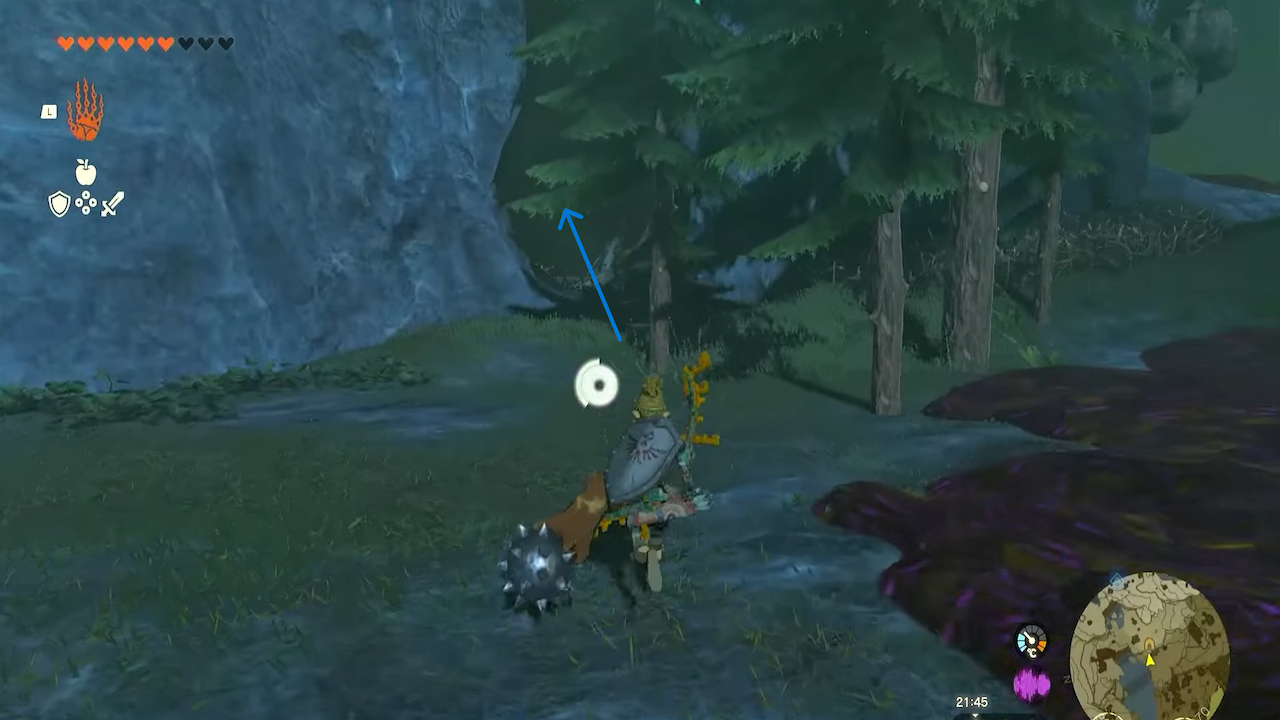
I found this cave tricky because it is hidden behind a set of trees and blends in with the cliff wall.
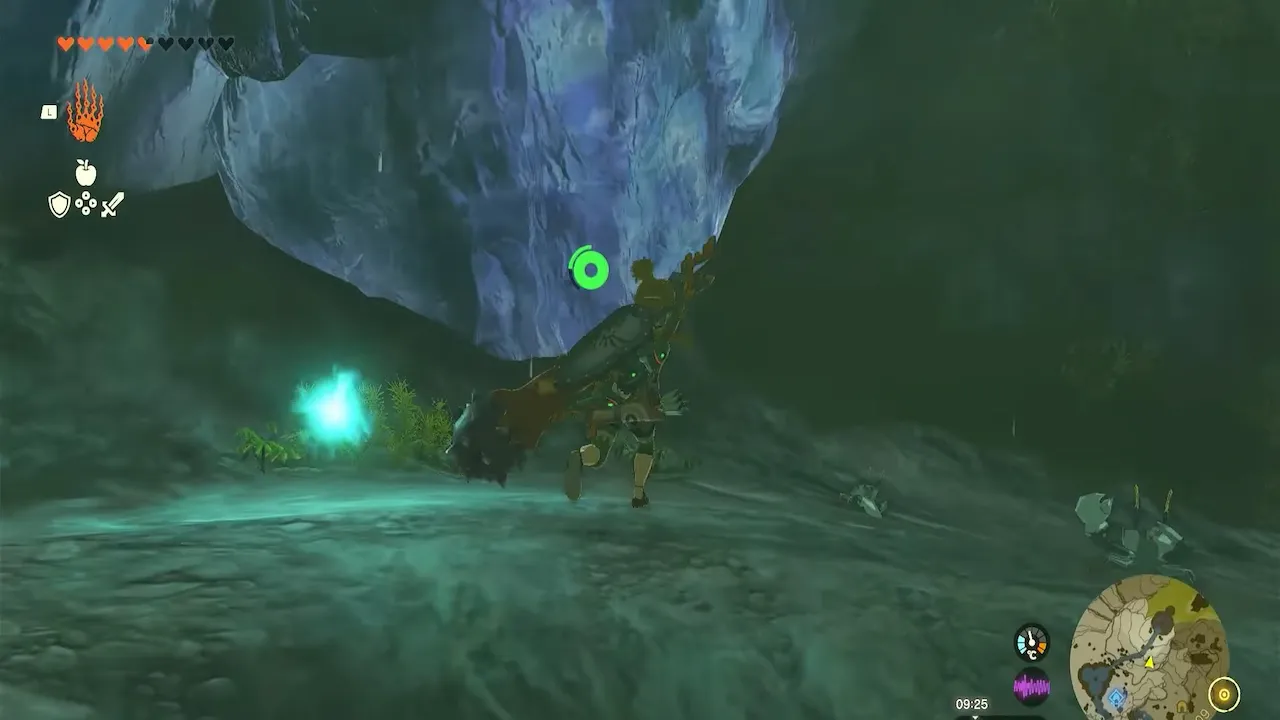
Once inside, continue deeper into the cave by climbing up the cave walls using the platforms sticking out. You will know you have reached the top when you hit the purple crystal.
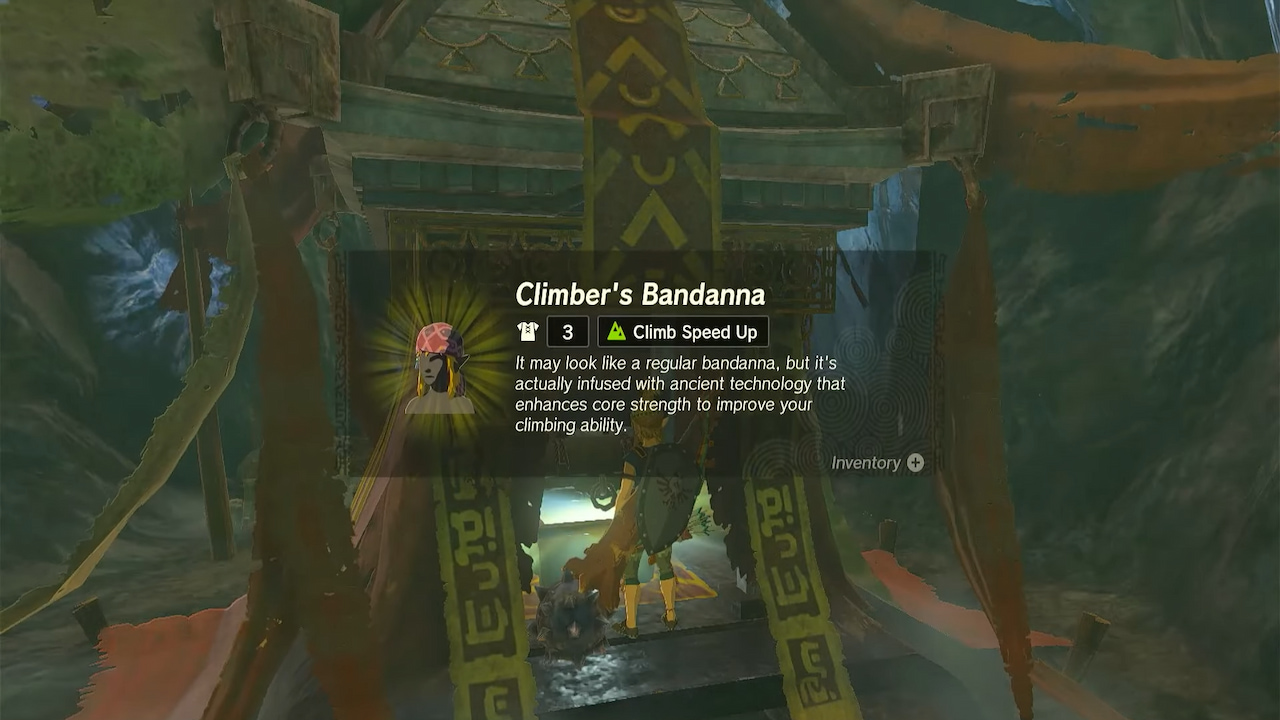
Continue further into the cave, and you will reach an altar with a chest that contains the Climber’s Bandanna.
How to Upgrade Climbing Gear in Zelda Tears of the Kingdom (TOTK)
This is because I have found that the only way to reduce stamina drain while performing the jump-up maneuver is by upgrading each piece to level 2.
You need the following materials to upgrade your Climbing gear:
- Keese Wings: The easiest way to get lots of Keese Wings is to find a grouping of bats flying around the map and blow them up using an arrow attached to a bomb flower. I have found that you can quickly shoot them after deactivating your Paraglider.
- Electric Keese Wings: You can find Electric Keese Wings in the Garudo desert just south of Garudo town. You will find a cluster of them at night while traveling towards the Oasis. I have found an easy way to spot them is to fly around on your Paraglider using updrafts and then look for the electric glow.
- Hightail Lizards: You can get them near Lookout Landing, -1555, -1237, 0085, and North Hyrule field using stealth armor.
Author’s Note: After playing for an extended period, I have found that upgrading each piece of the Climbing Gear set is super helpful, so I have updated this guide to include all of the necessary information you need to do so yourself.




Published: May 19, 2023 02:19 pm