As we said in our Faron Woods walkthrough, the Tears of Light quests in The Legend of Zelda: Twilight Princess HD are an enormous pain. Less of a pain than they were in the original Twilight Princess for Gamecube and Wii, but still a definite slog that slows the pacing of the game tremendously. Hunting down the 12 (down from 16 in the original Twilight Princess) Tears of Light will take a while, but it can be much easier if you have a walkthrough handy. So, here’s our Legend of Zelda: Twilight Princess HD Tears of Light Walkthrough for Kakariko Village.
Note: All directions are for the regular version of the game, not Hero Mode, which is mirrored making right become left and left become right.
We also have a video guide, which you can check out belwo, but I definitely prefer using text so I can follow along on my phone or whatever. I’ll just give quick highlights, so hit the video if you need more clarification.
First up, head toward the nearby building where the children’s scent ends. You want to go to the far side and jump onto the wheelbarrow. This will get Midna to guide you to the upper floor, dig through the middle area and into the building. After some cutscenes you’ll find out that there are three bugs in here, but they are sequestered down in the basement. Grab the wood off the floor and light it on the fire in the middle of the room. Run around, letting the wood light each candle on the walls, and you’ll open the door you need.
Head down into the basement, being sure to activate the hunter sense to find the bugs. Kill them and head out the exit at the end. This will bring you to a Graveyard, which no longer has a Tear of Light thanks to the Twilight Princess HD upgrade. Just head back to town, to the far side of the street, and up the nearby ramp onto the building rooftops.

Head into the nearby opening and down into the kitchen area. There is a Tear of Light bug here, but he’s nestled in the chimney. Grab the wood again, and light it from the candle on the wall, then light the stove on fire. This just scares him out of hiding, so don’t leave immediately as I did. Kill the bug, grab the light, and head back outside (though there are some non Tear of Light goodies in the other rooms here).
Next, head across the street and onto the roofs via the small building. Keep going until you see a patch of very damaged roofing. Walk onto it to fall through and into this building. There is a Tear of Light bug inside, which you can find by pushing the wooden box. Use Midna to make your way out then keep heading down the street on the right side.
You’ll see a large building with a bomb sign out front. Jump on top of the smaller building just past this one. You can jump into the bomb shop by dashing (hit A) into the window. Go upstairs and knock over the dresser to find another Tear of Light. Climb up the dresser and out the window.
Turn around and move toward the nearby building and you’ll see another Tear of Light, but he’ll run inside before you can grab him. Use your senses to find a dig spot next to the building to head inside. Do your fire trick again, using the stick, and you’ll set the whole place on fire. Go back outside as fast as you can, and the whole place will explode, leaving three Tears of Light in its place.
Twilight Princess HD Tears of Light Kakariko Village Walkthrough Video
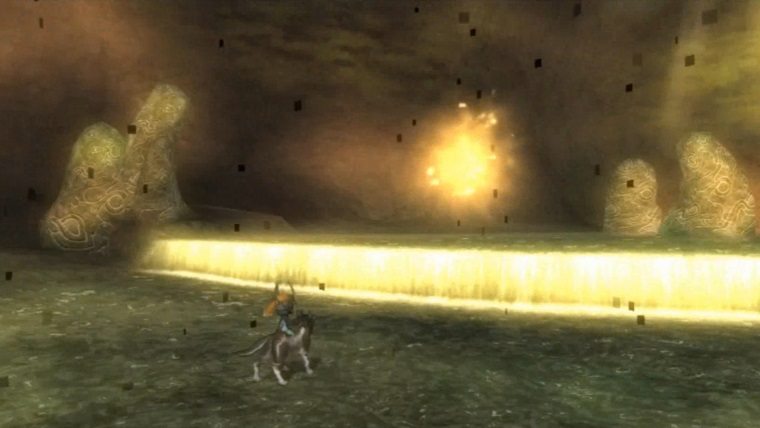
Continue down the street and to the right and you’ll see the path toward Death Mountain. This is where you’ll find the last Tears of Light in Kakariko Village. Move down the path, killing any enemies that might get in your way. Eventually you’ll come to an area with a bunch of steam geysers with a Tear of Light bug burrowed underground. Dig him up and kill him to get the 10th Tear of Light.
Keep heading down the path and you’ll hit a much more open area with a short cutscene intro. Kill the enemies here as usual and you’ll find a Tear of Light hiding on the back wall nearby. Just one more left, but he’s a bit further along. You need to do some climbing, so get onto the nearby platform to trigger Midna, it’s the one right in front of the wall that had the last Tear of Light.
Walk up the small ramp on the left side of the path and Midna should help you along, walk until you see a Goron standing in the way, then jump off to the left side to find some hot springs and the final Tear of Light in The Legend of Zelda: Twilight Princess HD’s Kakariko Village area.
Next up is the last one, Lake Hylia. It is even tougher than Kakariko Village, so be sure to check for our other guide here.


Published: Mar 4, 2016 04:00 pm