With the release of The Legend of Zelda: Twilight Princess HD, players are once again diving into the world of Hyrule. Unlike previous games, Twilight Princess had a very long intro sequence, with Link awakening in Ordon Village, and completing multiple quests across a few hours before he can move onto the adventure that is to come. Many players have struggled with this opening, so here’s a quick guide to help you get started in Ordon Village. This will include some specific walkthrough style stuff, but also some general tips to get through this somewhat too long opening.
Consider Hero Mode
Twilight Princess is a bit of an easy game. Even if you haven’t played it before, it might be a good idea to try out Hero Mode, which doubles the damage doled out by enemies, while making heart drops non-existant. If you’re looking for a challenge and have played a 3D Zelda game in the past, this might be the way to go for you. However, remember that you can’t switch back mid-game, so you are stuck with whatever choice you make at the beginning. If you aren’t looking for a true challenge then you might want to stick with the regular game. If it is too easy for you, you can always grab a Ganondorf amiibo and scan it to achieve a similar effect. Having to scan it all the time can be a hassle, but it’ll be better than being stuck on hard if you don’t actually enjoy the difficulty.
Just Keep Playing
Easily the best and most important tip for getting started in The Legend of Zelda: Twilight Princess HD is to just keep playing. The opening segment can be a bit of a slog, giving you very little fun, and holding your hand through endless tutorial sections. However, once the game opens up it is a real treat, and shouldn’t be missed just because of a boring opener. Even if you usually avoid them, if you have some trouble and get stuck in the first couple of hours, consider looking through some more walkthroughs with specifics on what to do.
Herd Those Goats
Someone at Nintendo must have been going through a goat phase back in 2006, because there are a whole lot of them in The Legend of Zelda: Twilight Princess, especially in the opening segments in Ordon Village. On two totally different occasions you will have to herd a group of goats into a barn. You’ll be riding Epona, which makes it go by a bit faster, but if you cause the goats to scatter it can be a real headache. Try to get them into the barn in groups, or even as one huge one if you have the skills. Work the outside of the group and watch for goats that are looking the wrong way (away from the barn). Get in front of these and get them turned around. You want to move them slowly, but surely, getting behind them and hitting A to make them rush forward.

It’s all About the Rupees
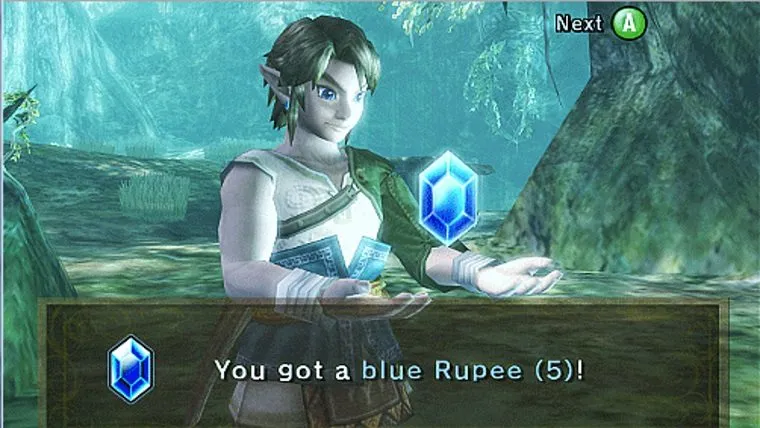
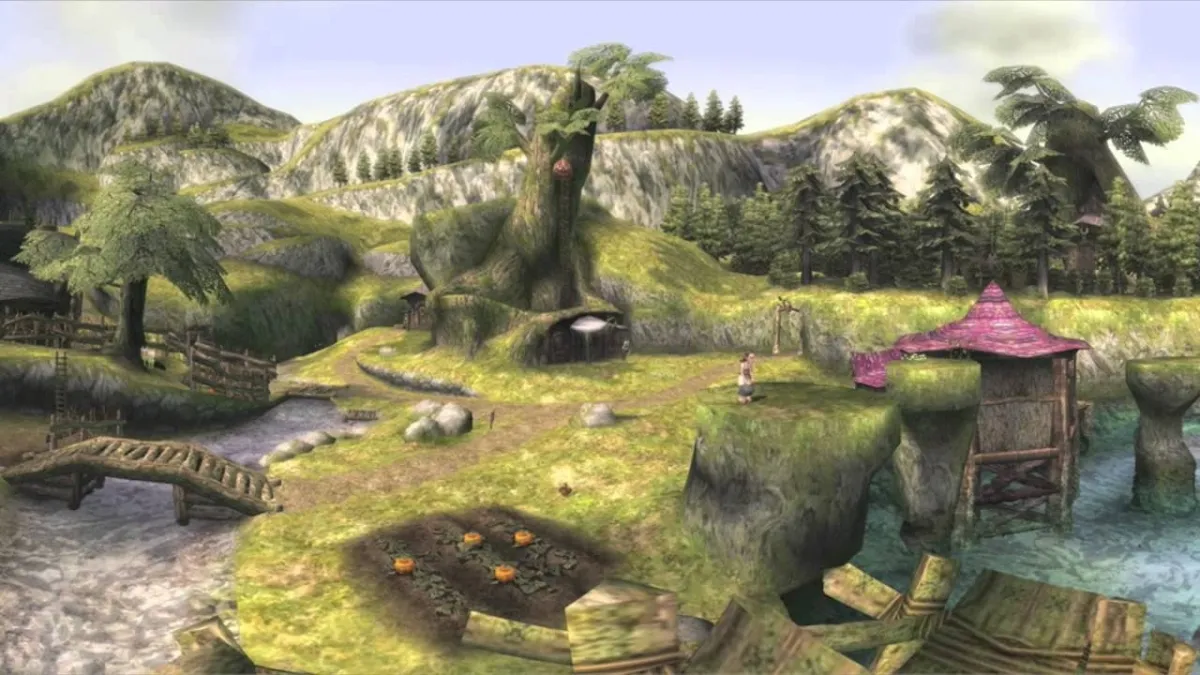
Your main goal in this section, outside of herding goats, is to gather enough rupees to eventually buy a slingshot. This means you’ll need 30 rupees, which can be hard to find in such a small village. Smash all the pumpkins and clay pots that you see and you’ll get a few but the real reward requires some extra effort. Climb up on the nearby spires, the ones in the river, and jump to the end. Here is a special bit of grass that you can pick and blow into to call an hawk. This is how you get the baby’s cradle that Uli asked you about, just send the hawk toward the monkey in the distance.
Afterward you’ll use the same grass, but on the spire that you initially climb up on, to call the same hawk. Turn toward the village and you’ll see a bee hive. Let the hawk fly toward it to knock it down. Climb up the newly revealed ladder and you’ll find a treasure trove of rupees to use to buy the slingshot, but there’s one problem.
Fishing Time
The store owner’s cat is missing, and she’s too distraught to even do her job. You’ll have to get her cat back to her to move forward. Here’s a quick and easy guide to getting the cat back home, which involves a bit of fishing, though not as much as the original game did. If you’re interested in learning more about fishing, be sure to check out our full guide on that topic.
Follow the Prompts
Once you have the slingshot just head back toward Link’s house and show it off to the kids gathered outside. After this the rest of the intro is pretty simple stuff. Just read all of the conversations and they should point you in the right direction. Soon enough you’ll have a mission to take care of, and after that the game will push you forward right up until it truly opens up and lets you run free. Eventually you’ll hit the Tears of Light quest, which is the first of three. These are a bit tough and can cause some headaches, so be sure to check for our walkthroughs right here.


Published: Mar 4, 2016 11:00 am