
Are you wondering what the Atomic Heart Testing Ground 1 solution is? Testing Grounds provide you with additional content outside of the primary campaign. Inside each Testing Ground will be a series of puzzles you were exposed to during the campaign. They can be tricky but worth it because you will be rewarded with weapon upgrade blueprints. However, Testing Ground 1 is the first Testing Ground and will have a simple entrance and puzzles you will need to solve. In this one, you will encounter more basic magnet puzzles that you will need to solve to exit the Testing Ground. Here is the Atomic Heart Testing Ground 9 station solution guide so you can unlock four weapon upgrade blueprints.
How to Complete Testing Ground 1 in Atomic Heart

To open the door to Testing Ground 1, you must use a camera terminal at the marked location on the map above. It is sitting on a platform that you can access via stairs.

Head to the mushroom-shaped building with the blue roof.

You will find the elevator that will take you to the testing ground.

Cross over through the red magnet platform to the other side.

Flip the magnets from blue to red. Now the next time you flip the magnet from red to blue, the platform in front of you will lower, but you will only have a short time to reach the door.
Warning: If you get crushed by the lowering platform, you will die and have to start over from your last save.

When you enter the next magnet puzzle room, you will want to drop down and stand on one of the blue 1 x 1 magnet plate platforms. Change the magnets from red to blue to lift yourself into the air.

Head to the right side of the room, where you will see a platform, as shown in the picture above.

You now have access to the exit.

When you reach the hallway with two doors, go through the door at the end. You will see a vent that you can climb into.

When you drop out of the vent, you will find a recreation room on your left, a Lootyagin with the Fox – Ergonomic Handle blueprint straight ahead in the room with the yellow light above it, and you can proceed with the testing ground by going through the door on your right.

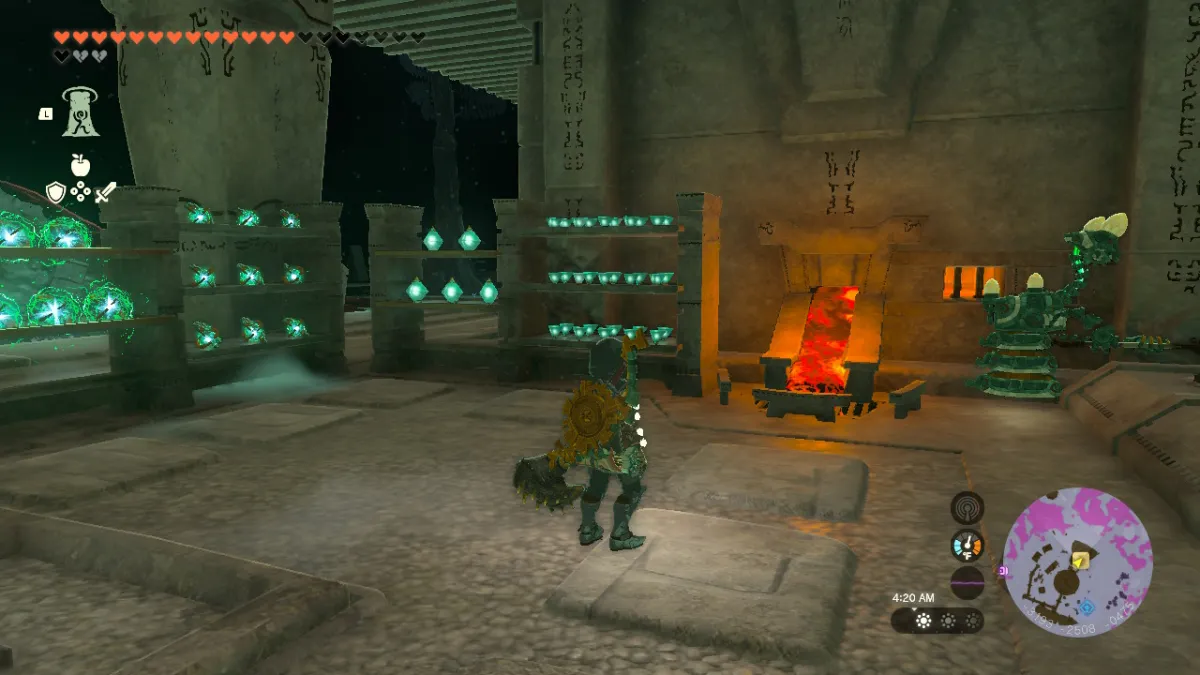
When ready, proceed into the room with the generators, destroy the robots, and find the stairs leading up to the next magnet puzzle.

You must change the magnets on the wall from red to blue to proceed.

When in this next room, take the door to the right to find another Lootyagin with the PM-Expansive Converter blueprint inside.

Return to the room and Shok the blue magnets to reveal the hallway leading to the next magnet puzzle room.

Drop down and climb the blue platform to your right.

Change the magnets above you again. Next, you must face left and jump across both platforms with red magnet plates.

Drop down to the platform with blue magnet plates in front of you. Flip the Magnets above you from red to blue. Jump into the platform with blue magnet plates.

Jump down onto the platform with the red magnet plates. Then, walk straight to the next slightly lower platform with the red magnet plats but do not jump down. Change the magnets from blue to red, and your platform will drop, revealing an electrical node puzzle on the metal wall to your right. Solve it to open the exit door.

Change the magnets on the other side of the room (not above you) from red to blue. This will create a path you can use to reach the door.

Now you will need to backtrack a bit. You will need to turn around and jump back on the platforms in the direction the picture above shows you.

Continue following the path marked out for you.

You now have access to the exit.

Related: Atomic Heart Testing Ground 9 Solution
Continue through the hallways until you reach the elevator door, which you can use to exit Testing Ground 1. To the left of this elevator, you will find the Lootyagin with the KS 23 – Extended Magazine and the Zvedchochka – Reverse Shot blueprints.


Published: Feb 23, 2023 06:17 pm