Are you wondering what the Atomic Heart Testing Ground 9 solution is? Testing Grounds provide you with additional content outside of the primary campaign. Inside each Testing Ground will be a series of puzzles you were exposed to during the campaign. They can be tricky but worth it because you will be rewarded with weapon upgrade blueprints. However, Testing Ground 9 is particularly tricky because you must complete a series of steps before opening the entrance. Here is the Atomic Heart Testing Ground 9 station solution guide so you can unlock four weapon upgrade blueprints.
How to Complete Testing Ground 9 in Atomic Heart

Head to the location marked on the above map.

Find and drop down into the manhole.

You will need to traverse the water-filled pipes until you reach the boiler room entrance.

Once inside, turn to your right, and you will find a door that needs to be picked to open.

Head inside the room and to your right. You will see glowing candles and need to solve them as you did with the Boiler Puzzle earlier in the game.

Grab a candle, turn around, and put it inside the tube entrance in the wall.

There are four boilers that you need to drag the candle to. When you reach the first junction in the tubes, there will be two boilers to the left and two to the right. Once you drop the candle in all four, it will explode and light the area on fire. While in the boiler room, go back to the door to the room where you found the candles. You will want to go straight, as shown in the picture above.

Follow this path until you reach a room with a Polymer path.

Swim until you are prompted to exit. The Polymer path will spit you out in the water.

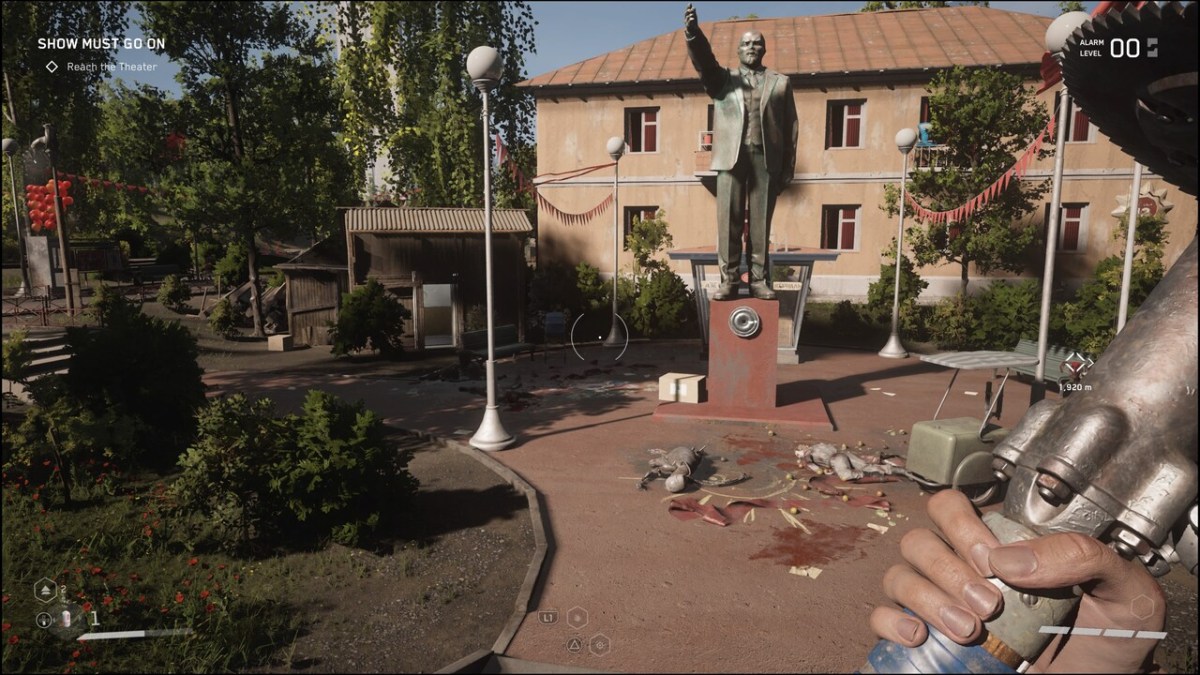
Swim until you reach the lake’s surface, and a tower will be before you. Ride the lift to the top and interact with the camera terminal. Then, take control of the camera with a view of the statue in the town center.

You can use the stairs attached to a dock across from the tower to get back to town.

You will now have access to Testing Ground 9, located next to the statue. The door to the shack will open, revealing an elevator.

After leaving the elevator, you will find your path split into two directions. The right path leads you to a recreation room, and the left leads you further into the testing ground.

To keep the door open, you must shock the spinning device with the Polymer gel below it on the ground. But first, you must connect the Polymer gel trail from beneath the spinning device to the one in the hallway using your Polymer Jet glove ability. Use NORA in the recreation room to activate the Polymer Jet skill if needed.
Related: How to Reset Your Skills in Atomic Heart

After entering the door, you will go down the hallway and drop into the room.

Grab the candle in the tube and put it in the door lock.

Crawl underneath the door and head into the room with the yellow light above it. You will find a Lootyagin chest with the KS-23-Collimator inside.

Exit the room and head downstairs. Take an immediate right at the bottom. Then, locate and press the red button to open the door to the submerged tank before you.

Head back upstairs and enter the first room. Find the container floating in the water. The red button opens the door so that you can enter it.
Warning: Be careful not to dive too deep because lasers will kill you, resetting what you’ve done.

Grab the candle from inside the container and take it to the room with the two red locks in it (the first room you unlocked and had to crouch to enter).
Warning: Be careful not to drop the candle to the bottom of the water because you won’t be able to get it and will have to reload your save.

Place the candle on the other side of the door.

Grab the first orb you found and place it in one of the two red locks. After that, grab the other candle and put it in the next red door lock, as shown above.

Go into the next set of rooms until you find another red button in front of a window. Press it and watch the door across the way open.

Head back to the room with the two red locks. Put one of the candles back on the original door to lift it again.

Grab the second candle and put it into the lock on the other side of the door.

Grab the first candle from inside the room and place it in the power slot next to the closed door in the room you just unlocked by pressing the red button. Next, grab the second candle and put it in the other slot, which will open the door.

After defeating the Plyusch, head to the far-right corner of the room, where you will find a locked door that needs to be picked.

Head downstairs and enter the room with the yellow light above it on the light. There is a Lootyagin chest with the Dominator-Shot inside. Exit the room and continue down the hallway until you find a room with a red light.

Continue on this path until you reach a room with a yellow candle on the wall.

Look up and to your left. You will see a small magnet ceiling.

Change the magnets from red to blue, and it will drop a blue magnet platform.

Stand on the blue magnet platform and change the ceiling to red. Grab the candle and drop it in the center of the room.
Related: How to Throw Objects in Atomic Heart
Your goal is to now alternate putting the two candles in the slots on the left and right sides of the room. This will create platforms that you can use to climb to the exit on the other side. Don’t forget that you can throw the orbs to the other side. However, if you drop them, you must start over, so be careful.

Step 1

Step 2

Step 3

Step 4

Related: Atomic Heart Testing Ground 6 Solution
Once you exit the room, you will find the elevator to exit Testing Ground 9 and a room with a yellow light over it. This will have another Lootyagin chest with the Kalash-Elctromagnetic Polarize and Pashtet-Handle.


Published: Feb 22, 2023 04:42 pm