Destiny 2: Shadowkeep has dropped its first raid – The Garden of Salvation – and it will prove troublesome if you don’t know what to do. Thankfully for you, I’ve sat down and scrubbed every stream, taken every note, and even melted my own face to bring you this comprehensive guide series. This article will be dedicated to the first encounter: a boss rush against the Consecrated Mind.
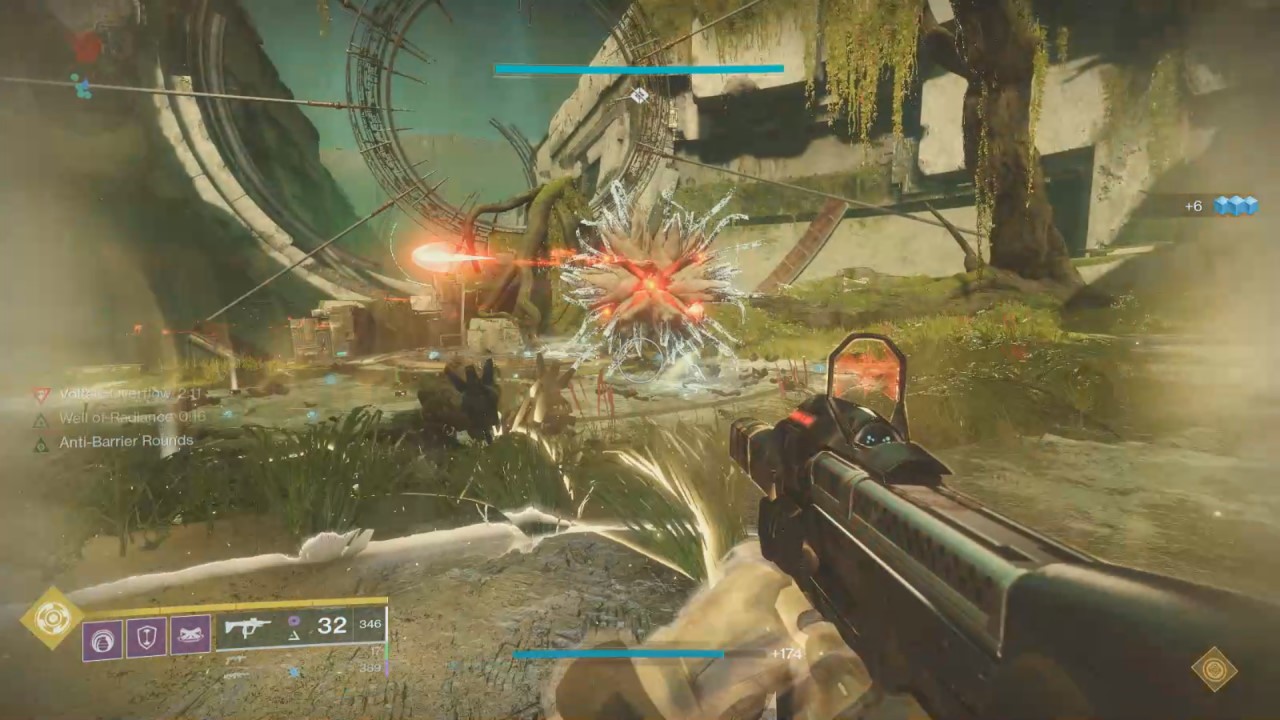
The comprehensive briefing: you’re playing hopscotch with the boss.
Before we begin: all screenshots have been sourced from Datto’s stream of the raid, whom I believe had the best footage of the encounters for the purposes of this guide: credit where credit is due. Also, I will include brief bullet-points at the end of the article for those who want a quicker reference guide for the first Garden of Salvation encounter.
To begin, you will be splitting into two teams of three: the initial boss team, and the door rushing team. To start the fight unlock the first door with all six guardians: this will allow you to begin with the door team rushing the next door before the Consecrated Mind begins attacking. You do so by shooting the nearest floating Vex cube, which will create a tether to the nearest guardian, and the closest guardian to that person will then have a tether drawn to them. This chain can go as far as all six guardians, and when tethered you will be put into third person, and unable to attack. Draw this tether to the cross shaped lock on the door, and the door will open.
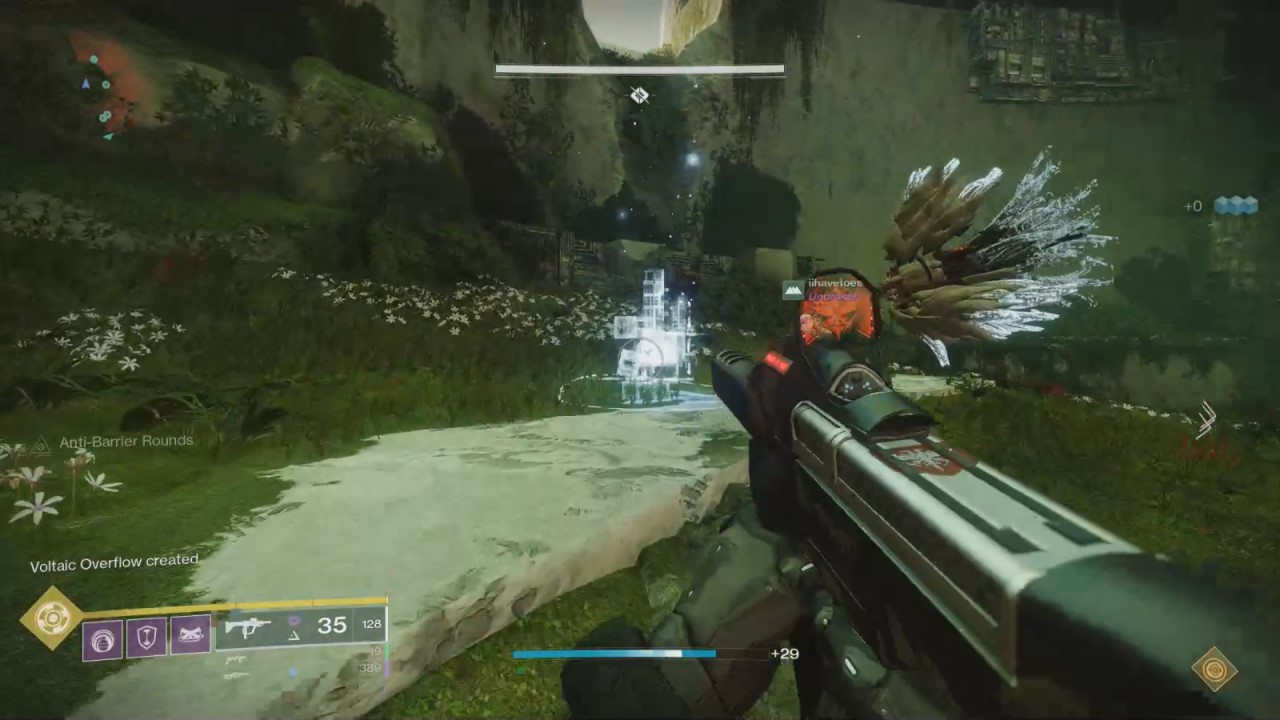
For the team that will remain with the Consecrated Mind, the boss will run off and cast a white pillar of Vex energy every thirty seconds that, if not absorbed quickly by a guardian, will wipe the raid. It gives a two-and a-half minute debuff (Voltaic Overload) and you can’t successfully absorb more than one, so three guardians need to rotate absorbing the attack to prevent a wipe, all while holding off a Vex assault. Basic math shows that he will cast more Voltaic Overloads than a three-person team can handle, so the door team has to be quick.
While this is happening the door team will press forward through an onslaught of Vex (including Overload Minotaurs, so someone on each team will need an Overload mod) until they reach a locked door and a shielded Vex cube hidden to the left of the door between platforms. Killing the Angelic hydra that spawns will remove the shield from the cube, which can then be shot to create a tethered beam from the cube to the nearest guardian. The three door team guardians need to direct this tether to the lock on the door; remember that if the beam is glowing red then the guardians are too far apart and the beam is about to break. A red beam cast from the last guardian in the line can be used to open the door, however, seeing as it takes less time to trigger the unlock than for the beam to break.
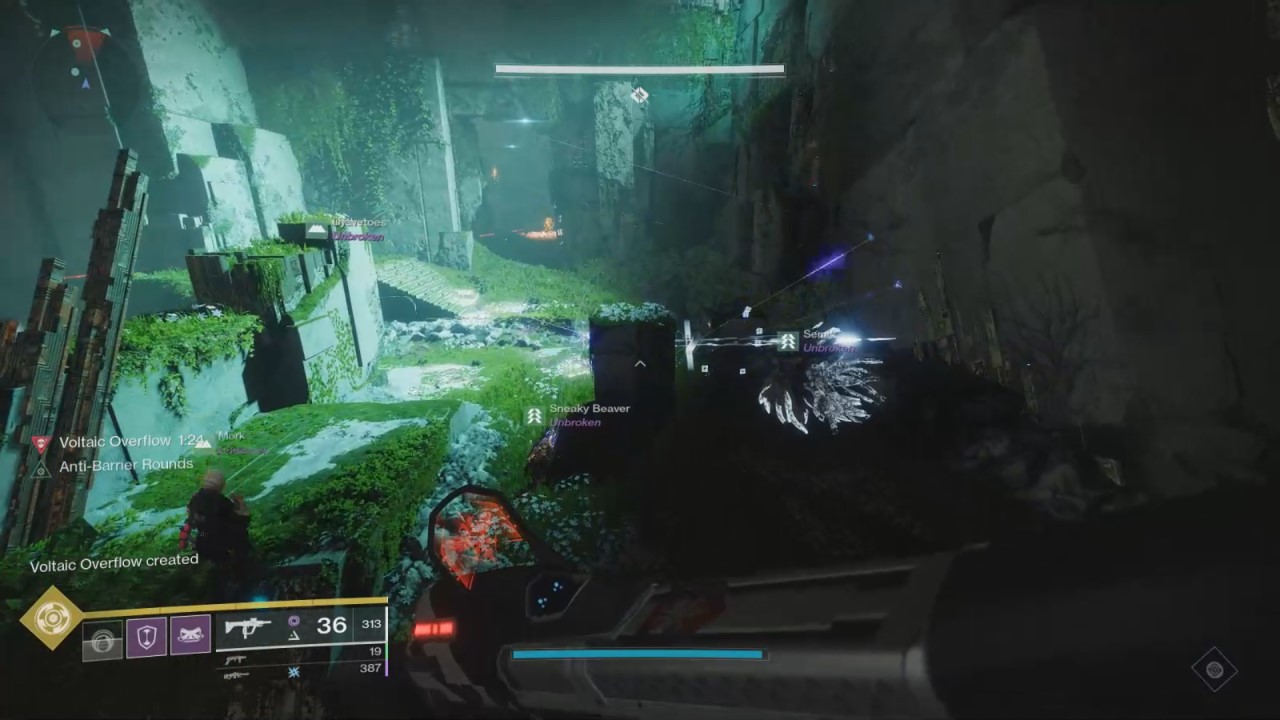
Now for the hopscotch part I mentioned in the heading: the boss is going to teleport to the unlocked door. The door team will now become the boss team, and the former boss team will push upwards to the next door, repeating much of the process (kill Angelic, draw a tether to the door). This swap is important for not only absorbing the Voltaic Overload attack (he will continue to cast it after teleporting), but for giving the previous boss team a chance to drop the debuff.
The idea is the active door team should be pushing and unlocking their door fast enough that all three boss team guardians only have to take one Voltaic Overload, due to how long it lasts. Essentially: you have a minute-and a-half to push the door before the boss casts a fourth Voltaic Overload the boss team can’t absorb, so speed is of the essence.
After the third door is unlocked, the teams will once again swap and the door team will push a third door higher up. The Vex cubes can be clearly seen tucked between geometry as you climb, so make a note of where they are. There will be cyclops that spawn throughout the fight that will one-shot guardians, but they prove trickier after the second door due to sitting well above the guardians as they make their climb: keep an eye out for cyclops and neutralize them ASAP to prevent unnecessary deaths.
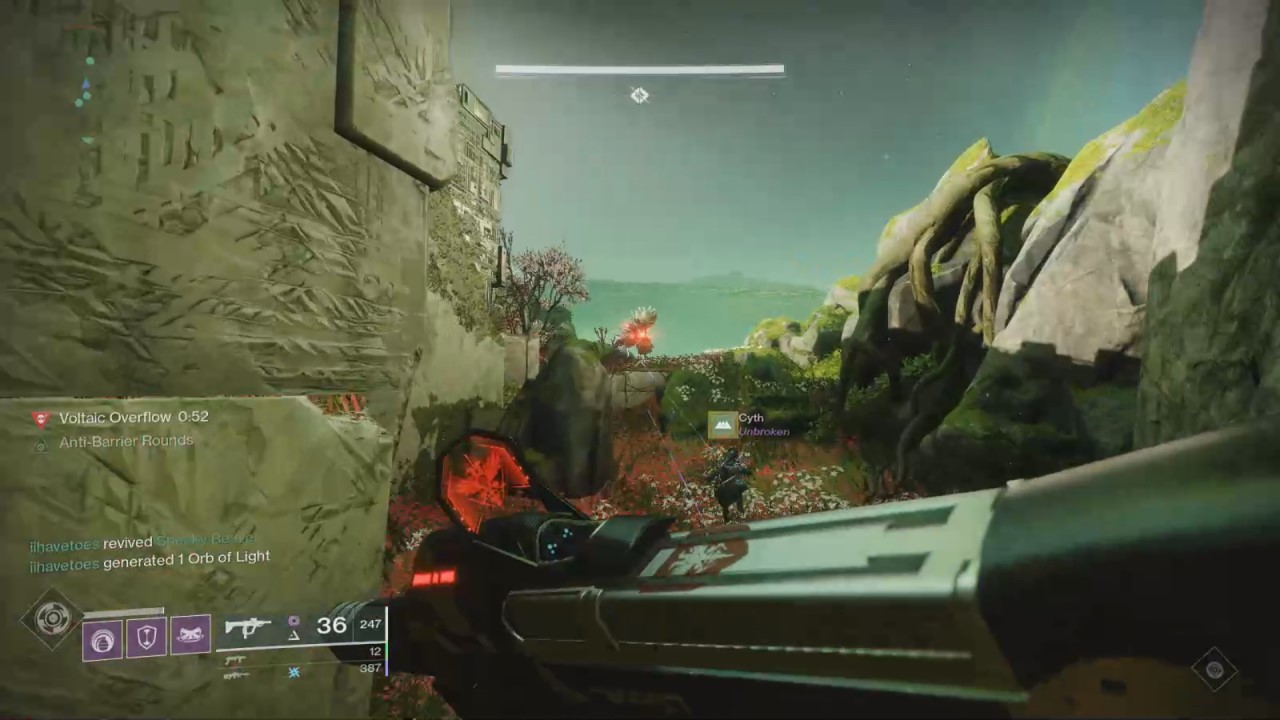
The fourth door looks a little more complicated – it has three locks – but it’s not as bad as it appears. There are three Vex cubes sitting below the cliffs around the door, and an Angelic will need to be killed to unlock the cube on the far right of the door (left if facing away). Here is the kicker, however: only one lock needs to be activated to cause the boss to teleport behind the door, where he will chill without attacking for a short while. The issue is that the tether length exceeds what three guardians can create, so the current boss team will need to assist. Thankfully, the distance between door three and door four is a 20-foot cliff.
Whomever absorbs the first Voltaic Overload on the boss team should hop up and help the door team. Once the first lock is popped, all boss team guardians will merge back with the door team, unless the boss is casting Voltaic Overload as this occurs – one guardian will remain to soak that. From here you will clear Angelic, unlock the first lock, and then the last two locks ASAP to prevent the Consecrated Mind from resuming its attacks. The second and third cubes unlock in sequence after a lock has been broken, so there will only be the one Angelic to stress over.
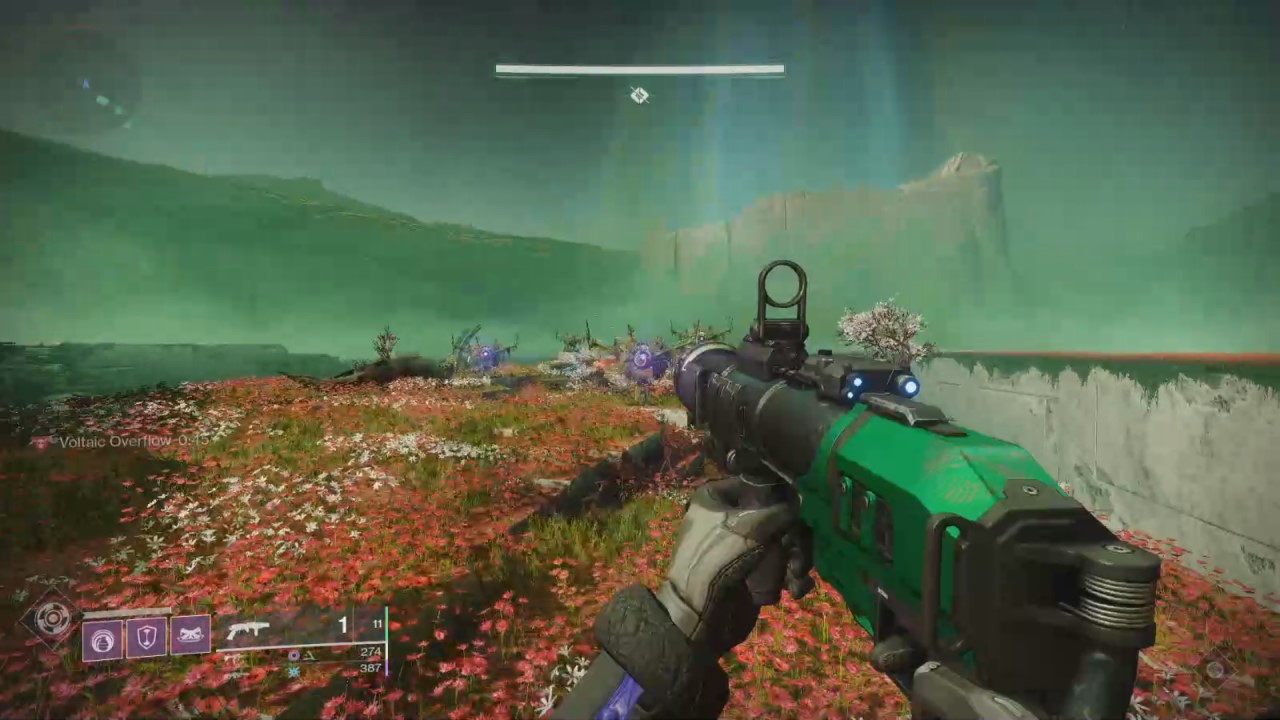
The final push is a gauntlet of cyclops, Overload Minotaurs, and the boss itself. Bubbles and power weapons will be helpful here, seeing as you are pushing the boss back. As you advance the Consecrated Mind will retreat, though it will still cast Voltaic Overload if given the chance. Make sure someone without the debuff (likely from the last door team) rushes that attack, all while the rest of the fireteam destroys the cyclops first, then the minotaurs. Keep pushing the boss until eventually you reach the end of the ledge, where the boss will “disappear into the ether”, and a chest will appear. Congrats, you have cleared the first encounter within the Garden of Salvation.
The quick and dirty bullet-points.
The first encounter for the Garden of Salvation can be boiled down to these points:
- Split into two teams that will alternate between babysitting the boss and rushing doors.
- Boss team needs to absorb Voltaic Overload before it explodes, or the whole fireteam wipes.
- Door team needs push forward and kill Angelic Hydras to access Vex cubes and create tethers to door locks.
- When a door unlocks the boss will teleport; door team is now boss team, and vice-versa.
- There will be Cyclops that one-shot: keep an eye out for them.
- Overload Minotaurs are present, so assign a person on each team to carry the Overload mod.
- Each door team will have a minute-and a-half to unlock the door, before the boss team cannot take anymore Overloads.
- There will be four doors (including the one you start the encounter with by unlocking). Door four has three locks.
- The boss will teleport behind door four after ONE lock as been released.
- Boss team will assist with door four due to distance from cube to lock; only one extra guardian is needed to pop the first lock.
- The final rush is a gauntlet of stupid: cyclops, minotaurs and boss. Push boss back to end fight, and absorb Overload as required.
Hopefully this guide helps you and your fireteam conquer the Garden of Salvation first encounter. It may not seem like much when broken down to bullet-points, but coordination and communication will be required. Best of luck, Guardians; and for more of our Destiny 2 coverage check out our Guides hub for future updates.


