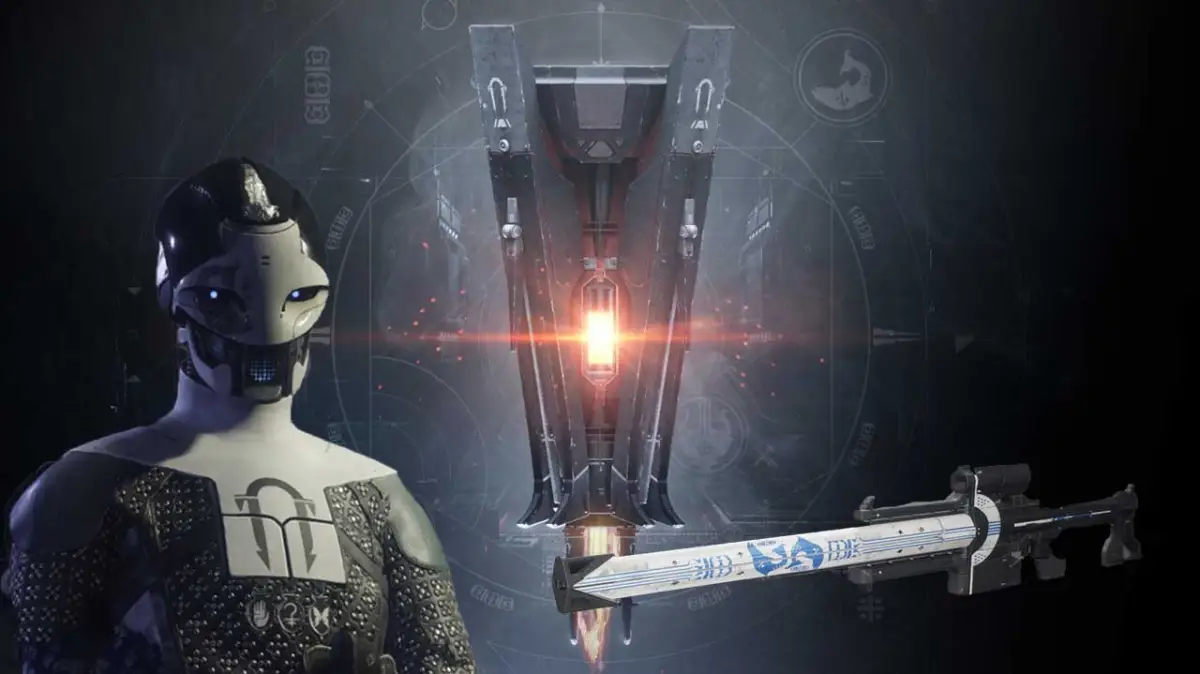
Izanagi’s Burden is a new sniper rifle in Destiny 2. This rifle has powerful new abilities that allow it be one of the better sniper rifles to use against enemies with a large health pool because of the ability to use single shots that deal great damage. To get the Izanagi’s Burden sniper you are going to need to start on a lengthy and challenging exotic quest that will have you collecting different items to complete an unidentified frame which will then be used to ultimately get the new sniper rifle.
This guide will give you all the steps that you need to complete to get the Izanagi’s Burden Sniper Rifle from Ada-1. First things first, you will need the first three keys from the other forges and the mysterious boxes. Then you will want to start at step 1 by heading to Ada-1 in the Annex section of the Tower.
Step 1: Head to Ada-1 and pick up the key mold.
The first step of this quest will reveal that you need 24 Watcher Lenses. These can be found at the Leviathan Raid area. You can open the underbelly area of the raid and then farm Watcher Lenses. This can be done very quickly to get the required 24 lenses. You can access the underbelly by using the code (1-5-3-2-4-6)
Step 2: Collect Glimmering Amethyst
You can do this by heading over to the EDZ and running public events. You will need to earn 200 Glimmering Amethysts and you can find them in Strike Chests or Public Events. You can do either 20 public events and complete this or you can do any Strike 10 times. Lake of Shadows can be done most quickly.

Step 3: Head to Bergusia Forge and Complete Forge
Recommended 650 Power. Defeat the drones to get maximum temp and you will then get a drop at the end of Bergusia that gives you the Black Armory Key. Open the mysterious box with the Black Armory Key and you’ll get a new item. This will give you a Mysterious Decryption Device and a Mysterious Datapad. Time to take these items back to Ada-1.
Step 4: Complete Rare Bounty
Taking the decryption device to Ada-1 will now give you the next part of this quest which is to complete a rare Black Armory Bounty. Completing this bounty will give you an Obsidian Crystal that is needed for the Unidentified Frame. This part is going to require that you have a little bit of luck on your side. Once you do complete the rare bounty you will get an Obsidian Crystal consumable. Use it and it will activate the next step.
Step 5: Complete Shattered Throne and get Ascendant Glass Shard
The next step in the Unidentified Frame quest is to complete the Shattered Throne and recover an Ascendant Glass Shard for the frame. You will probably need a fireteam to head into the Dreaming City and complete this step as it can be quite difficult. This dungeon does only appear once every three weeks so if you miss your window of opportunity you will need to wait to complete this step. Completing this will give you the Ascendant Glass Shard and continue to move the quest along.
Step 6 Unidentified Frame – Pyramidion Strike
The next item that you need to collect is the Radiant Phaseglass for the Unidentified Frame. The Radiant Phaseglass can be gotten by completing the Pyramidion strike on IO. The strike itself does have a locked loadout, so you’ll need to complete it with the modifiers that are presented to you. Those are Solar, Heavyweight, and Extinguish. There is no time limit on the strike, so it can be taken at a pretty slow pace. Once you do complete the Pyramidion Strike you will get the Radiant Phaseglass.
Getting this last item will basically allow you to craft the unidentified frame in the Bergusia Forge, which is the next step.
Step 7: Craft Unidentified Frame – Bergusia Forge
This will actually be a quest version of the Bergusia Forge. You can access this mission near the entrance to Sojourner’s Camp and it is a recommended 650 Power Level. Completing it will give you completion of the Lock and Key Quest.
This quest will have you fighting Siviks in the Bergusia Forge. After defeating Siviks you will get an item that is called Not a Weapon and you will need to take it back to Ada-1.
Step 8: Izanagi’s Burden Sniper
Heading back to Ada-1 after the fight with Siviks you will take the Not a Weapon item back to her and she will give you Izanagi’s Burden.


Published: Jan 11, 2019 02:18 pm