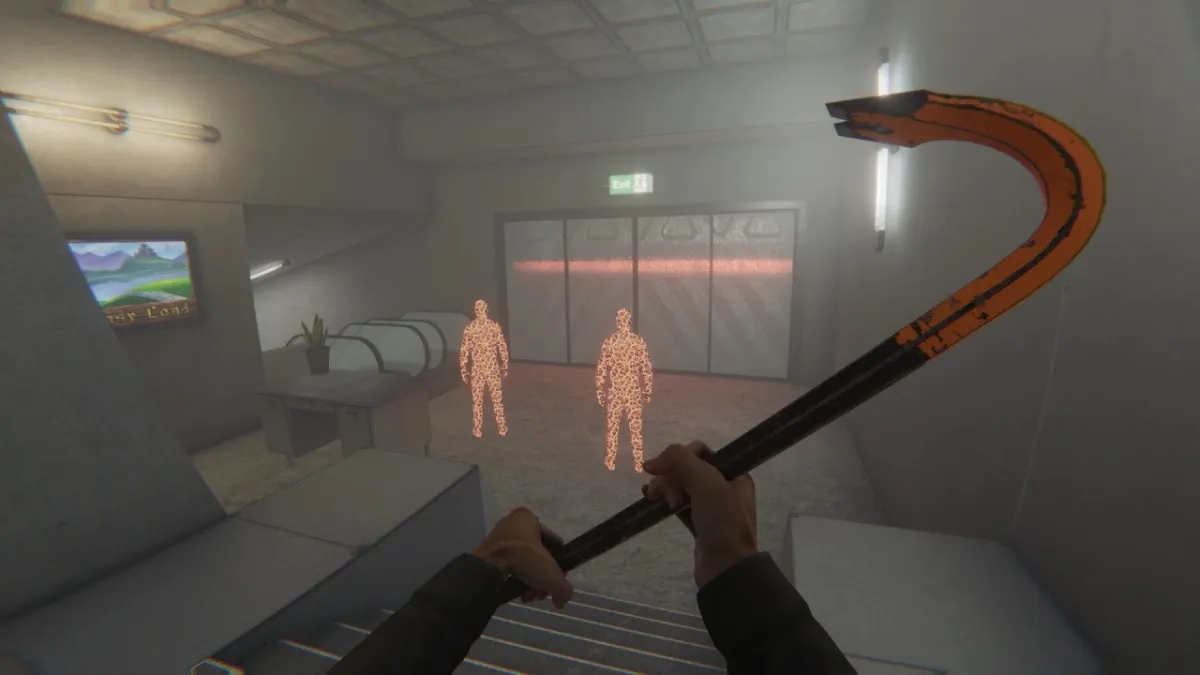
If you’re looking to make your Bonelab experience as custom-tailored as possible, you’ll be able to import your own custom avatar into the game. Now, you’ll only be able to do this if you’re on PC at the moment, as you’ll need a few tools to make this creative explosion happen. However, you’ll also be able to pull off 360 Headshots with Hatsune Miku on your Oculus Quest 2, as long as someone else created it first.
Importing an avatar is one of the key selling points for Bonelab, so let’s get into all of the details about how you’ll be able to make this happen, as well as the information that you’ll need to start creating your own. Here’s everything you need to know about how to import your avatar into Bonelab.
Import Your Custom Avatar Into Bonelab
If you are playing on a PC, this is going to be quite easy. In the central hub world, you’ll be able to visit the Mod section, and head over to find all of your custom-created avatars, items, and levels, giving you the chance to change out what you have on the fly. All you’ll need to do is to put your mod files in the mod folder for Bonelab, and you’ll be able to select anything you need.
You’ll find that under your appdata/locallow/Stress Level Zero/Bonelab/Mod, where you’ll place your .sdk file for future use. Once you have done that, visit the Body Mall, where you’ll be able to select your new character!
How To Create Your Custom Avatar For Bonelab
If you’re looking to start working on your own custom model for the game, you’ll need to download a specific tool, called the MarrowSDK. There is a very helpful tutorial that will walk you through all of the steps of importing and creating your custom character, and you’ll find all of the files needed here. Following along with this specific tutorial, you’ll be able to create unique Spawnables, Characters, and Levels, and bring them all into this interactive sandbox.
If you ever get sick of running around as Sans from Undertale, you’ll also be able to unlock plenty of premade Avatars through the story mode, so make sure that you’re keeping your eyes peeled on our Bonelab Guide Section to find out where you’ll need to go to unlock even more amazing features of this game!
Bonelab is available now on PC and Meta Quest.


Published: Sep 30, 2022 01:01 pm