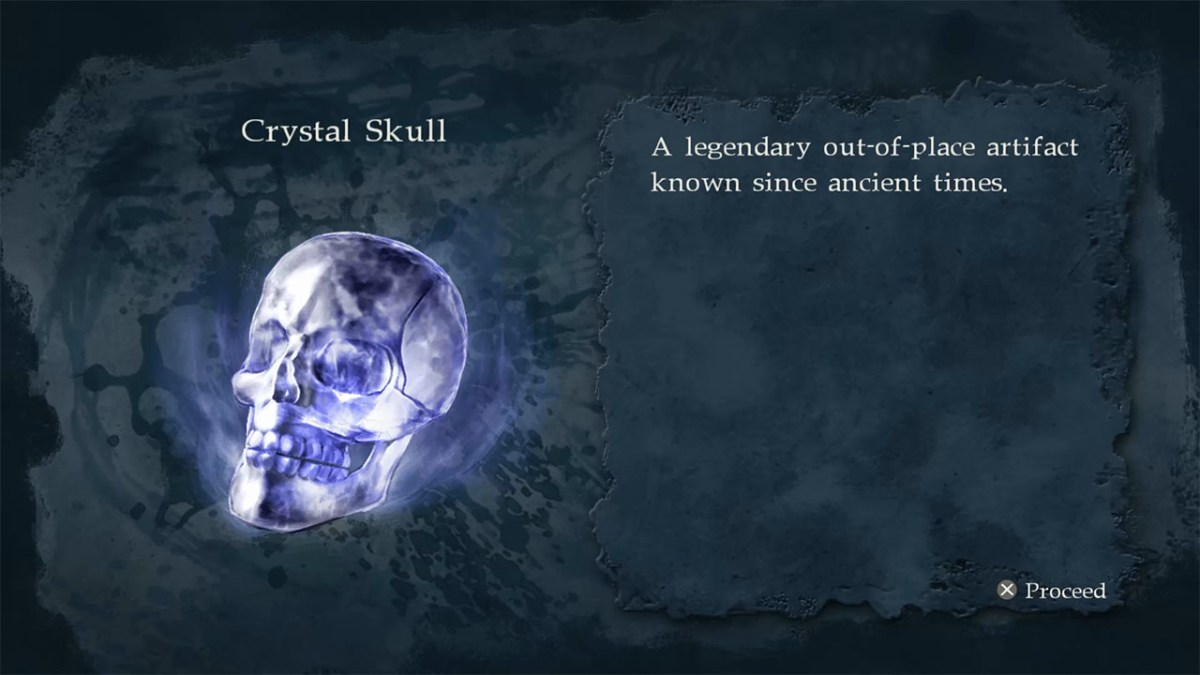
Ninja Gaiden Sigma had Golden Scarabs found all throughout the game for you to collect, but Team Ninja didn’t want to just copy and paste from the first game with the sequel. Instead, they introduced Crystal Skulls into the mix for Ninja Gaiden 2 Sigma, though there are less of them this time around. Instead of the 50 like with the Golden Scarabs, there are only 30 Crystal Skulls found throughout the game. With the release of Ninja Gaiden: Master Collection, we thought it would be helpful to put together a guide of how to collect all 30 Crystal Skulls in Ninja Gaiden Sigma 2 through the Ninja Gaiden: Master Collection.
Ninja Gaiden Sigma 2 Crystal Skull Guide
Crystal Skulls are nowhere near as important as the Golden Scarabs in the first game, as the only perk they give you for collecting outside of a trophy or achievement are to get discounts at Muramasa’s Shop the more you collect. You do not get rewards at different levels like with the Scarabs, but the discount can make them worthwhile enough to find. With 30 of them total, we have broken them down by chapter as you can see below.
Chapter 1: Sky City Tokyo
- Sanctum Shrine – After opening the chest with the Life of the Thousand Gods in it, look across the upcoming gap to see a Crystal Skull on a platform. Jump across to grab it.
- Cherry Blossom Stairway – While descending the stairway, you’ll start being attacked by archers with fire arrows. Use the nearby tree to use a Bird Flip to get to the upper platform to take care of them, where you will also find a Crystal Skull.
Chapter 2: The Castle of the Dragon
- Central Bridge Entrance – Just after upgrading your weapon with Muramasa, take the path to the right and around to eventually get to the river. Use the water running that you’ll learn to go off to the left until you find an archer shooting arrows at you. Take him down and then dive into the water to find this one.
- Golden Dragon Room – After the Ultramarine Jewel shows up from you taking down a number of enemies, go into the hall across from there and you’ll find a Crystal Skull on the shelf.
Chapter 3: Thunderclap of Catastrophe
- Maintenance Hallway – Make your way to the top of this room by clearing out enemies and then take the stairway that is seemingly going to a dead end, but you can grab the Crystal Skull through the fence still.
- Lower Sewers 3 – Found right behind the first ventilation fan in this area.
Chapter 4: A Captive Goddess
- Lower Hudson River – After taking out the Warlocks in this area, look for an alley that you can go down to find some ninjas to fight. After taking them down, you should be able to see a Crystal Skull atop the alley, so use your Wall Run to make your way up there.
- Brooklyn Bridge Exit Ramp – Right by the bridge, this one is going to be next to a nearby ladder.
- Statue of Liberty Inner Stairway & Elevator – There are three metal beams across from the save statue, one of which has a Crystal Skull on top of it.
Chapter 6: The Aqua Capital
- Water Canal – Take the canal all the way down and use your Water Run technique to get to the gondola to obtain this one.
- Outdoor Restaurant – Do battle with some Werewolves and then grab the Crystal Skull on the nearby table.
- Water Canal 2 – Take an alley with only water near the gondola to find one underneath the bridge.
Chapter 7: The Lycanthropes’ Castle
- Underwater Cavern Upper Pillars – Just across from the Muramasa Statue behind some wreckage.
- Watchtower – Attack the guillotine near where you just entered the area at and you’ll find one of the first truly hidden Crystal Skulls.
- Royal Library – After clearing the room of enemies, attack the bookshelf on the upper left part of the room to find another hidden Crystal Skull.
Chapter 9: The Flying Fortress Daedalus
- Daedalus Cockpit – After defeating the enemies in this area, attack the flight dashboard to get this one.
- Room D1-3 – Actually leave room D1-3 and you will find this Crystal Skull next to some wreckage immediately outside to the right.
Chapter 10: Submit, or Die!
- Outer Chapel Alley – This area is already a major pain with the introduction of land mines for you to watch out for, so clear the area of enemies including the turrets and mechs at the end. Eventually, be very careful to avoid any more land mines and grab this Crystal Skull at the end of the alley before you head out through the gate you opened.
- The Belltower – Keep an eye out while going down the stairs and you’ll find this one near a candle on the wall.
- Red Square Subway – Found inside one of the cabins in the subway car that you can explore after clearing out the enemies.
- Clock Tower Gears – Directly across from the large wheel while making your way up the tower.
Chapter 12: Heart of Darkness
- River Stronghold – After defeating all of the enemies in this area, you’ll find this one in a watchtower on the right side of the river tied to some ropes.
- Riverbank North – When you reach a rope that you can use to climb across, pay attention when nearing the other side for some branches in the distance that you can use the rope to swing onto. You’ll see a Crystal Skull beyond those branches, so swing across and you’ll be able to grab this one near a Muramasa Statue.
- Swamp – The Swamp introduces you to a few new enemies, so clear everyone out before trying to find this one. After doing that, this one should be located out on the ground.
- Dead Man’s River – Search in the water with the dead ninjas to find a body with a Crystal Skull.
Chapter 13: The Temple of Sacrifice
- Acid River 1 – You will eventually need to Bird Flip continuously to get to the top of this area. From there, you will see two walls that you can Wall Run on. Then use another Wall Run to get up one more to find this one.
- Middle of the Mountain – After the Save Statue, you will be attacked by some enemies. After that, head down the stairs to find this not at all hidden Crystal Skull.
Chapter 14: A Tempered Gravestone
- Hayabusa Village Entrance – As soon as you enter the village, take the nearby alley with a dead body. Just past that is a little area where the Crystal Skull is in the corner to where it’s hard to see.
- Hayabusa Village Entrance – Leave the village and go past the bridge to fight some enemies. Eventually you’ll reach a body of water you can Water Run across or swim in to get to another side. Right there should be a little shack that you have to hit with your sword to break open the door and find a Crystal Skull.
- Valley of Shadows – When you reach the bottom of the Valley of Shadows and before using the zipline, there is an open door you can go in to find the 30th and final Crystal Skull in the game.
That is our Crystal Skull guide for Ninja Gaiden 2 Sigma in the Ninja Gaiden: Master Collection. As you can see, some of the Crystal Skulls are easy to find and some are more hidden, so we hope this guide will help you collect them all.


