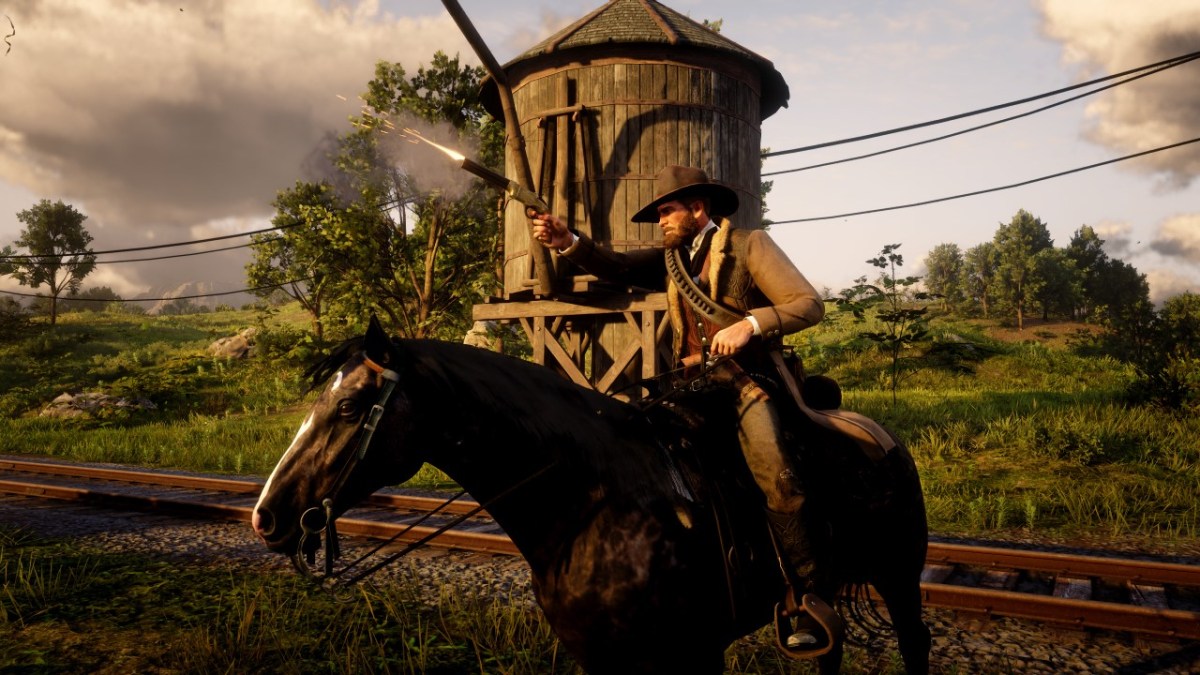
If the above screenshot is any indication, Red Dead Redemption 2 for PC can be drop dead gorgeous, if you don’t mind your performance struggling. Even at Medium settings, the game is a resource hog, but thankfully the difference between Medium, High, and Ultra settings are not vast visually. They are, however, oceans apart in some cases concerning performance. This guide should give you a good idea as to what will make your PC buck like a wild bronco, and what can be safely turned down without sacrificing the pretty. All testing was done at 1440p with a GTX 1080 ti and i7-8700K clocked at 5GHz single core/4.8GHz multi-core.
Performance thieves among the gang.
There are over 16 graphics options to fiddle with in Red Dead Redemption 2 for PC, with 23 additional options in the Advanced settings. That’s 39 different settings you can tweak, excluding the Quality Level Preset slider at the top and the video options. Before I break down each option and it’s relative impact to performance, I feel I need to highlight a couple reprobates in the crowd.
MSAA, or Multisample Anti-Aliasing, is a well known killer of framerates. It essentially renders the frames at a higher resolution before downsampling them; it is the greatest killers of frames in Red Dead Redemption 2 for PC, and should be avoided if you are not rocking beefy hardware, like an RTX 2070 Super or higher (and even then, you’ll need to sacrifice other settings to hit 60 frames with it). You’re better off using TAA or FXAA to remove jaggies, and with AMD’s Radeon Image Sharpening or Nvidia’s new Image Sharpening you can overcome the softer look the game gains under these options, albeit with some shimmering.
Reflections, for reasons well beyond me and others, are equally murderous. Putting this setting to Ultra will cripple performance, and honestly, the much more manageable Medium option doesn’t look all that different. Noticeable when you stop and take notes, sure, but certainly not in motion. Keep reflections at Medium or High (if you have the hardware for it), figuring out which of the two works best for you. With my configuration, I personally keep them at Medium, allowing me more room to push other settings in the game to Ultra.
Water Physics will drown your framerate at the highest settings. Even a single pip down on the slider from max results in a dramatic increase in frames (10+ from my experience), though setting this to the middle of the slider seems to net the best performance-to-quality results. The other water settings are not nearly as brutal as this one, so it’s best to tweak these independently in the Advanced settings.
Finally, we have Near Volumetric Resolution. It’s no secret that volumetric lighting and effects devour frames at higher settings, with the pattern holding true across multiple games. In Red Dead Redemption 2 for PC, however, there are three volumetric options in the Advanced settings you can fiddle with, and of them Near Volumetric Resolution goes well above and beyond the other two when it comes to its frame-chomping power. Turn this setting down to high or medium to see improved performance without affecting how the game looks too dramatically.

Take aim at the rest of the settings to maximize performance.
Alright, with those three out of the way, we can move on to the usual performance draining suspects. Below I’ll list the various settings within Red Dead Redemption 2 for PC with a note about performance, but to start I will name a couple of the harder hitters for those of you perusing: Shadow Quality, Screen Space Ambient Occlusion, Texture Quality, TAA and Grass Shadows (when enabled by having greater than 75% grass draw distance) are the punchiest of the options that were not listed above. That said, all of these at max would equal the performance hit of Reflections alone when it’s pushed to Ultra, so if you have the bastards above reeled in, you can more liberally play with the rest of the settings.

Standard Settings
- Quality Preset Level: if you do not want to mess with anything below, you can use this slider to go through 21 presets that are (supposedly) tailored to your hardware. They come in the flavors of “Favor Performance,” “Balanced,” and “Favor Quality.” I say start with the first pip in Favor Performance, and either work up or down from there, based on the framerate you average.
- Texture Quality: this is the VRAM killer; too high and you’ll get stuttering and hitching. Ultra isn’t too hard on frames though, if you have the VRAM to support it. Dial this down to High after shadows and lighting effects if you need frames.
- Anisotropic Filtering: unless you’re the Division 2, this setting is usually a performance freebie. Low to Ultra only eats a single frame or two, and you really don’t want to go below 8x. Keep maxed, and dial down only if all other options fail.
- Lighting Quality: this has less impact than you think, though it varies depending on the time of day. Night time will be when this setting hits hardest, so play around with it at night near a bunch of lights to see how it affects your rig. Safe to keep around High-Ultra for mid-range cards.

- Global Illumination Quality: this one runs rather well at High, and Ultra doesn’t look too different, at the cost of a couple frames. If you have the headroom feel free to max it out, but High will do just fine.
- Shadow Quality: hello Darkness, my old friend – turning shadows down is a bog-standard way to regain lost frames, and Red Dead Redemption for PC is no different, though they don’t steal as many as you’d think. Ultra and High have no massive visual difference, and Medium shadows are not shabby. Turn this down first after messing with the hogs listed in the first section of this guide.
- Far Shadow Quality: this works slightly in tandem with the above setting, but even at Ultra it’ll only eat a handful of frames as compared to low. Best kept at the same setting you have Shadows set to for performance-quality balance.
- Screen Space Ambient Occlusion: this setting on it’s own can be punchy, but it’s a later setting that makes it pack a hay-maker. This can be set safely to High for the best visual-performance boost, though Medium is not too visibly different.
- Reflection Quality: see above – this here is a killer. Set this to Medium, and only increase it if you have all the other settings you prefer configured as you prefer, and there is headroom to boot.
- Mirror Quality: this is only for reflections in mirrors, which are typically found within a room of sorts, where the GPU is allowed some space to breath. These can be safely set to Ultra, though you won’t notice a difference between that and High (performance and visually).
- Water Quality: you’ll wanna tweak this in Advanced settings, where there are three options tied to this one. Think of this as the global lever for those three. If you’d rather strong-arm it, set this to Medium to get Water Physics under control.
- Volumetrics Quality: like Water above, this breaks down into three options within the Advanced settings. If you wanna strong-arm this one as well, set it to Medium to bring Near Volumetric Resolution in line.
- Particle Quality: minimal impact here; High and Ultra look near identical in motion. I’ve set mine to High to free-up a couple frames, but it won’t crush your GPU at Ultra.
- Tessellation Quality: this had a moderate impact to frames between Low and Ultra, though High is a fine middle ground only costing a few frames. Also, with how often you are out in the wilderness in Red Dead Redemption 2, this option feels essential. Try and keep this no lower than Medium, but High should be fine.
- TAA/FXAA/MSAA: gonna lump these together because I’ve already discussed them. TAA and FXAA will cause the game to look blurry, but MSAA will eat it entirely. TAA has a larger impact that FXAA (it will eat five to six frames on average at High), but it does have a sharpness slider in Advanced settings to better mitigate its effect. Bear in mind, the slider has more impact in DX12 than in Vulkan, and third-party sharpening tools from your GPU vendor go a long way here.

Advanced Settings
Okay, here is where the fun truly begins. These settings are for those that wish to finesse more out of Red Dead Redemption for PC. First, let’s start with the API.
- Graphics API: Vulkan or DirectX 12 – will require a reset (and it WILL set your screen to windowless for DX12, so if you go back to Vulcan you will need to manually set it back to fullscreen). DirectX 12 seems to outperform Vulkan, but by one to two frames in most scenes. It appears to be the most stable for Nvidia users, but AMD users can get a boost with it too. TAA sharpening seems to scale better in DX12, by the way. Also, remember DX12 does not officially support fullscreen, so while you can set it to such, expect crashes.
- Near Volumetric Resolution: this needs to be set to Medium if you are trying to free up as many frames as possible. My dyslexic ass set it to High and Far to Medium. Don’t be me. If you have headroom, however, I’d argue this is the first hardcore setting worth increasing.
- Far Volumetric Resolution: this is damn near a freebie, and can be safely set to High or Ultra. Unless you’re me: see self-deprecating insult in the bullet above.
- Volumetric Lighting Quality: this has a quarter of the impact Near Resolution brings to performance, but that’s still a healthy hit. Setting this to High looks no different to Ultra, and saves four to five frames. Medium isn’t half bad either, if you wanna set all volumetrics to Medium for a sizable performance bump (though you can always increase the Far Resolution after).
- Unlocked Volumetric Raymarch Resolution: this will all depend on your internal resolution: the higher you climb the harder this hits. It’s an on/off toggle, and at 1440 it cost me close to seven frames on especially cloudy days. Unless you are looking directly at the edges of the clouds, you can safely leave this off and notice no difference.
- Particle Lighting: works in tandem with Particle Quality. The more particles, the more lighting. Try and keep these in sync, though reducing the lighting does free up some frames, though not much. High is fine here.
- Soft Shadows: this affects how sharp or faded shadows are as they cascade away from their object of origin. It’s a nice setting visually, and not too hard on frames: keep at High for the best visual-performance balance, though Medium doesn’t look terrible either if you need a couple frames.
- Grass Shadows: these can be murder, especially if you wanna take advantage of the improved draw distances in Red Dead Redemption for PC. If the grass draw distance is above 75% this setting will go into effect, and the higher the shadows the heavier the punch. Medium offers solid visuals that are not too far off from High/Ultra, allowing you to push the grass distance beyond 75% without sacrificing too many frames or muddying the visuals of grass near you.
- Long Shadows: this setting affects shadows cast by the sun and moon, mostly during sunrise and sunset. It doesn’t eat a whole lot of frames (one to two), and since it’s an on/off toggle it doesn’t hurt to leave this on.
- Full Resolution Screen Space Ambient Occlusion: like the cloud setting above, this will depend on your resolution. That said, I found pushing Ultra SSAO in the normal settings makes this setting a hog at anything above 1080p. If you opt for Medium to High SSAO go ahead and enable this, but if you push for Ultra you’ll do just fine with this off.
- Water Refraction: the least impactful of the water settings, but can still chew up frames if surrounded by water. High is fine, but Medium looks just fine and doesn’t nibble on the GPU too hard.
- Water Reflection Quality: while not as brutal as the standard Reflection Quality option, this setting can cause frames to crater a good ten or more frames when near bodies of water. Set this to Medium if you are struggling to hit 60 frames.
- Water Physics Quality: if you are somehow well above 60 frames and are fine with your water looking a little more realistic then you can up this setting above the halfway point to simulate as much; though, that final pip to max it is where the hardest performance hit comes, with the max setting suddenly stealing a good ten or more frames to run. Middle of the bar looks great, and won’t murder your GPU in its sleep.

- Resolution Scale: use this to either downscale or upscale your internal resolution. Going down can free up frames, and going up will consume them: this bar is only in fractions and not whole percentages (though, it will show the percentage in decimals). Use this if you are struggling with performance, or just barely keeping 60 frames. Use the AMD and Nvidia sharpening tools to upscale the image back up to a less blurry level.
- TAA Sharpening: Works best in DX12, but essentially tries to reduce the blurriness introduced by TAA. Works well in tandem with the AMD and Nvidia sharpening tools.
- Motion Blur: Just…no. For those monsters that use this, it has no visible affect on performance.
- Reflection MSAA: let’s combine the two most intense frame killers in Red Dead Redemption for PC and add a third option! Keep this off unless you can run both without issues, and have this match your MSAA setting for optimal performance.
- Geometry Level of Detail: between the lowest setting and highest this only eats a handful of frames, and frankly the game doesn’t look right with this below 75%. Can safely keep maxed in most cases, but don’t drop below 75% unless you love pop-in.
- Grass Level of Detail: far more intense than Geometry, with more pips in the scale to select, this setting can murder frames at higher positions (especially with the grass shadows you get at 75% and higher). 75% seems to work well with grass shadows set to Medium if you want the game to maintain a sharp look, minimize pop-in, and only cost a few frames.
- Tree Quality: This can cost between four to six frames between Low to Ultra. Personally, I ran with Ultra, but High isn’t too sharp of a visual downgrade and will free up a couple frames.
- Parallax Occlusion Mapping: this only costs a few frames between Low and Ultra, so maxed out won’t hurt too hard. High is a fine concession here, but you’ll only net a frame or two for the downgrade.
- Decal Quality: bullet holes and such – another setting that has minimal impact to performance. High will only free up a frame from Ultra, so this is a safe setting to max.
- Fur Quality: comes in two flavors – high and medium – and while the performance delta between them is negligible, the visuals are not, with fur possessing more artifacts and shimmering as it moves. Keep this at High.
That’ll do it for the settings. It may take a while to find the right mix, but aside from the heavy hitters I mentioned, most settings in the game can be safely set to High or Ultra. Putting the rowdier settings like Reflections to Medium in combination with everything else should get you above 60 frames in the majority of the game. Certain areas, like your camp, seem to crater performance no matter what you set the game to, but you’d be surprised how much visual fidelity you can get out of this game, even with everything set to Medium quality. If you’d like a more nuanced look, check out our compatriots at Game-Debate, whose article I used to cross-reference my own findings.
That wraps up this guide. Keep an eye out for our review of Red Dead Redemption 2 for PC in the coming days, as we get more hands on time with the port, and see how Rockstar stabilizes the ship.


Published: Nov 6, 2019 08:04 pm