The Division 2 is full of different live players around the world trying to work together or against one another to survive in a fallen version of Washington D.C. You won’t be using a premade character in the game, but rather one you get to create yourself, just like in its predecessor. Here’s how to create your character in The Division 2.
How To Create A Character
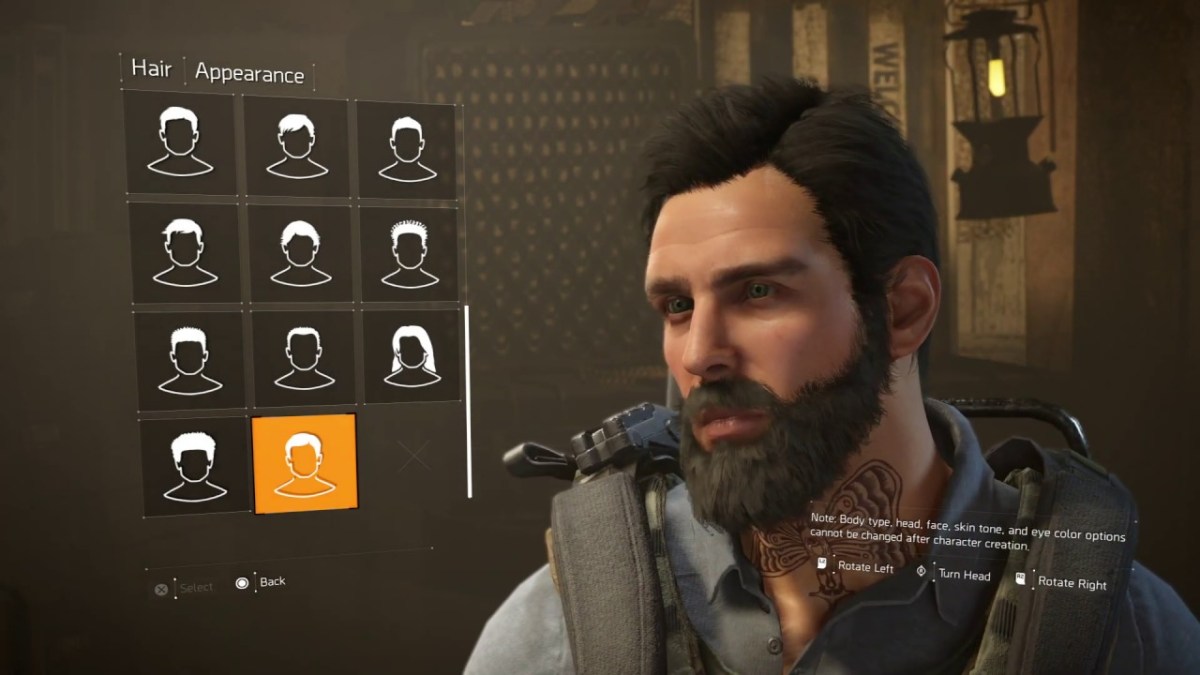
As soon as you start The Division 2, you will have some settings options to choose from right out of the game, such as languages, subtitle size, and screen brightness. However, this then leads into the all important character creator for the game, which is much more in depth than the randomly generated options from the beta.
Within the character creator, you have options to pick initial Appearance, Markings, and Outfits, with Appearance definitely having the most depth from the get go. Under Appearance alone, you have options to select Head, Face, Skin Tone, Eye Color, Hair, Hair Color, and Facial Hair. Markings have Scars, Face Paint, Neck Tattoos, Arm Tattoos, and Leg Tattoos, though these are a bit more limited in options.
Lastly, you have Outfit options to choose from, which include Hat, Glasses, Shirt, Pants, Shoes, and Patch. Unlike the others though, you have only a few to choose from with these from the start, with you able to get more and change into more later in the game.
Creating your character just as you want is very important at the start, because most of the Appearance settings cannot be changed at all later beyond the opening. This includes the Body Type, Head, Face, Skin Tone, and Eye Color options. The other character choices can be adjusted later though, so you can always change it up when the mood strikes you at a further point in The Division 2.


Published: Mar 12, 2019 07:34 pm