Valheim is relatively lenient for a survival game, but that doesn’t mean equipment possesses infinite durability. Eventually, those trusty tools, such as the all-purpose and invaluable axe, and gear will be worn down through continuous use. If allowed, an item’s associated white health bar will fully deplete, turning red and rendering the item unusable. To avoid being left literally empty-handed in hostile lands, items must be repaired.
As previously stated, Valheim smooths out a few of the survival genre’s rougher and more tedious aspects. Repairing gear is a common action in games such as this, but usually it requires resources in exchange. That’s not the case here. The prerequisites to start returning gear to brand new status are far from daunting.
How to Repair in Valheim
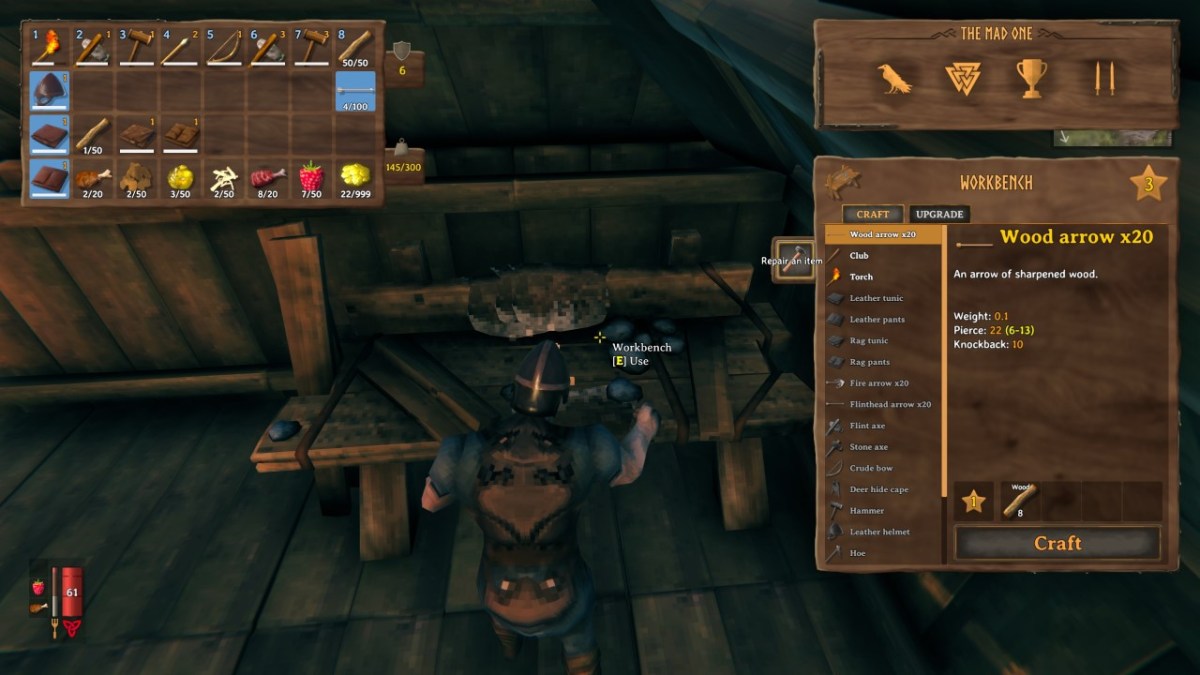
Items in the early game only require a Workbench to repair. Gather wood, build the Workbench, and then surround it with walls and a roof to open up its full suite of interactions. When using the Workbench, take note of the hammer icon jutting out of the Workbench list containing the “Craft” and “Upgrade” options.
On mouse and keyboard, simply click this icon. Using an Xbox controller, tab over to the Workbench list with RB and click the right stick to initiate the repair. The repair option will immediately identify any items in the player’s inventory that are below 100% durability. This may result in the need for multiple clicks if more than one item is in need of attention.
As mentioned, the Workbench satisfies the repair need in the early game, but it is not a fix-all forever. After progressing a bit, the Forge will become available. The metalwork born from this workstation cannot be repaired at a Workbench. That means there will come a point where players hosting a combination of wood, leather, and metal gear will need to visit both the Workbench and Forge in order to restore their inventory to fighting shape.
The last piece to remember is that Workbenches and Forges have levels, designated by the number within the star. The level is dictated by the related upgrades crafted. For example, building the Chopping Block and Tanning Rack will boost the Workbench to level 3. Repairing Troll Hide armor needs a level 3 Workbench. Those who have set up multiple outposts will need to keep this in mind when venturing out, as workstations placed outside of the main base may not meet the necessary requirements to initiate repairs if they haven’t been visited in a while.
Keep this information in mind and your Viking will never find themselves fending off an onslaught of Greydwarfs as a naked pugilist.


Published: Feb 24, 2021 10:38 pm