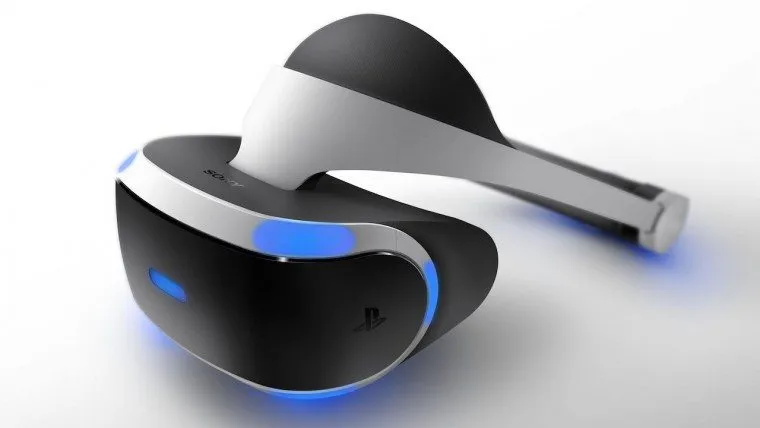
Setting up the PlayStation VR is not too hard if you follow the instruction booklet, but Sony has released guide videos just to make sure you’re not confused.
Sony takes things step-by-step by showing you three videos on how to set up the PlayStation VR headset. The first video is an unboxing telling you where all of the cables, booklets and other devices are located. This is the easy part that most people shouldn’t get confused about.
Next up is part 2 of the guide video and this shows you all of the components that you have now un-boxed. If you have the PlayStation VR, you should already have a PS4 as well as the PlayStation Camera plugged in.
The next few steps are a bit confusing, although the video does a great job of explaining it to you. You pretty much need to put the HDMI cable onto the processor unit. Then you use the second HDMI cable to plug into the PS4 back to the second slot of the processor unit.
The other steps guide you to all of the other plugs. Setting up the PlayStation VR doesn’t take too long. You may need to update the firmware the first time you use it, but that’s the only thing I noticed when I used one.
Part 3 of the video tells you how to position the camera. If you don’t own one already, you should try and buy the new curved model. The square model I used was okay, but I wasn’t able to adjust the camera to focus at different angles as it had to lie flat.
The camera should be around two meters or so away from you. You can stand or sit down to play PlayStation VR games. It’s also recommended you play in an area without too much sunlight. It also shows you how to put the headset on. Don’t worry, it can fit large and small heads and having glasses does not obstruct your experience.


Published: Oct 11, 2016 05:59 am