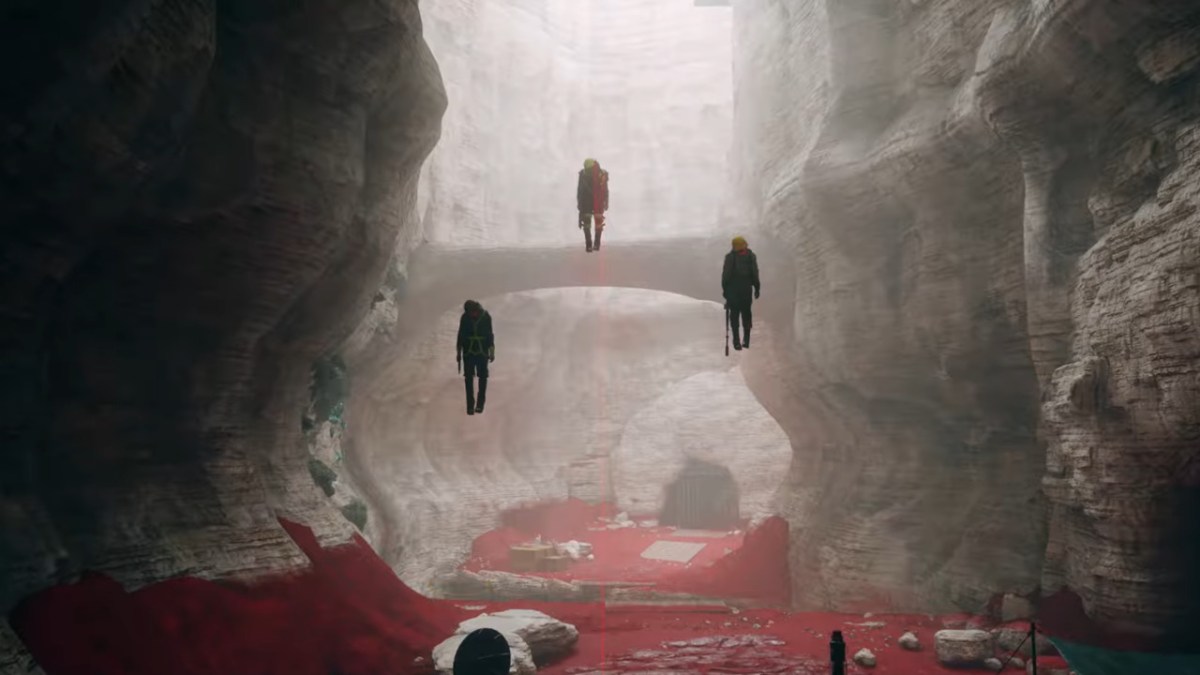
The Foundation DLC for Control features a side mission called Pope’s Collection, which tasks you with finding five ID cards for Emily Pope. The mission is started by speaking with her after she arrives in the Crossroads area of the Foundation. She’ll ask you to find five ID cards, each of which is located in the Warehouse area. This is where to find all five ID cards in the Foundation DLC for Control.
Control Foundation DLC ID Card Locations
All five ID cards are located in the Warehouse area of the Foundation. Their locations are listed below.
ID Card #1

In the farthest right yellow building, the ID card will be sitting on a bunk bed in the back right corner.
ID Card #2

In a lone yellow building at the top of a ramp on the right side of the elevator pillar, the ID card will be sitting on a table in the center of the room.
ID Card #3

On the left side of the elevator pillar, the ID card will be on top of some scaffolding near a flickering light.
ID Card #4

Using the Shape ability, pull the crystals above the yellow buildings out of the wall to create platforms. Use these platforms to reach a higher elevation, and then Levitate to a window in the elevator pillar. The final ID card will be on the floor in front of the light.
ID Card #5

At the very bottom of the elevator pillar, there is a door with a blue “NOTICE” sign next to it. The ID card is just inside on the floor.
ID Card Placement Puzzle
Now it’s time to use the ID cards to access the secret basement lab. In the same room where you found ID card #5, there are five kiosks that correspond to each of the cards. If you walk in the room and immediately turn left, hugging the wall along the way, the ID cards are placed in the following order:
- Head of Research
- Lead Physicist
- Security Chief
- Senior Cartographer
- Chief Excavation Engineer
If you turn left immediately after entering the room and hug the wall, hitting every kiosk along the way, then the ID cards should be placed in the above order. If done correctly, the elevator will now be able to take you to floor 0.
Processes Designer Gibbs Boss Fight
Once you enter the basement lab, you’ll find a heavy door with a button next to it. Press the button to open the door, kicking off a boss fight with Processes Designer Gibbs in the process. The fight with Gibbs can be a challenging one, but if you’re prepared you can take him down with ease. Make frequent use of your Launch ability to hit him with huge damage, and make sure to use your Seize power on as many enemies as you can to even the odds. Gibbs will occasionally shoot a beam of red energy at you that can quickly kill you if you’re not careful. Use your Shield ability to block the incoming damage or find some cover to avoid the attack.
After defeating Gibbs, head into the door you opened and find Dr. Ash’s notes. Bring them back to Emily at the Crossroads to complete the mission.


Published: Mar 27, 2020 06:15 pm