If you want to take on stronger enemies in Dragon Quest XI: Echoes of an Elusive Age you’ll need stronger equipment to match. There’s just one problem: they often cost an arm and a leg to make. Fortunately, there’s an alternative: a feature known as the Fun-Size Forge.
What Is The Fun-Size Forge?
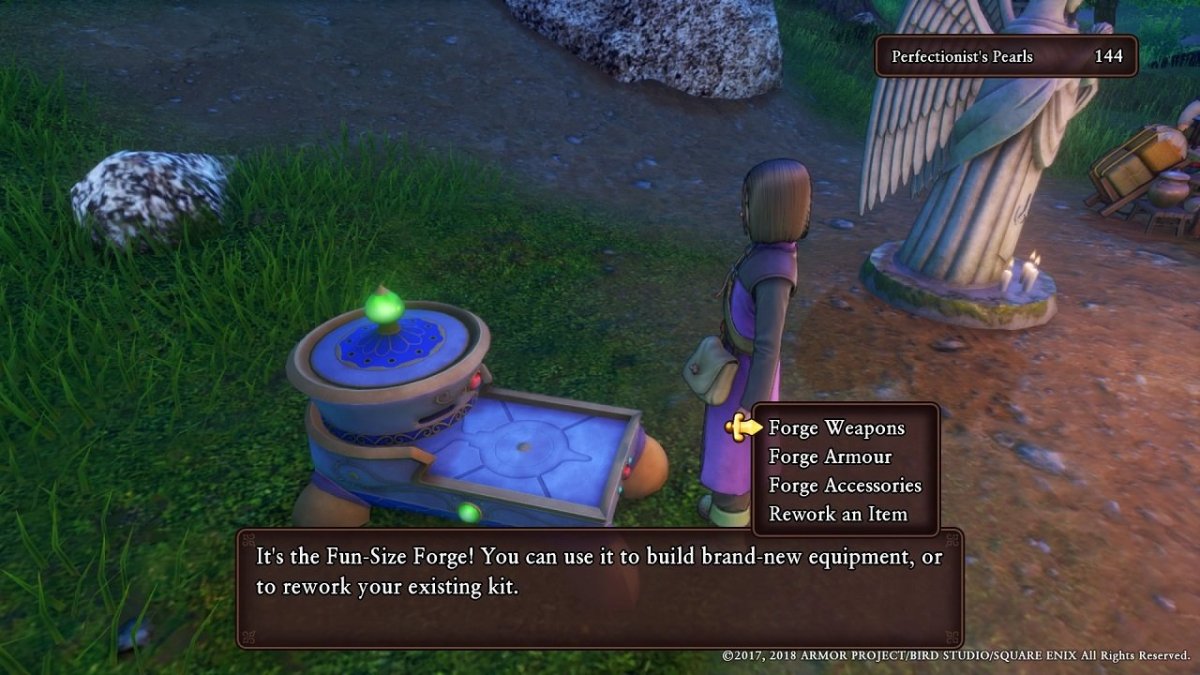
The Fun-Size Forge is a feature you unlock early in the game that allows you to forge any piece of equipment free of cost so long as you have the materials and the appropriate recipe. Simply go to any campsite, go up to the forge and select whatever you want to make.
How Does It Work?
To be honest, there’s a little more to making items using the Fun-Size Forge than just going up to it and making whatever you want.
Here’s the whole process:
Step 1: Finding New Recipes
Before you can even consider making anything, you’ll first need to find the recipe. These can be discovered through a variety of methods, but the most common ones are:
- Bookshelves in various towns (look for the ones with red books).
- Completing quests.
- Inside treasure chests both in towns and dungeons.
Step 2: Collecting Materials
You can’t make equipment out of nothing, so you’ll need to collect the correct materials first. You can find them either by defeating enemies, finding them on the world map/dungeons or buying them from a vendor. If you’re unsure of where to look, first refer to your compendium (assuming you’ve found the item before) and see where you can get the ingredient in question. Next, depending on whether it’s a drop or collectible, you’ll either need to find and defeat the right enemy enough times or go to the correct area and check the map to find the item’s location.
Step 3: Forging
So you have your recipe and the proper materials, and all that’s left is to make your coveted piece of gear. Well, here’s the fun part: the forging minigame.
How Does It Work? Pt.II

Making equipment requires you to participate in a minigame where the objective is to literally bash whatever you want to make into existence. When starting the process, you’ll notice there is an icon representing whatever you want to make with some gauges to the left and/or right of it, several commands and some numbers at the top and bottom.
Here is what everything means:
Focus:
Best viewed as something akin to stamina, this is the resource that you use while forging. Regardless of whether you’re using a regular bash or one of the special flourishes, focus is required to any of them successfully. Once all your focus is expended, you’ll have to finish forging and (momentarily) live with what you made.
Bash:
This is just the regular bash that’s used when forging equipment. It doesn’t cost much to use, but doesn’t have any special properties to help fine-tune the process.
Flourish:
These are special techniques that can be used to help fine-tune the forging process if you want the best results. However, since they all have added effects, they cost more than a regular bash and should therefore be used sparingly until you progress further in the game and the Luminary has a higher Focus cap.
Here are all the Flourishes, their Focus Costs and what they do:
- Double-Edged Bash (8): A strong vertical strike over two squares.
- Quadrabash (12): A strong strike over four squares in a 2×2 configuration.
- Kaquadrabash (18): A double-strength strike over four squares in a 2×2 configuration.
- Crosscutter Blow (7): A strong strike over two diagonal squares.
- Lightening Bash (10): Strike a single square at half strength.
- Double Whammy (8): A double-strength strike on a single square.
- Triple Whammy (11): A triple-strength strike on a single square.
- Crackshot Bash (16): A strike with an increased chance of scoring a critical hit.
- Sizzly Puff (10): Boosts temperature by 300 degrees.
- C-C-Cold Blow (12): Lowers the temperature by 300 degrees.
- Multibash (7): An extra-efficient ability that strikes four squares at random.
- Woosh Bang Wallop (15): A strike that stirs up a stiff breeze, lowering temperature by 150 degrees.
Master Strokes:
This isn’t actually listed along the rest of this stuff, as it activates at random. Once it does activate, however, you’ll be able to do a special technique called Hephaestus’ Flame which guarantee that the next bash or flourish will be a critical strike.
Appraise:
At any point during the forging process, you can have the Luminary quickly check his work. You’ll have an idea of whether to continue or finish prematurely based on what’s said.
Temperature:
Starting at 1000 degrees, this has an impact on the strength of your strikes. As a general rule of thumb, your strikes will have more impact at higher temperatures and will steadily get weaker as the temperature goes down.
The Gauges:
Each gauge corresponds to one part of the equipment that needs to be hit, and while the number of those parts will change depending on what you’re making, the objective will always remain the same: fill them until the small arrow lights up and the bar turns orange/yellow.
If you can pull this off, then rather than coming out in its standard form, it will come out as anywhere from +1 to +3 indicating that it’s stronger than usual.
Of course, this is easier said than done and will become more difficult to accomplish once you start dealing with higher-tier gear and those with more gauges to fill. As such, a safer bet is to just aim for the greenish parts of the bar and settle for a +1.
Lastly, whatever you do, don’t overextend by trying to fill the small arrow when the bar is already inside the greenish area or nearly there (unless you have Lightening Bash or the temperature is particularly low). If you do, then you run the risk of damaging the section you were working on, ruining the resulting equipment’s quality in the process. You can still get +3 gear even if only some of the gauges are properly-filled, but if any of those parts are damaged due to being overworked, then you can kiss any hopes of getting a perfect goodbye.
Finish
Use this command when you’re done forging (or out of Focus) and want to reap your reward.
In exchange for your hard work, you’ll receive the piece of gear you were working on, along with some Perfectionist Pearls which can be used to rework any equipment of your choosing.
Is There Anything Else To Look Out For Or Avoid?

Sure, a few.
Those Perfectionist Pearls I mentioned before? While I did mention that they can be used to rework any equipment of your choosing, I neglected to tell you that the entire process is foolproof. If you do poorly, then the worst that happens is that you lose your Perfectionist Pearls which would have happened anyway. Furthermore, an item can’t degrade in quality, so failing to upgrade a +2 item to +3 won’t result in it going down to +1 or its base form.
While on the subject of Perfectionist Pearls, though you can only earn these by crafting at first, you’ll soon be able to buy as many as you like at a rate of 1 Pearl per 100 gold at L’Académie de Notre Maître des Médailles.
Next, as explained about Temperature, your strikes will have more impact at higher temperatures and will steadily get weaker as the temperature goes down. Therefore, once you have a high reserve of Focus, it’s a smart idea to start the forging process by using Sizzly Puff to get an extended period of stronger strikes. Similarly, once you’re close to completing whatever you’re working on and don’t want to risk damaging it, you can use C-C-Cold Blow to lower those chances and make your strikes a bit more precise.
Also, be wary when dealing with high-rarity items. It doesn’t matter whether you have a proper grasp on the forging process, because the game will start throwing random obstacles at you to complicate the process. Sometimes the strength of your strikes will be doubled or halved, while other times you’ll arbitrarily lose progress on one of your incomplete gauges. Not to mention that this all happens while the gauges, due to them belonging to higher-tier equipment, require more effort to fill in general. This is when having high Focus reserves comes in handy.
Lastly, don’t bother trying to cheese the game by resetting if you mess up. Upon reloading, there will be smoke coming from the Fun-Size Forge and you’ll have to wait several minutes before you can use it again. I suspect there’s a way you can get around this by using multiple saves, but it doesn’t seem worth the effort.
That’s it for the Fun-Size Forge in Dragon Quest XI: Echoes of an Elusive Age. Not only is it an easy way to make free gear, they will also turn out better if you play your cards right. Like I said, though, just don’t overextend and you’ll reach Perfection in no time.
Need help with something else? Head to the Luminary’s Tome for more Dragon Quest XI guides.


Published: Sep 4, 2018 08:00 am