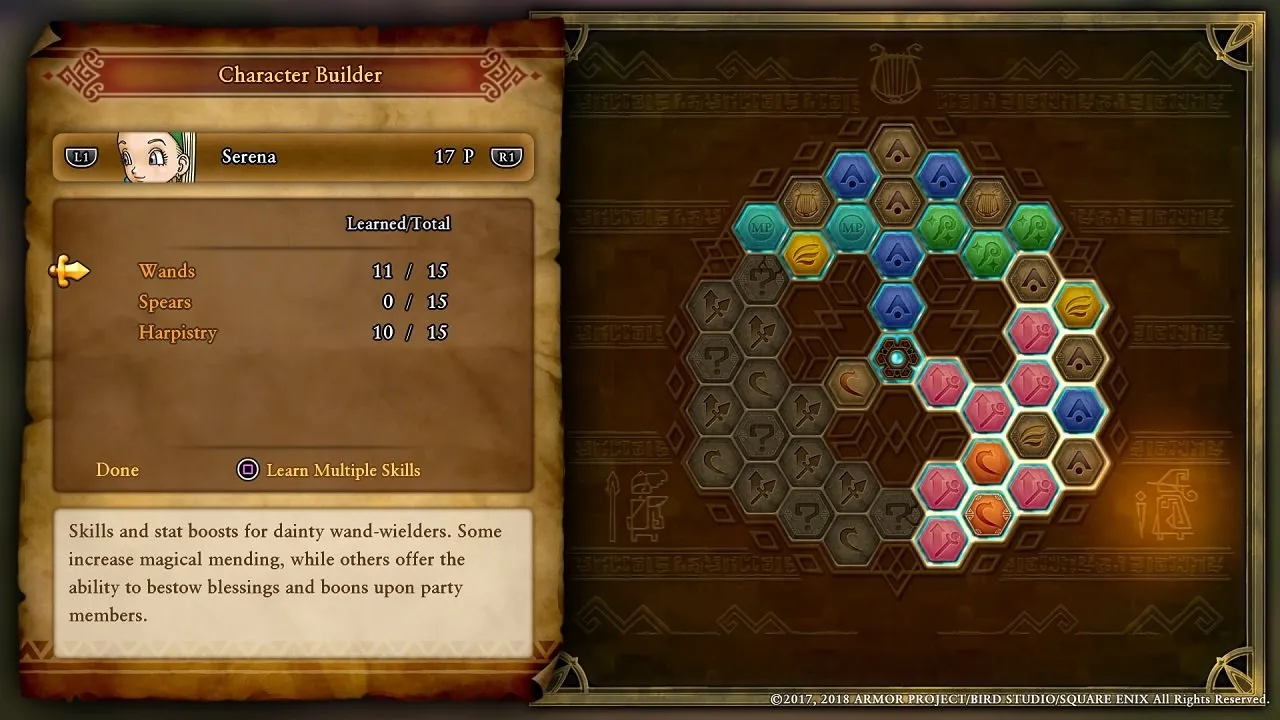
Serena is all about healing and support. She does have some abilities that can be used to deal damage, but her true value is in keeping her party members alive and kicking via an assortment of healing spells and buffs. Other than her lack of offense, her only real weakness is her low AGI, which is unfortunate since she needs it to heal her allies in a pinch. Fortunately, between her modest HP total and surprising amount of bulk (her RES is decent, she can equip shields and one of her endgame wands has a percentage-based damage reduction attached), she’ll be able to stay in the fight longer than any other spellcaster.
In short, she’s a solid character who just needs some help in regard to her low speed to ensure that her healing or buffs are available when you need them.
Pep Effect Bonuses
M.Mending +20% (40%), RES +40% (60%), Magic Critical Rate Up (Magic Critical Rate further increased)
Regular Skills and Abilities
| Name | Level/Condition |
|---|---|
| Heal | 12 |
| Dazzle | 12 |
| Squelch | 12 |
| Buff | 12 |
| Accelerate | 13 |
| Woosh | 14 |
| Fizzle | 15 |
| Midheal | 16 |
| Acceleratle | 17 |
| Zing | 18 |
| Anathematise | 19 |
| Tingle | 20 |
| Kabuff | 23 |
| Whack | 24 |
| Moreheal | 27 |
| Swoosh | 28 |
| Multiheal | 35 |
| Kazing | 45 |
| Thwack | 49 |
| Fullheal | 50 |
| Kerplunk | 60 |
| Kathwack | 63 |
| Omniheal | 66 |
| Kaswoosh | Event |
Oh, would you look at that. Truly, this spell list reflects the kind of spellcaster Serena is — a healer. In the off-chance that she does have absolutely no need to use either a heal or support spell, she does have the option to use a Woosh-line spell (AOE wind-elemental damage) or Thwack (instant death) to help deal damage, but be aware that since these spells become more effective with M.Mi — a stat which Serena does not gain naturally — they aren’t likely to be too effective.
Character Builder Skills and Abilities

Wands
| Name | SP Cost | Extra Notes |
|---|---|---|
| MP Absorption When Wielding +2% | 3 | n/a |
| Magical Mending When Wielding +10 | 4 | n/a |
| Minor MP Recovery After Battle | 6 | n/a |
| Moderate MP Recovery After Battle | 14 | n/a |
| Devil’s Delight | 8 | n/a |
| Divine Intervention | 25 | Mystery Panel |
| Magical Mending When Wielding+30 | 10 | n/a |
| Alma Mater | 13 | n/a |
| Snap, Crackle, Poof | 13 | n/a |
| Dual-Wielding | 13 | Mystery Panel |
| Pep-Up Power-Up | 16 | n/a |
| MP Absorption When Wielding +4% | 14 | n/a |
| Maximum MP When Wielding +30 | 16 | n/a |
| Grace of the Goddess | 20 | Mystery Panel |
| Divine Restitution | 20 | Mystery Panel |
Among Serena’s three trees, Wands is the most versatile and should be invested in first. Aside from the various panels boosting her M.Me and MP total, skills such as Alma Mater (target is protected from instant death when they’re above half health) and Snap, Crackle, Poof (protection from negative status effects) are high priority when starting off.
Later on, Divine Intervention and Grace of the Goddess are worth taking a look at, as the former prevents Serena from being affected by instant death attacks when her HP is above 2, while the later instantly revives her in the off-chance that she gets killed. And of course, Pep-Up Power-Up and should be picked up when you have the SP to afford it.
Lastly, if you’re really adamant about Serena dealing damage, then go ahead and pick up Divine Restitution. It scales off of M.Me, rather than M.Mi, and has the added bonus of providing her with a decent HP regeneration buff for a limited period of time.
Spears
| Name | SP Cost | Extra Notes |
|---|---|---|
| Cattleprod | 3 | n/a |
| Attack Power When Wielding +10 | 4 | n/a |
| Parry Chance When Wielding +4% | 6 | n/a |
| Deliverance | 7 | n/a |
| Critical Hit Chance When Wielding +2% | 9 | n/a |
| Attack Power When Wielding +15 | 13 | n/a |
| Party Pooper | 16 | n/a |
| Thunder Thrust | 18 | Mystery Panel |
| Parry Chance When Wielding +5% | 14 | n/a |
| Attack Power When Wielding +20 | 16 | n/a |
| Critical Hit Chance When Wielding +2% | 14 | n/a |
| Crushed Ice | 16 | n/a |
| Be Like Water | 20 | Mystery Panel |
| Counter Wait | 20 | Mystery Panel |
| Kaswooshle | 25 | Mystery Panel |
Some trees should be avoided like the plague and Serena’s Spear tree is the poster child of this phenomenon.
To be clear, the weapon itself will find some use in the early game when Serena’s MP pool is relatively small and you don’t want to spend her limited resources on offensive spells when there’s no need to heal, but such instances are far and few in between. Yet, the real issue is that while there are plenty of power boosting nodes, there aren’t enough active skill nodes to take advantage of them. The only ones worth using are Thunder Thrust, an inaccurate strike which guarantees a critical hit if it lands, and Crushed Ice, a multi-hitting ice-elemental attack.
Beyond that, the only reason to invest in this tree is for Serena’s strongest offensive spell: Kaswooshle, which also scales off of M.Mi and thus will likely still be inferior to Divine Restitution.
Harpistry
| Name | SP Cost | Extra Notes |
|---|---|---|
| Hymn of Fire | 8 | n/a |
| Hymn of Ice | 8 | n/a |
| Hymn of Light | 14 | Mystery Panel |
| Hymn of Thunder | 12 | n/a |
| Hymn of Earth | 10 | n/a |
| Hymn of Air | 10 | n/a |
| Holier Hymns | 20 | Mystery Panel |
| Holier Hymns | 20 | Mystery Panel |
| Maximum MP +10 | 8 | n/a |
| Maximum MP +20 | 16 | n/a |
| Magical Mending +10 | 8 | n/a |
| Magical Mending +20 | 14 | n/a |
| Magical Mending +30 | 16 | n/a |
| Minor MP Recovery After Battle | 14 | n/a |
| Doleful Dirge | 25 | Mystery Panel |
Harpistry is an interesting tree, as its value is entirely dependent on the enemy Serena is currently facing.
Basically, each Hymn provides a buff that increases the party’s resistance to a certain element (this effect is boosted by the Holier Hymns passive), making their survivability go through the roof against certain bosses when combined with other defensive buffs like Kabuff. The only caveat here is that you need to know the element the foe wields in advance. If you know it and have the corresponding Hymn, then you’re in business. On the other hand, if either one of those conditions aren’t true, then there’s no point to this tree beyond the M.Me and Maximum MP panels.
Fortunately, Doleful Dirge is always useful, since many of the game’s stronger abilities and weapons have an element attached to them.
—
That’s it for Serena’s role in Dragon Quest XI: Echoes of an Elusive Age. As a healer, it’s unlikely she’ll ever leave your party. Luckily, outside of her low speed (which can be remedied with stat seeds and buffs), she has the means to ensure that she’s able to remain in the thick of things without dragging her teammates down.
Need help with something else? Head to the Luminary’s Guide for more Dragon Quest XI guides.


Published: Sep 9, 2018 07:42 am