You’ve braved the first half of Ruby Weapon Extreme, the latest trial added in patch 5.2 to Final Fantasy XIV, and the hardest part is about to begin. Players can rest easy knowing that once they reach this second phase of the fight they won’t have to repeat the first phase if they wipe. That said, this segment of the Cinder Drift Extreme trial can easily chew time off the clock if you don’t know what you are doing, so I’m here to help. If you have yet to clear the first phase of the fight I recommend checking out our Phase 1 guide here.
Cinder Drift – Ruby Weapon Extreme Phase 2: Attacks
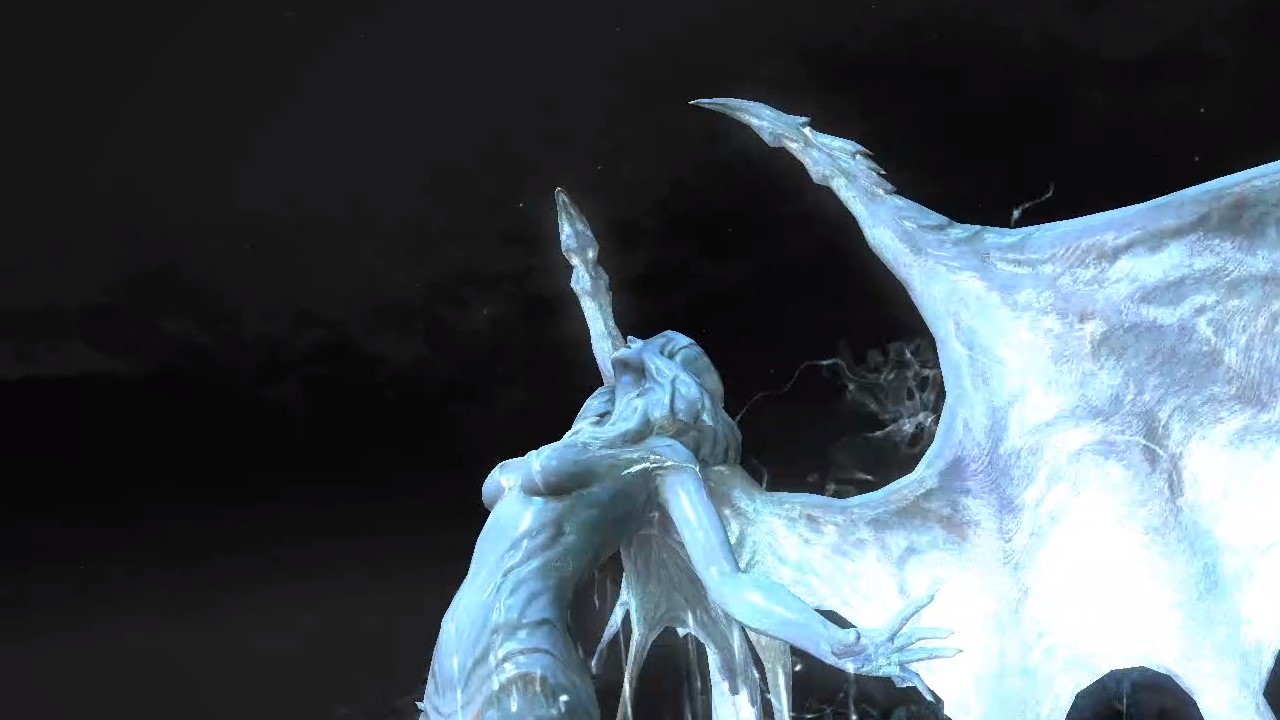
The Nael van Darnus portion of Ruby Weapon Extreme is nothing like what you just fought, so you will have a slew of additional attacks to learn if you wish to conquer this tussle. Like the Phase 1 guide, I will break down the attack below before moving on to the timeline and strategy required to beat this phase of the fight. Those who already know the attacks feel free to skip ahead. As a quick note: Nael does not leave the center of the arena during this fight, and her her hitbox is omni-directional.
Much like the Normal Cinder Drift fight, Meteor Project has Nael summon forth Dalamud, with its power displayed within the Dalamud Reborn duty gauge. If this number is ever above zero when Dalamud Impact crashes into the arena the party will wipe. Killing the Raven’s Image mobs or the adds from comets will reduce this meter by 50.
Negative Personae sees Nael summon forth two Raven’s Images that will make Nael invulnerable. If they are not killed before Dalamud crashes then the party wipes. One will be orange and the other blue, and players will themselves receive an orange or blue debuff. Whichever color they have they need to attack the opposite Image.
Meteor Stream is an AoE that will target the DPS, and it deals heavy damage. DPS need to avoid dunking other players.
Greater Memory is a damage-up buff to the Images. During the battle against the adds two ghosts will be summoned that can be used to remove the buff. These ghosts cannot be attacked, and if they collide with any player they will explode, dealing dire damage to the entire raid while slapping everyone with a damage-down debuff, making the Images harder to kill. The ghosts need to be kited carefully to the opposite colored Image, where they will remove the damage-up buff.
Lunar Dynamo is a donut AoE the Images will conjure, though it’s small enough to avoid with range.
Iron Chariot is yet another AoE the Images will cast, but this one will be centered around them. Run away from the Image to avoid.
Ruby Claw is a tankbuster that hits multiple times, and can prove lethal if the Image has Greater Memory up. Mitigation, strong heals, and cognizant DPS will make this an easy attack to survive.
Change of Heart will see the Images swap colors, thus everyone will need to swap targets, tanks included.
Negative Aura comes from Nael herself, and players need to look away lest they become feared. Considering the edge of the arena is a giant pit of instant-death, players want to avoid being feared at all costs.
Meteor Mine is where things get spicy. Nael will target all eight players in a set order with a meteor, and if a meteor lands near any other meteor they will explode, killing the entire party in the process. The meteors do explode on their own after a short duration, though the eight meteor will prove vital if players wish to survive the attack after Meteor Mine. The cardinal and intercardinal waypoints from the first phase will be used to handle this attack.
Magitek Meteor is a massive rock that descends from the sky, and works much like any other giant meteor attack in the game: you need to break line of sight with where it will land to avoid dying. This is where the eighth Meteor Mine comes into play.
Screech is a minor knockback from Nael that can be ignored with Arms Length and Surecast. Otherwise, get near Nael to keep from entering the outer death-wall when knocked back, and position yourself to be flung behind the eighth meteor.
Mark II Magitek Comet are the comet adds I mentioned earlier. This works much like the attack in normal mode, but with a minor twist. There will only be two comets that drop after following a rotating set of arrows that start at the eastern and western edges of the arena, and these have to be grabbed by the tanks, full stop. Players then murder the comets to not only save the tanks from an eventual death, but to reset the Dalamud Reborn gauge back to zero. Otherwise, it’s a wipe.
Bradamante will mark two players at random, and a line AoE will shoot out of Nael towards them after the cast bar fills. This happens during Mark II Magitek Comet, so for the love of all that is good aim these away from the tanks holding up the comets. Oh, and other players too.
Outrage is this phase’s Optimized Ultima, and will be spammed at the end of the fight until the hard enrage. Either heal through it at the end and burn the boss, or fall when Dalamud strikes.

Cinder Drift – Ruby Weapon Extreme Phase 2: Strategy
So, let’s break those attacks down into a sensible timeline:
- Meteor Project
- Negative Personae
- Meteor Stream and Greater Memory
- Lunar Dynamo and Iron Chariot
- Meteor Stream and Greater Memory (with ghosts)
- Ruby Claw
- Greater Memory and Change of Heart
- Lunar Dynamo and Iron Chariot until Images die.
- Negative Aura
- Dalamud Impact
- Meteor Project Recast
- Meteor Mine, Screech and Magitek Meteor
- Mark II Magitek Comet
- Bradamante, twice
- Meteor Project
- Outrage, more Outrage, and some extra Outrage until…
- You win, or the final Dalamud Impact kills you all.
To kick off this phase of the Ruby Weapon Extreme encounter you can either keep your waymarks as they were from phase 1, or you can reset them to get them out of the death-wall. Whichever you choose, be sure everyone remembers their assignments for Meteor Mine. Once pulled Nael with start Meteor Project, and shortly after will summon the Raven’s Images with Negative Personae . Tanks need to grab the adds and split them apart, preferably taking one to the west and one to the east. The first Meteor Stream will trigger, so DPS need to be mindful of their surroundings, and healers need to be ready to launch some big heals their way. The first Greater Memory will go off, but no ghosts spawn.
The Images will randomly cast Lunar Dynamo or Iron Chariot after Meteor Stream, but ranged classes can comfortably hug the southern edge if the Images were positioned properly on the eastern and western edges. A second Greater Memory will be cast shortly after, this time with ghosts, so the affected players should once stack on the tank of the opposite colored Image, and everyone else needs to get away from the tether, or the ghosts will explode.
A second Meteor Steam will be cast as the ghosts are tugged towards their respective Image, so the affect players and the tanks will need to shimmy slightly to the side of the Image to avoid dunking the tanks. Ruby Claw will also go out at this time, so tanks should mitigate the attack.
The Images will cast a third Greater Memory (no ghosts), in addition to Change of Heart, so everyone will need to swap targets. Mechanics will repeat after the swap, but you must kill the Images before Dalamud Impact occurs to reset the gauge to zero and survive. If one dies before the other the color debuff will be removed, so everyone can dogpile onto the remaining Image. Once both are down you can attack Nael once more.
Roughly 15 seconds before Dalamud strikes (and hopefully after you have killed the Images) Nael will cast Negative Aura. Everyone must look away before the cast bar fills, otherwise they will be feared and run into the death wall. Pop defensive cooldowns and have the healers ready to spam some big heals once Dalamud Impact lands.
After Dalamud Impact Nael will cast Meteor Mine and Magitek Meteor. Players will notice a numbered mark above their heads, and the easiest way to resolve this mechanic is to have everyone except eight run their meteor out to their assigned waypoint. You could try going in numbered order clockwise, but this is more hassle than having everyone bail to their assigned location.
The eighth meteor should be dropped slightly closer to center, but still in line with that player’s waymark to avoid popping any other meteors. After, everyone needs to stack in the center and healers will need to heal through the light proximity damage. Nael will cast Screech before Magitek Meteor lands, so you have two options here: you can either stand behind the eighth meteor and use Arms Length/Surecast to ignore the knockback, or you can position yourself to be knocked back through the meteor, allowing you and everyone else to line of sight the Magitek Meteor. The moment Magitek Meteor lands everyone needs to scramble away from the meteors to avoid them exploding. Running to center works well if the eighth meteor wasn’t dropped too close to the middle.
Mark II Magitek Comet will be deployed after this, so the two tanks need to run off and secure their respective comet. They need to stand within the final, glowing arrow, otherwise they will miss the comet and everyone will have a bad day. A tank cooldown beforehand can help minimize the damage suffered from holding up a comet, and will assist your healers. All players should focus their fire on one comet at a time, to ease the healers’ burden.
Bradamante will be cast twice during this portion, and afflicted players should move to the side to aim the AoE away from tanks/comets. Easiest way to do this is to attack Nael while away from the party until Bradamante has been resolved. Another Dalamud Impact will occur, and if the comets were killed in time your party will move into the final burn phase.
Meteor Project will be recast, and there will be no way to drop the Dalamud Reborn gauge to zero from this point forward, so everyone needs to go nuts. Nael will spam the high Hell out of Outrage, so healers will be on suicide watch during this final push. It’s do or die here, and if you cannot kill Nael prior to the final, enrage Dalamud Impact then you don’t have the DPS required. Cleaning up and avoiding deaths throughout the fight should keep you on track for a kill, though.
And that’s it: you’ve vanquished Nael van Darnus (again), and completed Cinder Drift: Ruby Weapon Extreme. Best of luck on your weapon rolls, and hopefully this guide helped you find the success you so dearly earned. I’d also like to thank Lyra Rose and the community who figured a lot of this out the first day of the patch, and whose work I referenced when cross-checking my own findings. Cheers everyone, and happy hunting.


Published: Feb 20, 2020 04:18 pm