Zelda Tears of the Kingdom has a long list of Shrines that are extremely challenging due to the new physics system and abilities Fuse, Recall, Ascend, and Ultrahand. The Shrines incorporate each of these abilities in a great way, but sometimes you need to think out of the box to make it work. For example, the Jiukoum Shrine demands extra focus to reach the finish line. Here is the Jiukoum Shrine solution in Zelda Tears of the Kingdom.
Jiukoum Shrine “Built for Rails” Shrine Solution in The Legend of Zelda: Tears of the Kingdom
There are a lot of steps to complete the Jiukoum Shrine in Zelda: Tears of the Kingdom. Your first step is to get across the large opening in the ground. To do so, fuse two platforms on your left-hand side together to create a more extended platform for you to stand on. Bring it over to the railing, as I do in the image below, get on top of it, and ride it to the other side.
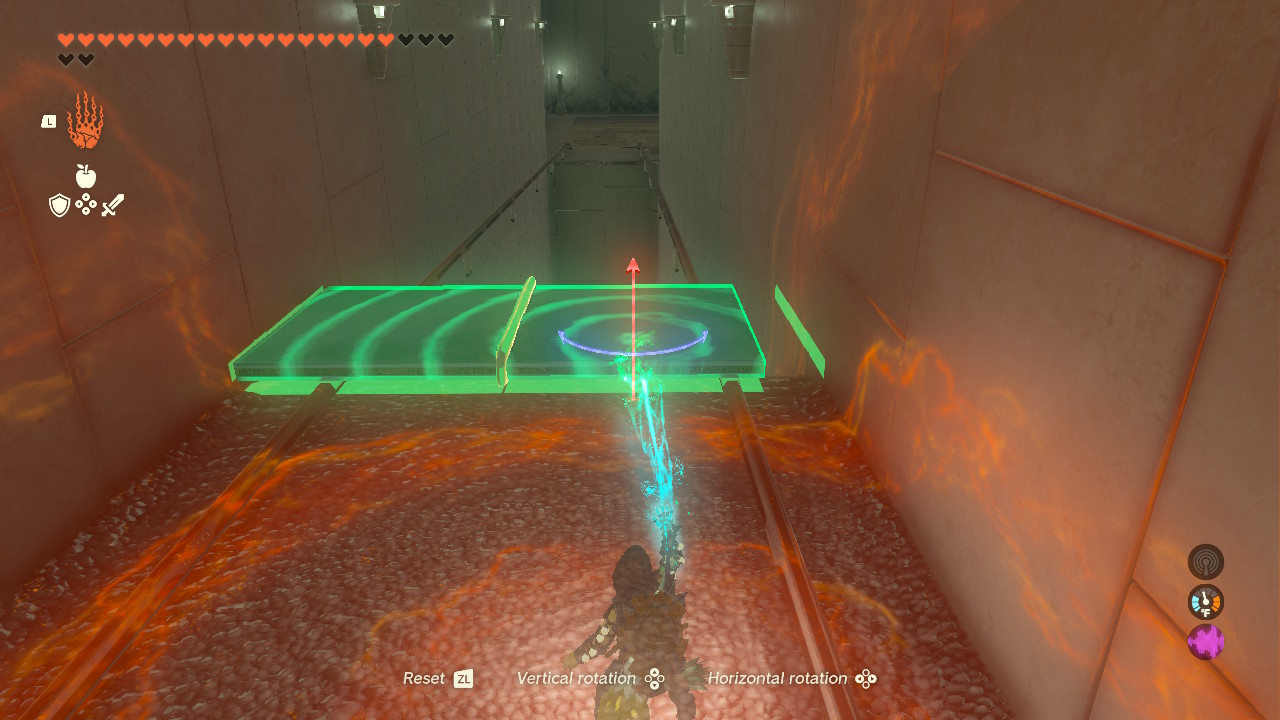
This is where things start to get tricky. You will notice another railing, but this time it veers off to the left — meaning you will need to find a way to create a platform that can balance itself past the turn in the rails. Here is what you do.
First, take the big platform that keeps spawning from the ceiling. Bring it over to the side, add a smaller platform (in the shape of a square), and fuse it to the larger platform, just like I do in the image below. It should be as close to the middle as you can.

Place the middle platform square between the railings and get on top of it, as it will now bring you to the other side.
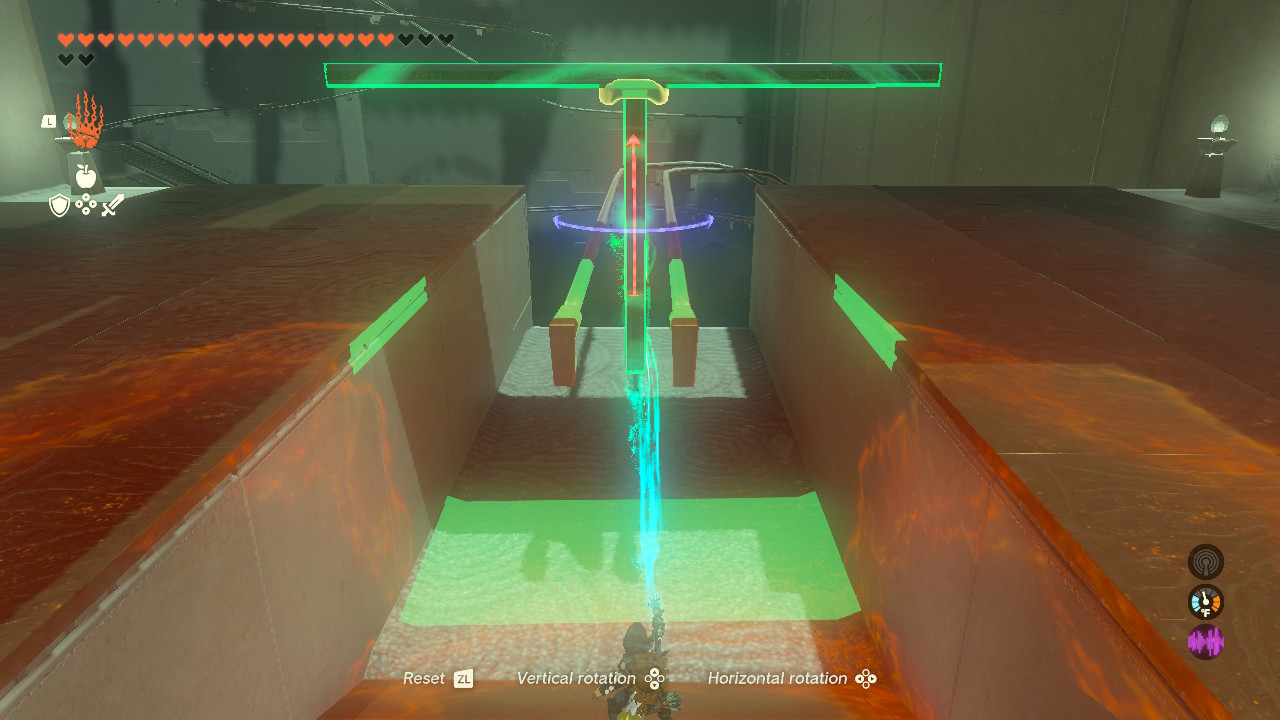
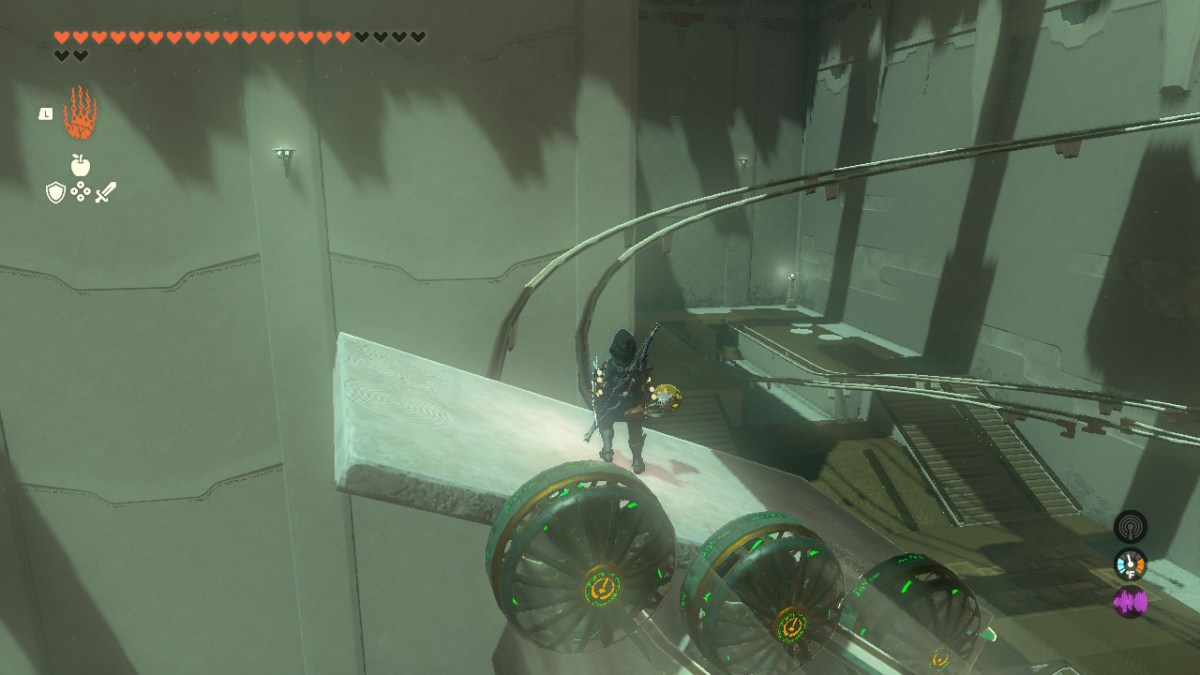
For the last part, there is a gap in the railing which you need to figure out how to get over. First, take the larger platform and add one square platform to the end and another in the middle. Use the image below for an example.
Related: Are Arrows Available in the Downward Force Shrine in Zelda Tears of the Kingdom?
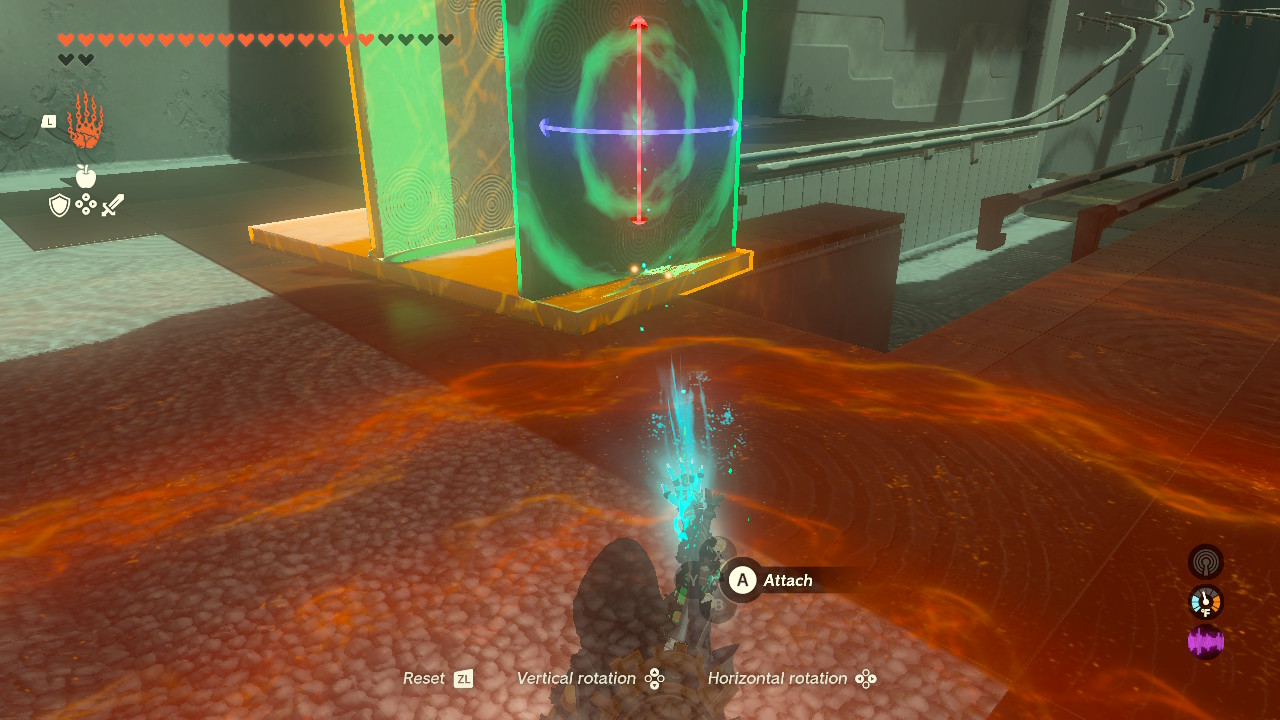
Next, place the platform on the railings where there is one square platform between the railings on the right-hand side and another square platform in the middle by itself.
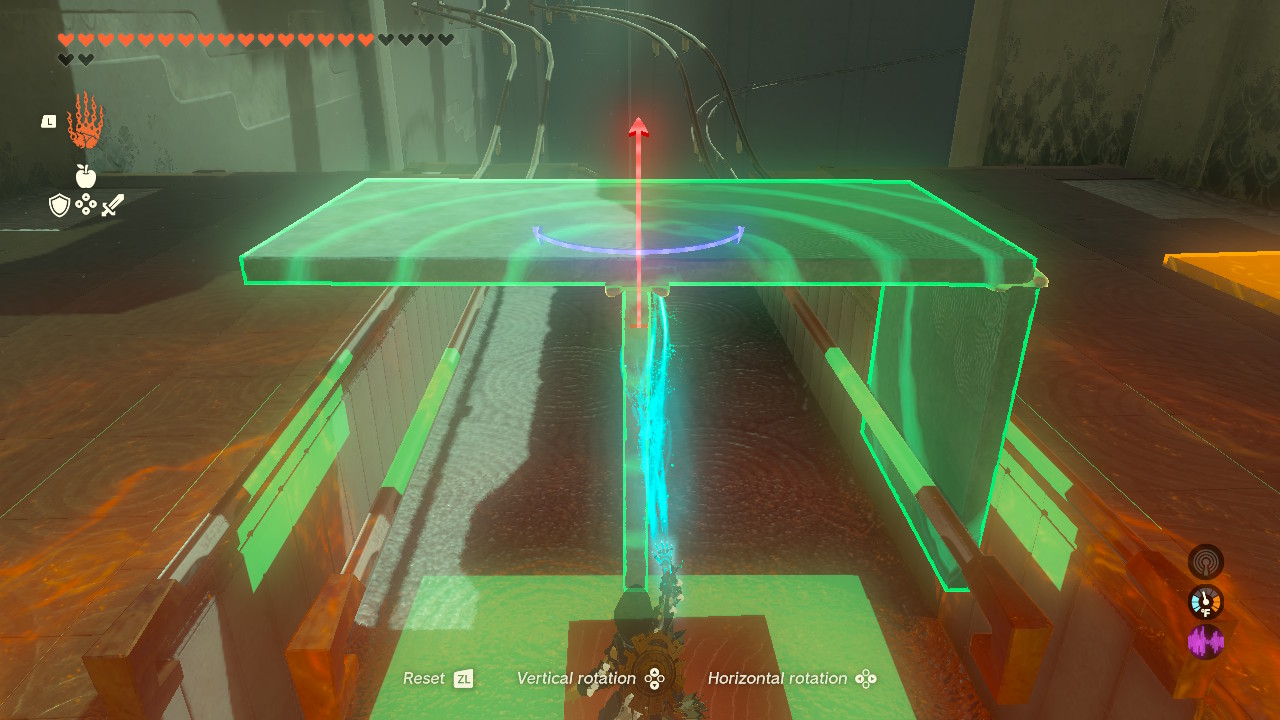
Lastly, add three fans to the back and get on top of it.

Swing your weapon to activate the fans and enjoy the ride as the wind will bring you up, over the gap, and to the finish line to grab the Light of Blessing for your Stamina and Hearts!




Published: May 22, 2023 11:10 am