Metro Exodus changes a lot about the famed first-person shooter series. It takes you well outside the confines of the Moscow Metro. It tells a more personal and character driven story. But more importantly, it shifts the gameplay a lot by adding many customization and crafting options. These can be controlled somewhat by the backpack, but the best and only way to make some changes is with a workbench. Here’s how to use the workbench in Metro Exodus.
To use a workbench you first need to find one. Each level has multiple workbenches spread around, and you’ll have to do some off the beaten path exploration to find them. There is always one on the Aurora though, so if you can get back to it, just do so to access the easiest and most accessible workbench in the level. If you find any out in the world, they’ll be marked with a green house on your map, so if one of those is closer just walk that way instead.
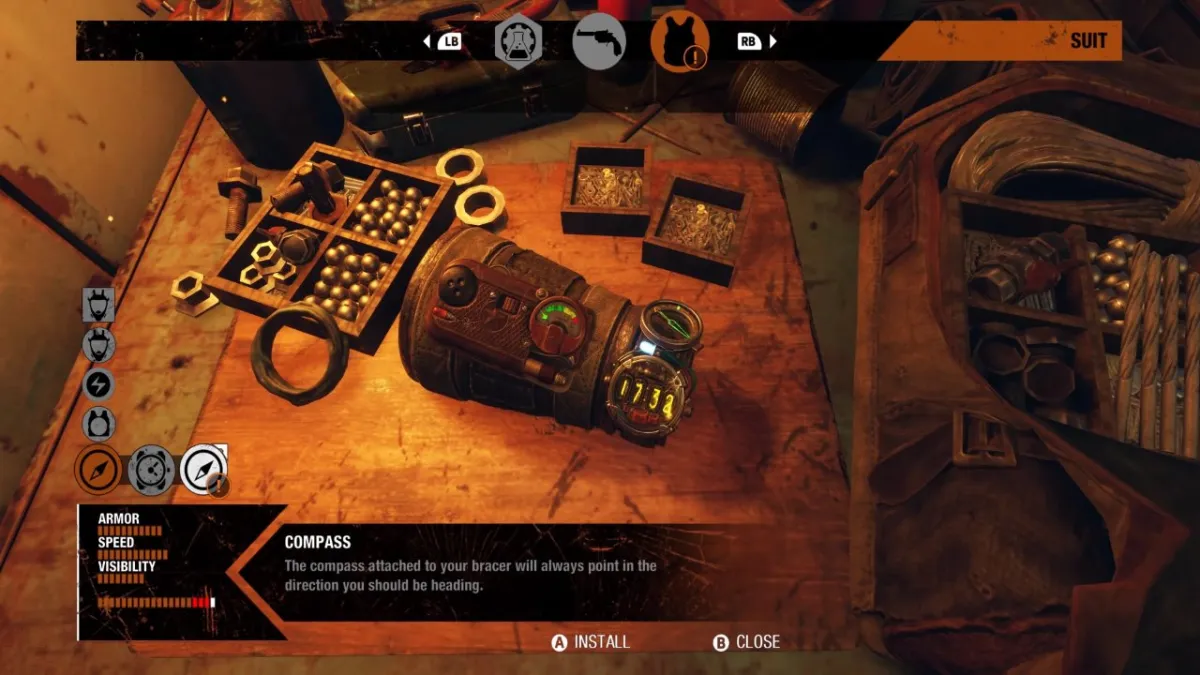
Once you’re at the workbench, using it is actually pretty simple and easy. At the top are the three sections to choose from, which are basically crafting, weapons, and gear. The crafting menu lets you create new medkits and gas mask filters, along with ammo for the weapons you’ve collected along your journey. The weapon menu lets you customize your guns and choose your loadout. Just scroll through the options here, changing what you want on each gun, or going to the bottom of the menu to swap one weapon for another. And the third option will let you alter or change your gear that is carried with you.
From here you can also clean your weapons or repair your mask. So make sure to do that before heading back into the dangers of post-apocalyptic Russia. But that’s the basics for how to use the workbench in Metro Exodus. If you had any specific questions, be sure to let us know in the comments.


Published: Feb 15, 2019 11:01 am