Looking for a challenge? Overkill, Payday 3‘s toughest difficulty, offers indestructible cameras and seemingly omnipotent guards in exchange for a good chunk of XP. No Rest For The Wicked is the perfect heist to get you started, and this guide will help you to complete it as quickly and as smoothly as possible. Here’s our full No Rest For The Wicked solo Overkill speedrun walkthrough.
No Rest For The Wicked Solo Overkill Speedrun Walkthrough
No Rest for the Wicked may be the first heist in Payday 3, but it’s no joke on Overkill difficulty. That’s especially true for solo stealth players, so make sure you bring the right tools for the job.
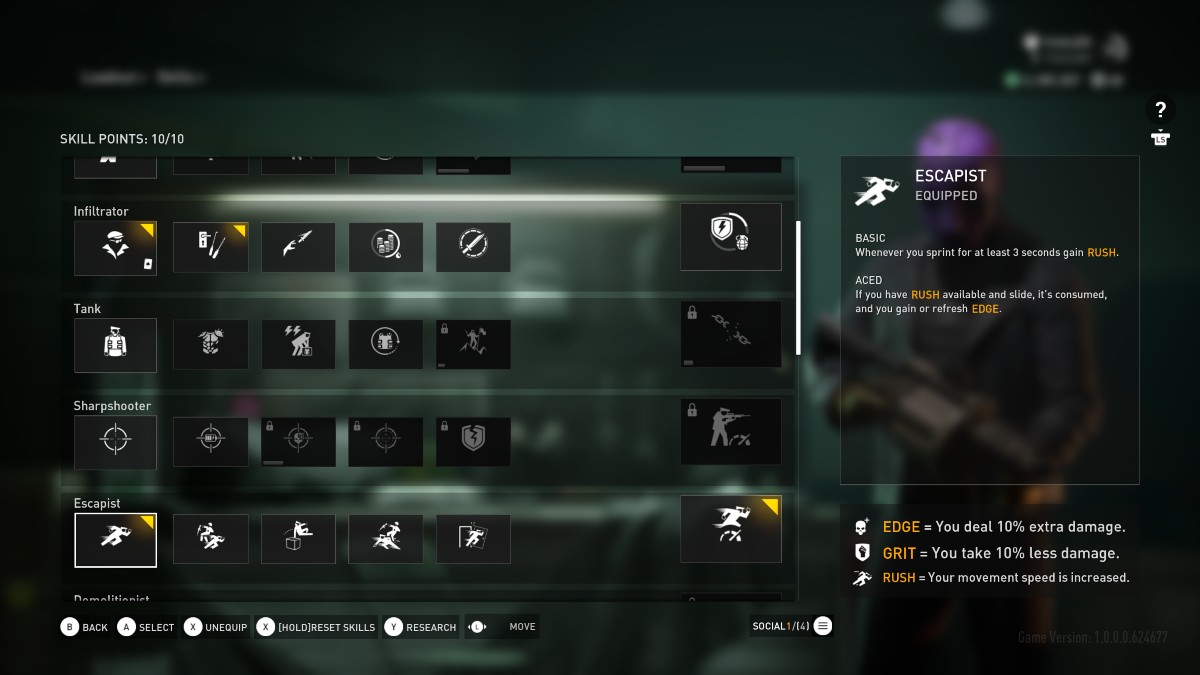
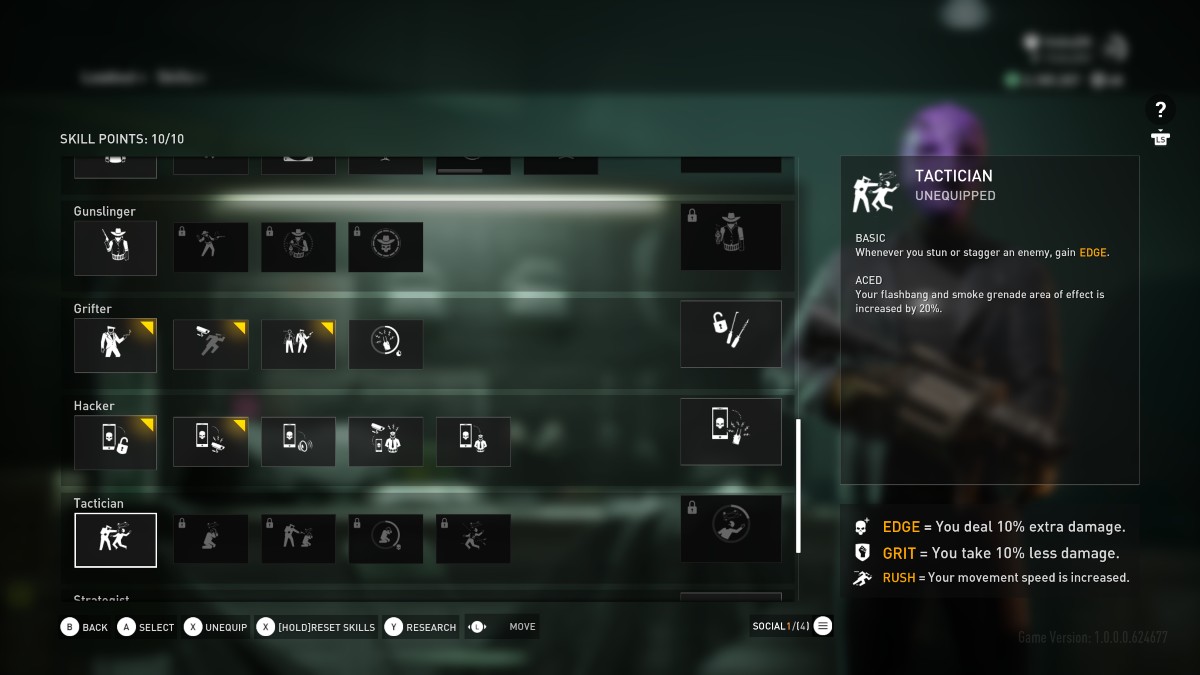
Recommended Skills and Loadout
- Infiltrator (Aced)
- Quick Fingers
- Escapist
- Swift (Optional)
- Grifter
- Walk The Walk
- Social Engineering
- Hacker
- Secure Loop
- Bagger (Optional)
For this heist, we need a stealthy loadout, so bring a suppressed weapon of your choice, light ballistic armor lining for speed, and the Motion Sensor for utility.
Infiltrator (aced) and Quick Fingers are essential skills for an Overkill run of No Rest For The Wicked. Not only will they make lockpicking and your movement faster via Rush, but combining them with Walk The Walk and Social Engineering will ensure that cameras ignore trespassing and civilians ignore illegal activity.
Secure Loop is also critical, allowing you to disable cameras that are otherwise indestructible on Overkill difficulty safely. Swift and Bagger aren’t mandatory, but their speed is definitely welcomed.
No Rest For The Wicked Solo Stealth Overkill Walkthrough
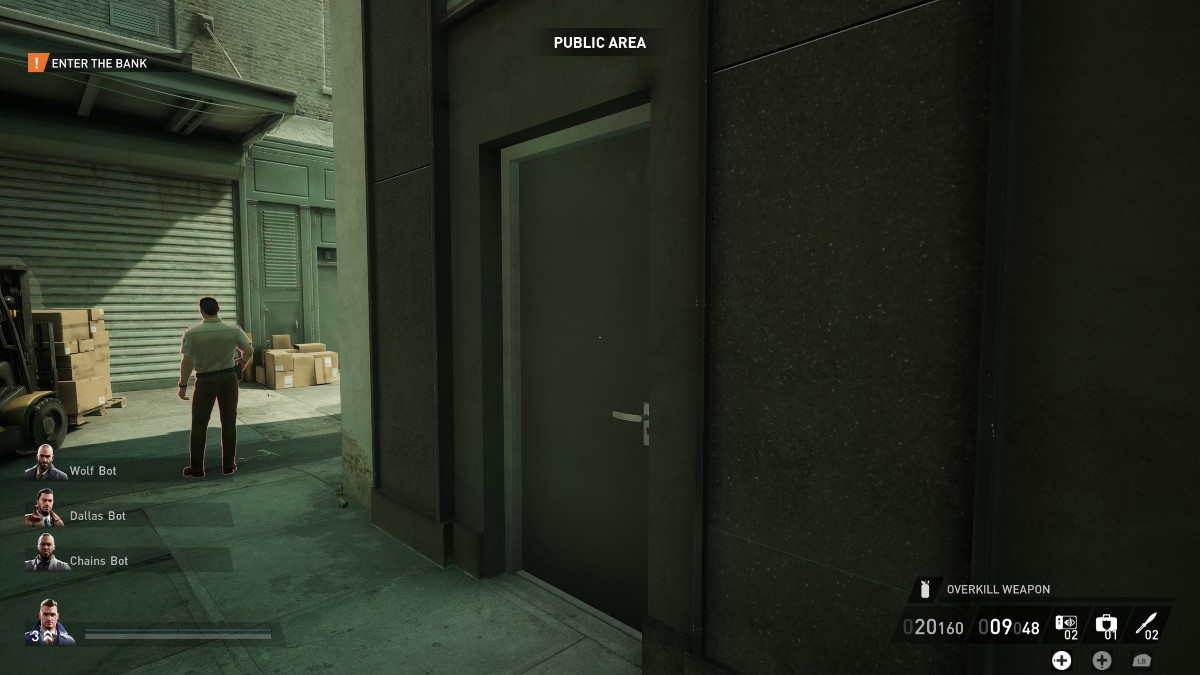
Run to the side of the bank and into the car park. Enter the grey door and pick up the QR code from the locker if it’s there. Stealthily steal the red keycard from the guard in the hallway. In rare cases, you’ll need to instead make your way to the roof through the back of the building to swipe a keycard from the guard there.
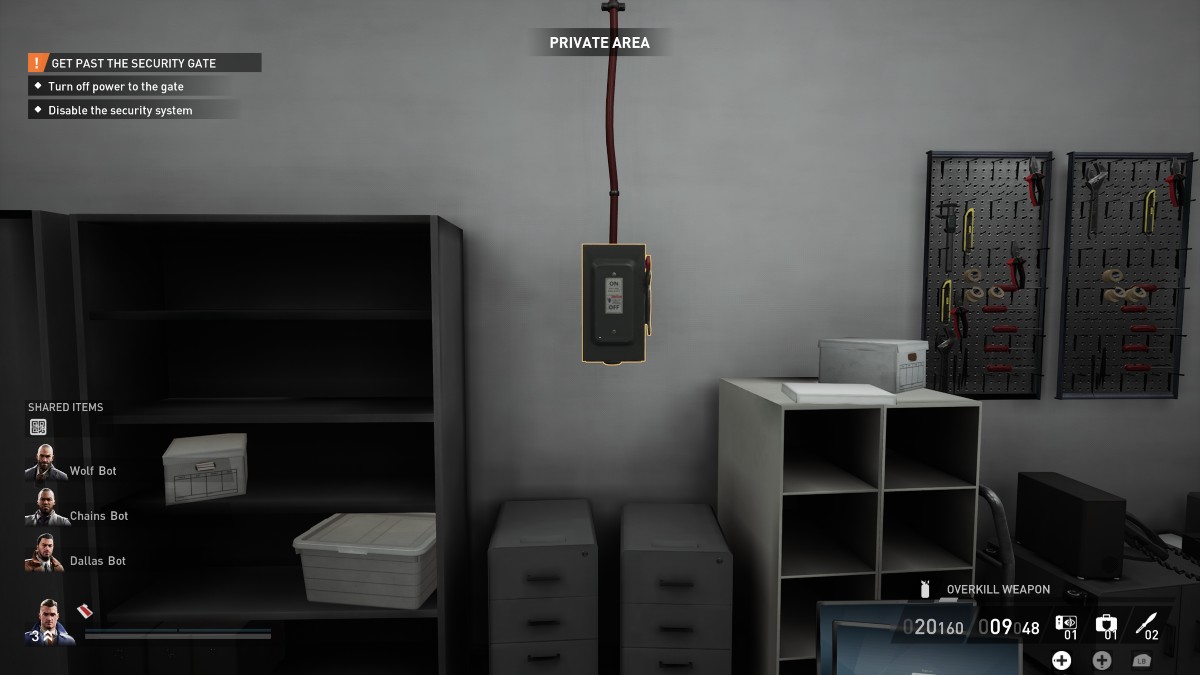
Make your way across the hall and into the IT Office. If the QR code didn’t spawn in the first room, there’s a chance it’ll be here. If you’re lucky, the power switch you need to turn off is also on the wall here.

If fortune isn’t on your side, the QR Code will either be in the Manager’s Office or on a desk in the Conference Room. The ideal map layout for a speedrun has both the QR code and power switch in the IT Office, but RNGesus has yet to bless me with an easy setup.
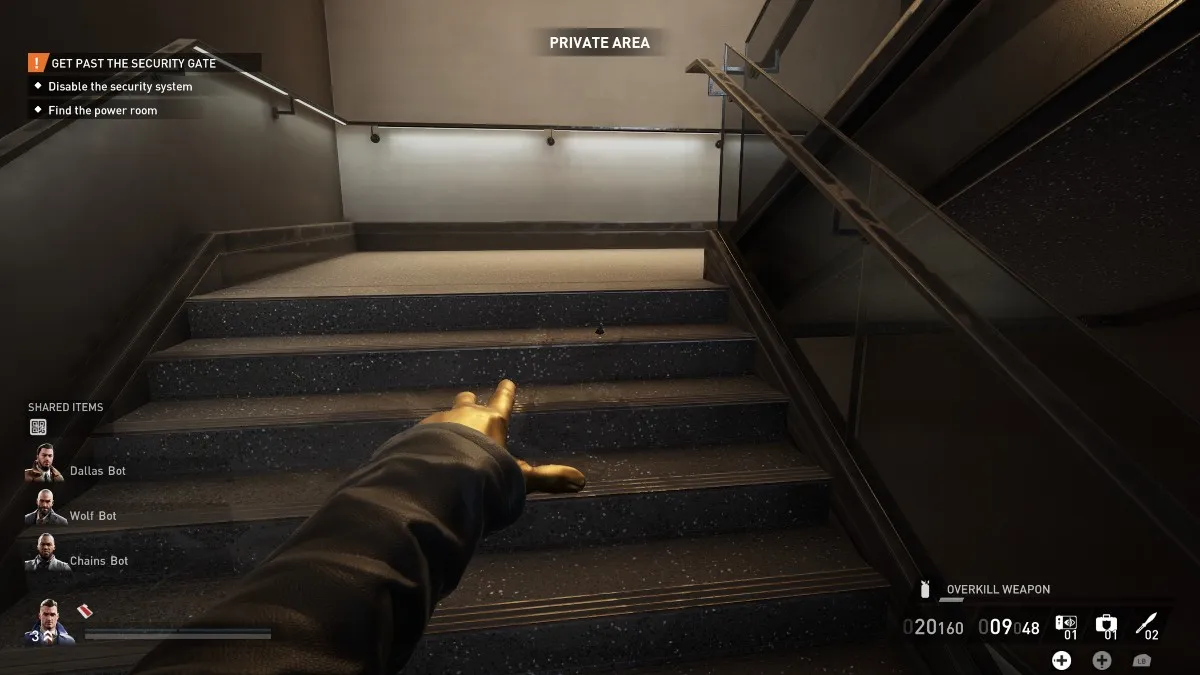
Enter the stairwell and throw a motion sensor onto the stairs between the second floor and the roof to keep an eye on the lead guard who patrols the building. These guys are explicitly crafted to screw up your stealth runs, and you can’t deal with them without going loud. Putting a motion sensor directly on a lead guard can be incredibly useful if you can get close enough.
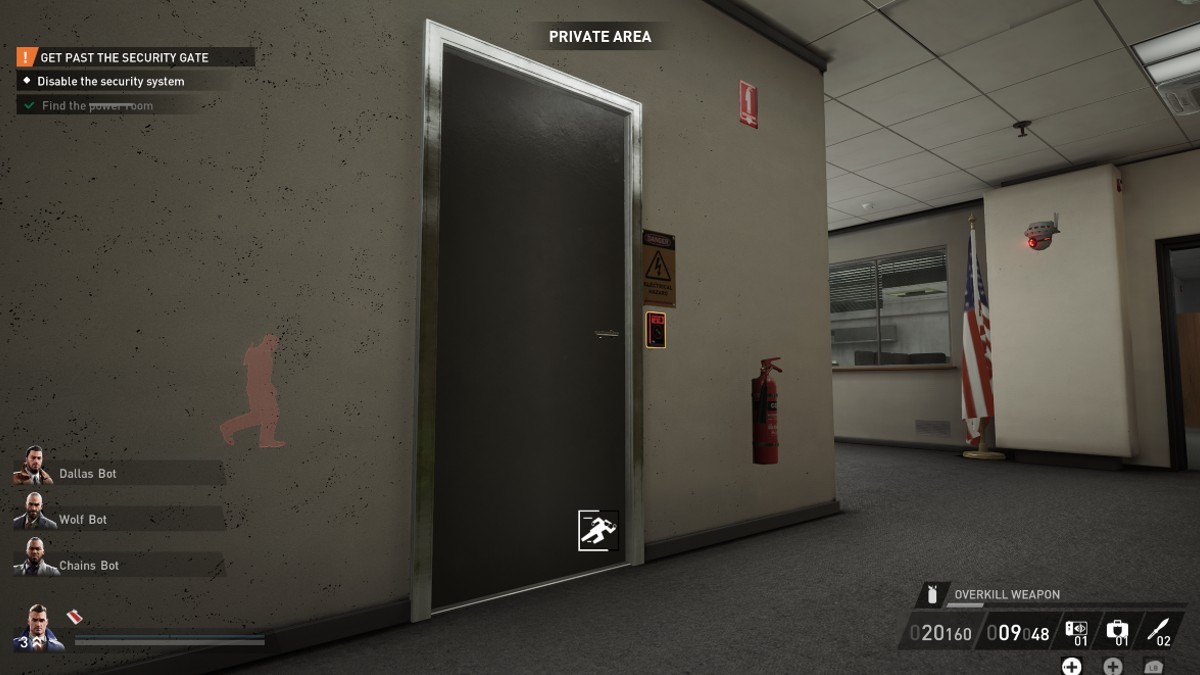
Enter the second floor and look for the power room, as well as the gate switch if it didn’t spawn in the IT Room. If there’s no power room on the second floor, then it’s all the way up on the roof. Hack the computer, activate the console, and take note of the shape displayed.
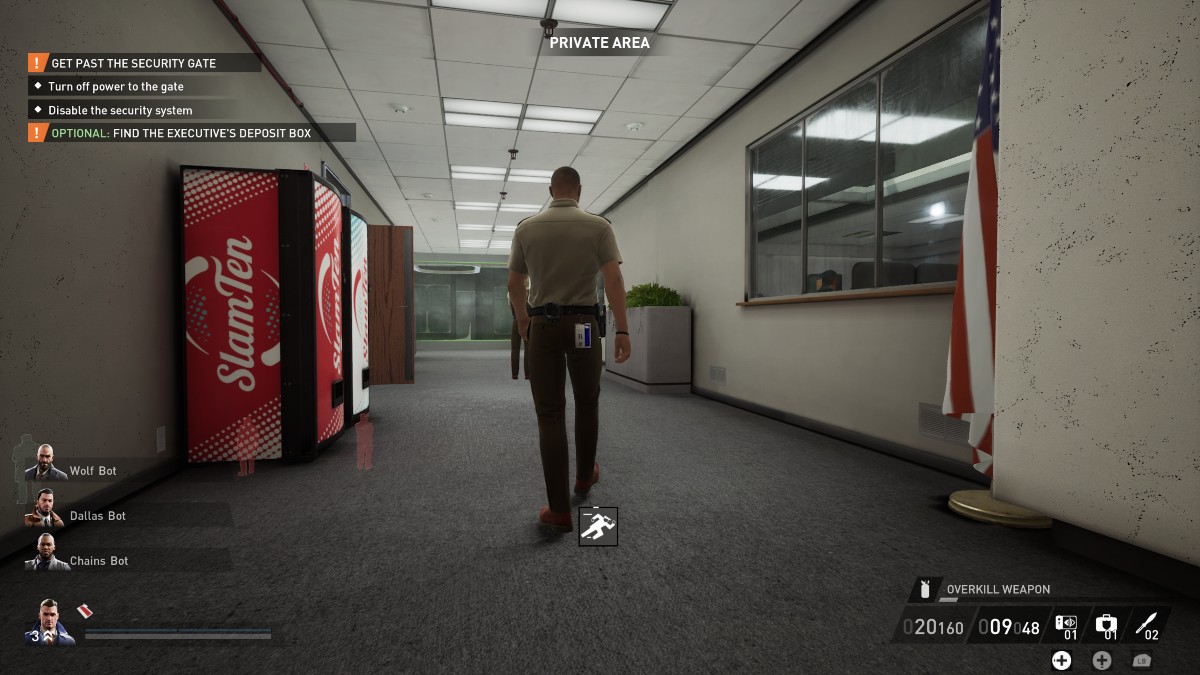
Grab the blue keycard from the guard that patrols the second floor if possible. To make it easier, I got myself caught to grab the keycard and have the guard safely escort me downstairs, which is where we need to go next.
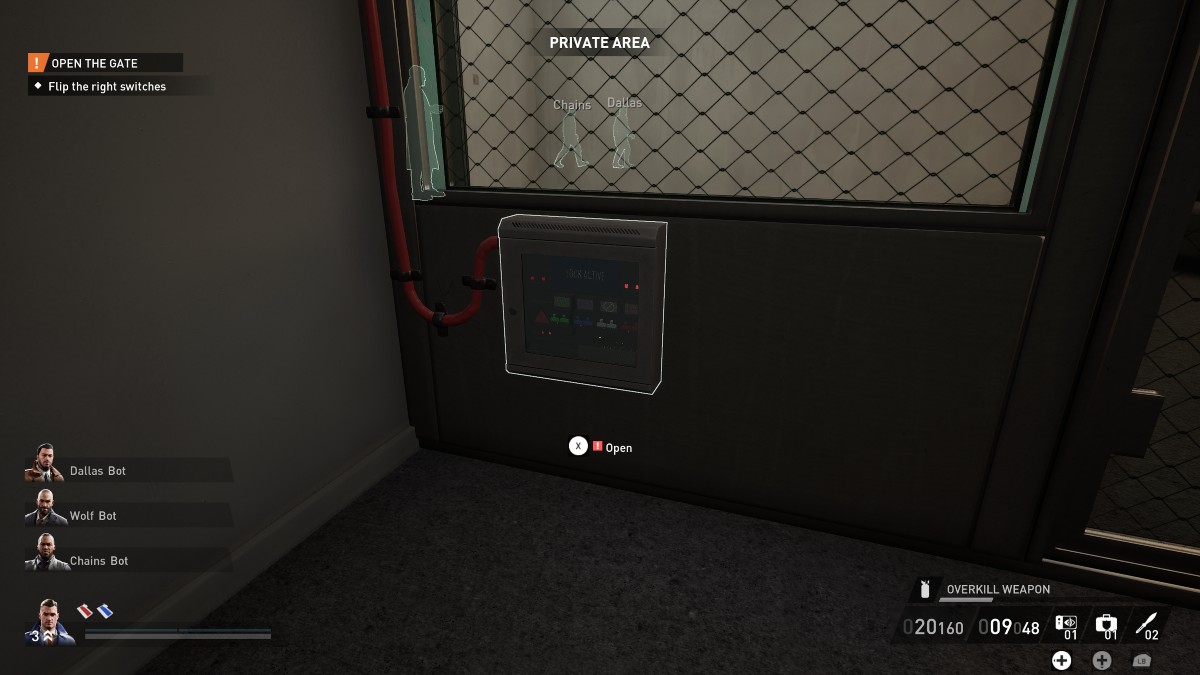
Go back downstairs and flip the correct switch on the switch box guarding the vault (shown above). Be careful of cameras in this area, and don’t forget to use Feedback Loop to disable them if you need to.
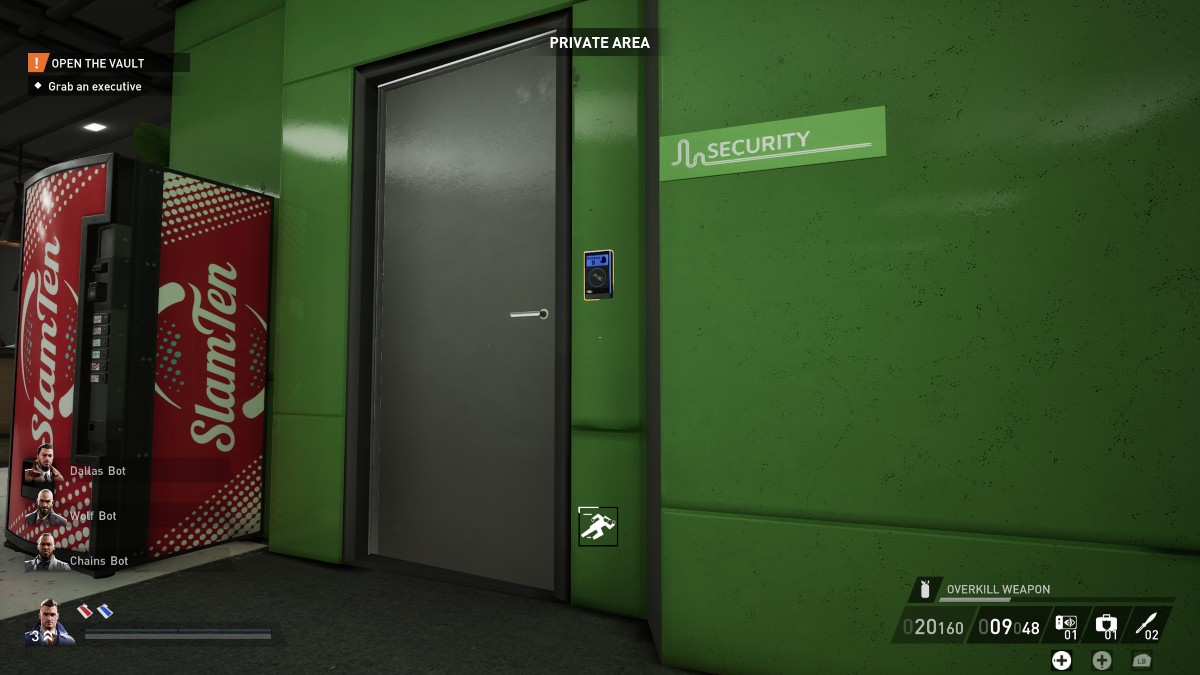
Go back upstairs and use the blue keycard to access the security room. Mask up and take out the guard. Be extra careful from this point onward, as you can only afford to kill one other guard.
Related: Payday 3 Infinite XP Glitch Guide: Max Out Weapon and Skill XP Fast
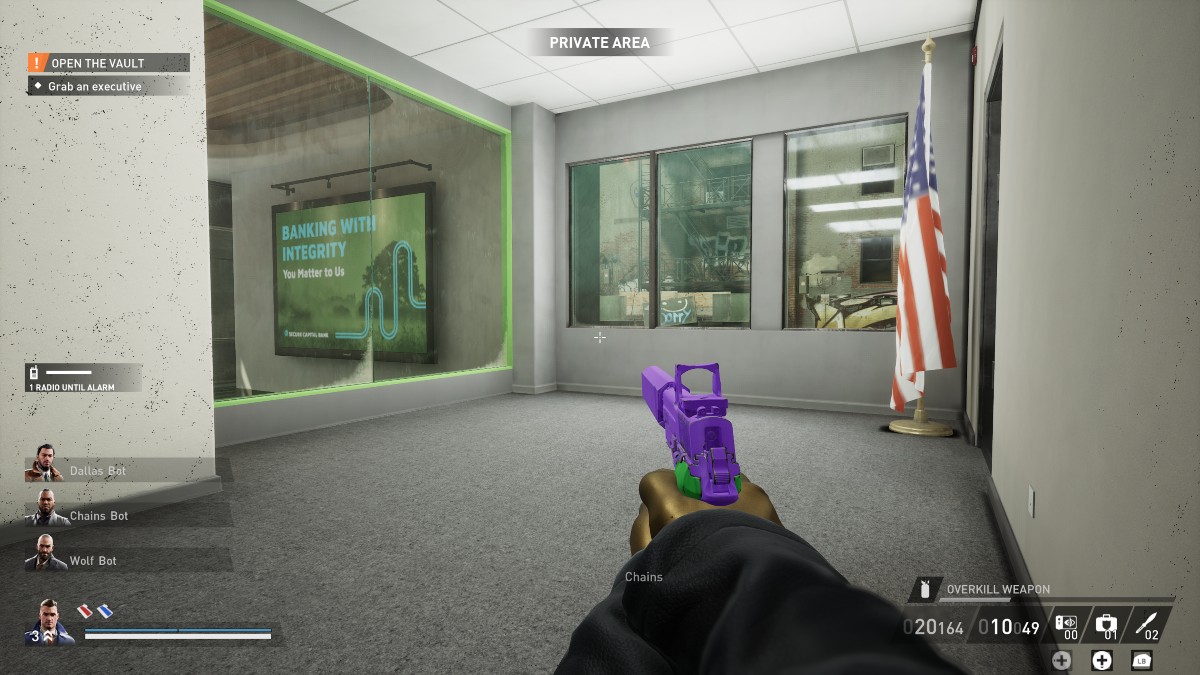
Carefully wait outside of the open office and wait for an executive to walk by — execs will be highlighted, but you can also recognize them by their fancy suits. Grab them and escort him downstairs to the vault, being extremely careful of the patrolling and lead guards. Hug the walls and avoid windows as much as possible to stop civilians from seeing you.
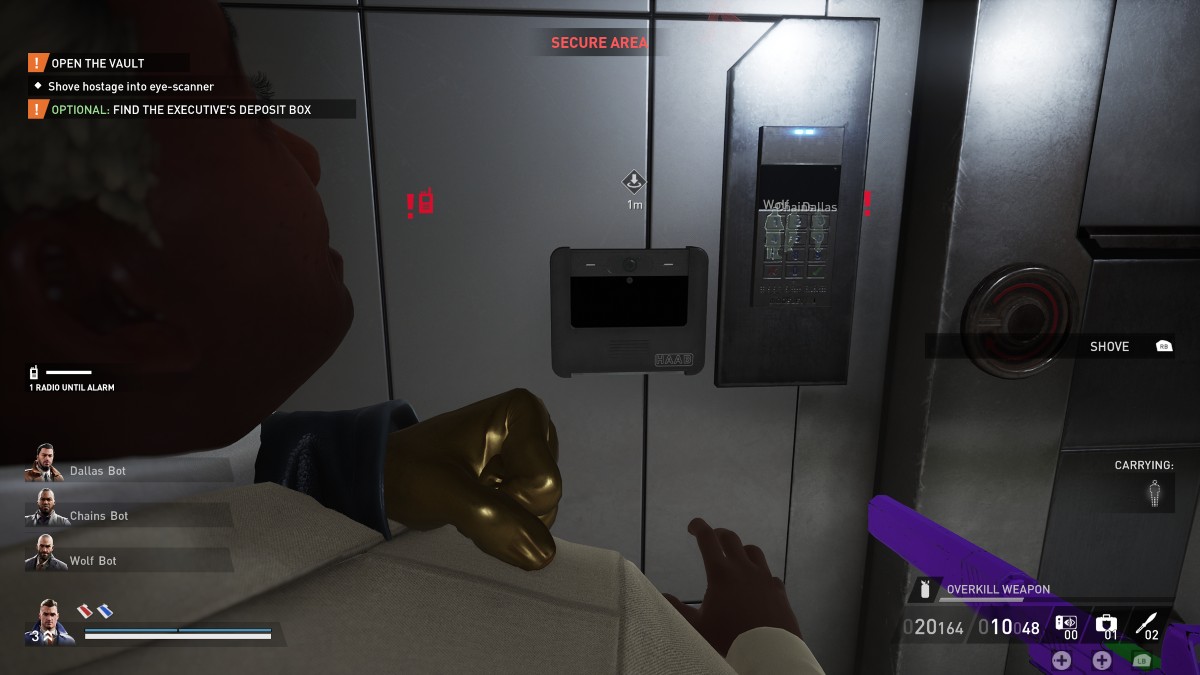
Shove the executive into the eye scanner, then move them out of view and tie them up. Take note of which numbers on the keypad have fingerprints, as this will reveal the code in just a second.
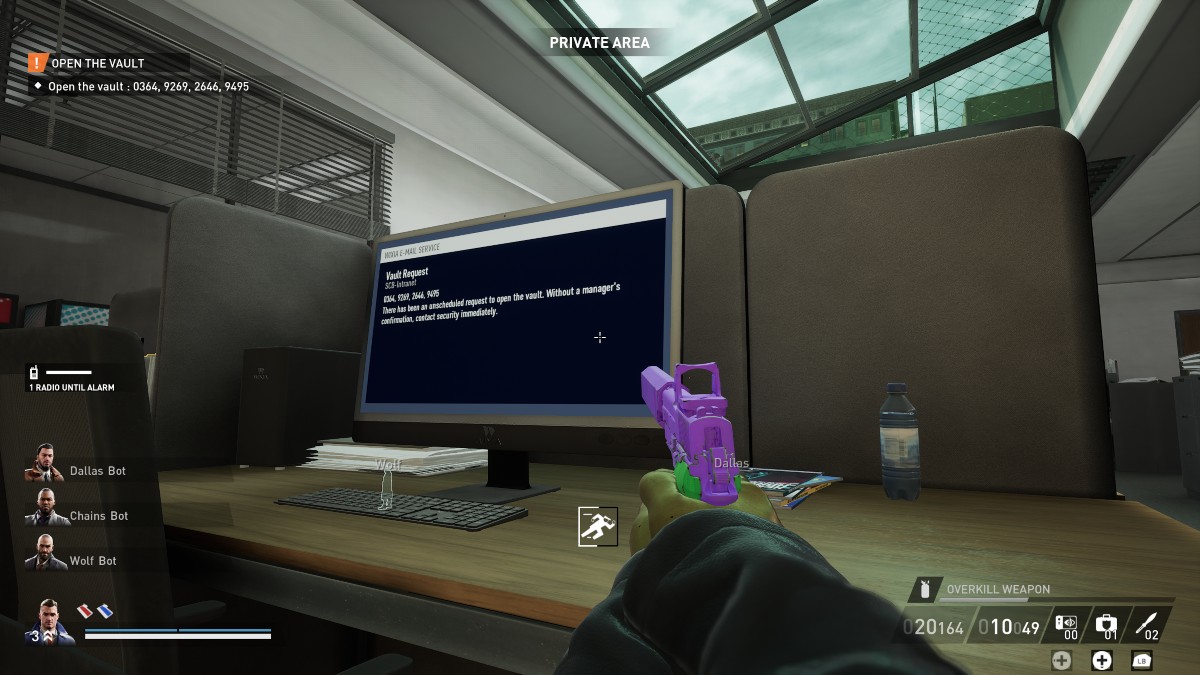
Run back upstairs and access the marked manager’s computer in the large office room. Once you know the codes, the worst part is over. The code will always be the same when the heist is reset, meaning you can take a liberty or two to ensure you collect the codes.
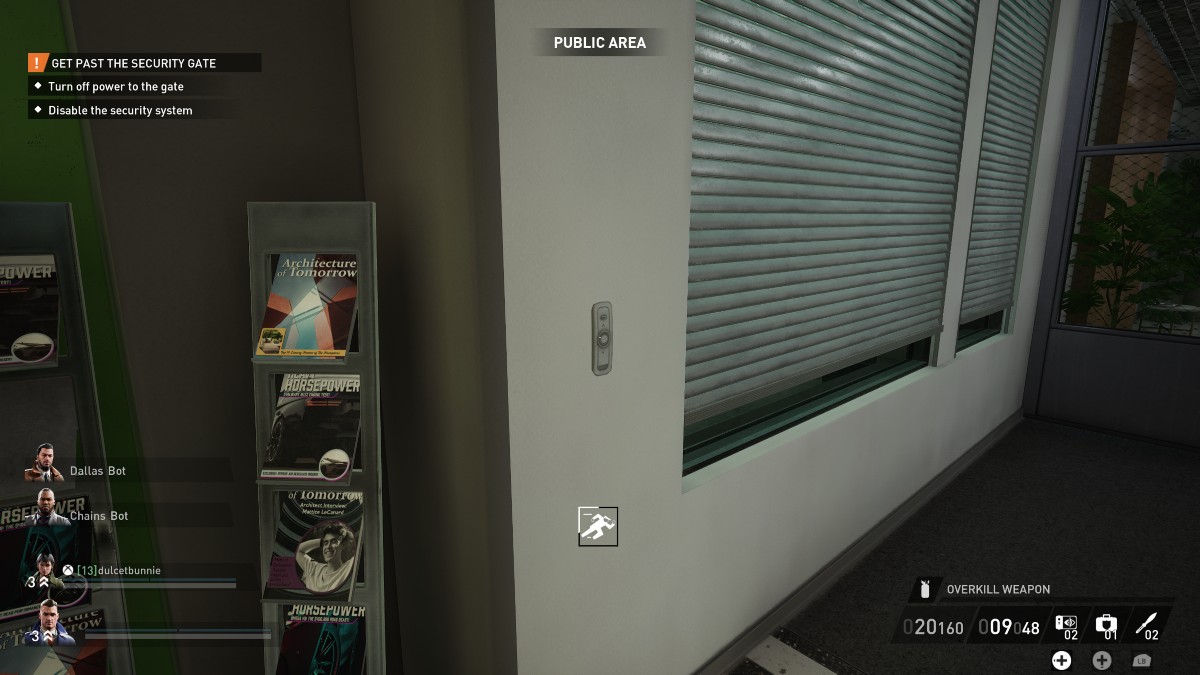
Reset the heist and enter the bank normally. Close the blinds on every possible window ( which is somehow not a suspicious activity) and then walk back outside. Collect the red keycard, disable the power, enter the power room, and flip the right switch as you did before.
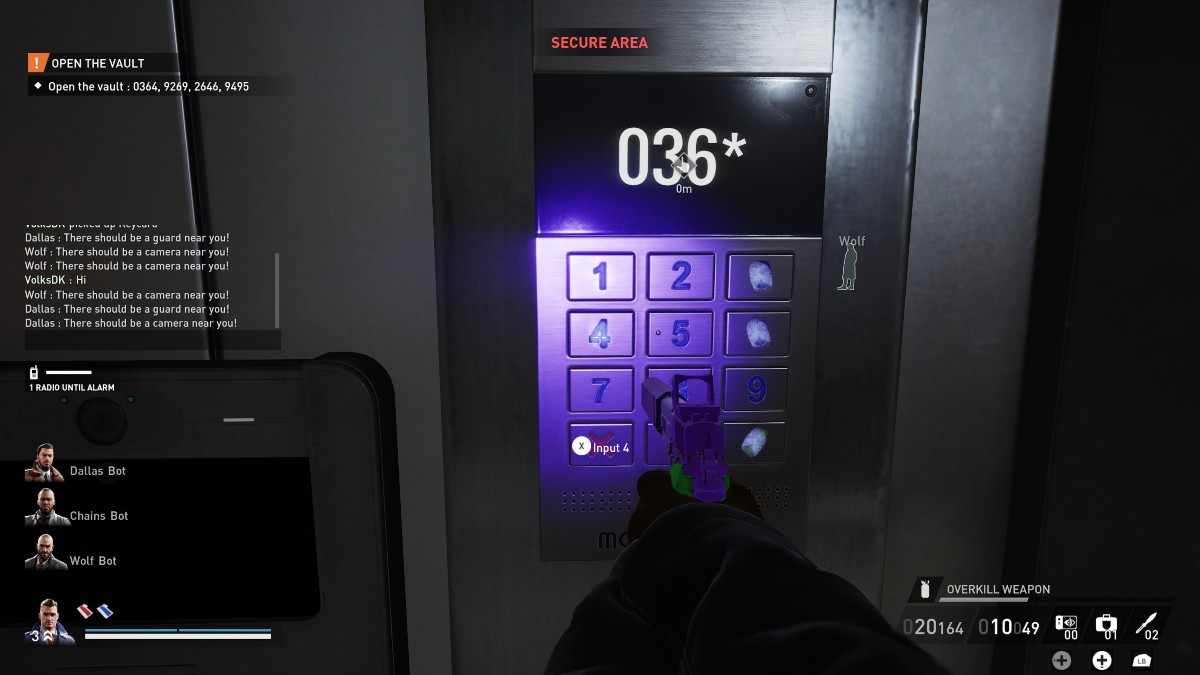
Enter the vault room, use Feedback Loop on the camera, and enter the code you prepared earlier. Open the main door and get ready to disable the dye packs.

All you need to do now is bag the money up and simply walk out with it. As long as you aren’t masked up, civilians, guards, and cameras won’t notice you blatantly walking out with stolen money. The only thing you need to watch out for is being seen inside the secure area by a camera or guard.
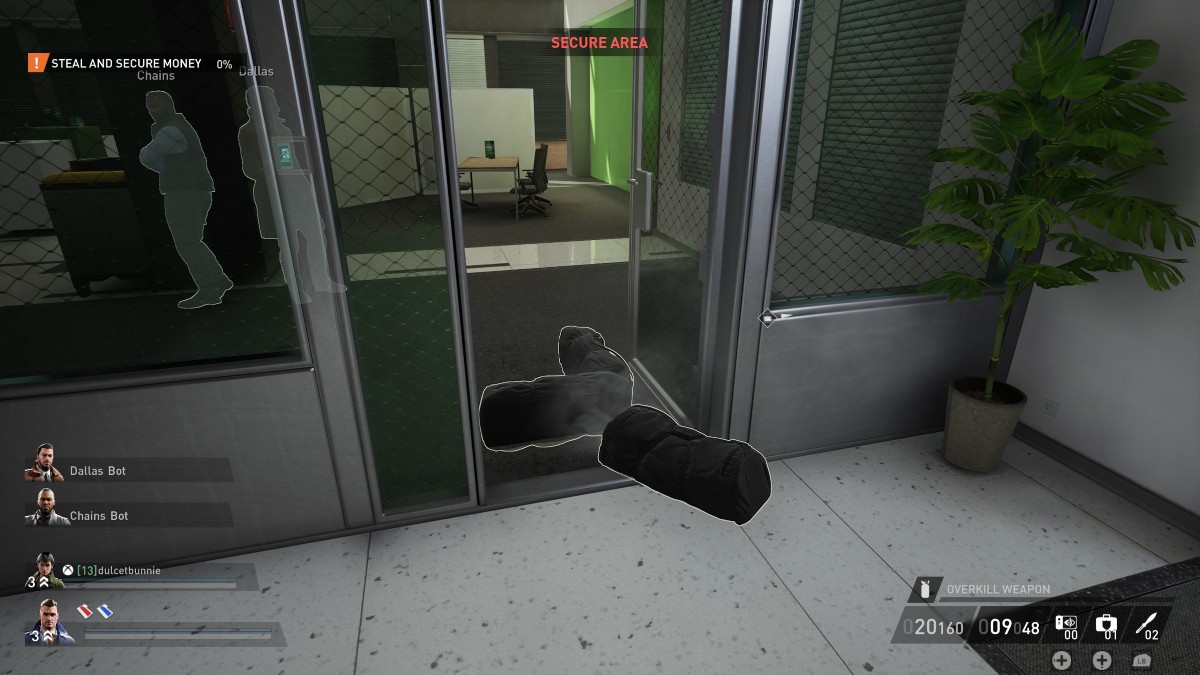
You can throw bags outside into the public area to make things a little faster, but this will trigger a search. As long as you aren’t caught in the secure area, this makes no difference.
Top Tips for Overkill Stealth
Perfecting this run for Overkill No Rest For The Wicked took me hours. More than I care to admit. Here are some helpful tips from my experience if you’re struggling:
- Refresh your Rush as much as possible by standing next to civilians and peeking at guards. With the skills mentioned in this guide, cameras will completely ignore you in private areas, and civilians ignore illegal actions.
- Civilians will ignore you in private areas when unmasked, regardless of perks.
- Guards can catch you more than once before arresting you.
- Getting caught and escorted by guards can be easier than sneaking by them.
- Hitting civilians will immediately make them get down and never kills them.
- You can put motion sensors directly on the backs of guards, as long as nobody is looking.
- Guards have an invisible cone that determines what they can see, and it’s far less than you’d imagine. Crouching behind and to the side of them usually works.
- Every guard has a movement pattern; try and learn them as you reset.
- If caught by a camera in a secure area, just let the guard take you away.
- Close the doors to rooms housing bodies and tied civilians.
If you’re looking for more speedrun guides, check out our article on completing Dirty Ice in under two minutes to earn fast weapon and skill XP.
This guide was written while playing Payday 3 on Xbox Series X.





Published: Sep 30, 2023 04:20 pm