There are 25 Gold Bolts hidden throughout Ratchet and Clank: Rift Apart. You only need to collect five of them for the Platinum trophy, but finding all of them will unlock special bonuses like infinite ammo and big head mode. Most planets have three of them to find with the exception of Torren IV and Ardolis. Here’s where to find all 25 Gold Bolts in Ratchet and Clank Rift Apart.
All Gold Bolt Locations in Ratchet and Clank: Rift Apart
There are 25 Gold Bolts hidden throughout the game.
- Corson V Gold Bolts
- Sargasso Gold Bolts
- Scarstu Debris Field Gold Bolts
- Savali Gold Bolts
- Blizar Prime Gold Bolts
- Torren IV Gold Bolts
- Cordelion Gold Bolts
- Ardolis Gold Bolts
- Viceron Gold Bolts
Corson V Gold Bolt #1
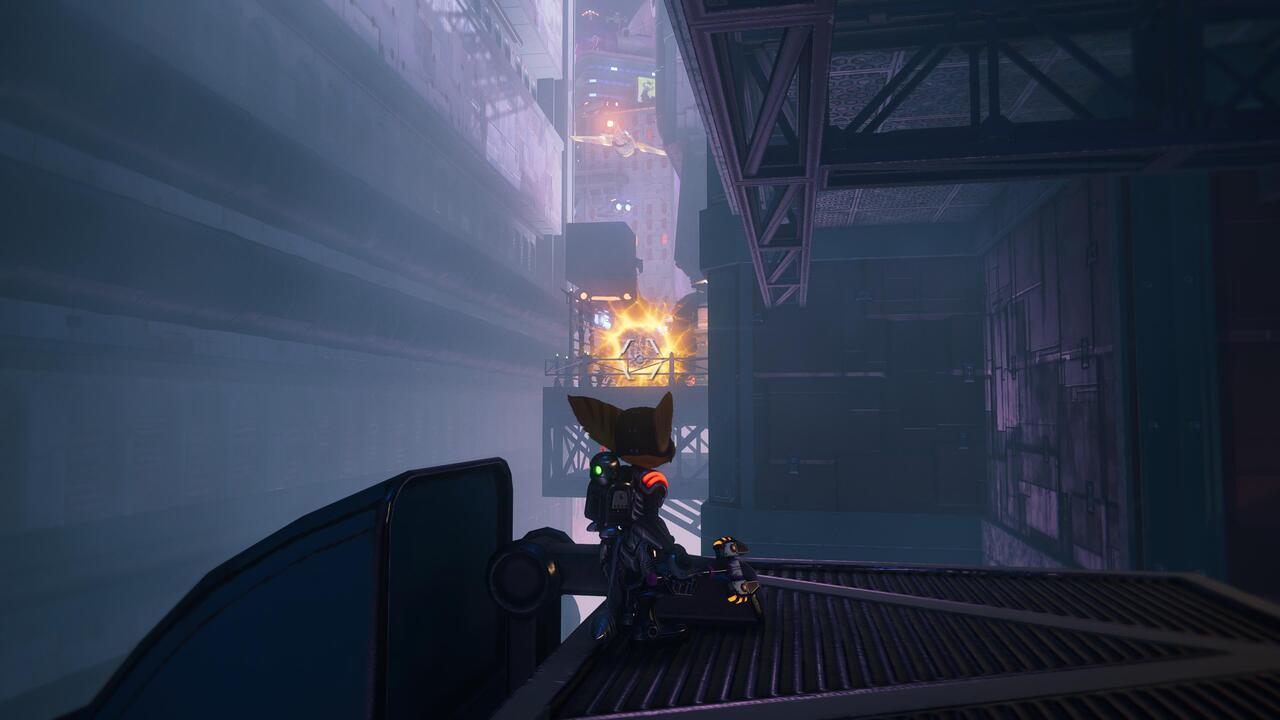
The first Gold Bolt can be found while chasing Phantom in the opening level. Go through Club Nefarious, swing using the grapple tether, bounce off the pad, and then drop down into the courtyard. From here, turn right and go past the holographic tree. This will take you to a secret area. Use the Rift Tether to pull yourself forward onto the crate, and then use it again to pull yourself to a rift to your right.
Corson V Gold Bolt #2
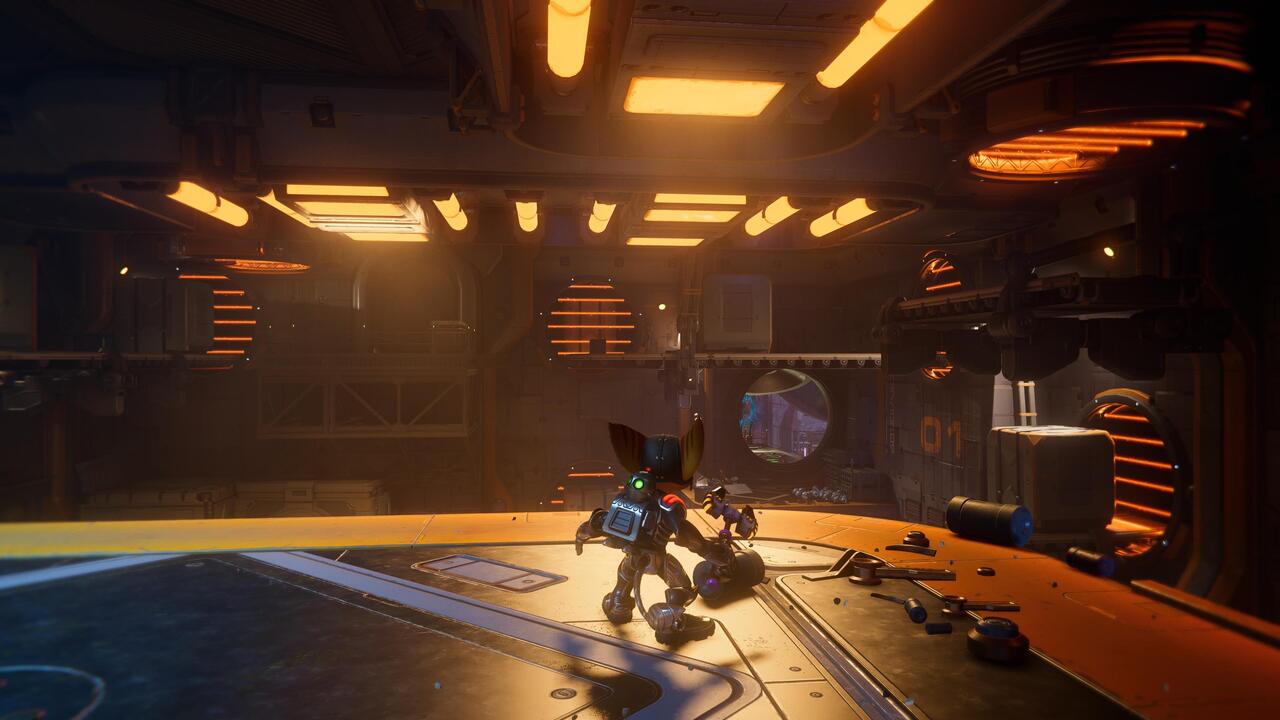
The second Gold Bolt is located in the first room of the factory. After using the wrench crank to open the door, continue straight and perform a wall jump to reach the high ground. After the wall jump, turn around instead of going through the door. You should see the Bolt on the other side of the room. Use the conveyor belt to get over there, jumping over crates as needed.
Corson V Gold Bolt #3
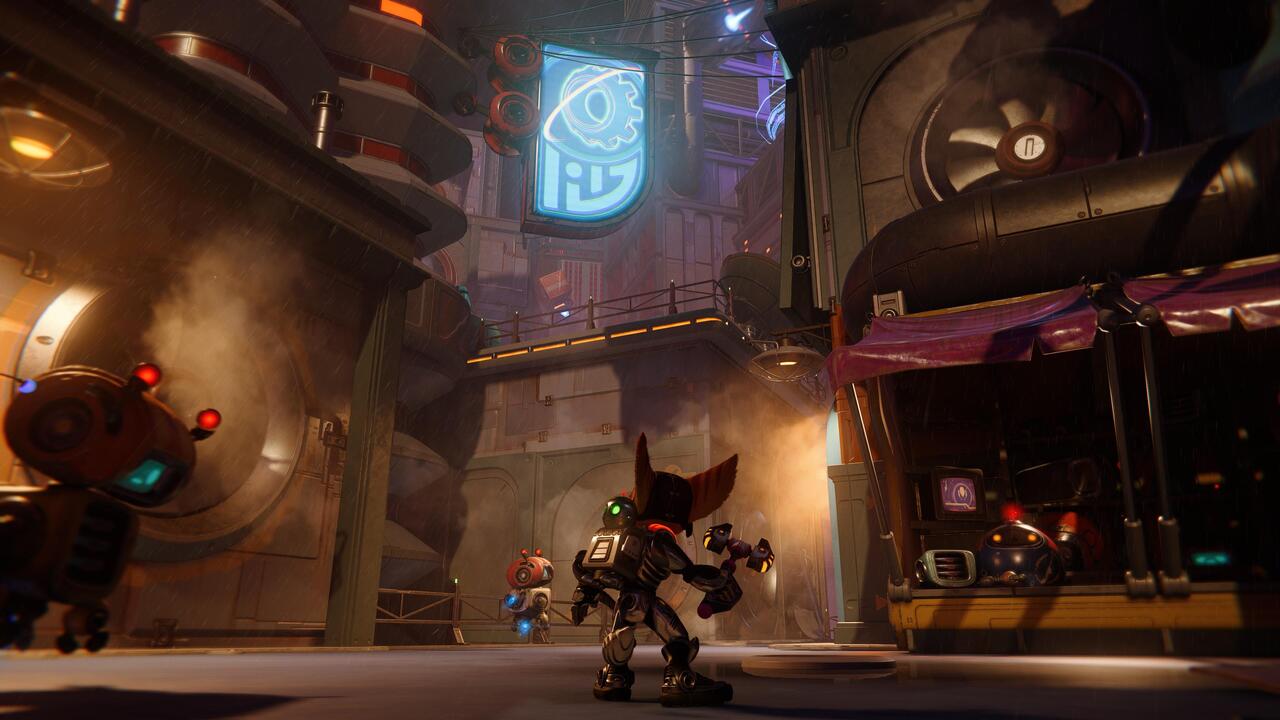
The third Gold Bolt can be found on an overlook to the northeast of Ms. Zurkon’s shop. To reach it, you must first unlock the ability to wall run. Once you’ve learned how to wall run, return to the landing pad. Jump on the crate across from the stairs and then up to the platform with the railing. You should see a wall running pad on the left wall up ahead. Take it and you’ll find the Bolt around the corner to the right.
Sargasso Gold Bolt #1
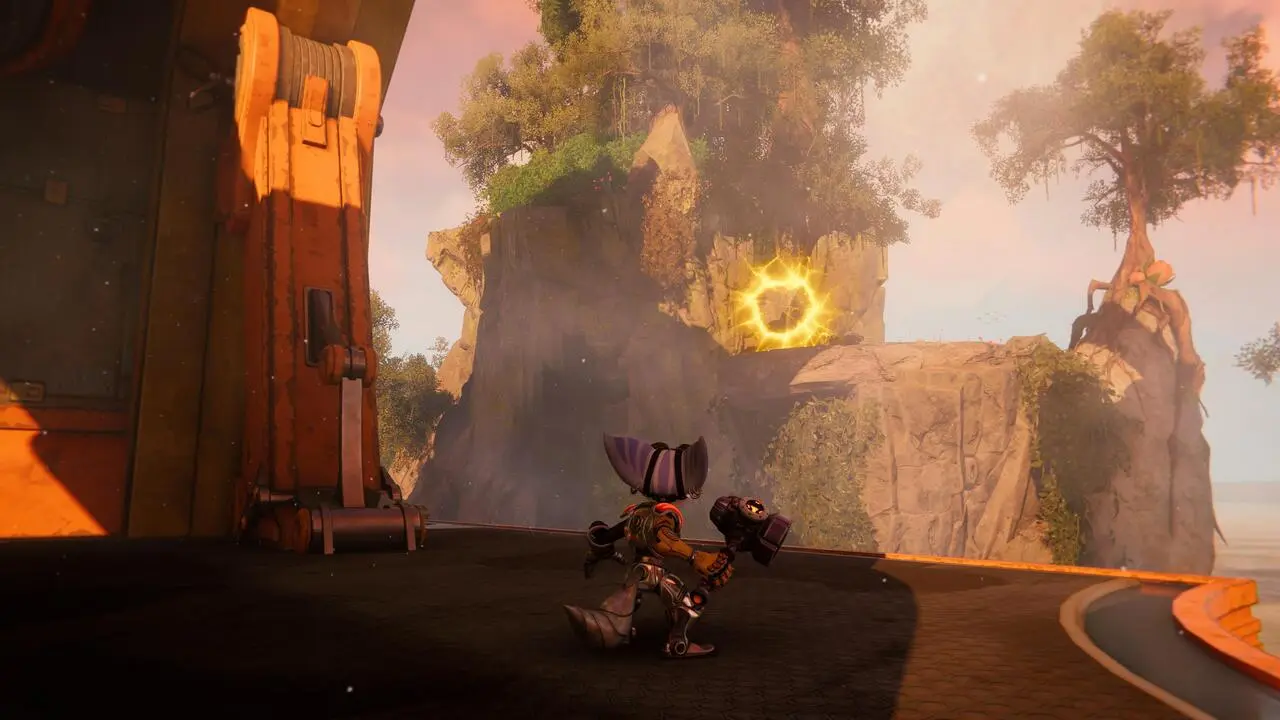
There first Gold Bolt is hidden behind the factory where the Morts work. This building is right next to the ship landing site, so you can grab it immediately after landing on Sargasso. If it’s your first time on the planet, however, you won’t be able to obtain it until you rescue the Morts from the Goons. Once you reach the factory, head behind it and use the Rift Tether to pull yourself to the Bolt.
Sargasso Gold Bolt #2
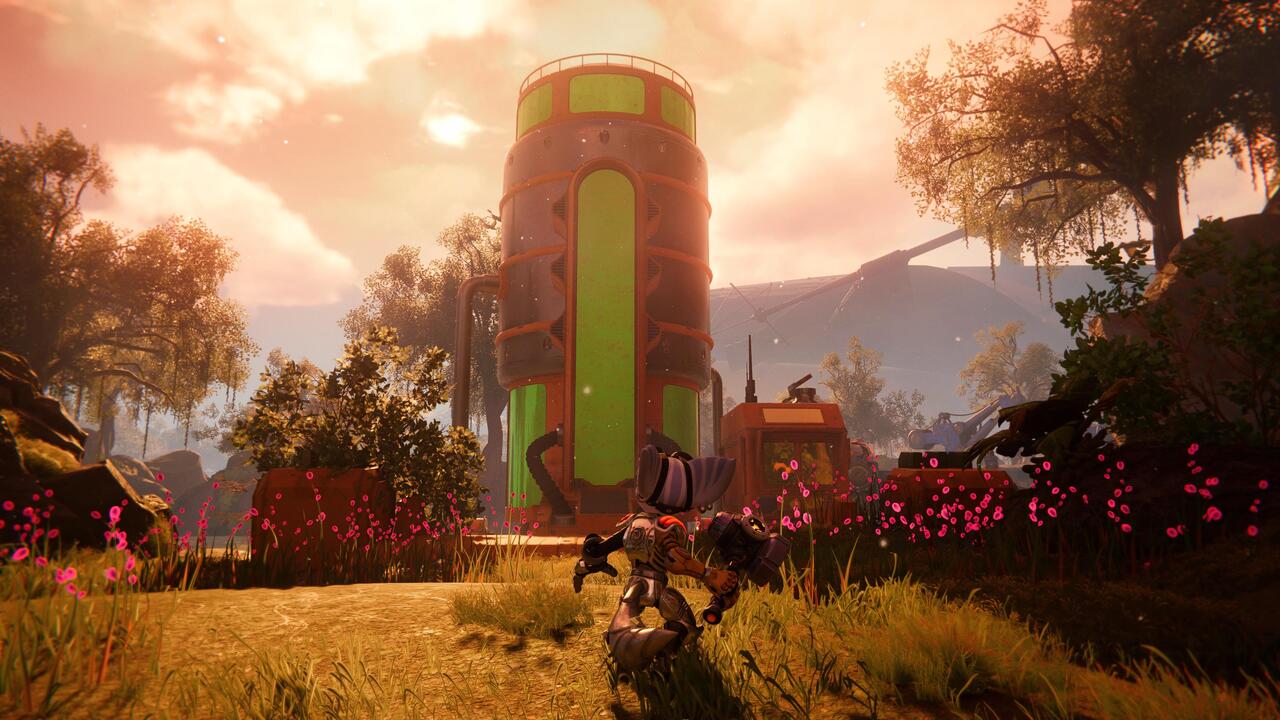
The second Golt Bolt is located a short distance east of the landing pad. From the landing pad, head east and jump over the gap in the bridge with a Speedle. Then, dismount the Speedle and continue straight past the Grunthor. The Bolt is hidden behind the tall green Gelatonium harvester.
Sargasso Gold Bolt #3
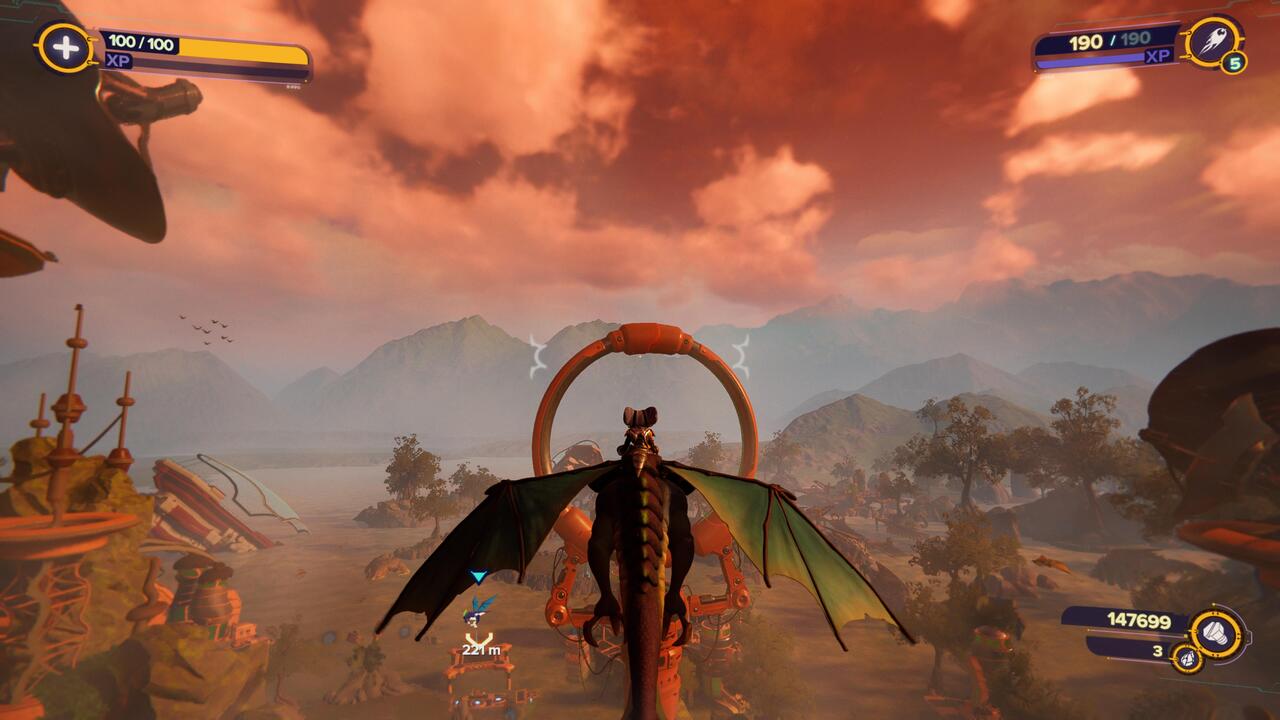
The third Gold Bolt is in a hoop way up in the sky in the center of the area. You can’t reach it during your first visit to the planet. After finishing all the main objectives, leave Sargasso and go somewhere else. You’ll eventually get a call from the Morts about a new optional mission involving Trudi. Trudi is a flying creature that loves Zurpstones, and you’ll need to collect some for her. At first, you’ll only need to collect a small amount in exchange for a piece of armor, but once you deliver the first batch to the Morts, you’ll be able to take Trudi flying all over Sargasso to collect the rest of them. When you unlock the ability to fly, you’ll also be able to fly up to the hoop and get the Gold Bolt.
Scarstu Debris Field Gold Bolt #1
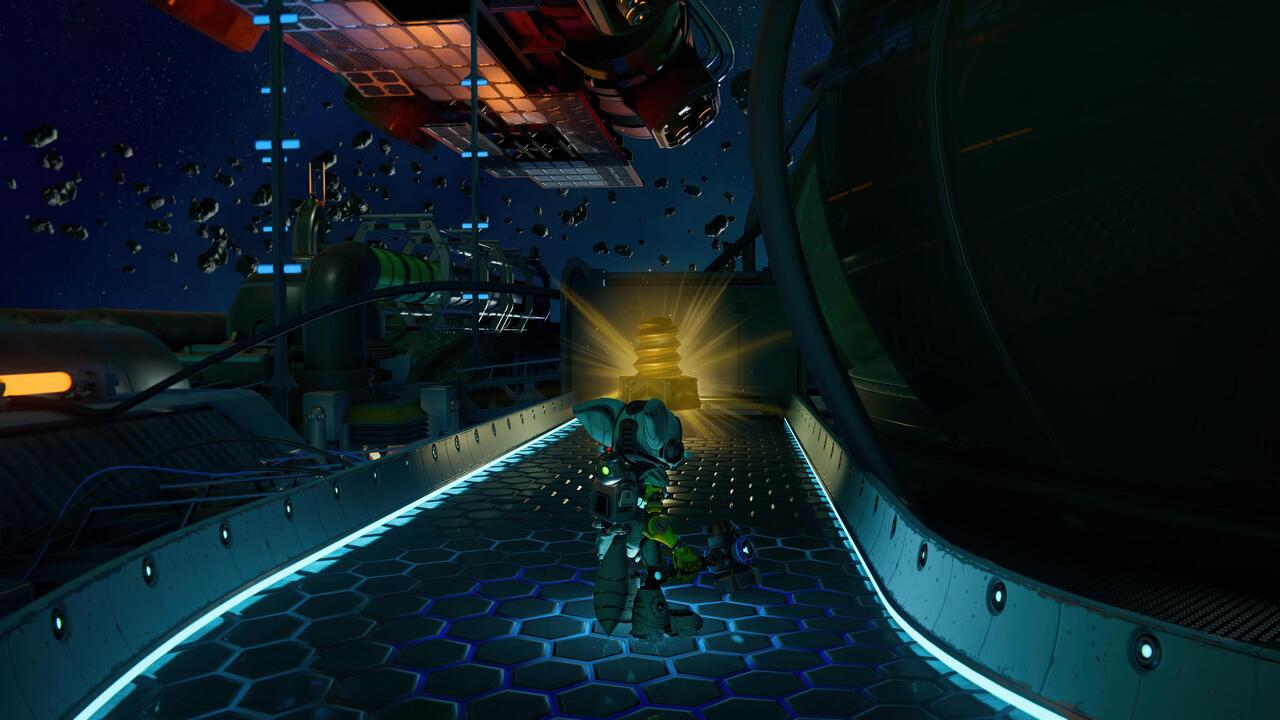
The first Gold Bolt can be found by using the Magneboots to walk underneath the station. On the platform to the right of the landing pad, there are two purple aliens standing by a parked ship. To the left of the landing pad is a magnetic strip that you can walk on. Take it down and to the left until you reach a blockade with green lights on it. At the blockade, look up and to the left to find a matching pair of green lights and a second magnetic strip. Use L2 to aim at the strip and press the Circle button when you see a cursor to jump to it. The Gold Bolt will be waiting on the second magnetic strip.
Scarstu Debris Field Gold Bolt #2
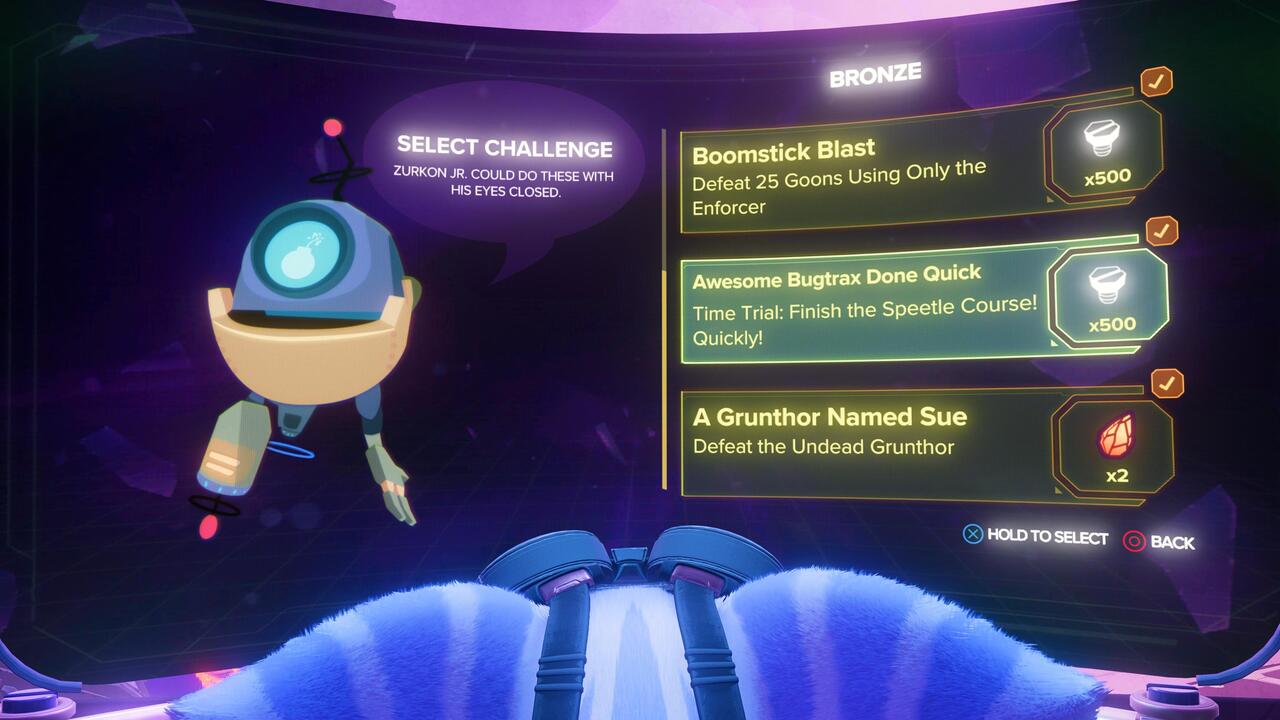
The second Gold Bolt is a Battleplex challenge reward. More specifically, it’s the reward for the Awesome Bugtrax Done Quick Time Trial challenge for the Bronze tier. Just complete the time trial using the Speedle and you’ll get it. It’s not a particularly tough time trial, so you shouldn’t have too much trouble.
Scarstu Debris Field Gold Bolt #3
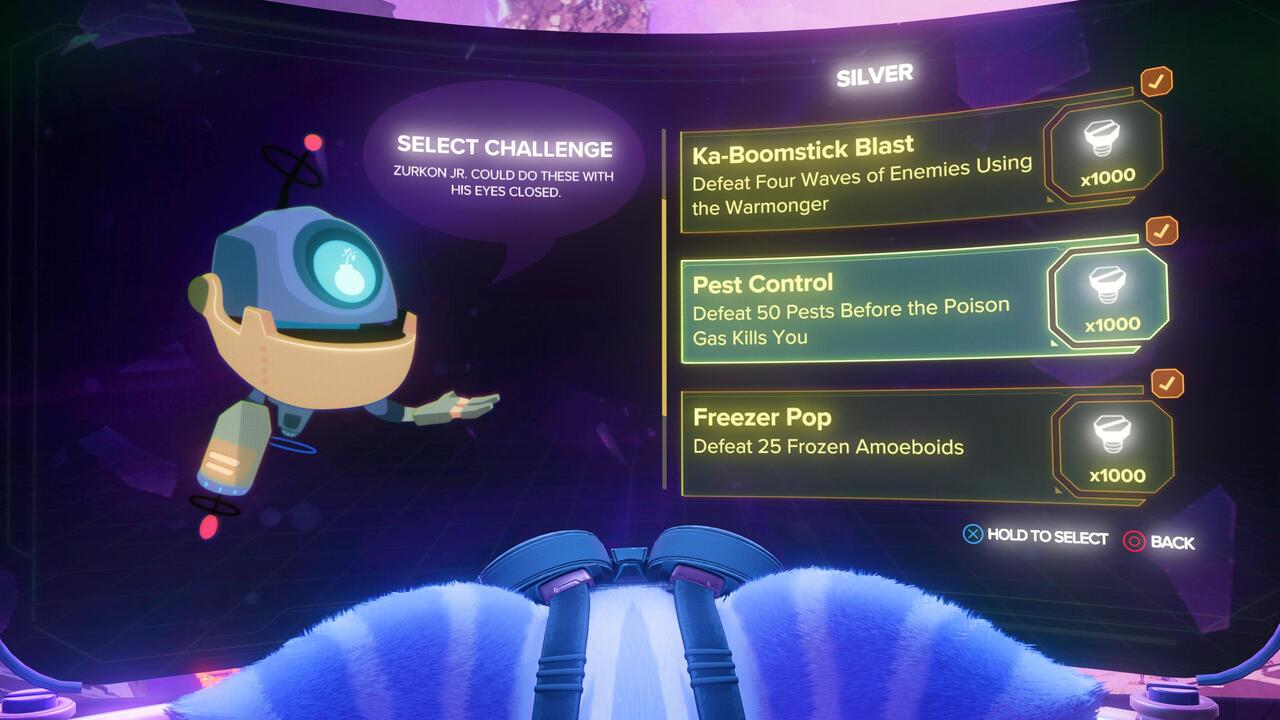
The third Gold Bolt is also a Battleplex challenge reward. It’s the reward for the Silver tier challenge called Pest Control. This challenge requires you to defeat 50 enemies before being killed by poison gas. Once you complete it, you’ll receive the Bolt.
Blizar Prime Gold Bolt #1
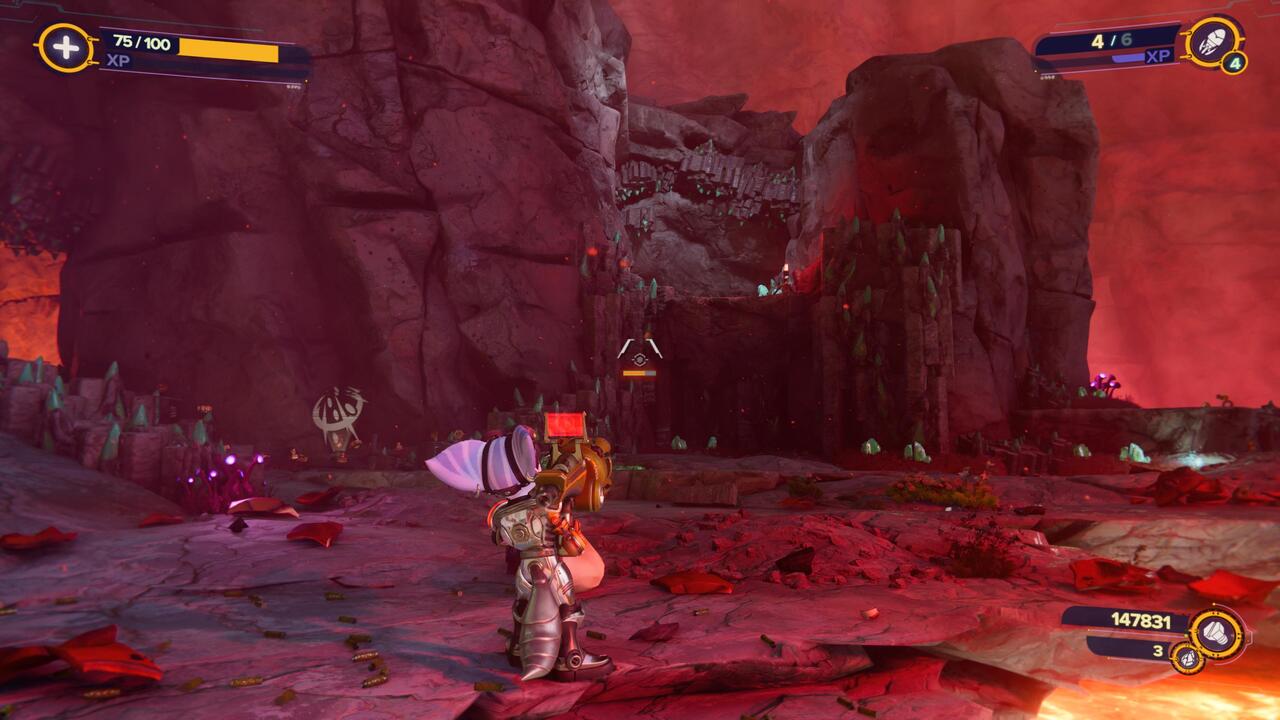
The first Gold Bolt is located on the southernmost island of the map. You have to be in the intact version of Blizar Prime to see it. It’s easily visible once you reach the area, but it’s on a ledge you cannot reach with a normal jump. To get the Bolt, simply follow the path to the left and it will bring you around to it.
Blizar Prime Gold Bolt #2
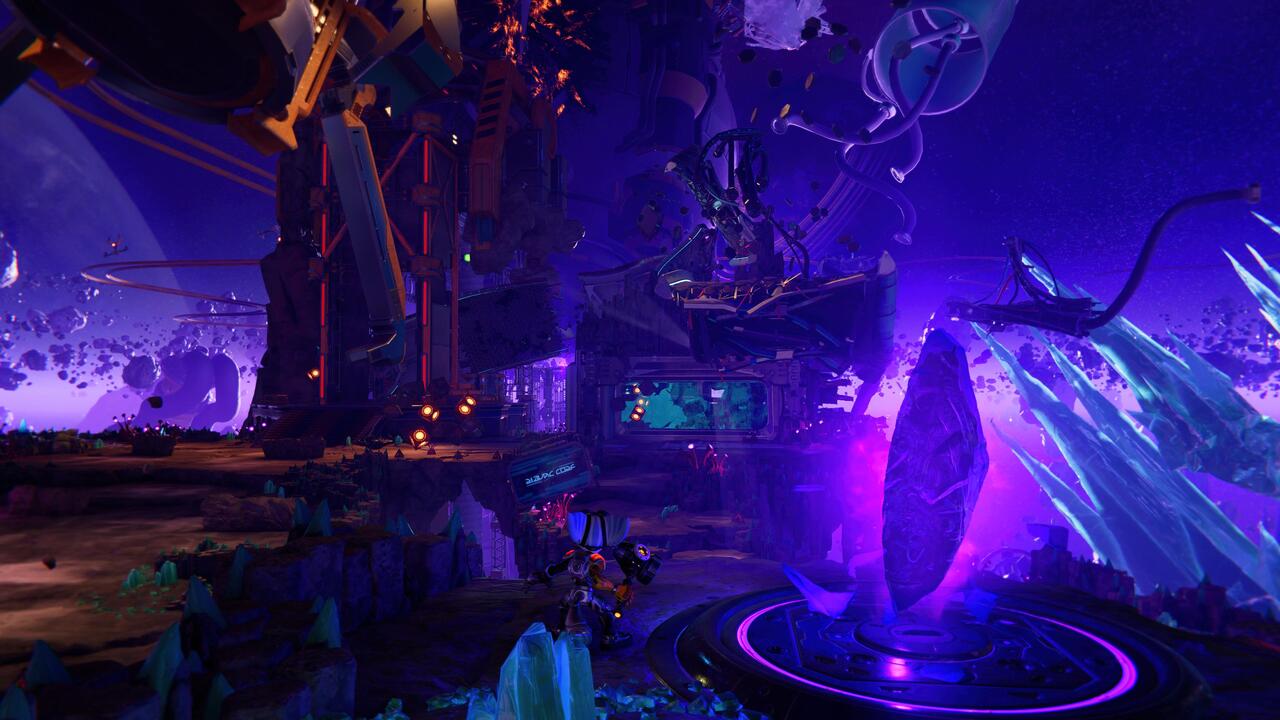
The second Gold Bolt is located in the caverns in the northeast corner of Blizar Prime. This is the area you need to visit if you’re doing the optional objective to find the missing chef. Once you enter the caverns, strike the Blizon crystal to warp to the destroyed version of the planet. Then, use the Magneboots to make your way to the next Blizon crystal. Hit it to swap back to normal Blizar Prime. From there, take the ridge on the left to make your way to the third Blizon crystal. Hit it to go to the destroyed Blizar Prime and you’ll see the Gold Bolt sitting there.
Blizar Prime Gold Bolt #3
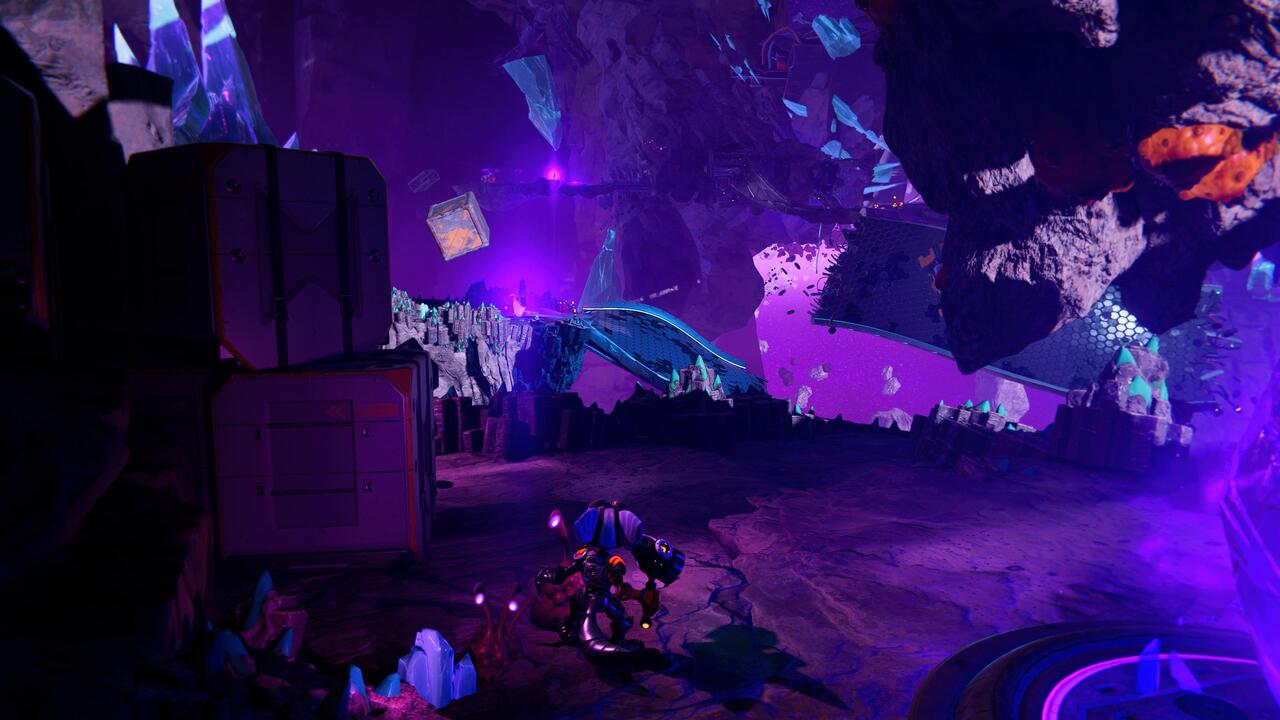
The third Gold bolt is located in the central Mining Hub in the middle of the map, but in the destroyed Blizar Prime dimension. To get there, strike the Blizon crystal in the Mining Hub. Once you arrive in the destroyed dimension, you’ll see the Gold Bolt sitting on an elevated ledge. To reach it, continue forward into the tall structure on the left. Then, use the Magneboots to jump to the floating path. Follow the path to obtain the Gold Bolt.
Savali Gold Bolt #1
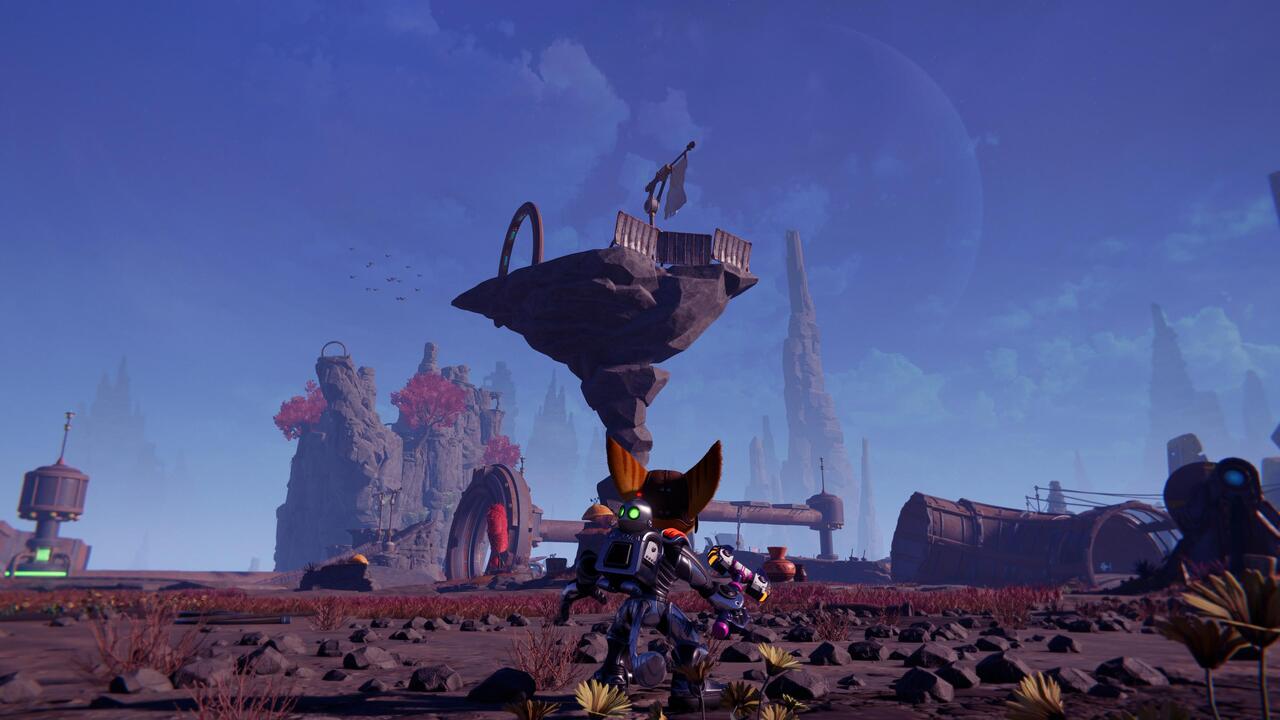
The first Gold Bolt is located in the western part of Savali on an elevated platform. To reach it, you actually have to visit an entirely different section of the planet. In the northeastern region of Savali, you’ll find a series of boost pads that run alongside a really long wire. There are two pressure pad switches located at each end of the wire. If you use the Hoverboots at maximum speed and travel along the boost pad path, hitting both switches along the way, a dimensional tear will open at the end of the path and teleport you to the Gold Bolt.
Savali Gold Bolt #2
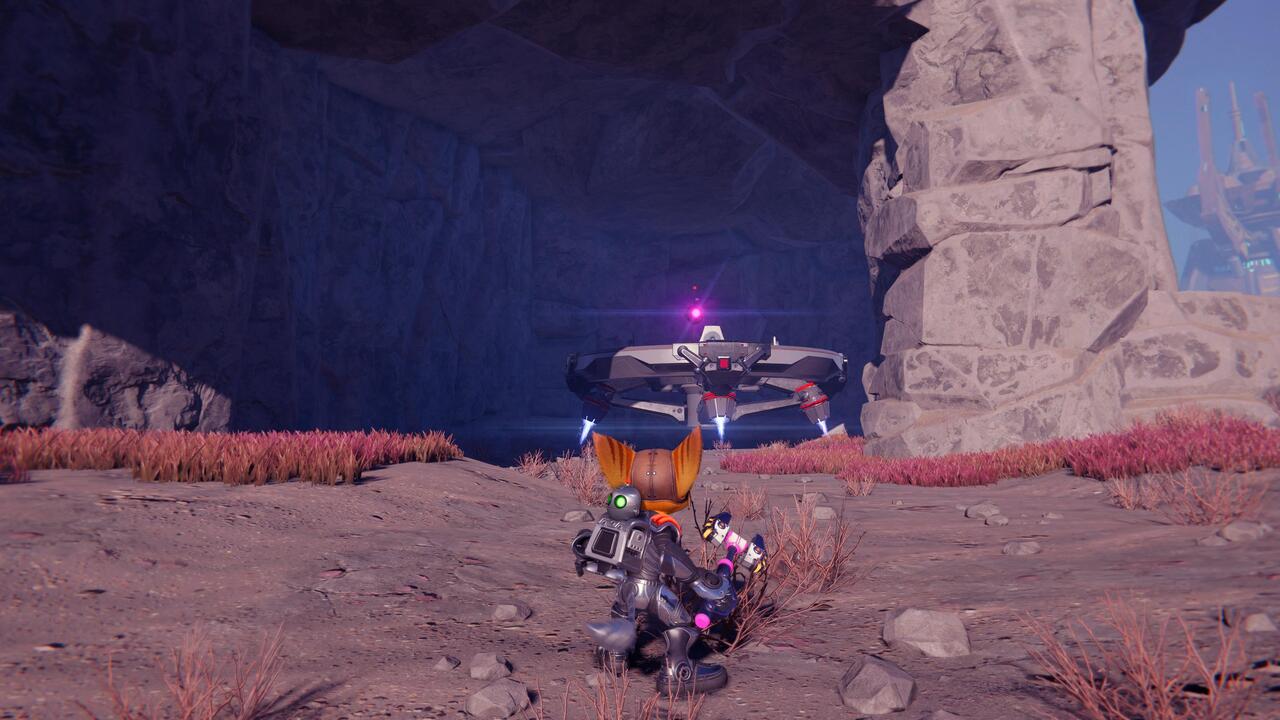
The second Gold Bolt can be found in the southeastern corner of the map hiding in a cave. It’s in a shielded platform, however, and the platform will dart away once you get close enough. To catch it, use your Hoverboots at maximum speed and press L1 to grapple to it when you get close. Simply step on the switch to stop it from moving and lower the shield so you can obtain the Gold Bolt.
Savali Gold Bolt #3
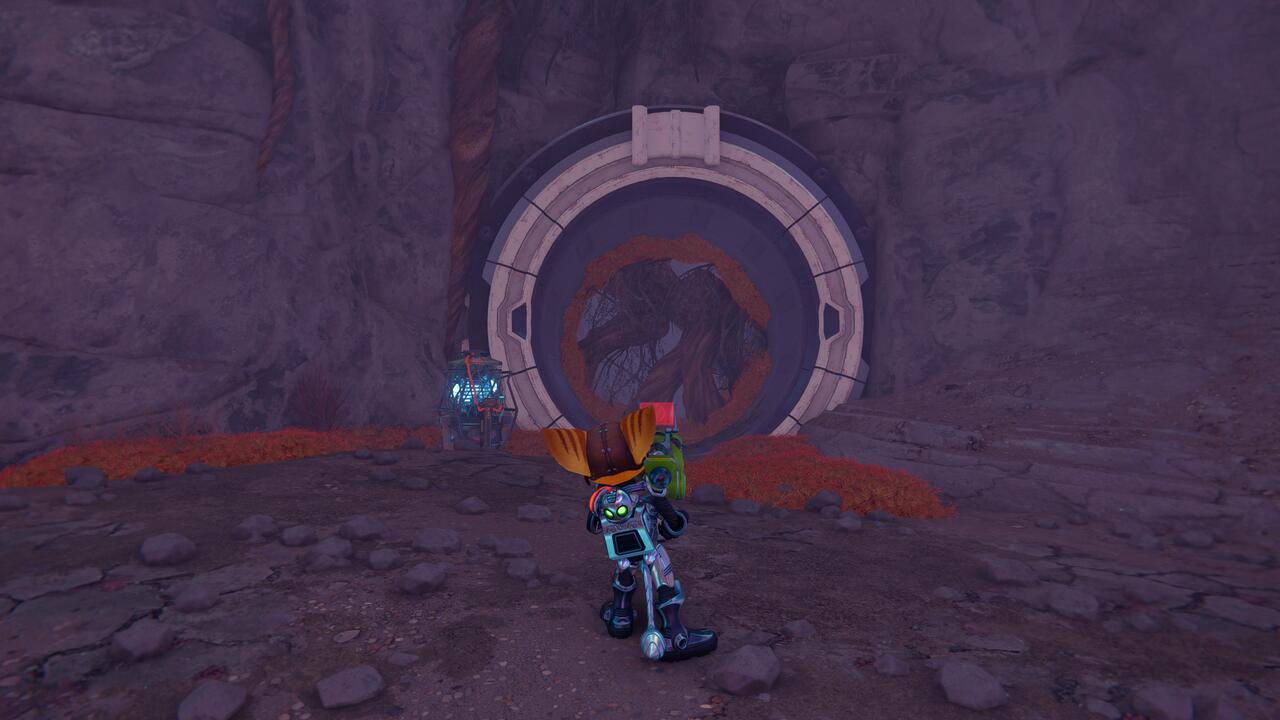
The third Gold Bolt can only be obtained when you return to Savali a second time later in the story. When you revisit the planet later in the game, you’ll be able to reach a new area called the catacombs. This is an underground area that was previously inaccessible. Once you drop down into the catacombs, there will be an infected terminal next to a locked door. Use Glitch to get rid of the terminal’s virus and the door will open, revealing the Bolt.
Torren IV Gold Bolt #1
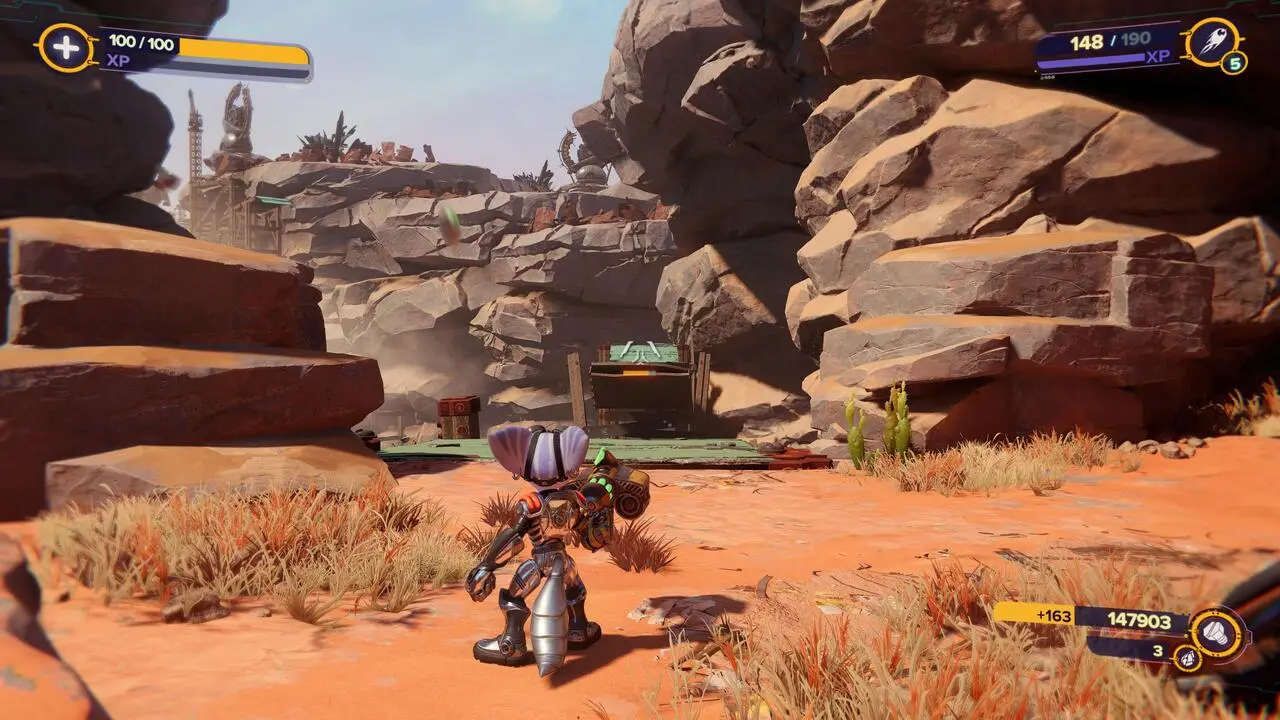
The first Gold Bolt is located directly across from the landing pad. There is a broken green bridge a short distance from the ship, and the Gold Bolt is on the other end of it. To reach it, enter the cave on the right and follow the path. Use the Hoverboots to boost to the wall running strip, and then use the grapple hook to reach the Gold Bolt.
Torren IV Gold Bolt #2
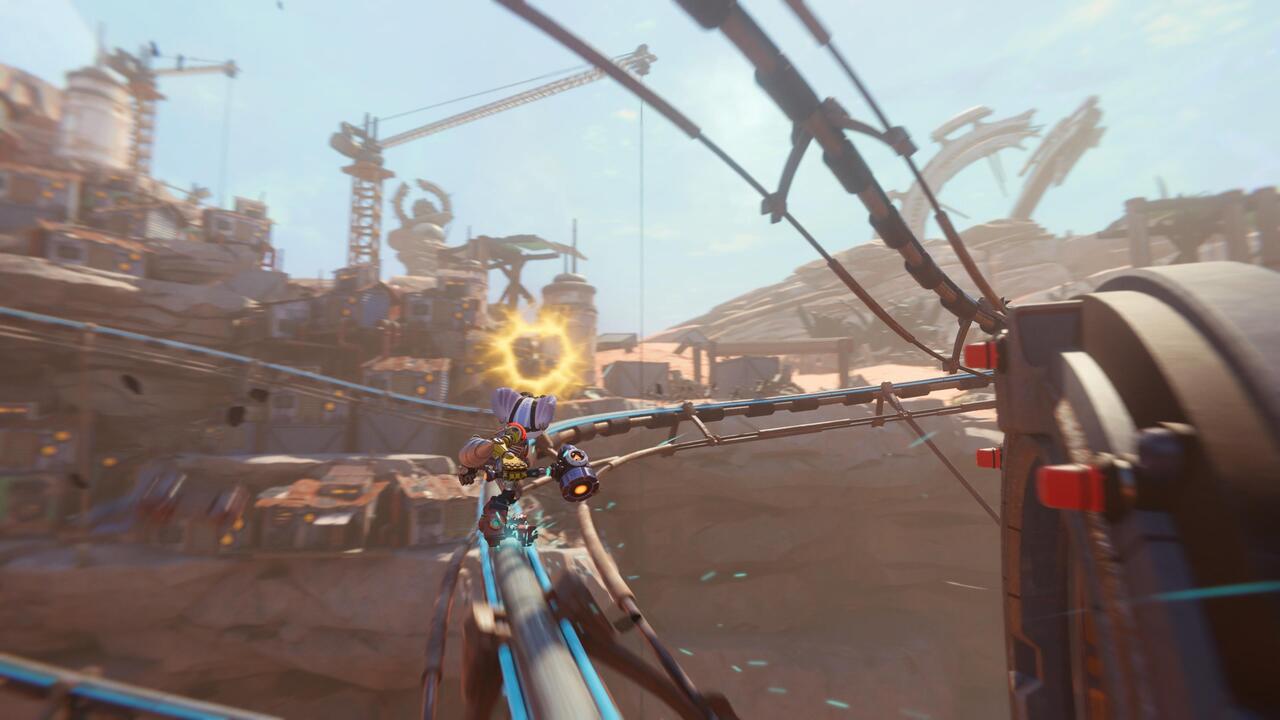
The second Gold Bolt is located on a grinding rail. You’ll pass by it when you play through the level for the first time. When you start the grinding section of the level to reach the Smelting Pit, you’ll eventually see a rift. Press L1 to pull yourself to it and you’ll be placed on the rail with the Bolt.
Cordelion Gold Bolt #1
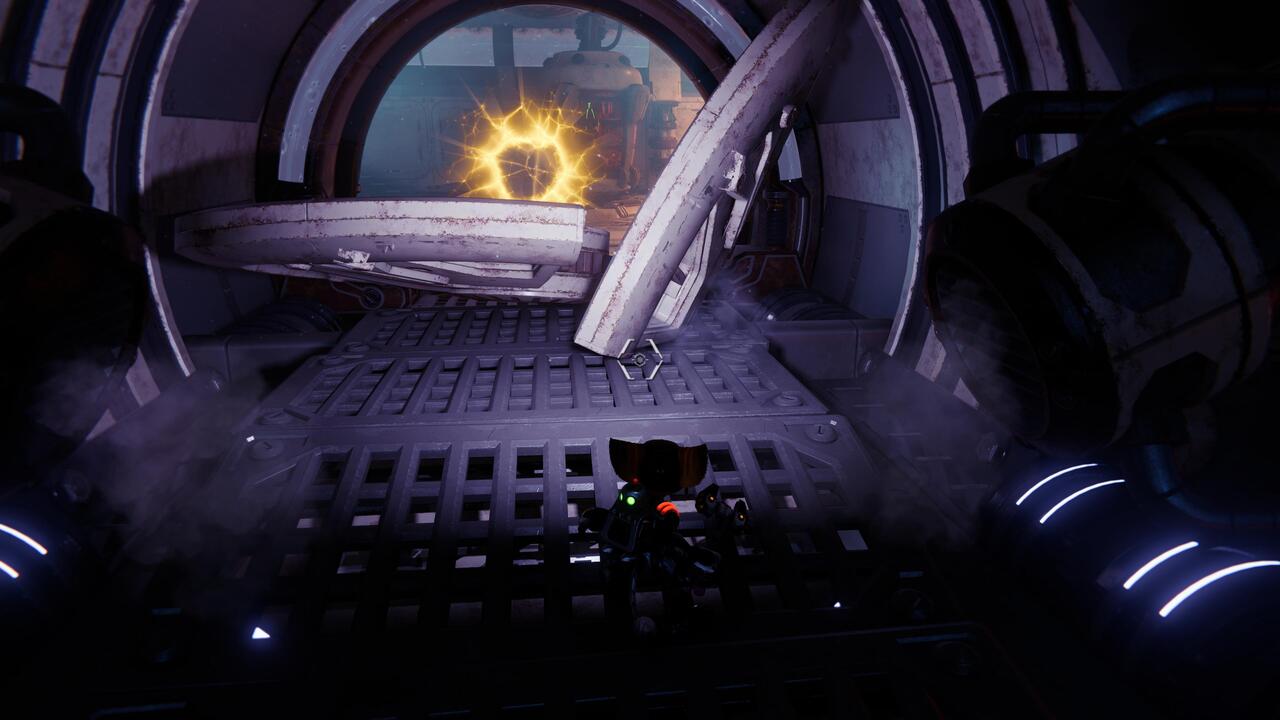
The first Gold Bolt is located behind a malfunctioning door in the abandoned dimension version of Cordelion. After striking the first Blizon crystal of the level and descending down the elevator, continue through the hallways normally until you come across a door on your left that’s on the fritz. It keeps trying to open, but something’s wrong with it. When it opens up slightly, you’ll be able to see a rift on the other side. Press L1 at the right time to pull yourself into the room and you’ll find the Gold Bolt waiting for you. To get back out of the room, simply shoot the explosive crates near the door to blow it open.
Cordelion Gold Bolt #2
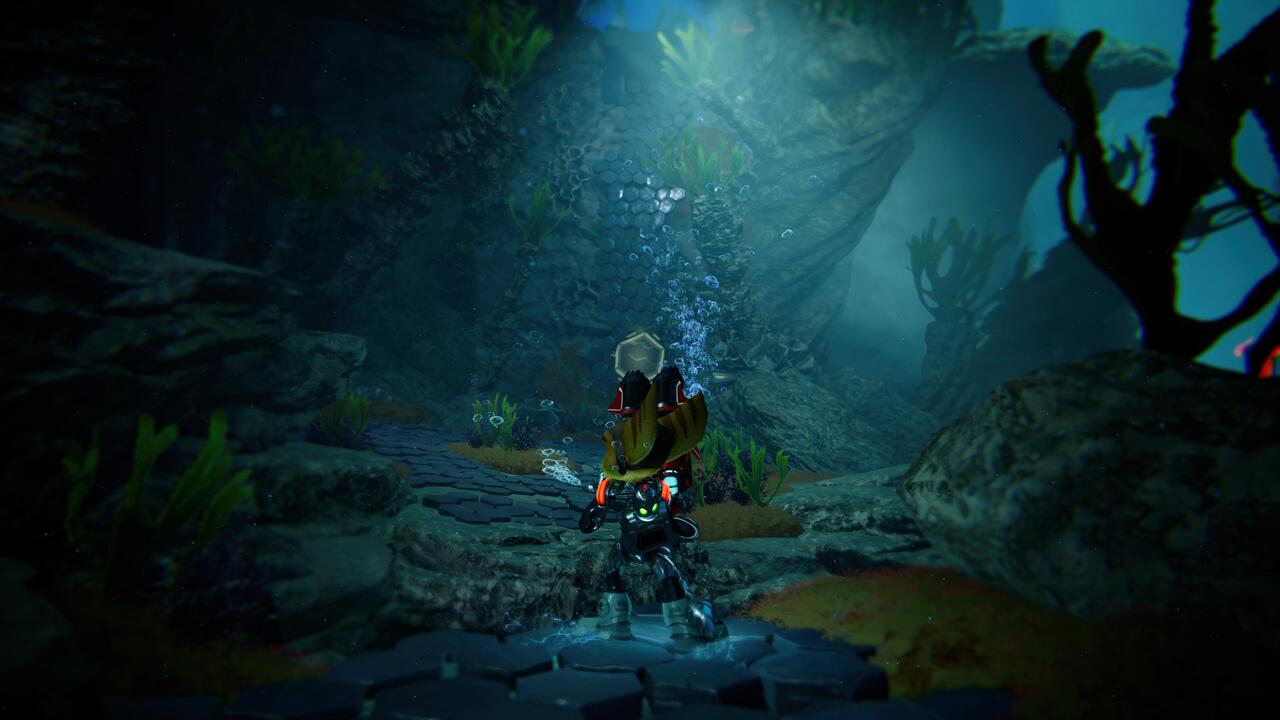
The second Gold Bolt is in the underwater section of the level. Near the end of the path, just before reaching the Blizon crystal through the airlock, there’s an elevated path on the right-hand side that you can jump to using your Magneboots. Just leap to the path and climb to the upper area to find it.
Cordelion Gold Bolt #3
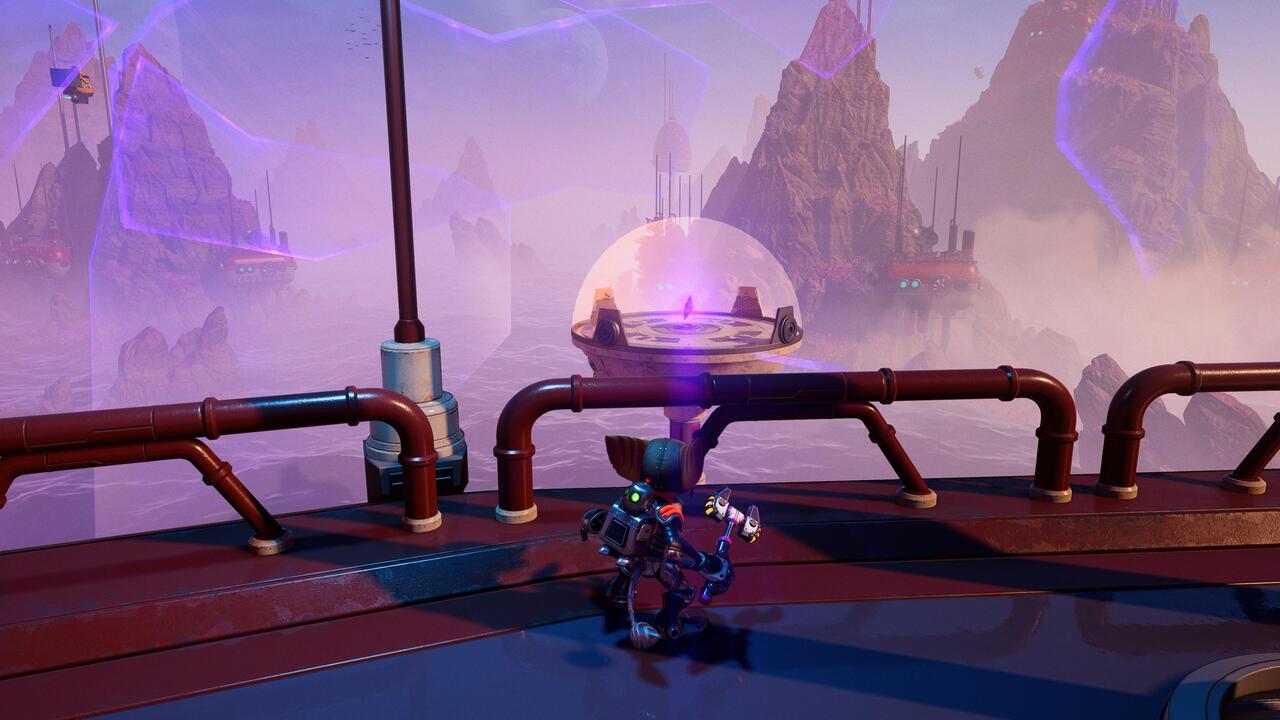
The third Gold Bolt is located to the east of the main elevator on the exterior platform of Kedaro Station. In the icy abandoned version dimension, use your Hoverboots to jump out and then use the Rift Tether to pull yourself to the platform. Then, just hit the Blizon crystal to obtain the Gold Bolt.
Ardolis Gold Bolt #1
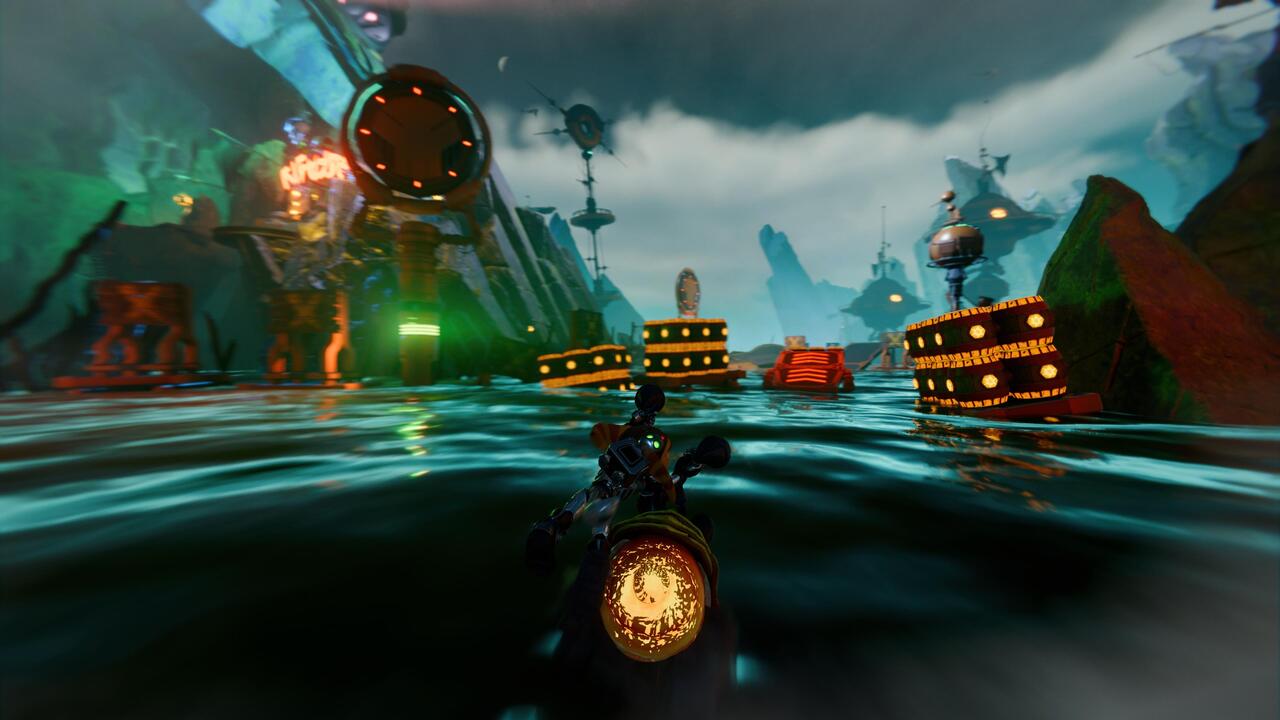
The first Gold Bolt is located in the Speedle section of the level. You’ll be able to see it on your right when you first mount the Speedle. It’s above some explosive crates that you can see right after jumping through the first hoop. To get it, continue along the Speedle course normally and turn right at the fork.
Ardolis Gold Bolt #2
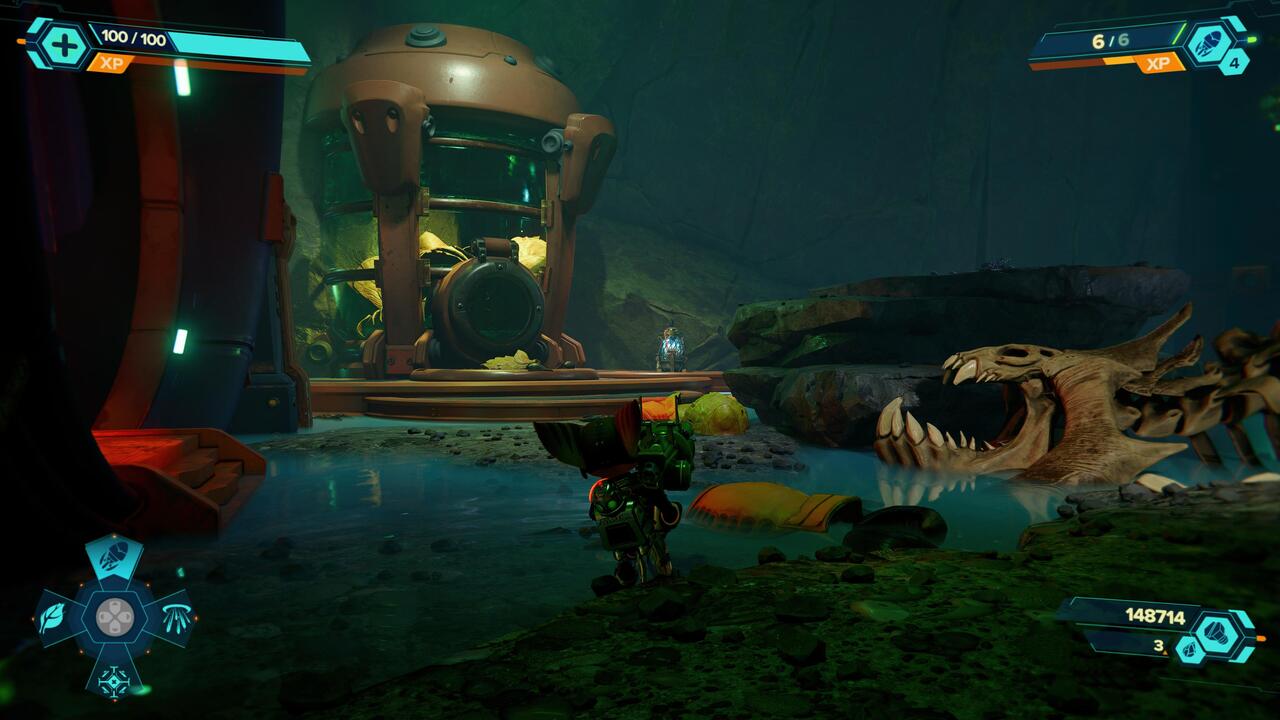
The second Gold Bolt can be found during the Pirate Trials portion of the level in the northwestern portion of the area. After the first trial involving pirate karaoke, you’ll come across a Grunthor skeleton. The feeder to the left of the skeleton is out of order, and there’s a Gold Bolt inside. To access it, use Glitch to fix the terminal nearby.
Viceron Gold Bolt #1
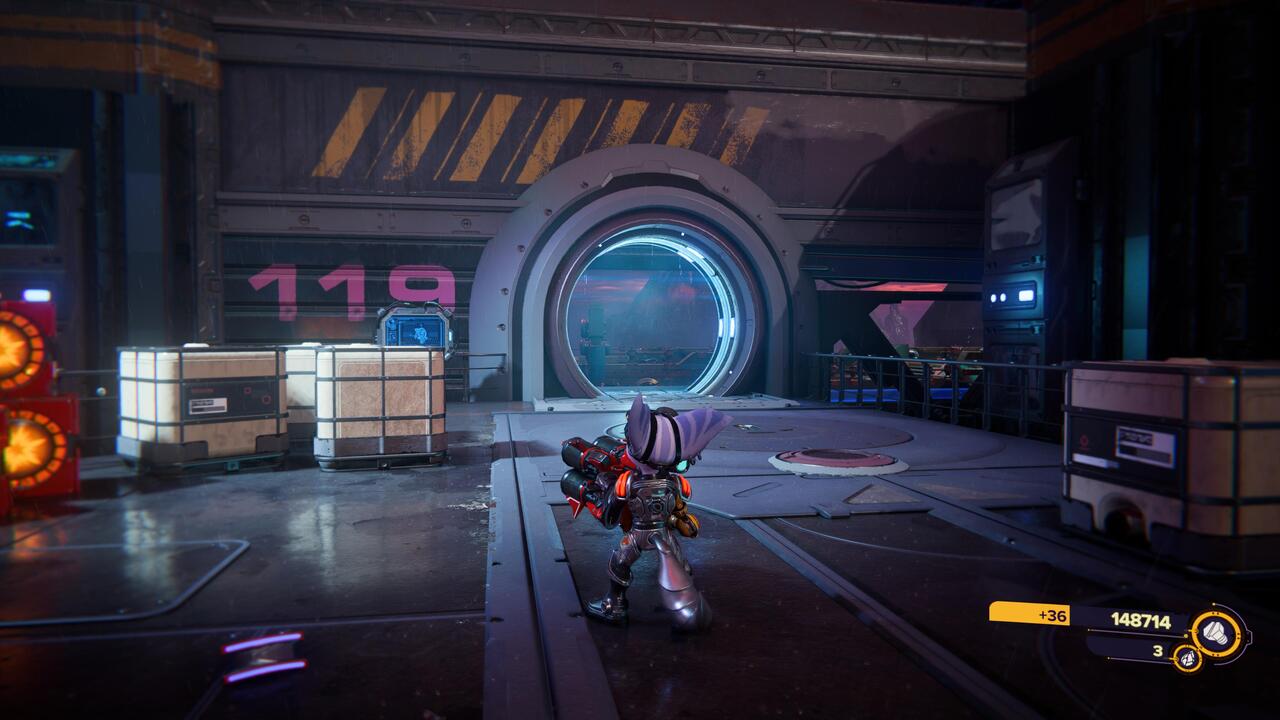
The first Gold Bolt is located near the start of the level. After passing Ms. Zurkon’s shop, turn right and dash through the nearby door. Continue along the path until you see a door with the number 119 painted on the wall next to it. The Gold Bolt will be waiting on a pirate ship inside the room.
Viceron Gold Bolt #2
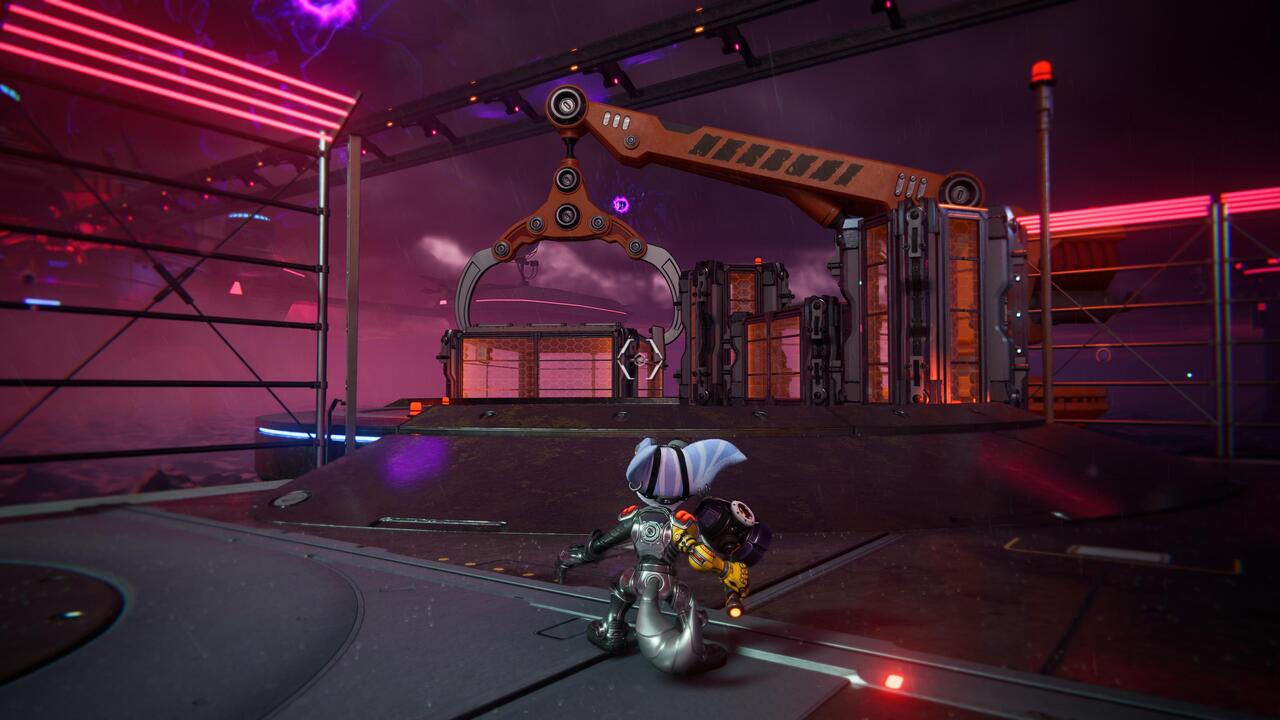
The second Gold Bolt is located outside of the processing center. After you rescue Clank and head outside, head to the back right corner of the area to find a crane holding a caged creature. Jump over the cage and you’ll see the Bolt on a platform on the other side.
Viceron Gold Bolt #3
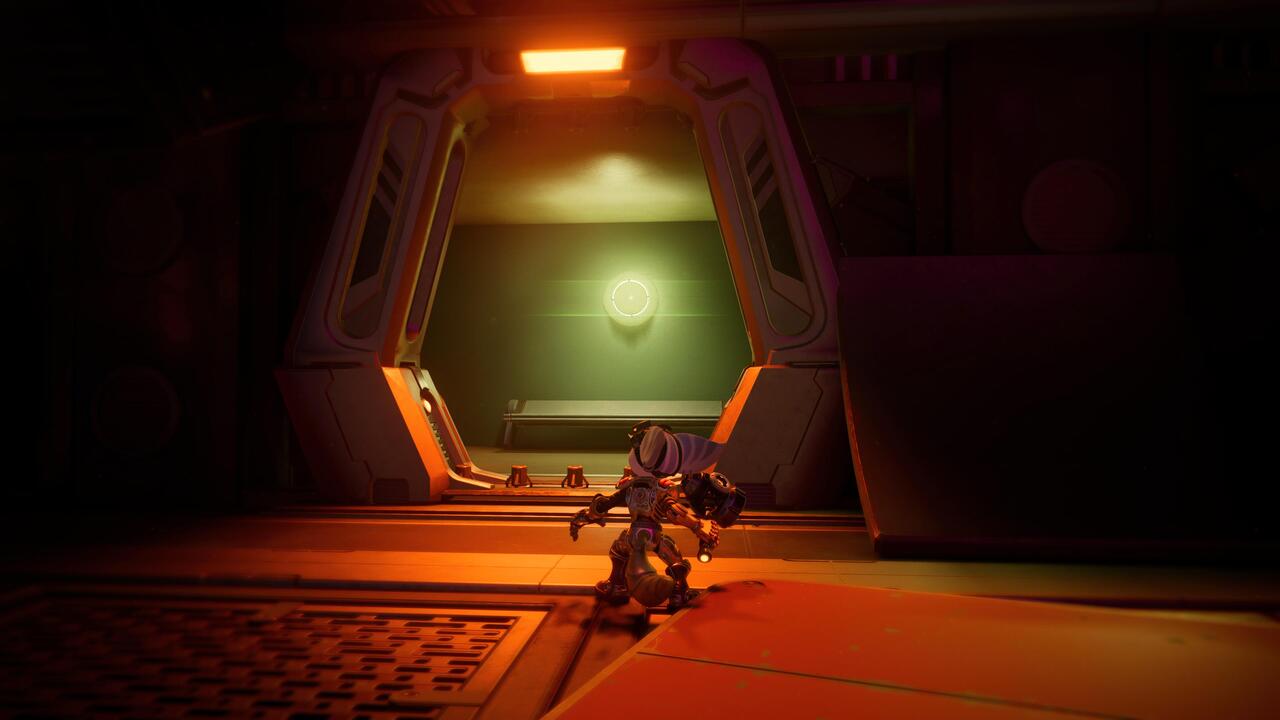
The third Gold Bolt is located in the large circular area where all sorts of creatures are being contained in holding cells. It’s locked behind bars with some Morts. To get inside and get it, you first need to visit the Warden’s Office. After that, you’ll be sent back to the VIP Section and the cell will be opened.
Ratchet and Clank: Rift Apart is available now exclusively for PlayStation 5. Check out our review of the game here.






Published: Jun 10, 2021 07:00 am