Valorant has plenty of maps, each requiring a unique approach. However, if there’s one agent that shines almost everywhere, it’s Sage. Her Barrier Orbs can turn the tide on maps like Haven. This article will take you through the Best Sage Haven setups and wall lineups.
What are the Best Sage Haven Setups and Wall Lineups?
I like to go with these Sage setups and wall lineups for attacking and defending on Haven.
B Site
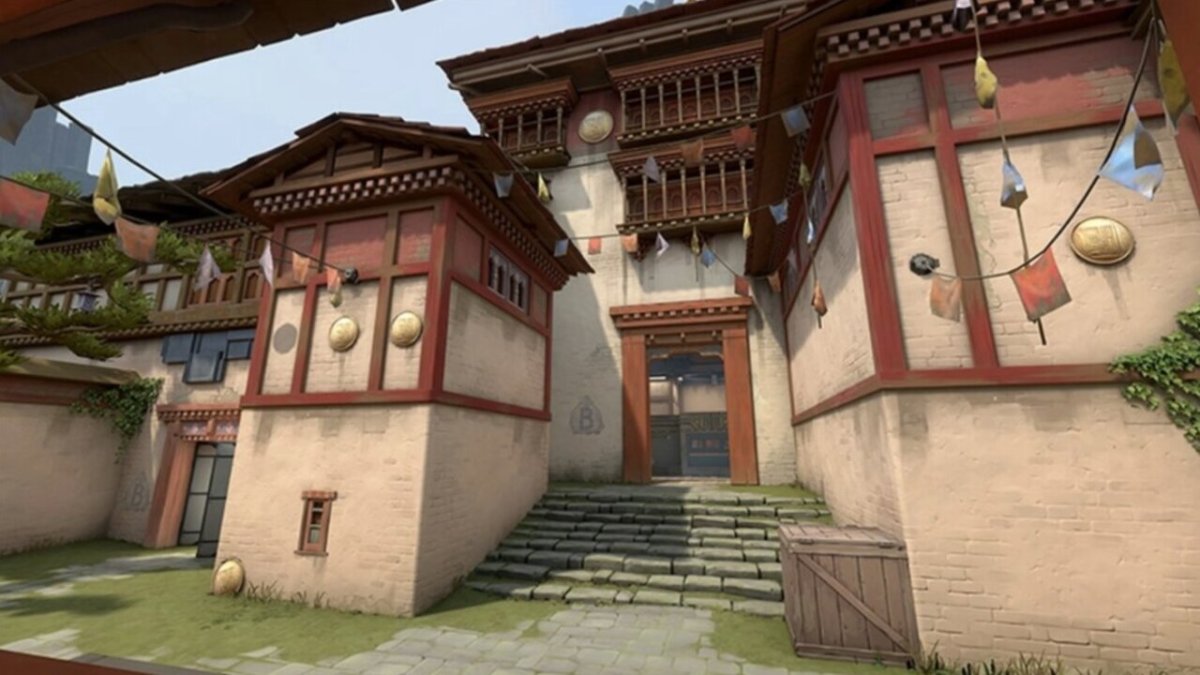
To attack B side, simply set up a wall at the entrance. Press your wall bind and rotate it once so that it lines up with the door and generator. The wall will block off half of B site, saving you from enemy fire. This way, you can aim your crosshair at the other entrance only.
A Site

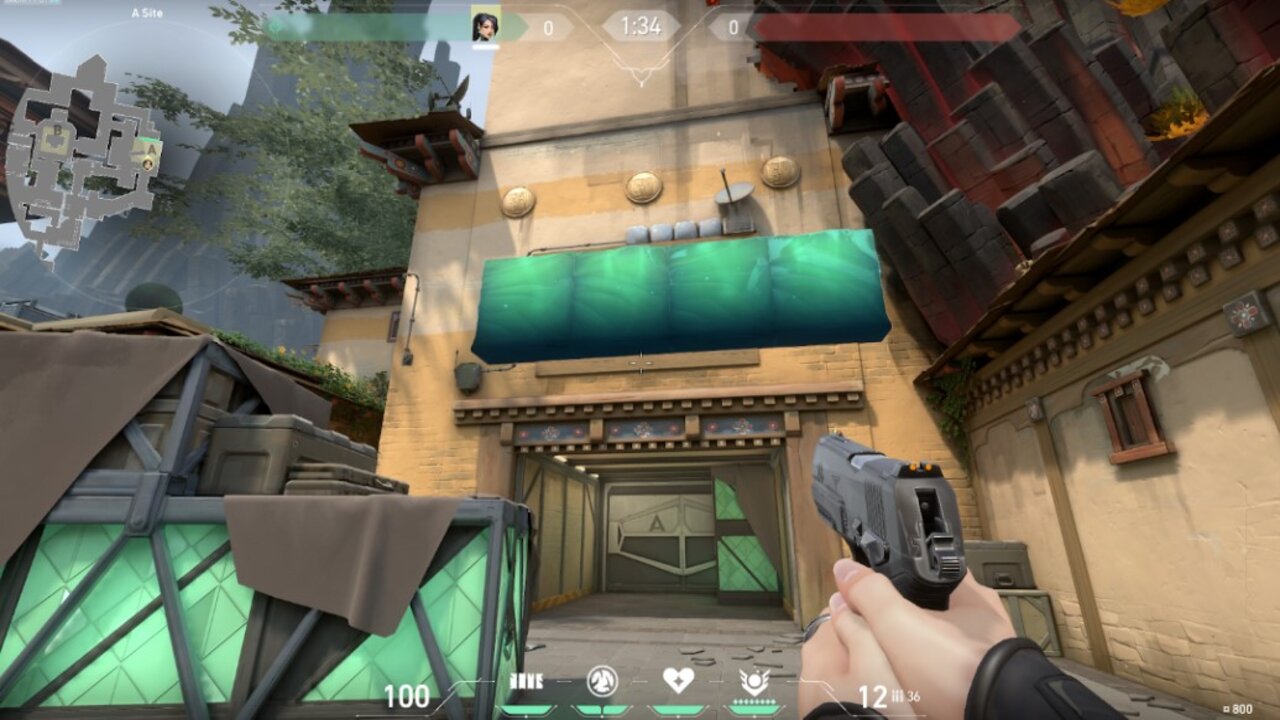
I like to use this wall to prevent attackers from retaking A site. Simply make your way up A Ramp and aim your wall at the window before you. The wall will completely block off A Heaven, slowing down any attackers coming down to A site.
Alternatively, you can place a wall to block off the connector on the left if you’re coming down from A short. It achieves the same thing.
C Garage
The best way to defend C site in my view is to block off the garage window. It’s a useful wall that helps you slow down enemies in the garage. However, enemies may come down from other routes, so I wouldn’t get too comfortable.
Related: Valorant: Best Sova Haven Lineups and Setups
C Main
Once I arrive at C site, I like to block off the defender connector, thwarting any enemy attempts to retake the site from this side. The attackers won’t be able to see anything from the other side of the wall, leaving them with only one option — to shoot down the wall.
B Main – Back Site
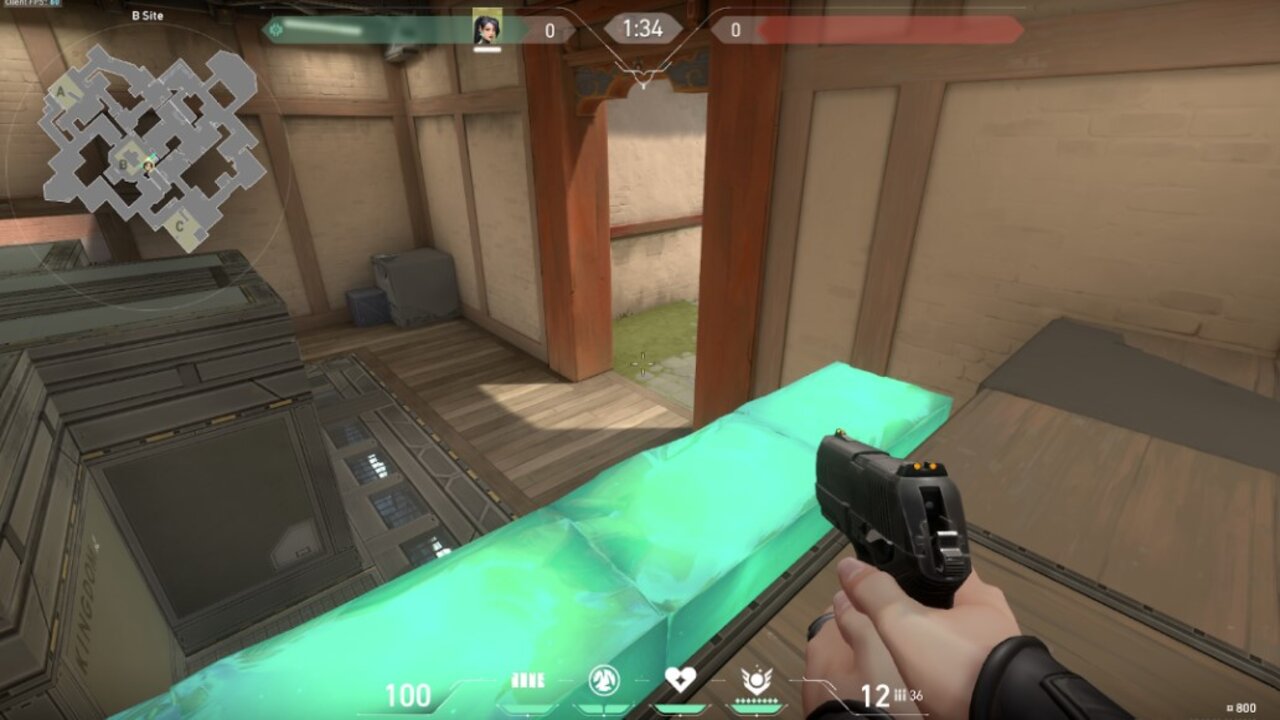
At the back of B Main, simply get on the platform. Press your wall bind and rotate it once. Use it as a boost and you will have a perfect view of the mid-window. Your enemy will only be able to see your head, so you’re pretty safe in this position. Alternatively, you can set up a wall behind the boxes as well.
B Main – Front Site

You can also defend B site by blocking off the entrance. Once you have set up the wall, use it to boost yourself up on the boxes on the left. You can take down enemies entering the site from this position since they wouldn’t be expecting someone in this corner.
A Bombsite
You can also block off the long entry to A bombsite. You can either stay back or use the wall as a boost to stand in the far left corner or on top of the boxes. However, standing on the boxes might leave you exposed.
These are lineups that anyone can execute in a match on Haven to rack up kills.


Published: Nov 29, 2023 01:08 pm