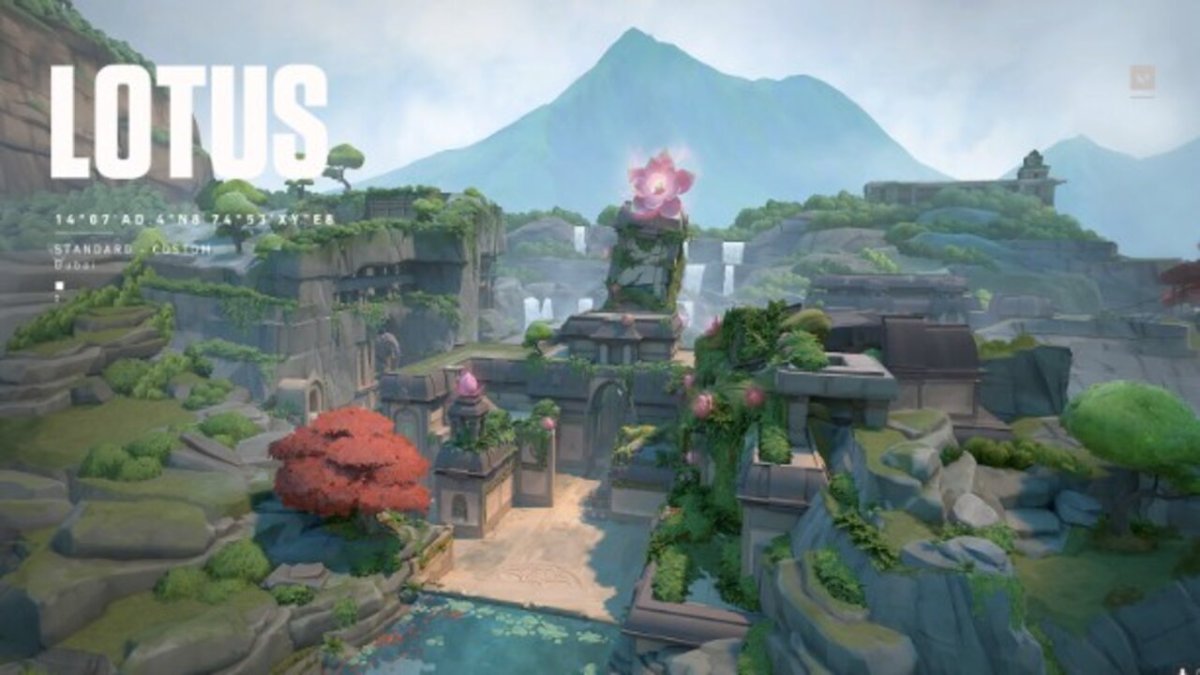
With three spike sites, Lotus favors attackers over defenders. The size of the map doesn’t make things easy either. However, Valorant’s very own poster girl, Sage can turn around the tide in your team’s favor with her incredible Barrier Orb. Do it right and you can really make the map work to your advantage. For your convenience, here are the best Sage Lotus setups and wall lineups.
What are the best Sage Lotus Setups and Wall Lineups?
Here are my go-to lineups for Sage on Lotus.
A Platform
I like to go with this lineup for taking care of the B Side attackers. Go to A platform, and stand opposite the wall on the middle dot on the floor. Line your crosshair with the grey line. Build a wall in front of you. Tilt it slightly. Walk up and you’ll have a bird’s eye view of A Tree and B Link.
A site
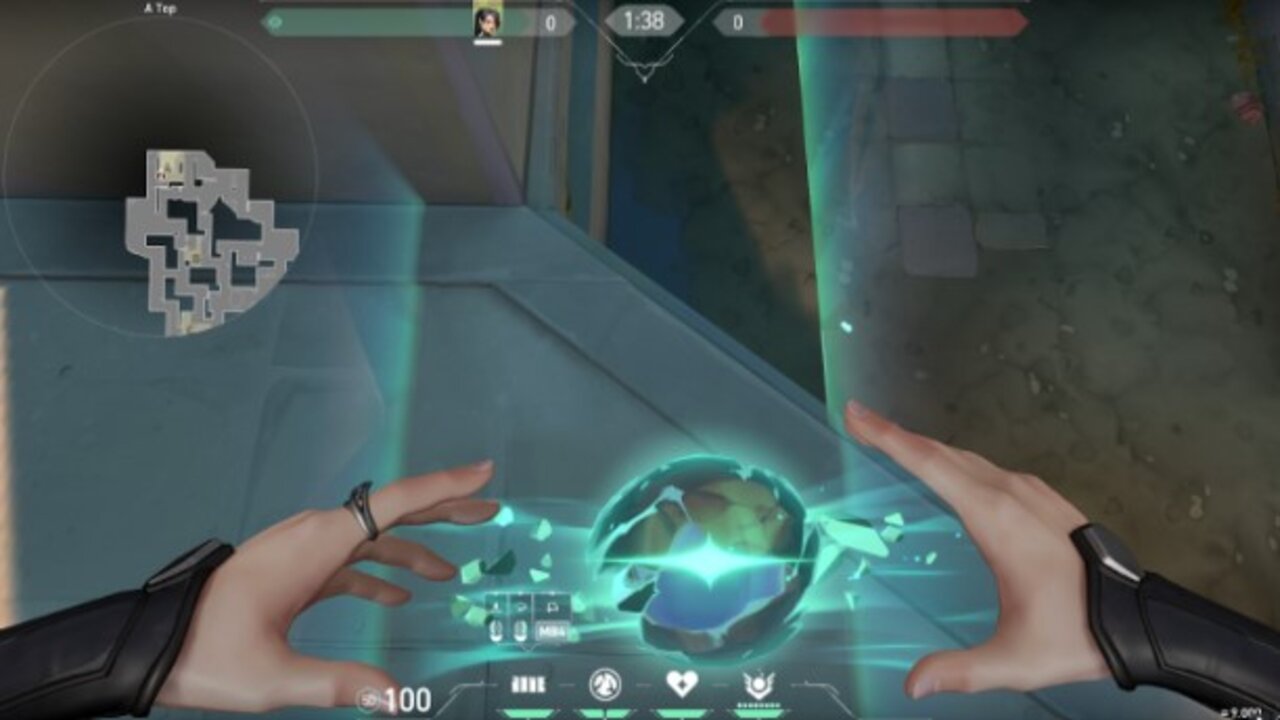
Go to the box at A site. Jump and build a wall, making sure it goes around the corner. Do it right and you’ll have the perfect hiding spot to take down any enemies creeping up B Link. If you set up a wall around the other corner, you can take down enemies coming from C towards A platform.
Related: Valorant Sage Guide – Tips, Tips, and Strategies
C Mount
For this one, go stand on top of the mount at C and the long wall right there. This will give you a clear shot of the T spawn site. However, beware of any enemies trying to creep up on you. You’re kinda standing in the open in this lineup.
B Platform
Start off by walling off the door in the B platform. Next, jump around the corner, place a wall, and sit on it. Your opponent will be too busy breaking through the obstacle you created to see you around the corner.
B side
Simply stand at T spawn. Once the countdown is over, place a wall around the corner and jump on it. You can hold off any enemies pushing down B line during the heat of the battle in this position.
B Side Again
I personally prefer this lineup though. Simply place a wall near the wall for the T spawn site. Jump on the wall and you’ll have a clear view of C. The best part about this position is that you can hide behind the rock, unlike the previous one where you are more exposed.
C Side
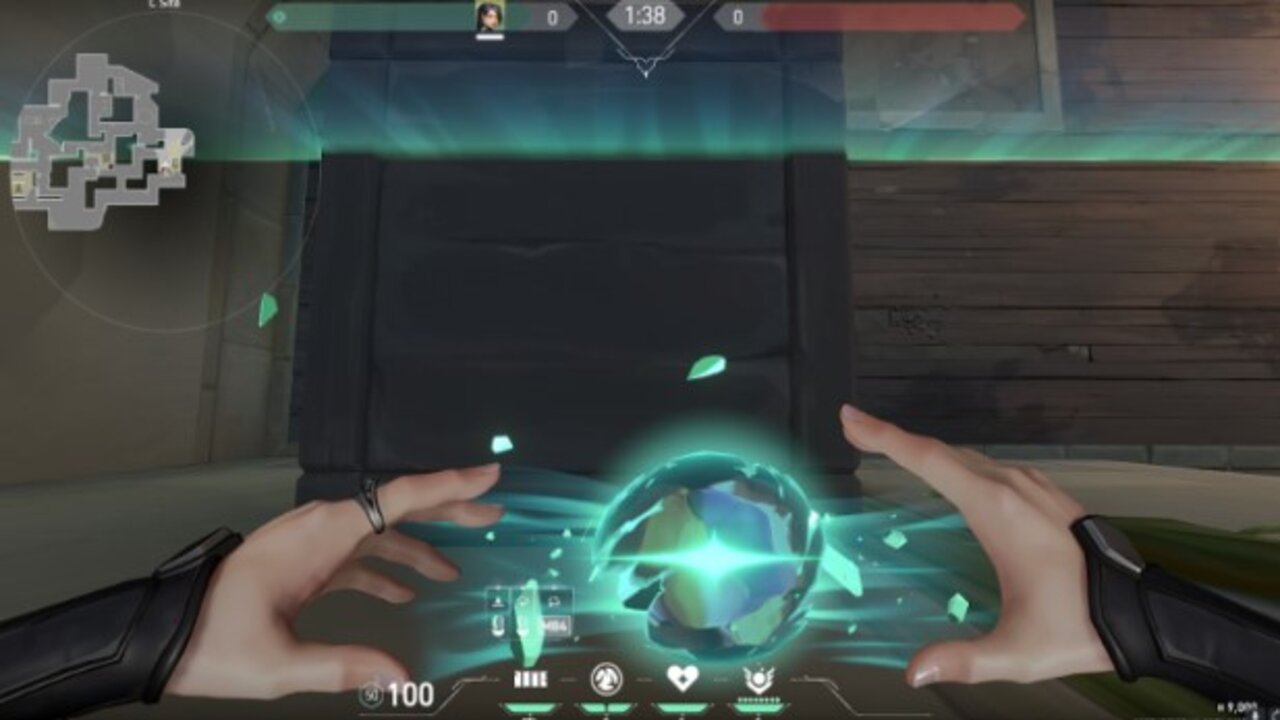
For this lineup, run C-Side and jump on top of the box next to the waterfall. Place the wall diagonally and jump around the corner. You can prevent enemies from pushing down C Side in this position. Run to the opposite side and you can hold B Link as well.
B Link
For this one, go stand on the ledge, facing the waterfalls. Create a long wall and go around the corner. I think this is the perfect lineup to hold that C main position.
Remember practice makes you perfect. So make sure to hone your moves before you set foot on the battlefield.





Published: Nov 27, 2023 12:54 pm