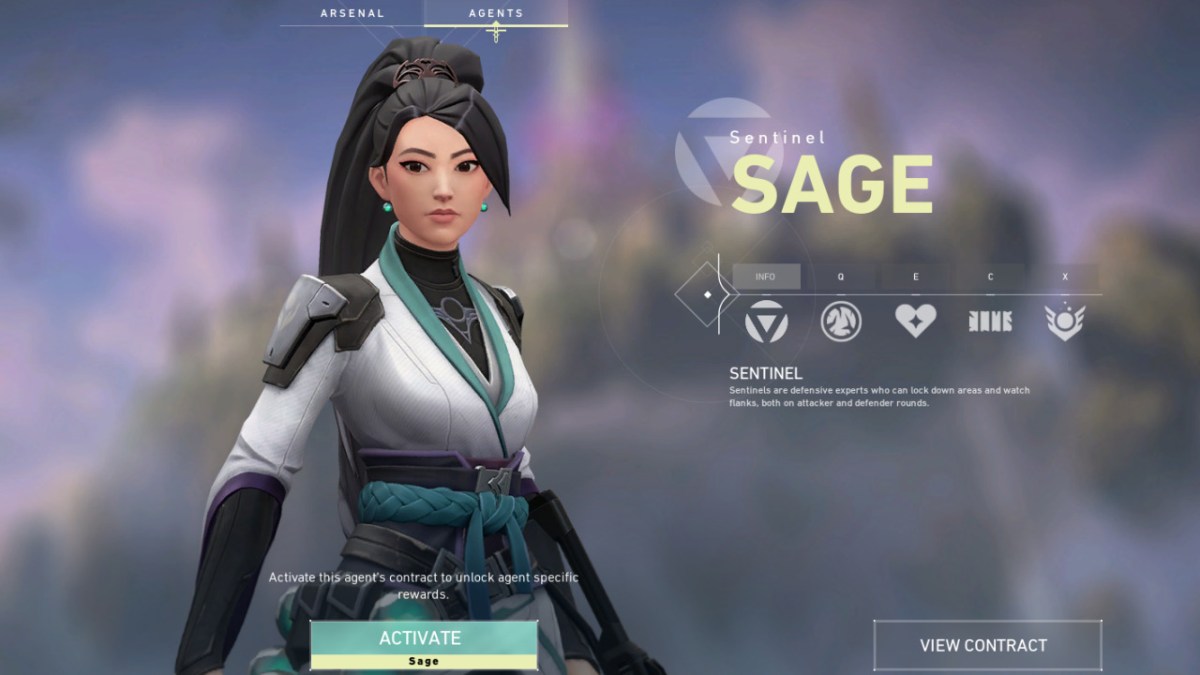
Sage is one of the best agents in Valorant, equipped with several useful abilities that can easily turn the tide of battle in her team’s favor. Her Healing Orb is immensely helpful and can bring an ally back from the brink of death, and her Ressurection ultimate ability can revive a teammate and salvage a losing round. Her other abilities, Slow Orb and Barrier Orb, are the best zoning abilities in the game, allowing Sage to completely shut down enemy pushes or slow down groups of advancing enemies. These are all of Sage’s abilities as well as a handful of tips for how to play Sage.
Barrier Orb
Conjure a large, solid wall. Right-click to rotate the wall before casting.

This ability can be used to block off choke points and other important areas. The wall is comprised of several segments, each of which can be destroyed if it takes enough damage. There’s no other way through the wall besides destroying it, so keep that in mind to make sure you don’t trap yourself and your team in a bad position. Using the Barrier Orb at the right time and place, such as a key choke point leading to a bomb site, can completely shut down the enemy team’s plans and force them to take another route. The wall can also be rotated, which can come in handy if you need to provide cover for your team so you can move up safely. The Barrier Orb is both an offensive and defensive tool, and it’s an indispensable part of Sage’s arsenal.
Also, using the wall at someone’s feet will boost them up on top of it, so use this to your advantage to see over parts of the level and reach heights that were previously inaccessible.
Signature Ability: Healing Orb
Heal an ally or yourself to full health over a few seconds.
This ability is fairly self-explanatory, but it’s the ability that a good Sage player will use most often, so it’s important to understand when and how to use it. The Healing Orb heals either Sage or a teammate back to full health. It’s not an instant heal, so make sure your healing target isn’t in the middle of a fight. This ability operates on a cooldown timer, allowing Sage to use it multiple times per round. You should use this ability frequently. If there’s someone that needs healing, don’t wait until they’re almost dead. Prioritize keeping your teammates’ health bars topped off. Don’t be afraid to use it on yourself in a pinch, either.
Slow Orb
Cast out a radianite orb that breaks into a slowing field upon impact with the ground. All caught in the field are slowed, grounded, and make noise when moving.

This is hands down Sage’s most annoying ability, both for enemies and allies, so you’ll need to be careful when using it. Slow orbs break and expand into a large slowing field upon impact with the ground. They take a second to fully expand, so an observant enemy can back away and escape the slowing effect. Once it’s all spread out, this ability will slow anyone who walks through it. On top of that, walking through it also makes a loud noise, making any enemy who tries to cross it an easy target. Much like the Barrier Orb, the Slow Orb can shut down a push and force the enemy team to take another route.
The Slow Orb also has negative effects on friendly players as well, so be careful when throwing it out. Your team will be very upset if you toss it at their feet right as they’re pushing a bomb site with the spike.
Ultimate: Ressurection
Target a friendly corpse. After a short delay, revive them with full health.
This ultimate ability is why Sage is such a necessary pick on any Valorant team. She can revive any dead teammate, bringing them back into the fight and potentially turning around a losing round. Using Ressurection comes with a long animation, loud audio noise, and kill feed update, so the person you’re trying to revive becomes a huge target in the process. If an ally gets sniped by an enemy with an Operator, maybe don’t revive that teammate while they’re still in view of the enemy team.
Using Sage’s other abilities, like the Barrier Orb in particular, can force the enemy team away from your Ressurection target and provide a safe place for that player to respawn. Don’t hold onto Sage’s ultimate for very long. Try and use it as soon as an opportunity arises. Waiting for the perfect clutch revive will only reduce your efficiency and cause your teammates to wonder why you keep holding onto your ultimate ability. Be mindful of your surroundings when using this ability and use your abilities to cover anyone you revive.
Sage Tips and Tricks
- Use your Barrier Orb wall to boost yourself or an ally up. There are certain parts of certain maps where a well-placed wall can score some easy kills for a teammate with an Operator.
- Don’t hang on to Ressurection for too long. It’s better to get multiple okay revives during a game and win than to get just one clutch revive and end up losing overall.
- Pair Slow Orb with an Operator. Any enemy that dares to peek you with be an easy target thanks to their slowed movement speed and loud footsteps.
- Use Barrier Orb to block off certain entrances to a bomb site. Whether you’re attacking or defending, giving the enemy team one less route to push or flank you is always helpful.
- Don’t be afraid to use Healing Orb on yourself. If you’re leading the push for your team and you’re low on health, give yourself some healing. The added health can also help you clutch out a round.
- Use Slow Orb offensively as well as defensively. If you know the enemy team is about to push through a choke point, wait for them to get about halfway through and then toss a Slow Orb. Everyone will be slowed and very loud, making them easy pickings if you have an Operator or another long-range weapon like a Guardian.


Published: May 4, 2020 02:51 pm