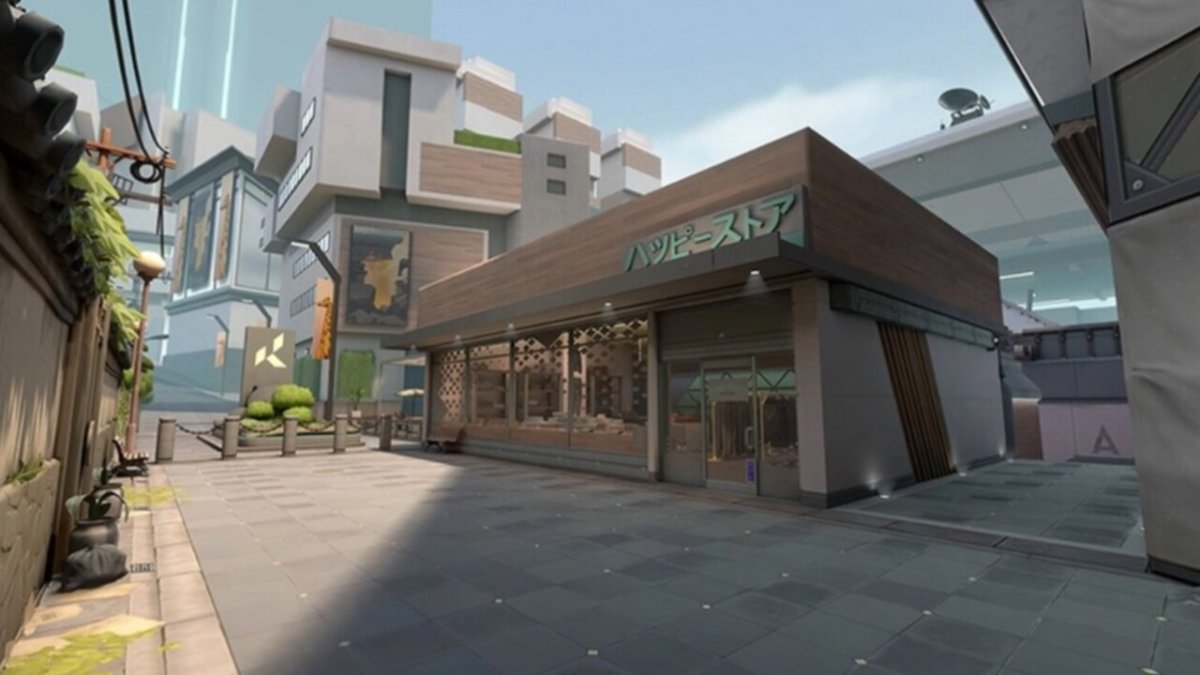
Valorant’s Split is an unforgiving map with tight corners and numerous chokepoints. Given its small size, players may find Split a bit restricted to play on. However, with Sage’s Barrier Orbs, you can work around obstacles. This article will walk you through the best Sage Split setups and wall lineups.
What are the Best Sage Split Setups and Wall Lineups?
I like to use these setups and wall lineups with Sage on Split.
A Lobby
Get on top of the boxes at A Lobby. Press your wall bind, rotate it once, and use the wall to boost yourself up. You’ll have a clear view of the Rafters and will be able to prevent anyone from holding a chokepoint.
A Ramp

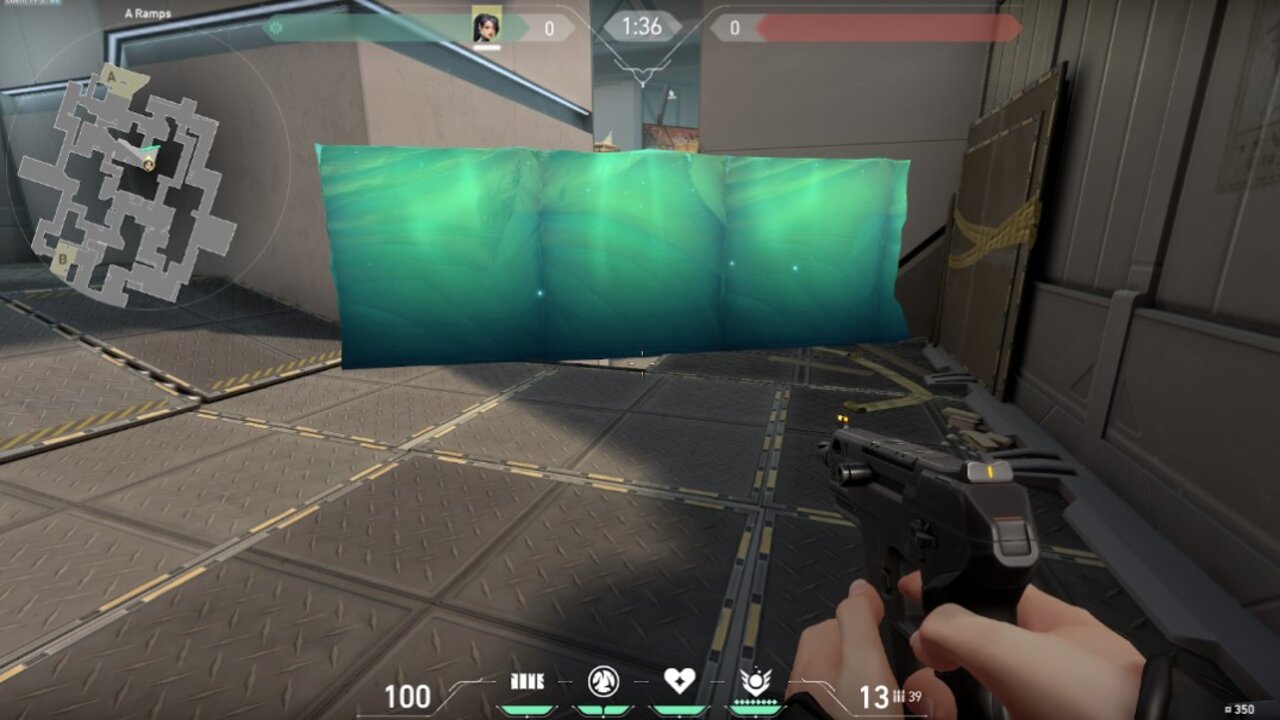
At A Ramp, I like to go in the corner and set up a wall diagonally across the stairs. Make sure to leave behind a small gap. From this angle, you can easily spot your enemies’ lower bodies while staying safe behind the wall.
You can also set up a wall on the box at A Ramp to shoot down any enemies pushing down this lane. Typically, enemies won’t be aiming that high up.
A Site
You can defend A site by setting up this wall. Make sure to rotate the wall once, aligning it directly with the wall. You can then scoot in the far right corner, lying in wait for any enemies coming down to A site. Given the height of your position, no one will be expecting you in this corner.
You can also set up a wall right next to the flower pot at A Site. This will allow you to block A Elbow and slow down enemies coming down from A Heaven and the entrance to A site.
Related: Valorant: Best Sova Split Lineups and Setups
Top Mid
At Top Mid, you can simply block off the entrance. However, if you’re using the wall as a boost, remember that you’re not safe in this position and will be easily caught by enemies. What I like to do is go back and set up a wall on top of the box behind the wall. Stand on the far right corner of the wall you set up and you will have the perfect killshot.
B Back

At B Back, you can set up a wall diagonally between the wall and the screen. This will allow you to slow down enemies coming down to B Site.
B Site
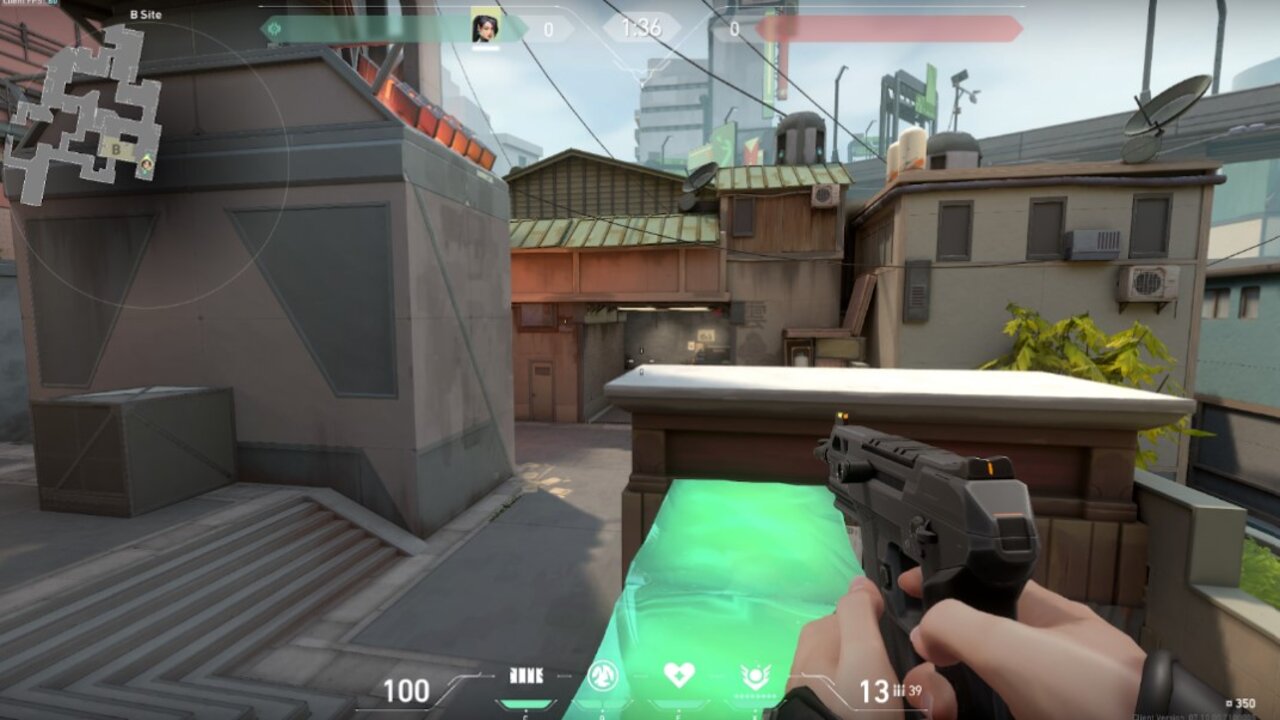
For defending B Site, you can simply block off the entrance to the area. You can leave it as it is. What I like to do is to use the wall to boost myself up the crates. From this position, you can shoot down enemies pushing down to B site since they wouldn’t be expecting enemy fire from this angle.
Executing some of these lineups will require practice, so make sure to go over them in the offline mode.


Published: Nov 29, 2023 02:57 pm