What sets World War Z apart from its competitors are the gargantuan zombie swarms the game throws at your party throughout a mission. Hundreds upon hundreds of the undead will rush your position, and they can easily overwhelm your defenses if your party is unprepared. Handling them isn’t too difficult, though, if you know what to look for.
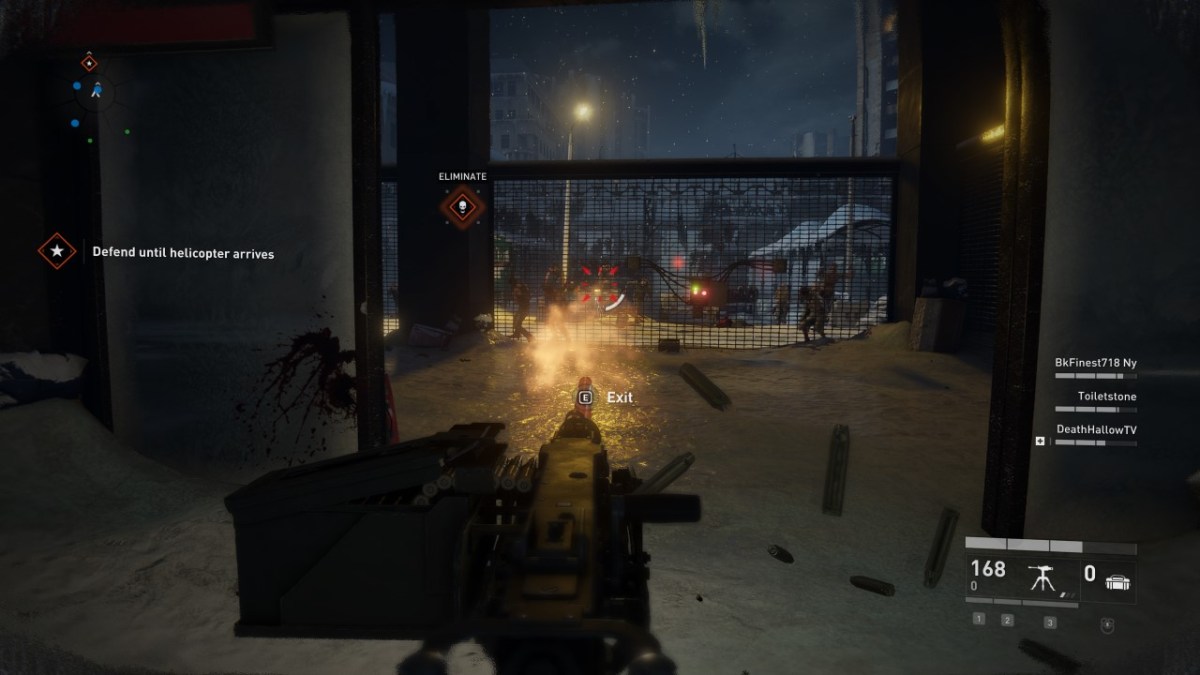
Defense items are scattered about mission in World War Z, as are Heavy Weapons that level the playing field.
As you play World War Z you will come across grey and yellow crates containing defense items that can be placed during scripted sieges. These vary from automatic turrets, 50. cal machine guns, electric fences, actual fences, to mortars. Each item can only be used once and placed in specific, marked areas, and they don’t last forever. That said, intelligent placement can make a world of difference, and will allow your team a chance to cull the largest portions of the swarm.
Around each scripted siege are a handful of these defensive items, but to gain more you’ll need to locate breaching charges scattered around the map (or, to bring one in at the start as the Fixer). These allow you to crack open sealed containers and rooms (all of which are highlighted by a painted exclamation mark), where additional defenses can be found. Not every sealed area/container in World War Z will have a defensive item within, but the ones dotted around the scripted sieges typically have at least one within.
Additionally, there are heavy weapons littered about missions in World War Z, both inside and outside these sealed areas/containers. These range from a grenade launcher, rocket launcher, LMG, and more. All heavy weapons have a limited amount of ammo available until they are depleted. These cannot be refilled by ammo caches like regular weapons, so are best saved for swarms. Using the automatic shotgun on the bottom of a zombie pyramid is a great way to send the undead sprawling back down, and the grenade launcher can thin the herd before it even reaches your position. Using these in conjunction with your defenses is the key to survival, especially at higher difficulties.
Also, don’t sleep on class perks in World War Z. From explosive ammo, healing stims, to C4, each class brings something to the table that will assist the team. Don’t jump into higher difficulties just because you can: spend some time leveling your preferred class to unlock additional perks. These will prove clutch during massive swarms, so don’t go hauling your level 1 Medic into Normal or above difficulties. Same goes for weapons: upgraded weapons deal more damage, which can be the difference between taking out ten zombies or twenty with a single magazine. If you are struggling to survive even with defenses and heavy weapons then you need to look into leveling your weapons and classes.


Published: May 12, 2020 06:31 pm