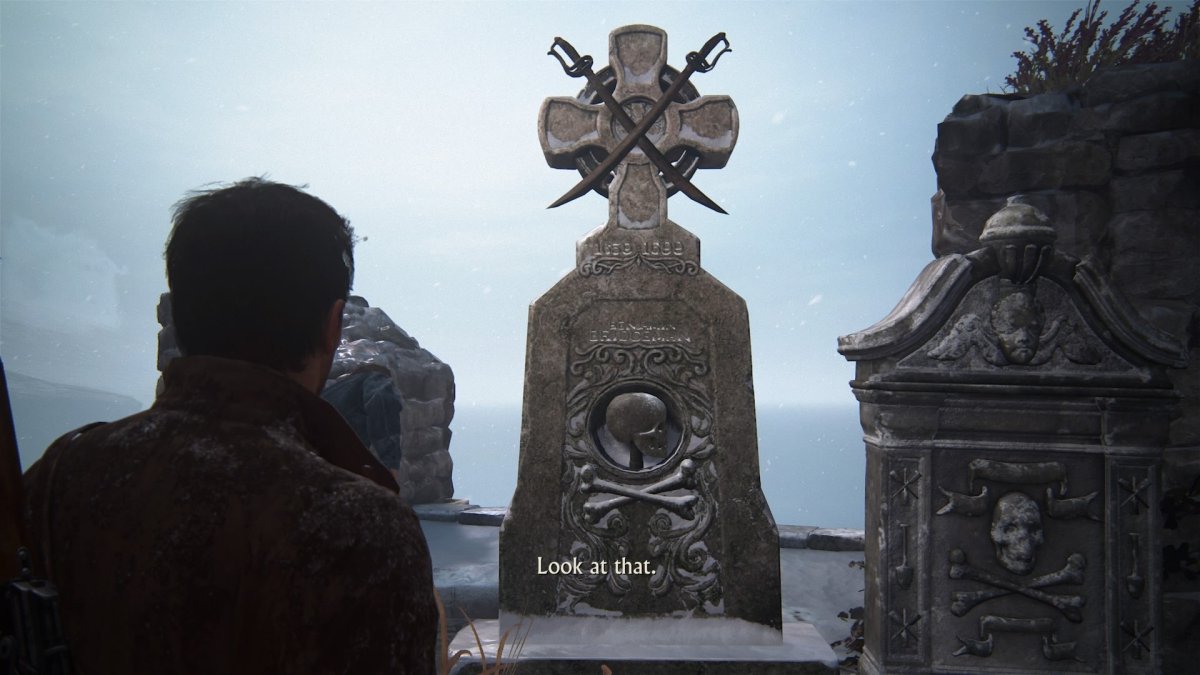
Finding the gravestone in Chapter 8 can be a pain if you are not looking at the right place. Here is a small guide to tell you how to find the right gravestone in Uncharted 4: A Thief’s End.
When you first encounter the graveyard, Sam and Nathan Drake will only be looking at one area. You need to find a gravestone with the right crossbones symbols and dates on them. Let me tell you right off the bat that the gravestone is not located in the first area.
The first thing you should so to find the gravestone is ignore that first area and turn left. The gravestone is quite far away from the first location so keep walking to the left and don’t stop. It’s not even in the second areas full of gravestone either.
If you want me to be more specific, you should keep turning left until you see a cliff-side that shows the sea. The gravestone should be located around this area and it’s somewhere in the middle. I have provided you with a screenshot of the exact gravestone that you should find. It’s not hard when it’s right there staring right back at you.


Published: May 10, 2016 07:00 am