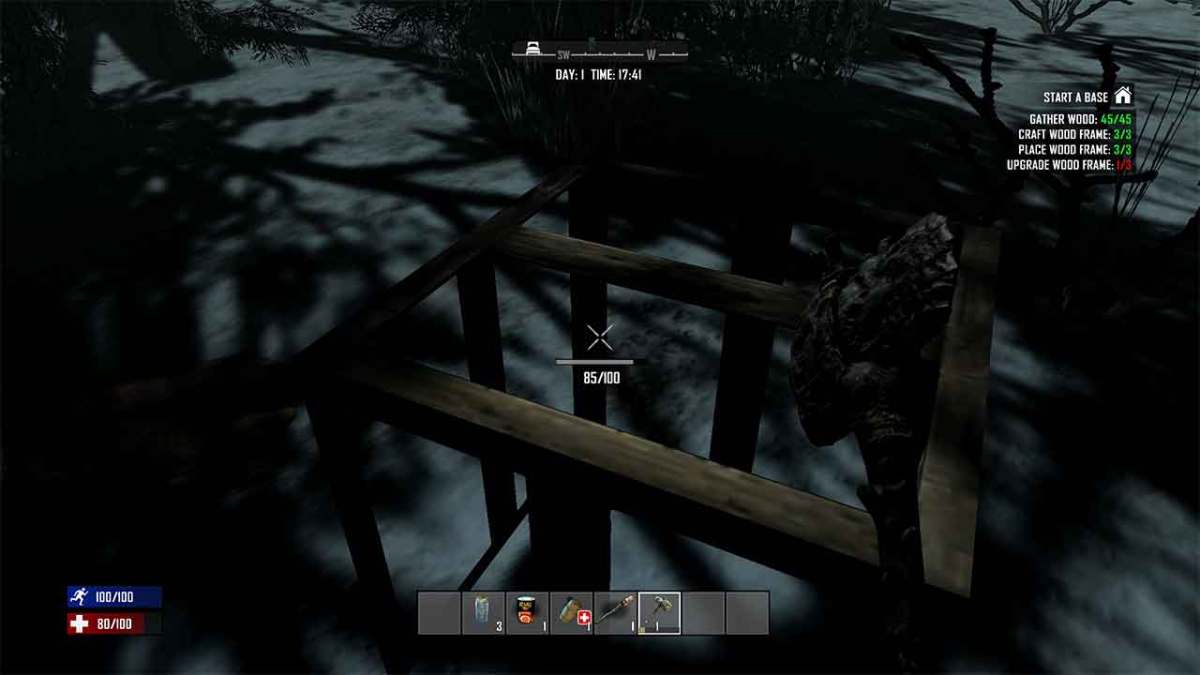
7 Days to Die has a number of rudimentary system in place for the survival game, one of which isn’t explained all that well. Eventhough it’s only in the tutorial section, this small detail is somewhat overlooked. When you get to the spot in the game where it asks you to upgrade a wood frame you may be left scratching your head. In this guide we’ll explain how to upgrade the Wood Frames, or any item for that matter using Construction Tool secondary functions.
How to Upgrade Wood Frame
If you’ve made it to the spot in 7 Days to Die where you are tasked with upgrading the Wood Frame what you’re going to need to do is completed the tasks of Gathering Wood, Crafting Wood Frames, and then placing those Wood Frames in the area. What you’ll need to do after that is upgrade the Wood Frame which is basically done by using the secondary function of the Wood Axe construction tool by pressing the LT trigger. While pressing the Right Trigger does things like chop, the secondary function LT will allow you to upgrade things, in this case it’s going to be the wood frame that you’ve laid out. One thing you’ll want to make sure of is that you have extra wood to upgrade the frame.
If you’ve got the wood, make sure you’ve got your Axe equipped and simply aim at the Wood Frame and press the LT Button. In a couple of swipes this will upgrade the Wood Frame. To complete the challenge you will need to upgrade all three of the Wood Frames that you placed when you started the challenge. By pressing the LT instead of the RT you will see that arrow points up instead of down, signifying that you are upgrading the item instead of destroying it. Once upgraded you can also downgrade items by hitting them with the RT.
And that’s all you need to know about Upgrade the Wood Frame in 7 Days to Die. The game is available now for Game Pass Subscribers.


Published: Apr 27, 2022 11:29 am