Battlefield: Hardline instead of laptops and files, has a wider array of ‘collectibles’ strewn about the game under the guise of evidence. Makes sense considering you take the role of a police officer. The cool thing is that when you enter the area your controller will vibrate near evidence. Including those on enemies that have warrants. Evidence is separated in this guide by case and evidence name and number as it appears in the game. Warrants are enemies that are thrown into the game to give the player an additional ‘collectible’ type of replay value to the levels. For more information check out our Battlefield: Hardline guide for Episode 1. If you need help with Episode 8: Sovereign Land, we have that too.
The following Battlefield: Hardline guide is for Episode 9: Independence Day, of the Battlefield: Hardline single-player campaign tailored to help you find the evidence and grab the wanted criminals in the third level. As the episodes get longer we break it down into sub-sections. These can be found on your scanner in the top left of the screen. It basically tells you the area of the episode you are in and it is helpful for pinning down warrants and evidence. There are nine pieces of evidence and two suspects to apprehend in Episode 9: Independence Day.
Plaza
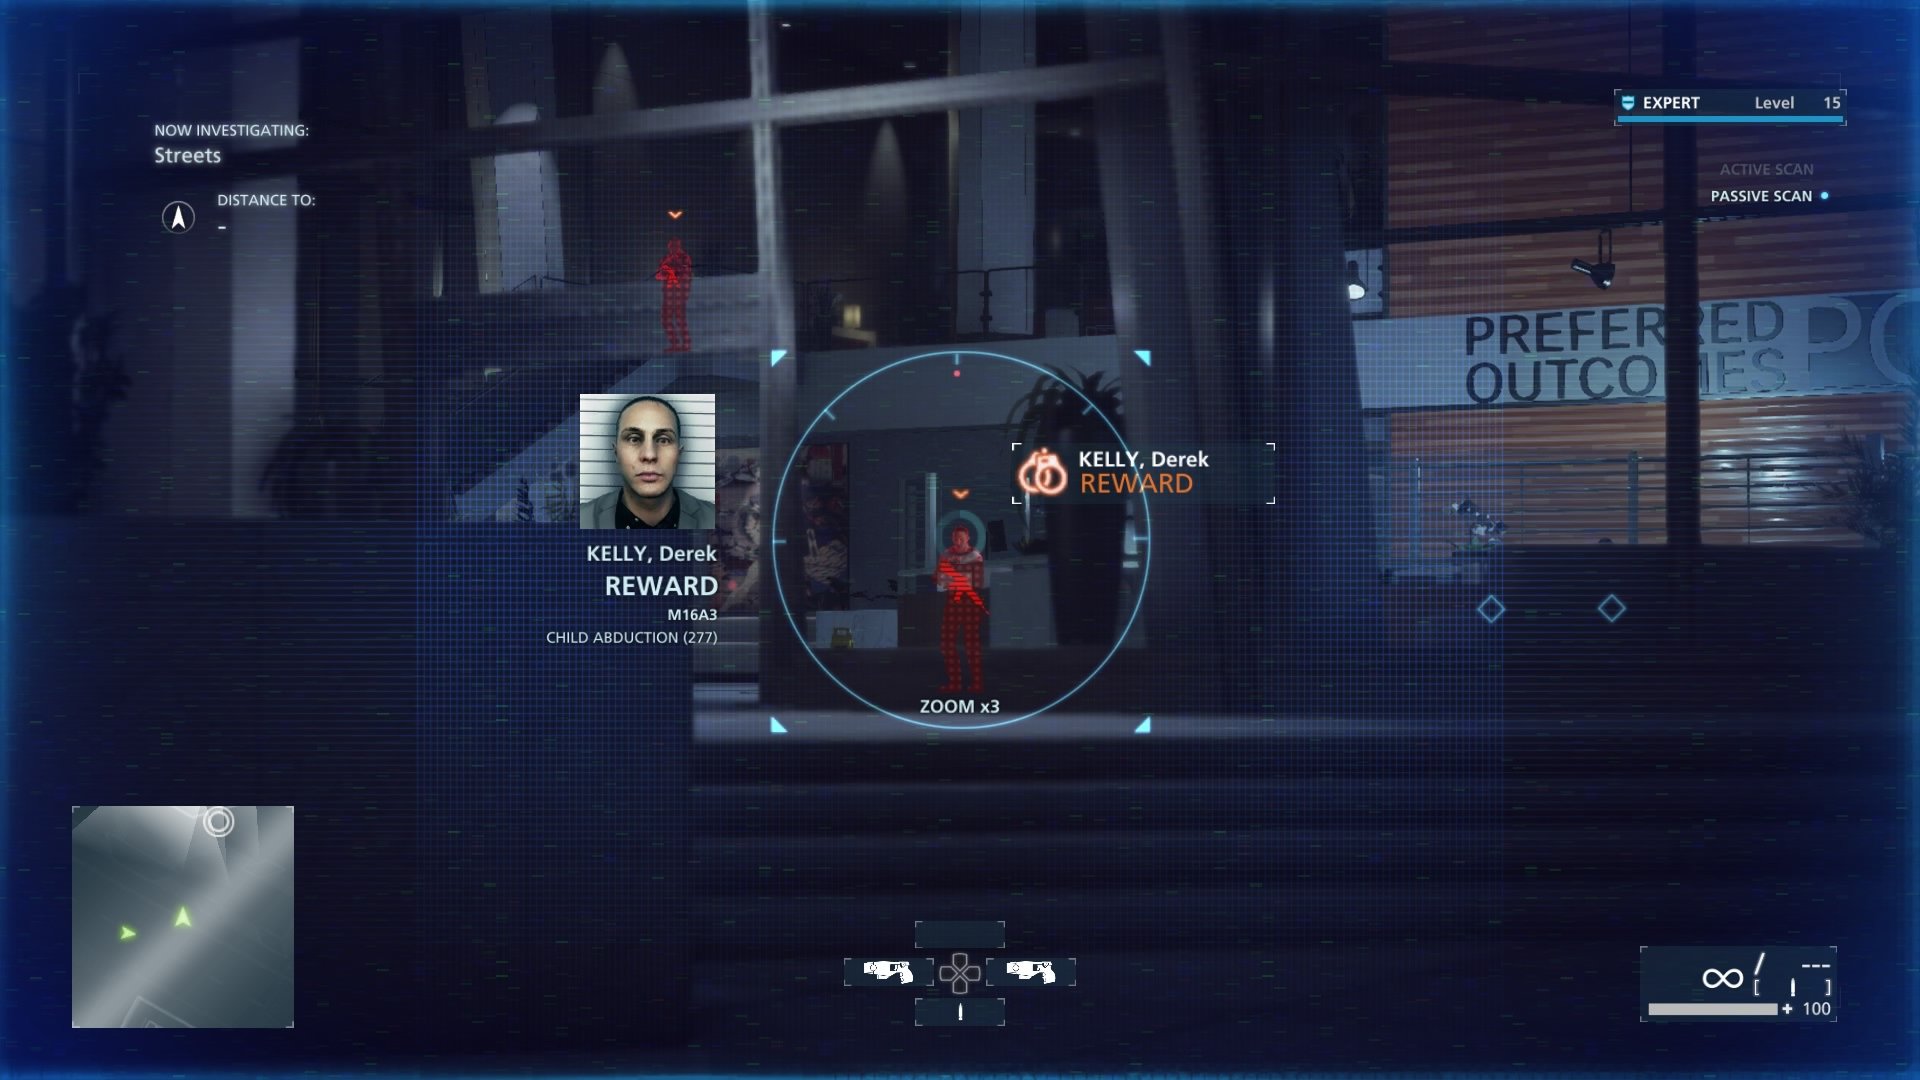
Wanted: Derek Kelly
Derek is standing right in the lobby. After you take out/arrest the first two guys you have a clear look at Mr. Kelly to scan him. Then it is up to you, either go in silent around or lure him outside and zap him.
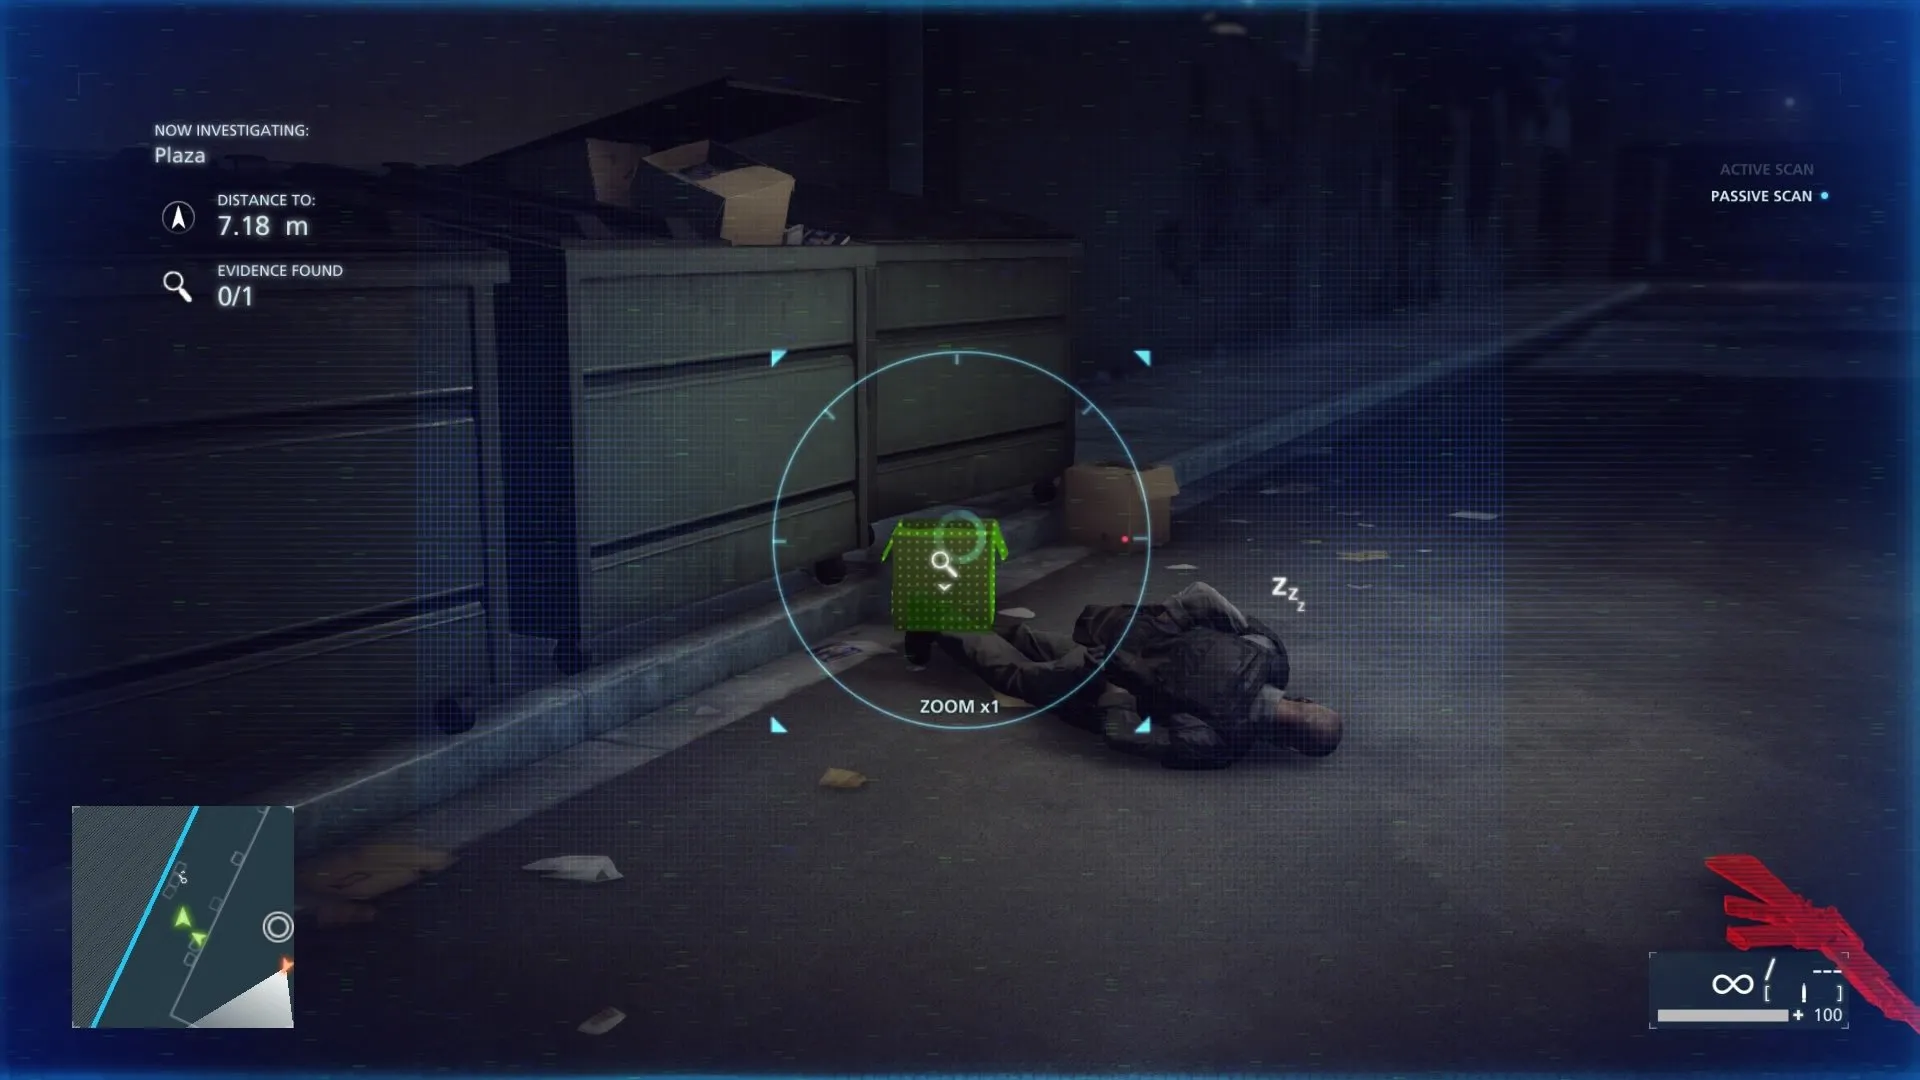
Preferred Outcomes #2 (Box Of Books)
If you choose to go around back this is right on the floor next to the two guards. Take them out and scan the box next to the dumpsters.
Lobby
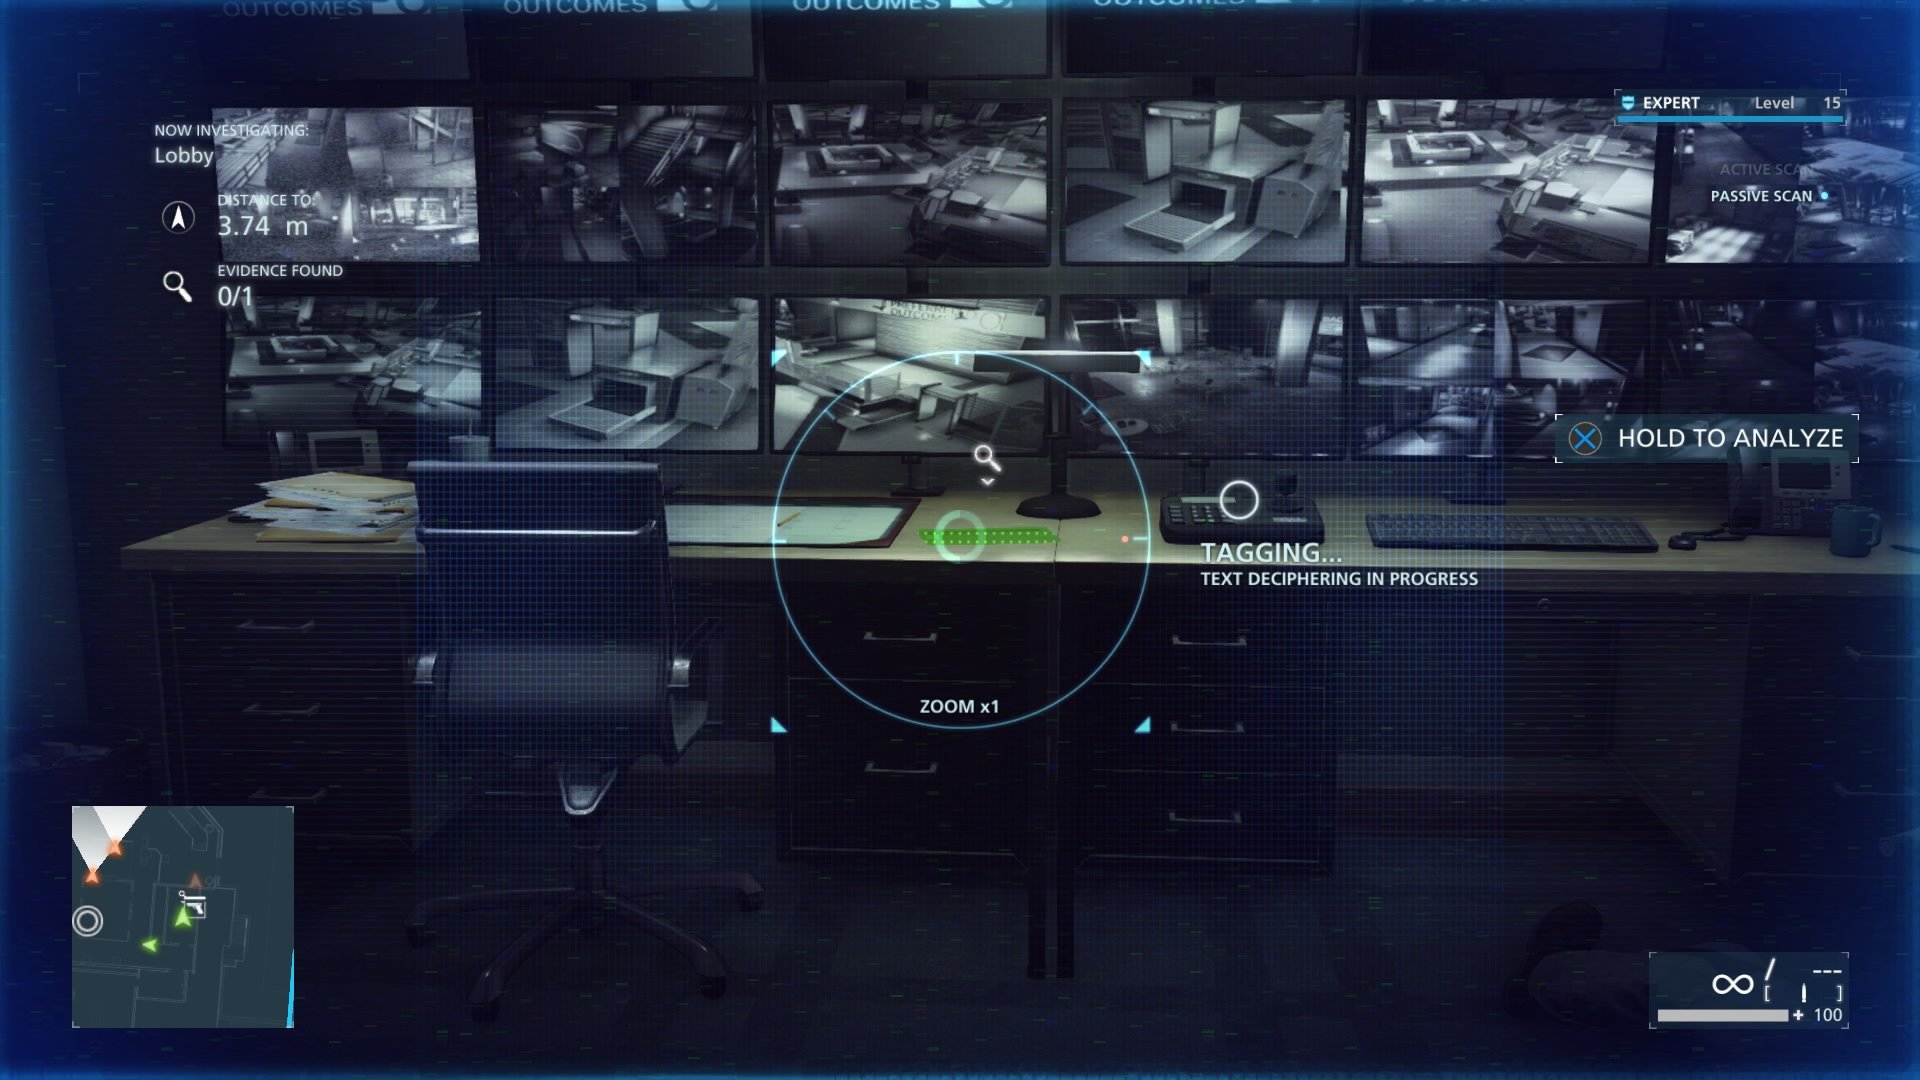
Preferred Outcomes #1 (Staffing Chart)
If you decide to go in through the back you will come to a hallway with a door right in front of you. Take out the lone guard in the hallway and go in the door. Inside is the camera room with a guard. Take him out and scan the chart on the desk next to the camera controls.
Offices
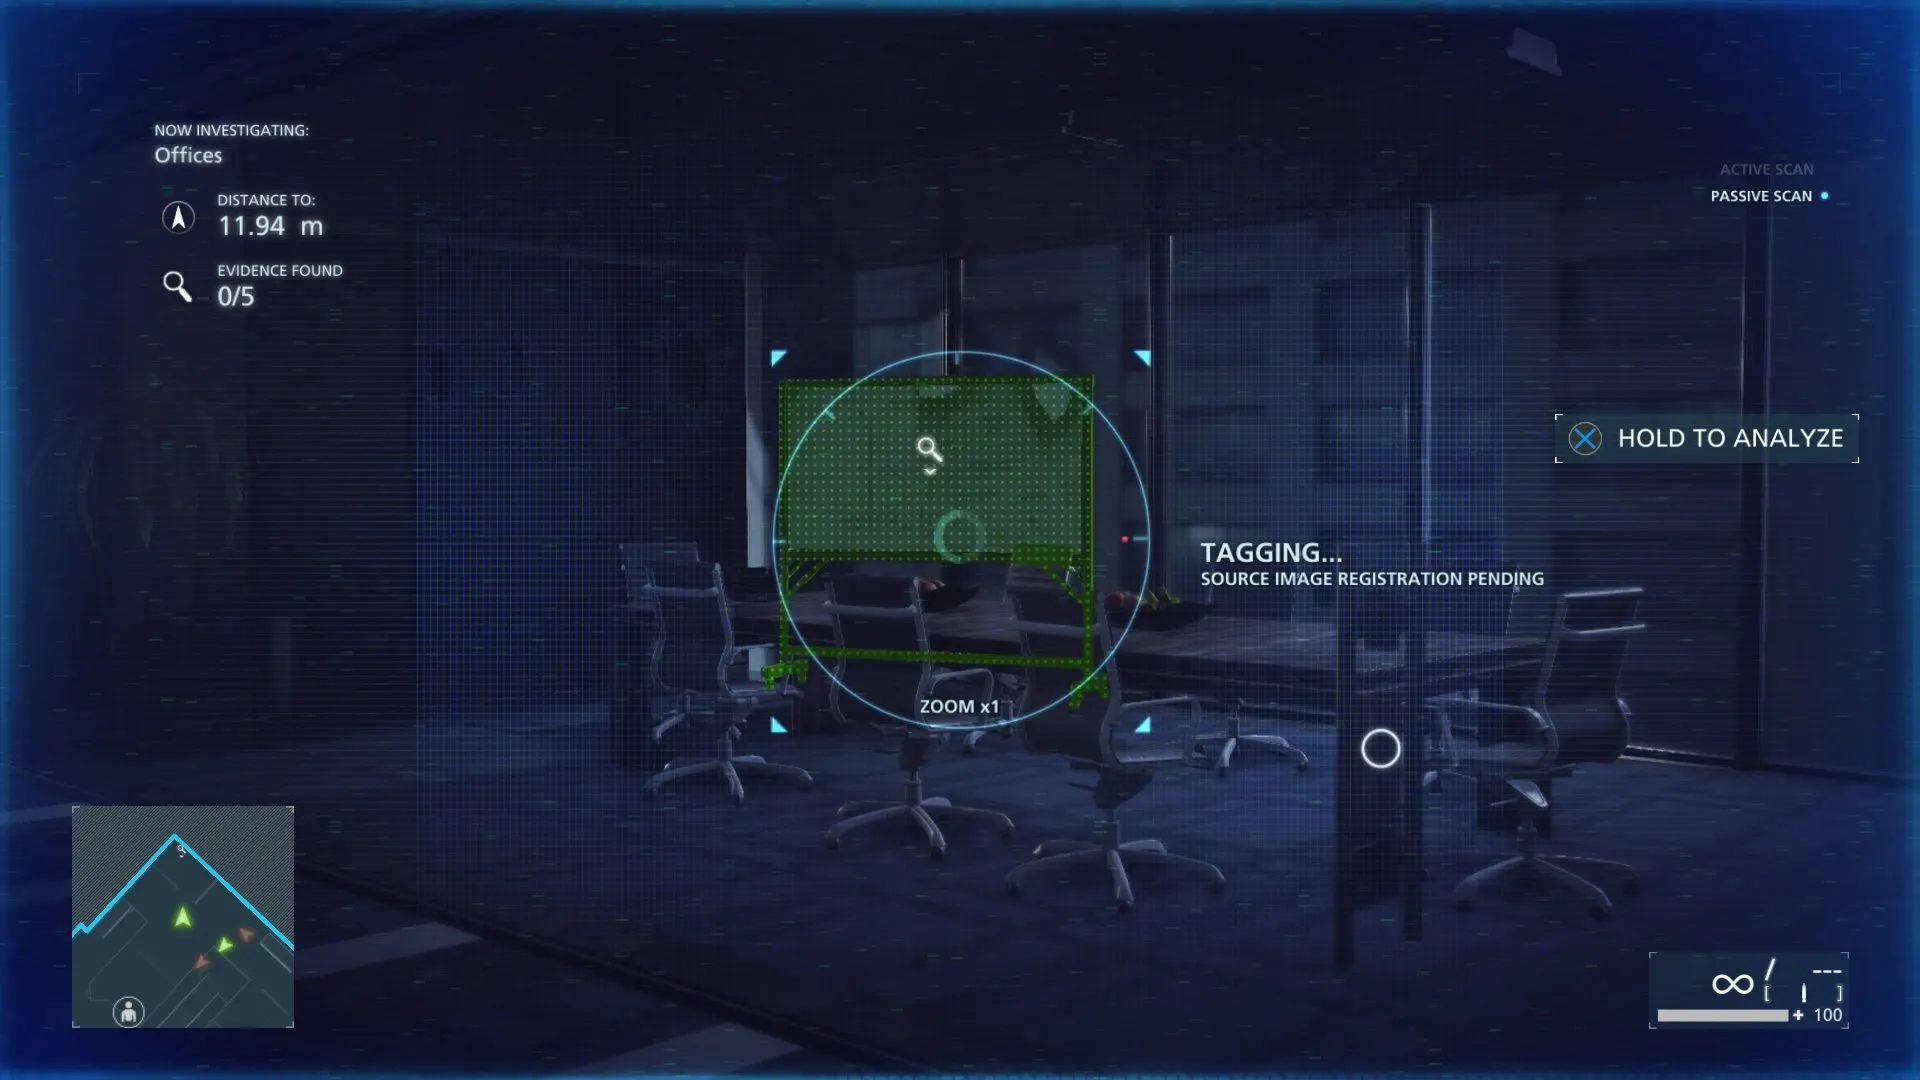
Preferred Outcomes #4 (Revenue Sketch)
Once you get out the elevator, hang a left and wait for a guard to pass, take him out then go another left. You will see a glass meeting room in the corner, the bulletin board houses the sketch you need to scan.
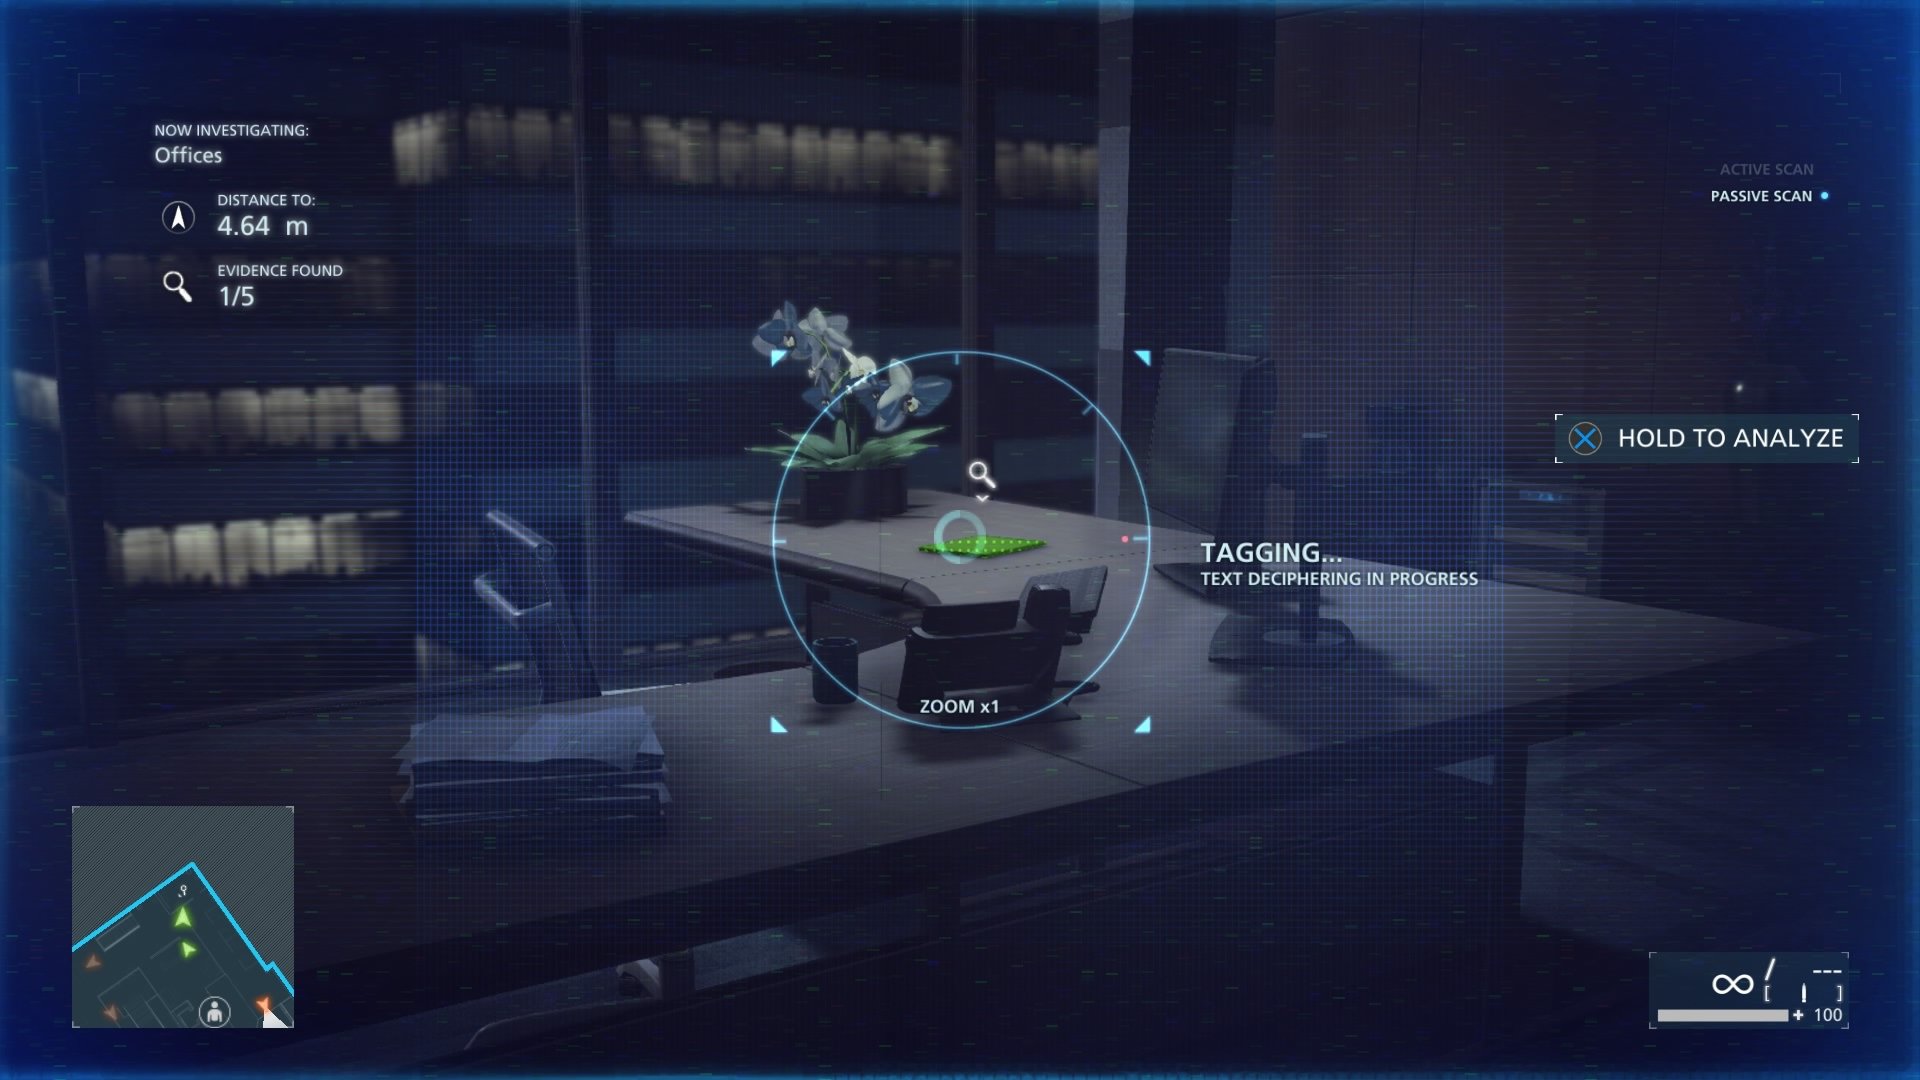
Preferred Outcomes #3 (Letter From Chicago Politician)
Instead of taking that second left to the last piece of evidence, go right and you will see a glass office. On the desk is the letter.
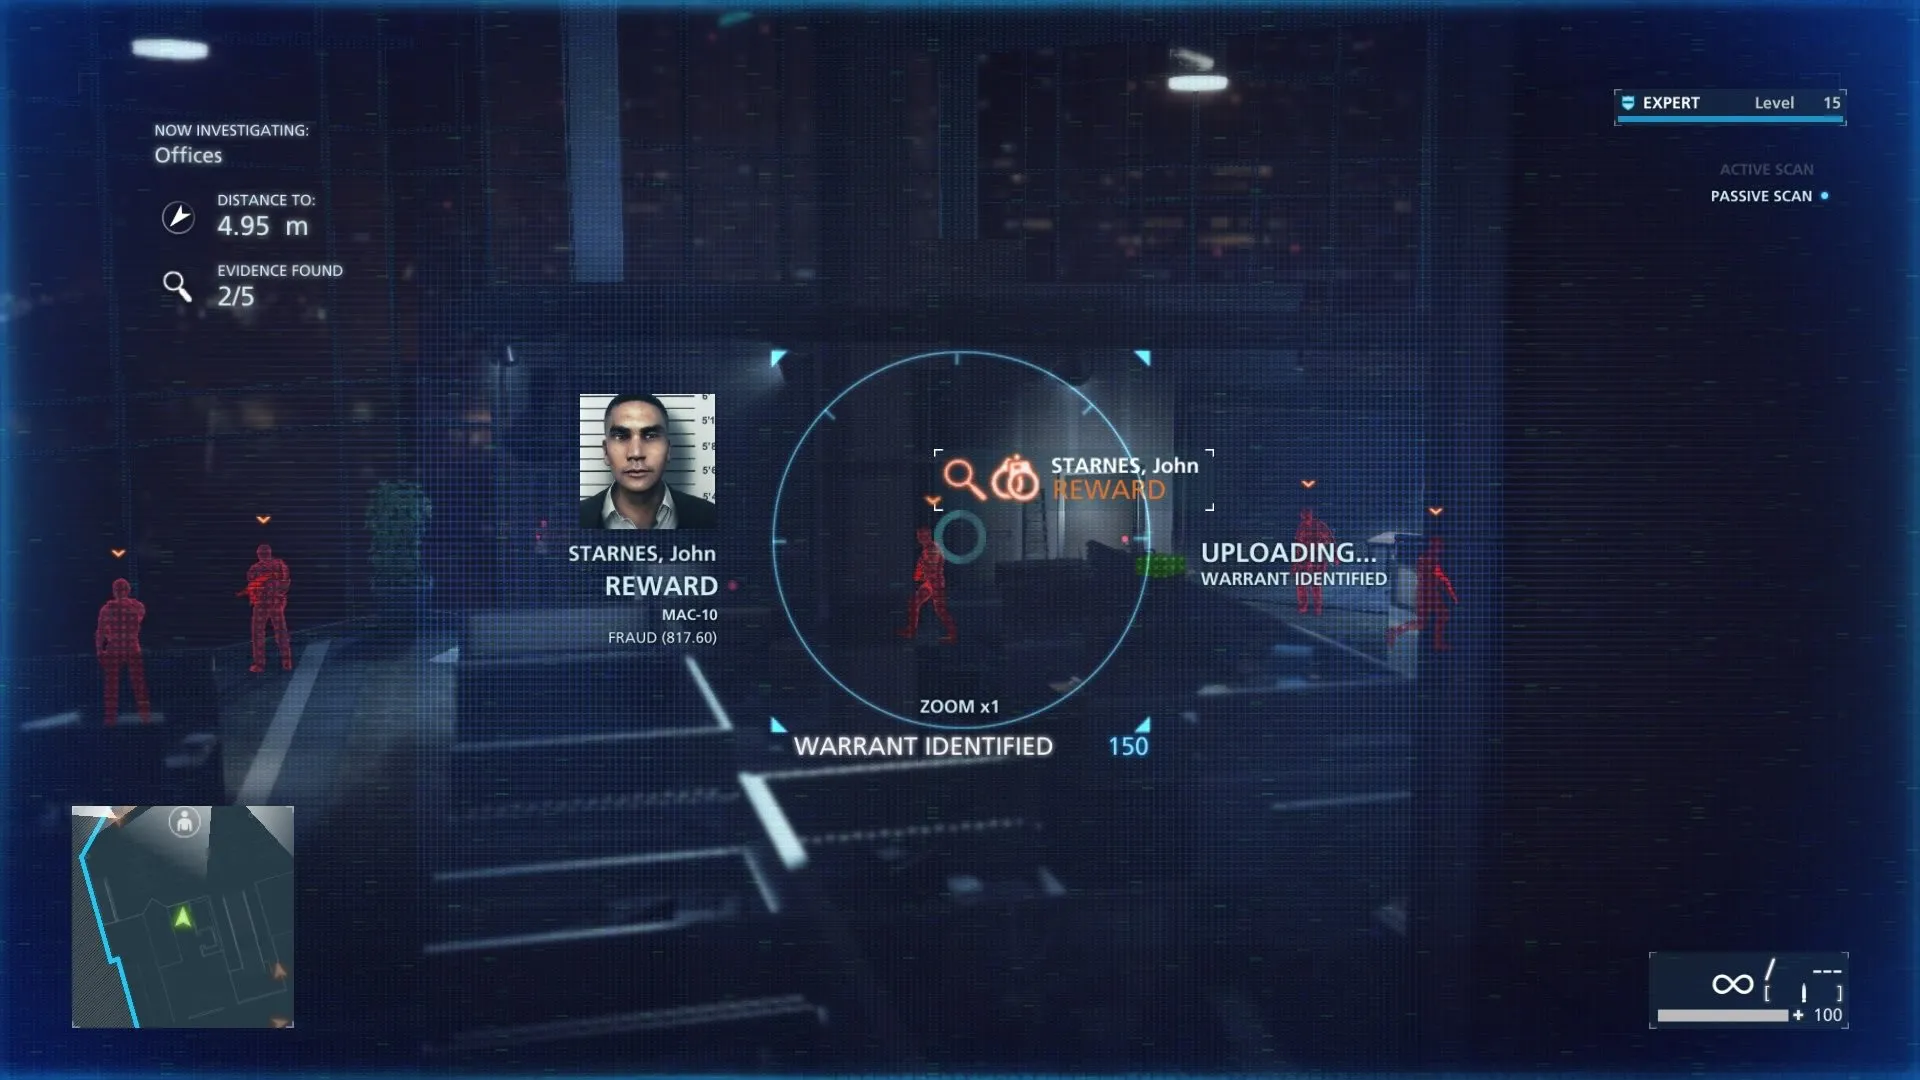
Wanted: John Starnes
John can be scanned as soon as you get off the elevator and turn right looking out the glass to the lower level. He is to the right with some goons. Now, like all these guys, divide and conquer. It can get a bit rough so it might take a few tries. I found the easiest way is to go down the middle set of stairs located behind the tree painting divider when you get off the elevator. Take out the guys and work on their numbers until only a few are left, and flash your badge.
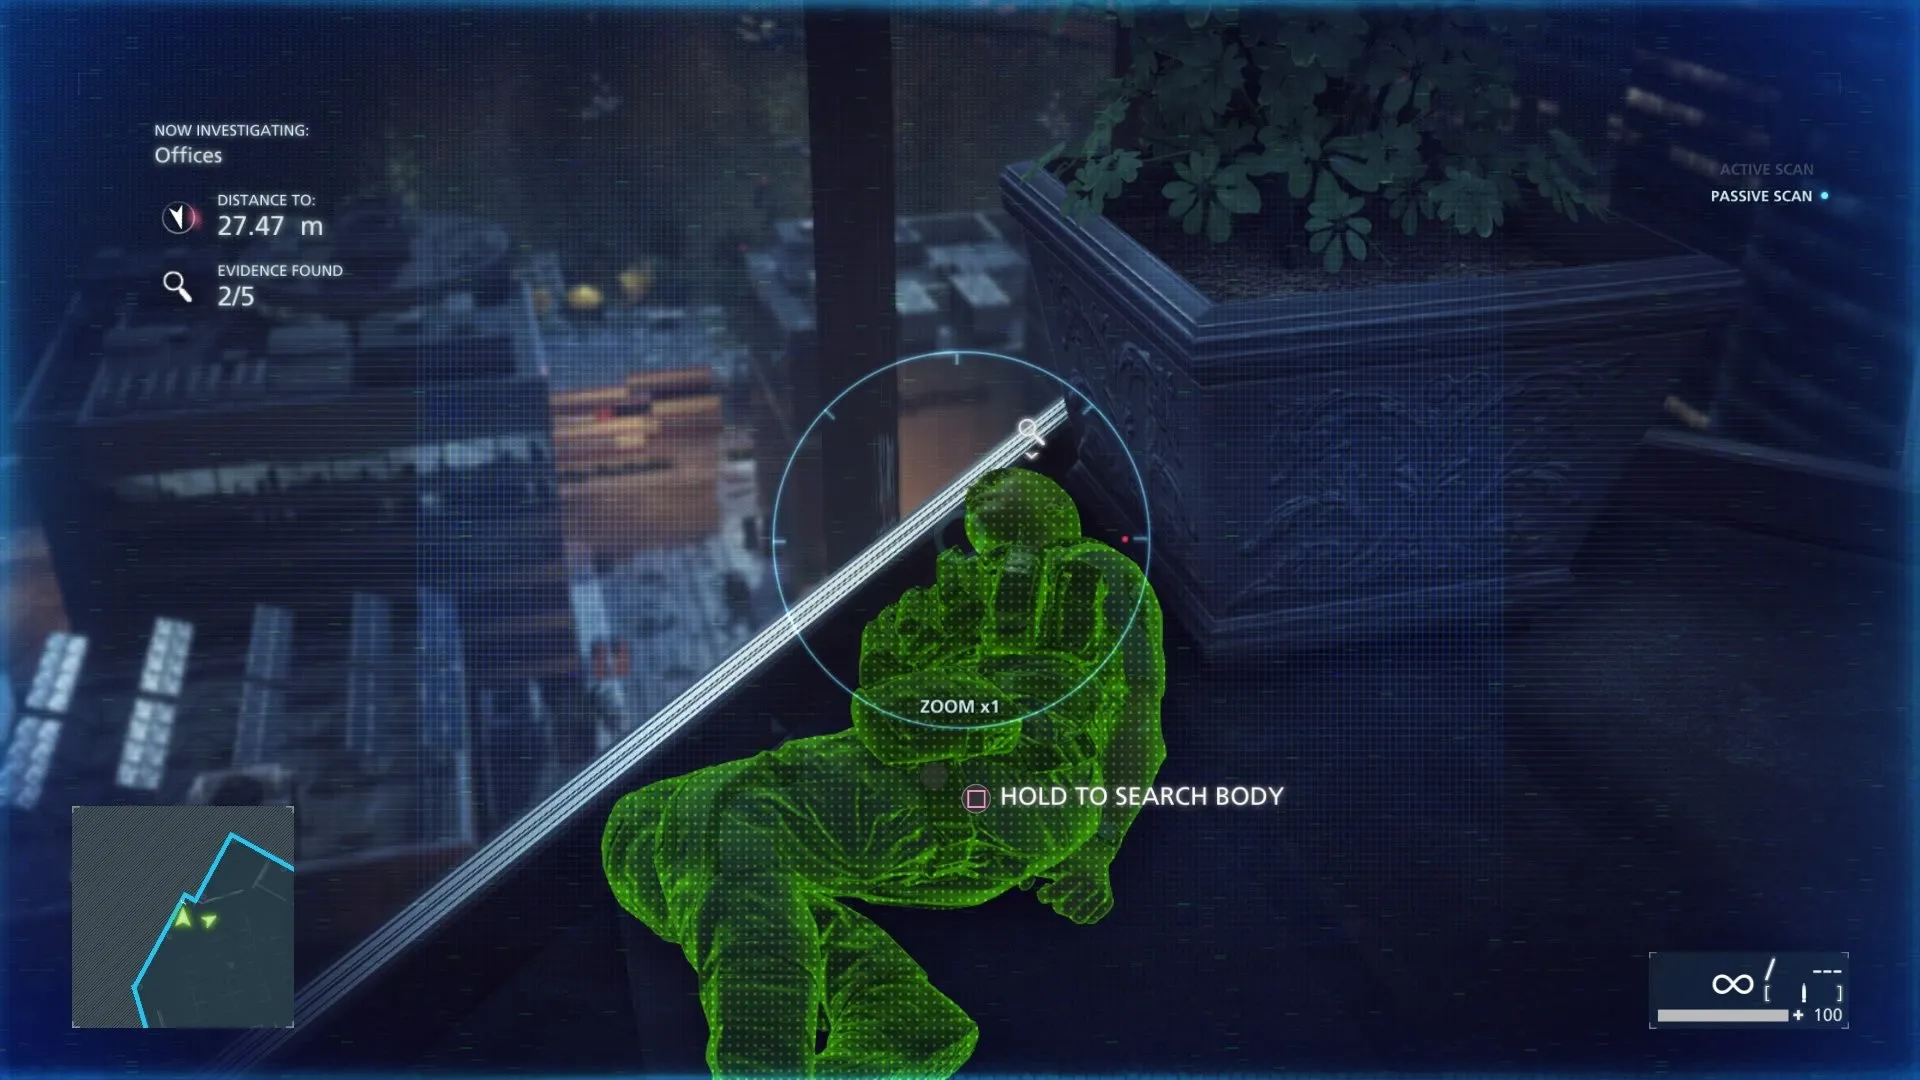
Preferred Outcomes #5 (Notice Of Transfer)
This one is on John Starnes when you finally take him out by either knocking him out, or tazing him. Just search his body and it’s yours.
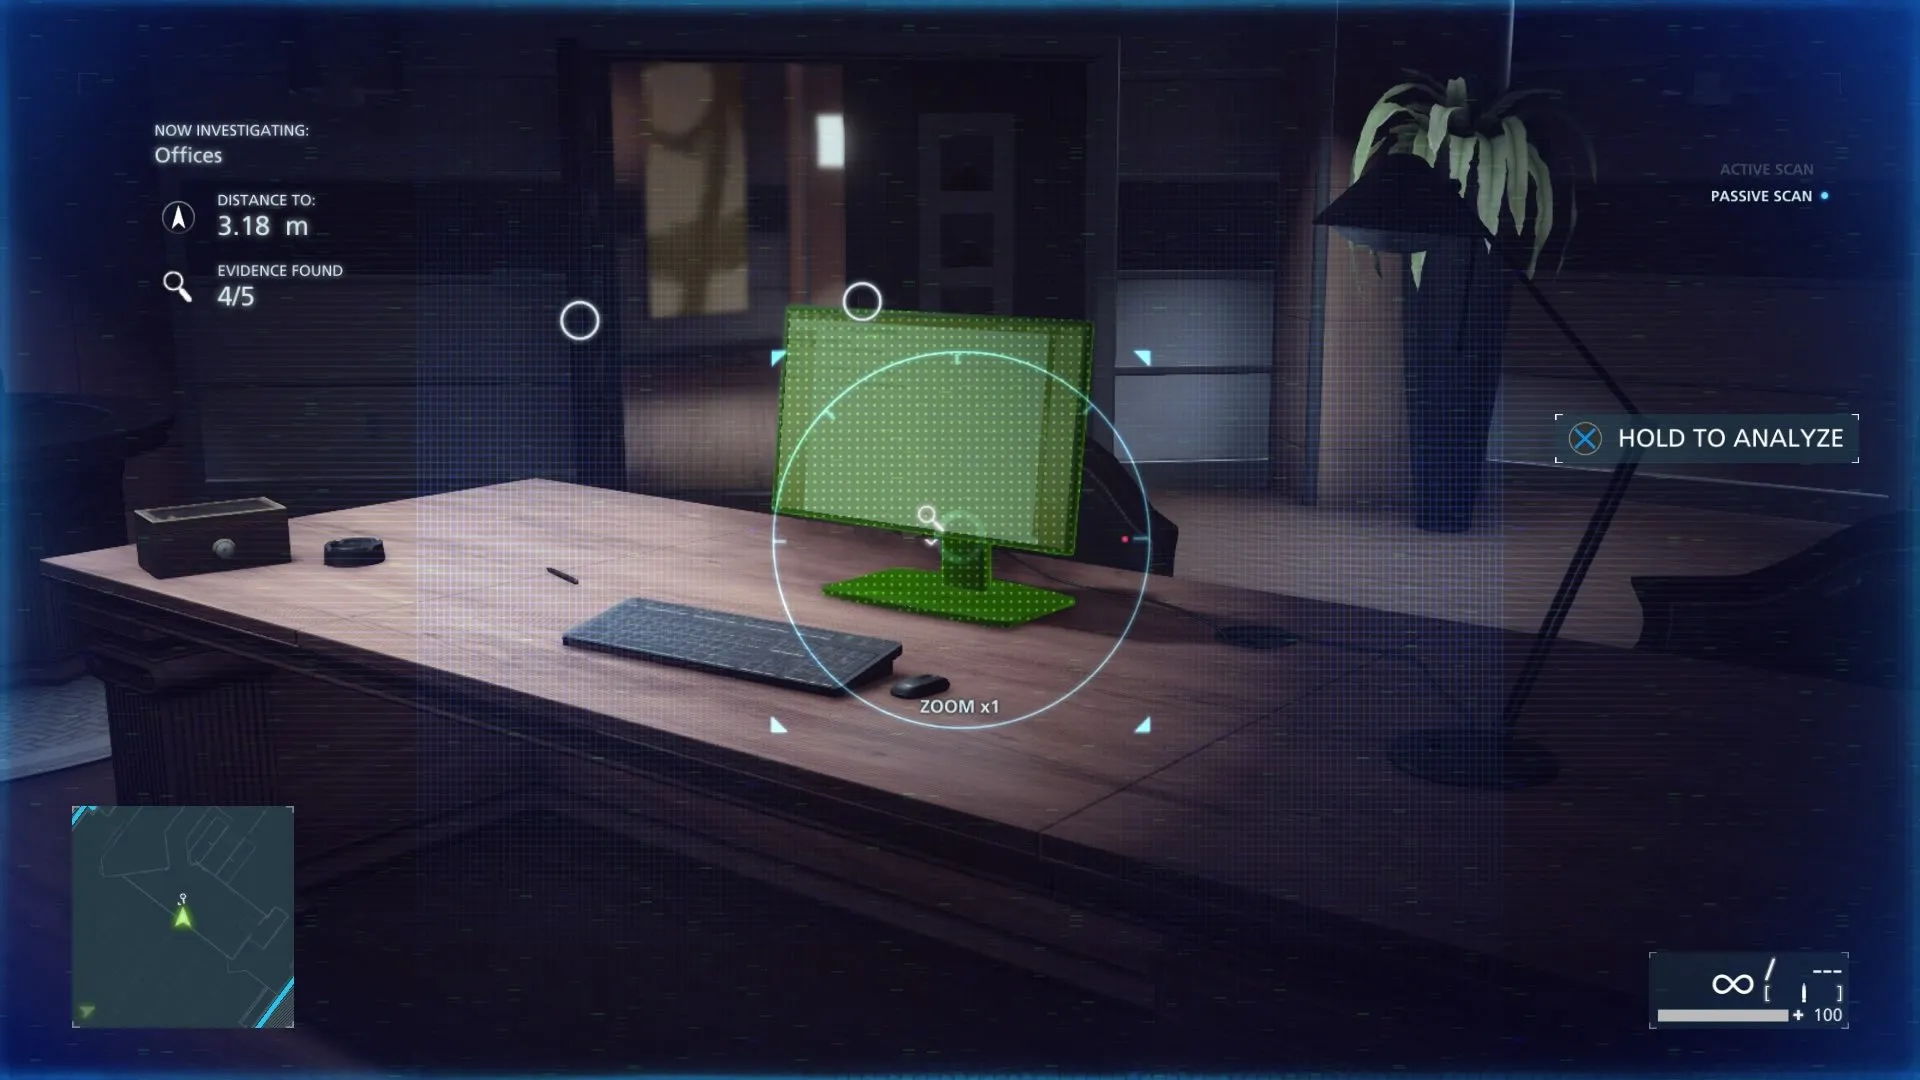
Power Play #18 (Email From Dawes’s Computer)
This can be done before or after a short scene with three members of your crew. You will find a set of stairs leading to some wooden double doors. This is how you get to the 21’st floor where the big wig offices are. Keep going and your phone will vibrate, you will see a desk to your right with a computer on it. Scan it for this final piece of Power Play evidence.
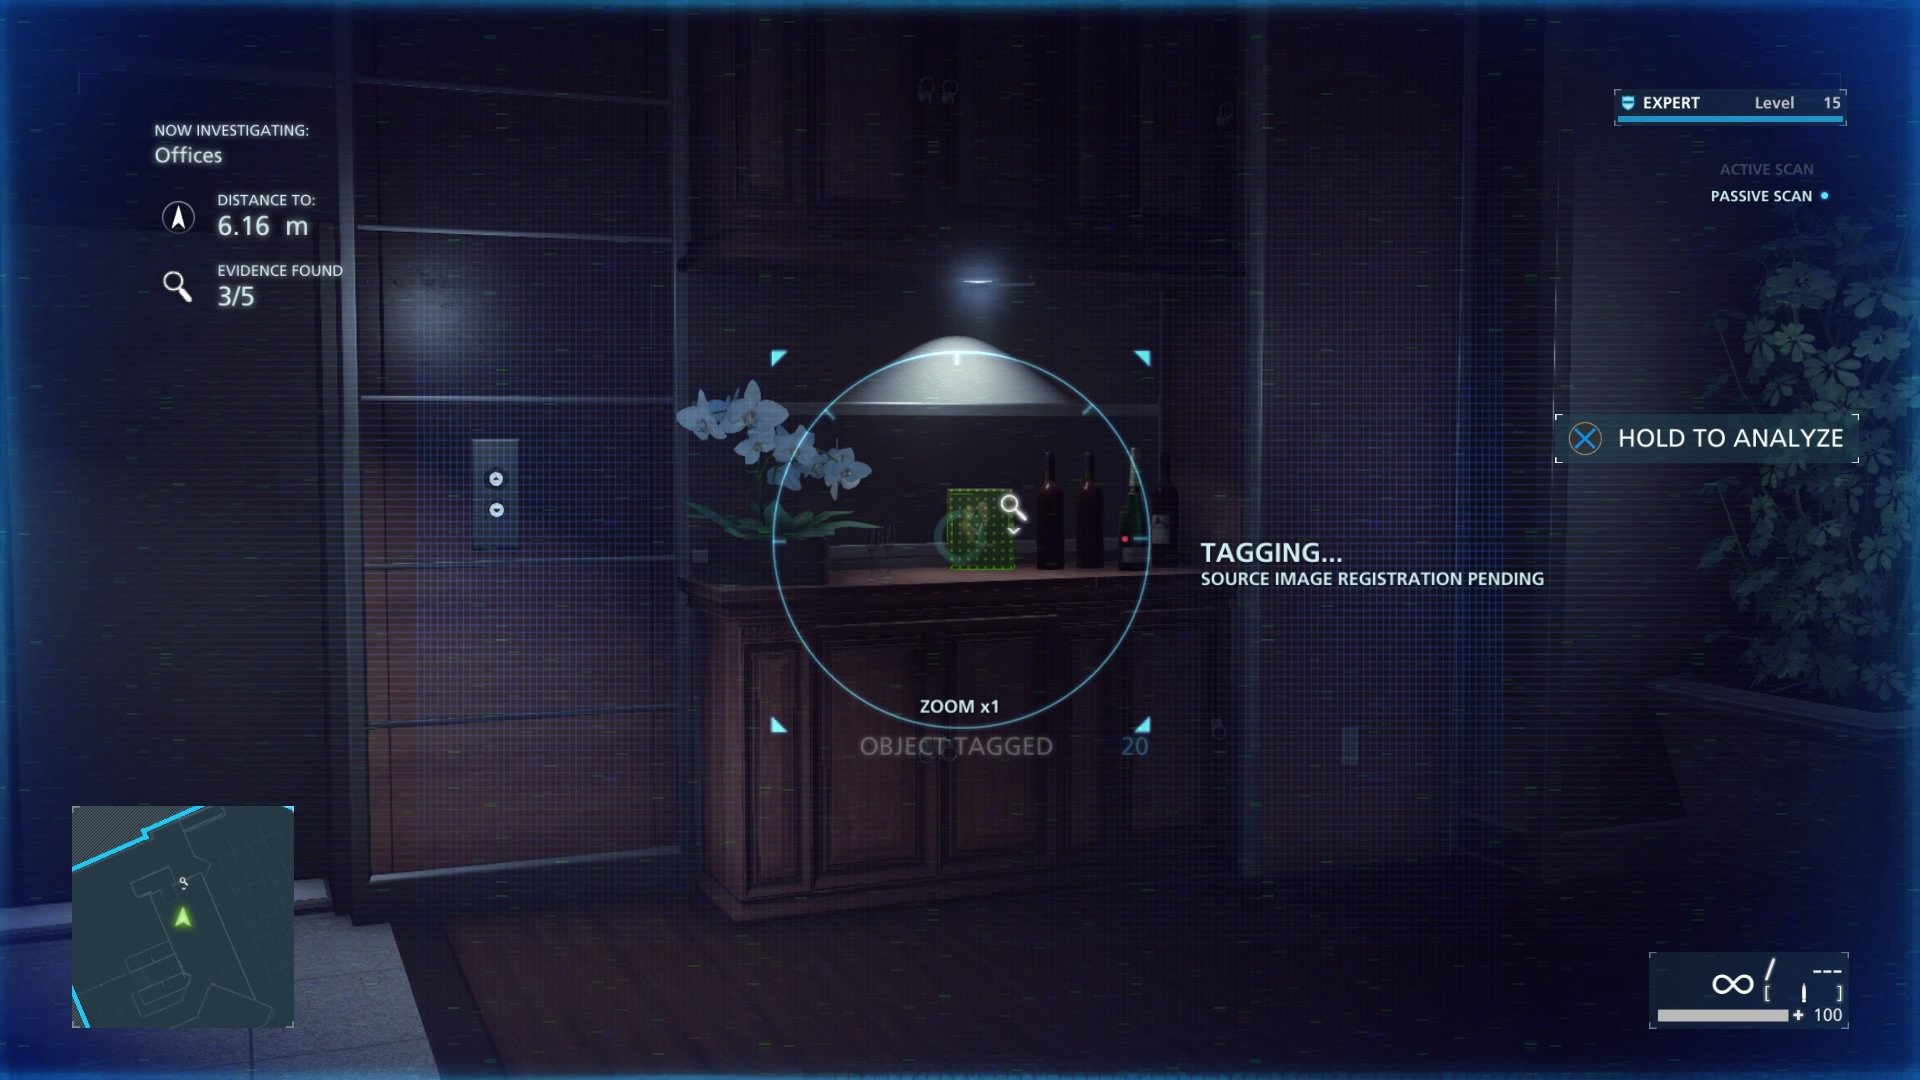
Preferred Outcomes #8 (Photograph Of Dawes’ Wife)
In the same room as the previous evidence you will see a photo on the far corner of the room on a table. Scan it.
Penthouse
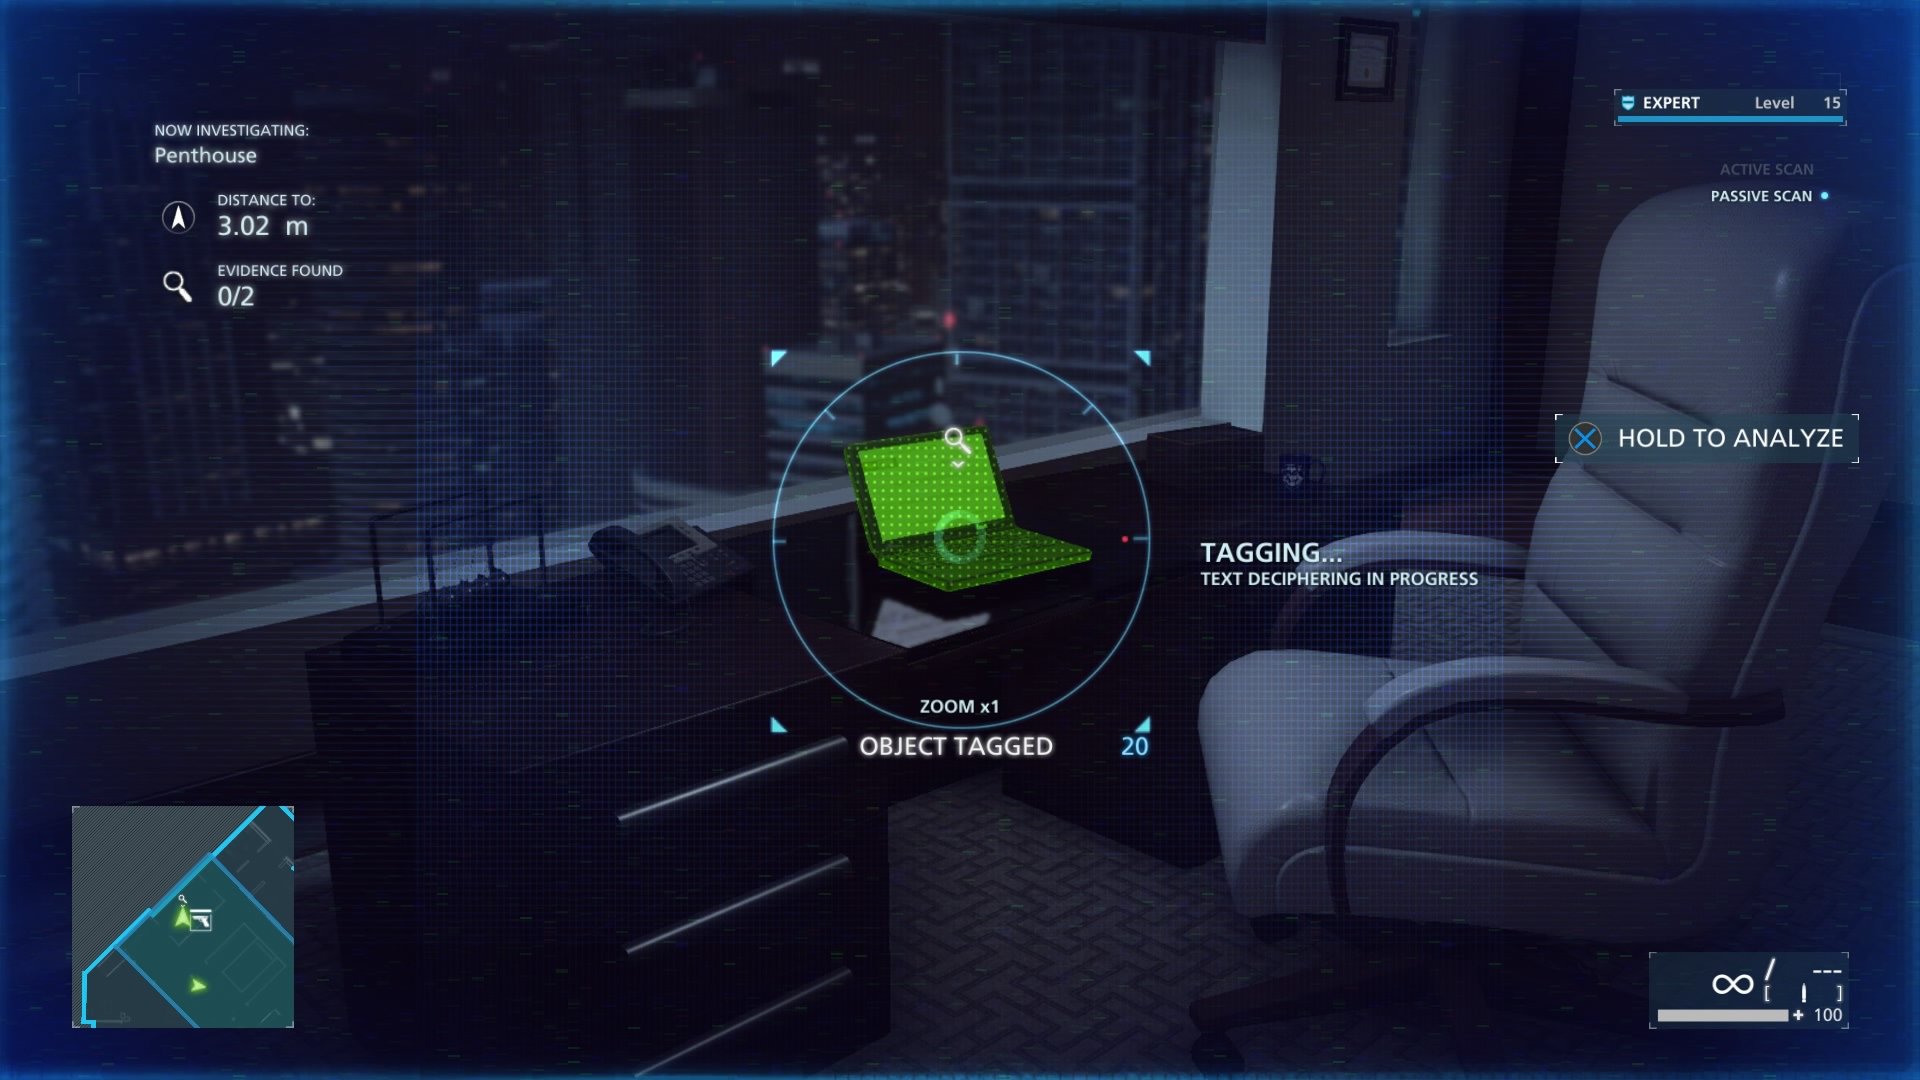
Preferred Outcomes #7 (Bank Website)
From the fireplace looking out to the city, go right and under the stairs is a room with a computer. Scan the computer and there is another piece of the puzzle.
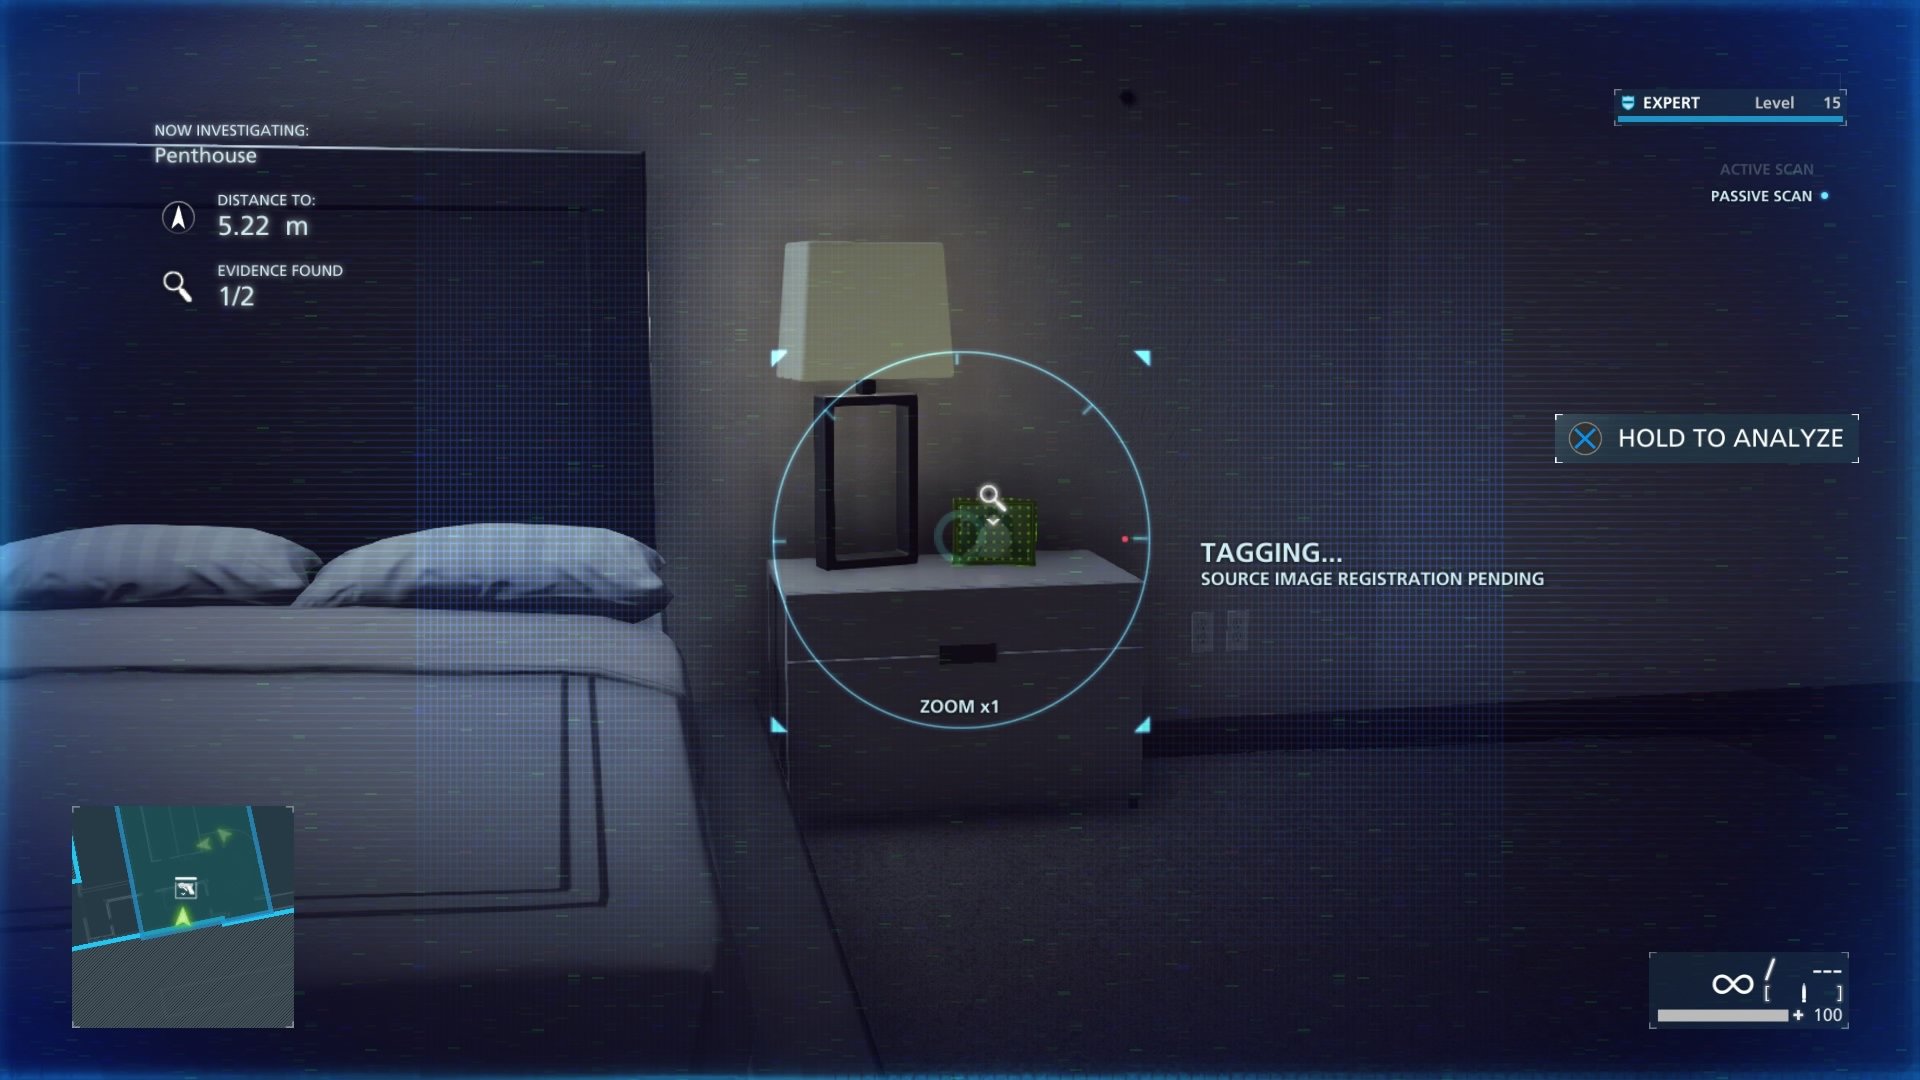
Preferred Outcomes #6 (Photograph Of Dawes’s Dying Wife)
Upstairs, find the bedroom. On the right night stand is a photograph. Scan it to get the final piece of evidence in this episode.
That’s all for Episode 9: Independence Day, feel free to move onto the next part of our Battlefield: Hardline guide in Episode 10: Legacy for more collectibles.






Published: Mar 23, 2015 08:30 pm