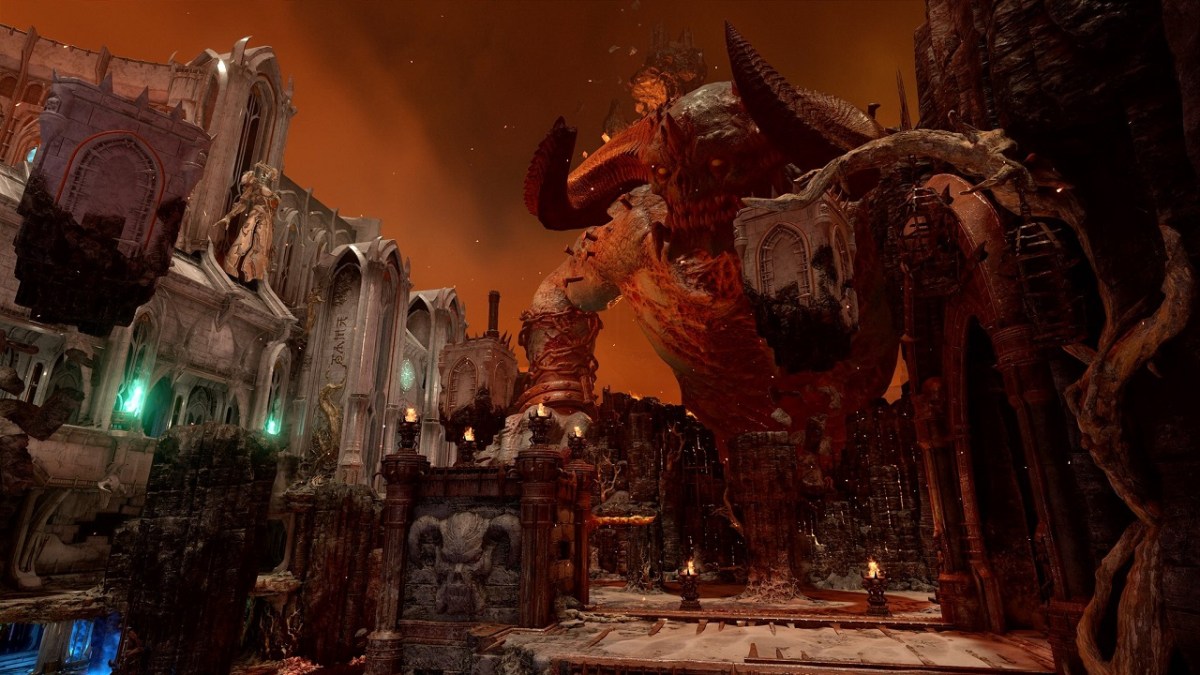
Although it has you primarily fighting your way through ruined cities and demonic hellscapes, Doom Eternal is a very pretty game. As such, you’ll probably want to take a few photos throughout your journey, and the best way to do that is with the game’s photo mode. Photo mode allows you to freeze everything and take the perfect picture, letting you tweak everything from the Doomslayer’s pose to the camera’s field of view. There are a few stipulations to using photo mode in Doom Eternal, though, and it’s not turned on by default, so you’ll have to do a little bit of digging to get it working.
How to Use Photo Mode in Doom Eternal
Photo mode in Doom Eternal is turned off by default. To enable it, go to the Settings section of the menu. You’ll find the Photo Mode toggle under the Gameplay section of the Game tab. Once you turn it on, photo mode can be activated by pressing down on the d-pad on consoles or right alt on PC. The only catch to using photo mode is that it’s only usable after completing a mission. You’ll have to go to mission select and replay a given mission to take photos.
Once you’re actually able to use, photo mode, however, you’ll find that the tools are quite robust. You can take pictures from either a first-person or a third-person perspective and tweak a bunch of things like depth of field and the UI. The Doomslayer’s skins and weapons can also be changed in photo mode, and there are several preset poses to choose from so you can snap the perfect picture.


Published: Mar 19, 2020 10:50 am