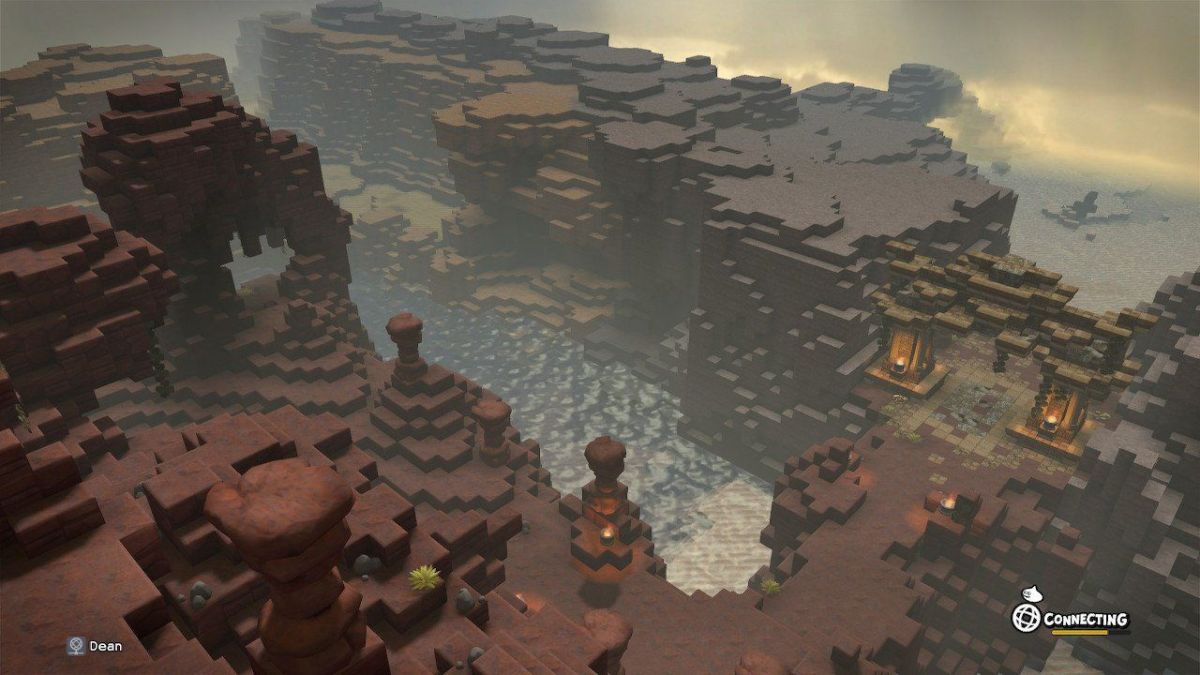
The main task in Dragon Quest Builders 2 is right in the name, with your goal being to build. This game in particular is split into different islands that you can build up, with there really being no ceiling for creativity. Not only can you build these islands up for yourself, but also for others to visit as well and experience. How to upload your island may not be quite so apparent, so this guide will explain how you can do so in the game.
How To Upload Your Island In Dragon Quest Builders 2
Dragon Quest Builders 2 is all about customization and how you want to build your island. There are plenty of missions that you have to follow with blueprints and such, but you can go above and beyond those to build some real masterpieces.
Thankfully, you have the option to share your own islands with other people online. To go about this, you will be following a similar route to uploading images. Start off by pausing the game and then pressing X on Nintendo Switch or Triangle on PS4.
Once you have done this, press Y on Switch or Square on PS4 to Open Album as you did before, but here is where you are going to do something a bit different. Instead of selecting an image from the list, instead select the first option that says “Upload Your Island” and press X on Switch or Triangle on PS4 to upload.
The only issue here is that you have to take a picture right then and there to use as an image to show off your island to others wanting to visit, so make sure that you are in prime position to take one before going through this process. Once you are and go through the above steps, the camera option will pop up and let you take a picture as per usual.
Also like with images, you can add a caption as well. The only difference here is that unlike with images, it automatically puts in a default caption if you do not select one, which is “Enjoy your stay!” You also are able to select some hashtags for the island as well from the list provided. After this, simply + on Switch or Options on PS4 and you will be prompted with the final question of whether you want to upload your island or not.
Select Yes here and you will start to upload your island to the server for others to access. Just know that this can take awhile, especially if you have a very intricate island designed.


Published: Jul 15, 2019 01:10 am