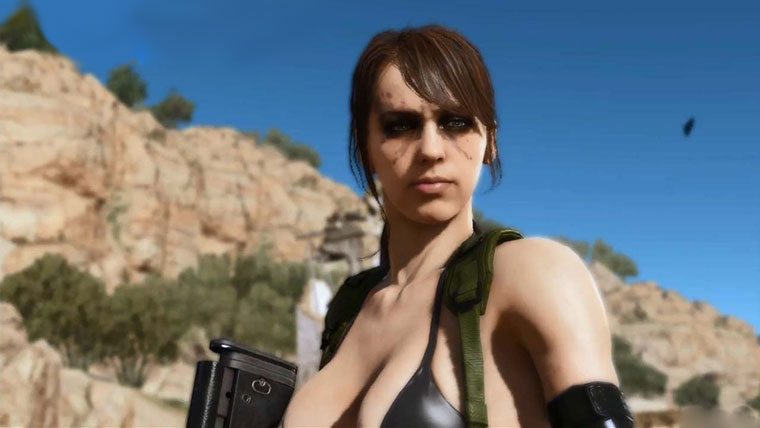
If you are currently playing Metal Gear Solid V: The Phantom Pain, you may want to recruit Quiet as a buddy. Here’s the best way to do it.
This might be considered minor spoilers if you have not reached this part of the game yet. Only read this if you have encountered her and want to know how to recruit her.
I’ve seen other videos on this, and many people used the supply drop. Some people usually take 30 minutes or more to actually beat her. Since I managed to beat The End in Metal Gear Solid 3 in 4 minutes, I managed to beat Quiet in just 10 minutes on my first try using just a sniper rifle and that’s it. It also doesn’t matter if you use a lethal or non-lethal weapon. You can still keep her alive.

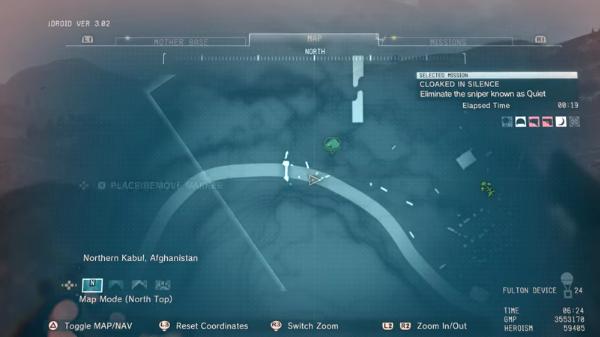
First of all, you only encounter Quiet when unlocking “Mission 11: Cloaked in Silence”. She is located in Northern Kabul, Afghanistan in an arena based location full of caverns. It’s likely she will find you before you can find her.
When you first see her, she should be in front of you in the north side of the map. You can use your binoculars or sniper rifle to spot her. Just keep behind cover to avoid getting shot. If she shoots you at least three times, you will die.
Some suggest it’s best to fight her at night so that you can see the reflection on her scope. This is a good idea, although you can see her actual body more clearly in the day time in my opinion. In either case, this sniper battle is somewhat similar to how The End battle was in Metal Gear Solid 3.

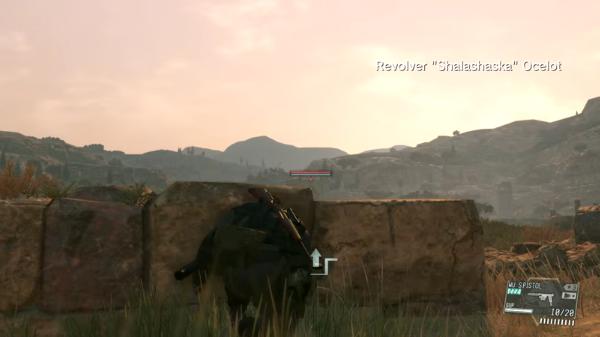
If you cannot find her, peek out with your rifle and bait her. She will give her position away with the reflection of her rifle. If you are feeling brave, you can give your position away and let her shoot you first. Just make sure to lay prone and hide behind cover afterwards to recover your health.
Staying in one position won’t allow you to finish the battle quickly. If you manage to hit her once, she will run away and go in another position. I suggest running around the arena and hiding behind cover while doing so. You will get through the battle quicker by allowing her to find you first.
Don’t be afraid to sprint around and run around a bit. Even if she shoots you, use my advice of going prone and recovering your health and taking cover. Every time she shoots you, she will give away her position and you can take her out quicker. It’s much better than just hiding all of the time just guessing where she is. Let her come shoot you first. I cannot stress that enough as it’s a strategy I adopted that worked.

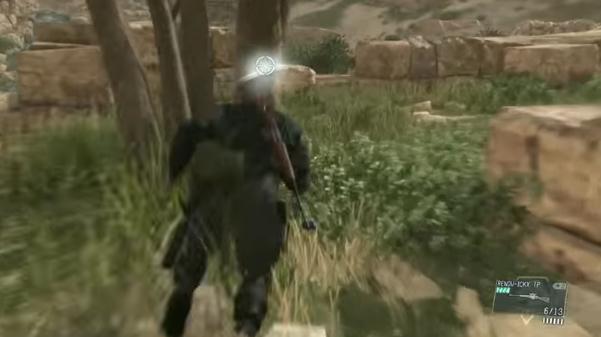
This battle in my opinion is slightly easier than The End because the screen shows a white glint showing the general vicinity of where she can see you. Use that to your advantage and quickly use your sniper rifle to see where she may be hiding. She doesn’t move as much as the annoying End does.
Many of her locations are predictable because she only hides on the outer rim of the map and in high places. There is only a few times she jumps into the stream near to the bottom. However, this too is in the perimeter of the map. She rarely stands in the middle of the arena.
After you have shot her around six or maybe seven times, her stamina depletes and you have won the battle. Go to the waypoint to where she is lying down. Just put the controller down and let the cutscenes unfold. You will now have access to recruit her in missions. She only becomes available after you complete mission 14 though.


Published: Sep 8, 2015 05:28 am