Monster Hunter Rise has jumped on the Photo Mode bandwagon, and it’s not half bad. I mean, granted, it’s not the robust we’ve seen, but it does a decent job of allowing you to capture your best monster kills and your most embarrassing moments. Monster Hunter Rise has a brief intro tutorial, and the Photo Mode is a part of it!
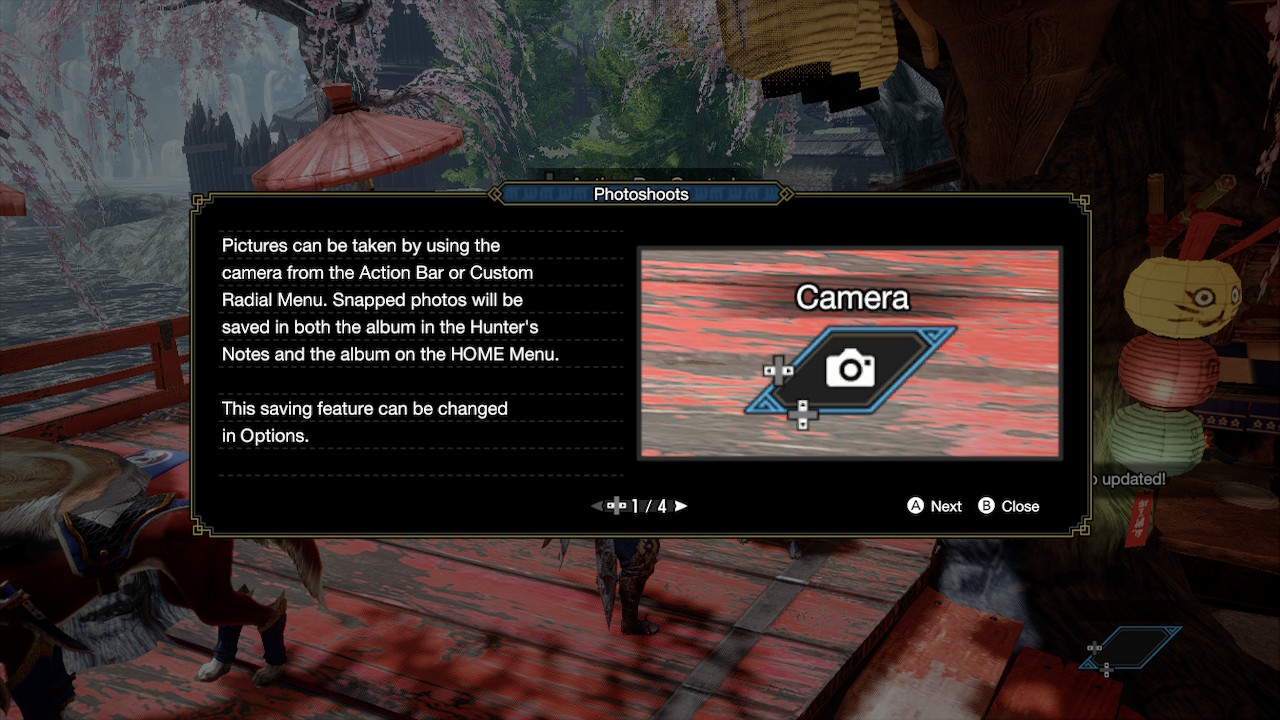
Select the camera in the Action Menu using the D-Pad to take photos in Monster Hunter Rise.
For you photo fiends in the audience, Monster Hunter Rise provides a solid photo mode that’s easy enough to take advantage of. That said, there are a few points worth mentioning before you go all out with the camera.
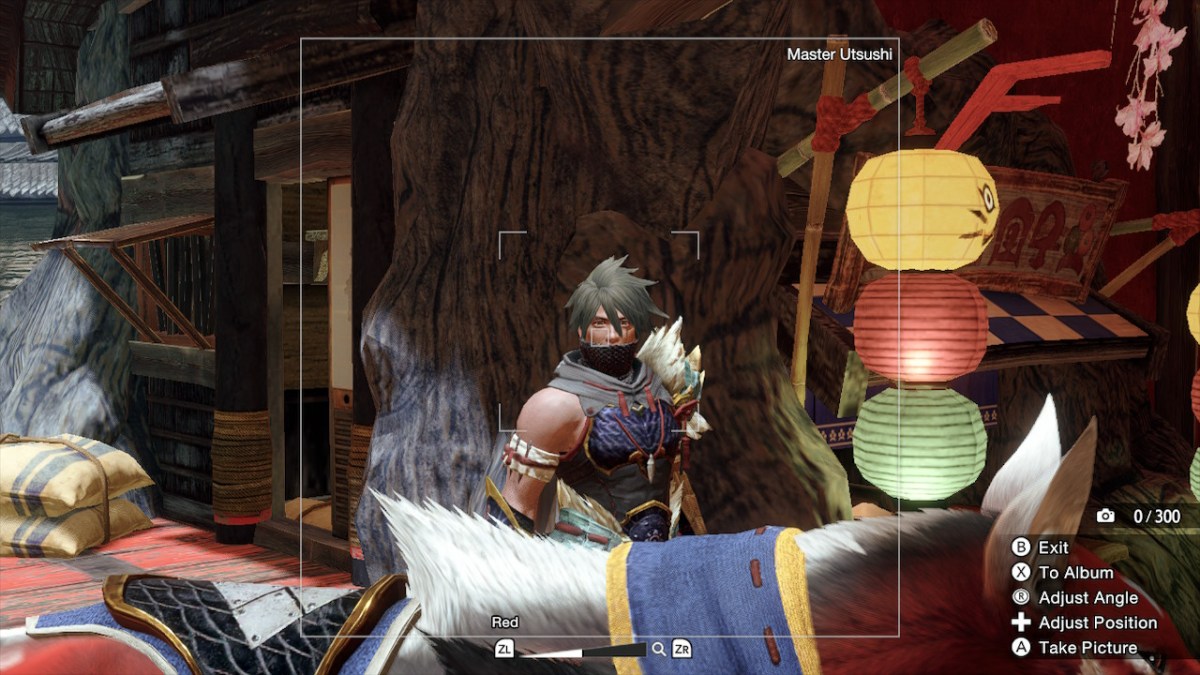
Monster Hunter Rise has a brief tutorial, and as a part of it you will be introduced to the camera. Key word here is “brief”: Monster Hunter Rise’s Photo Mode is a touch more complex than Master Utsushi (the “totally radical dude bruh”) implies. First and foremost, the camera is always accessible via the Action Menu, which is bound to the D-Pad.

This menu is customizable, but the Photo Mode in Monster Hunter Rise is bound to it by default. Simply click left or right on the D-Pad until the obvious camera icon appears in the blue box in the bottom-right. To access the Photo Mode you only need to tap up on the D-Pad once the camera is highlighted.
From here you will be brought to the Photo Mode UI. You can’t actively “freeze” the game, so if you are aiming to capture the best hunt shot you’ll need to time it carefully, but you can at least adjust the zoom, angle, position, and tilt of the photo. After you progress the tutorial a little further you’ll access your Cohoot, which will allow you to take selfies. Again, this is not the most robust of Photo Modes, but Monster Hunter Rise’s tool gets the job done.
Monster Hunter Rise is available now on the Nintendo Switch.


Published: Mar 26, 2021 04:24 am