No Rest for the Wicked is the first heist in Payday 3. It’s a simple bank job designed to get the Payday crew back into the saddle since robbing banks is a small-time job to them. Even though it’s an easy mark, completing the heist and accessing the vault without being spotted can be tricky if you aren’t familiar with the bank’s layout and guard patrol patterns. This guide will walk you through a total stealth run of No Rest for the Wicked, showing you where to find all the keycards, how to get past the security gate, and how to raid the vault undetected.
No Rest for the Wicked Stealth Walkthrough
On a total stealth run of No Rest for the Wicked, you’re going to encounter different problems than the usual loud run-and-gun version of the heist. Here’s what you need to do to make it out undetected:
- Eliminate all guards
- Obtain both keycards
- Get past the security gate
- Turn off power to the gate
- Disable the security system
- Find the executive’s deposit box (Optional)
- Open the vault
- Shove hostage into eye-scanner
- Disarm dye packs
- Escape
No Rest for the Wicked Guard Locations
On normal difficulty, there are six guards that patrol the bank. Here’s where they hand out and patrol:
- Main Lobby
- First Foor Private Area
- Second Floor Private Area
- Second Floor Camera Room
- Parking Lot
- Back Alleyway
You’re going to have to take out most if not all of the guards in order to remain undetected. The one in the back alleyway can be ignored if you’re running out of radios, but make sure to keep the hostages away from windows so they don’t get spotted by him. You can also close the shutters on windows in the main area of the bank without raising suspicion. Simply press the buttons next to the windows to block the view, which is especially helpful toward the heist’s climax.
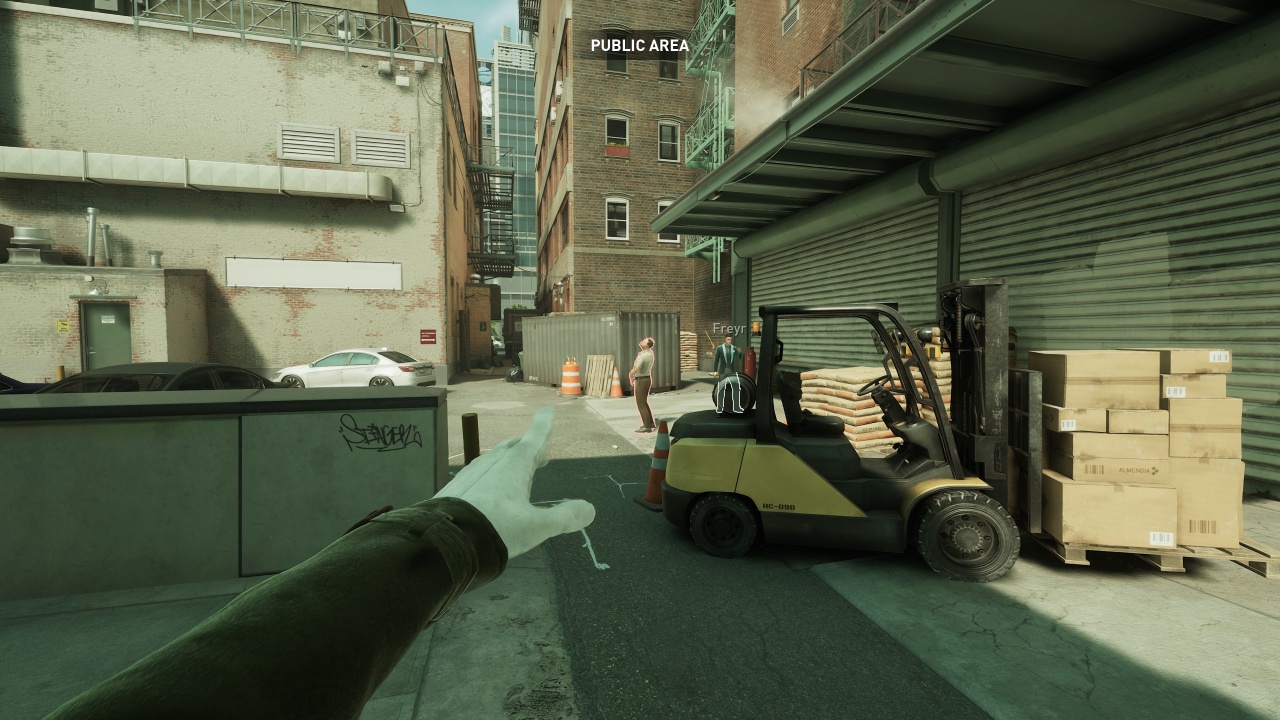
Also, if you bring a silenced weapon, you can shoot out all the cameras without drawing any suspicion so you can ignore the camera room guard entirely and leave him blissfully unaware in his little security closet.
Related: All Voice Actors in Payday 3
Red and Blue Keycard Locations
Your first task is finding the keycards. The red keycard gets you into the security room and brings you one step closer to the vault, while the blue keycard unlocks the camera room on the second floor. If you’re shooting out the bank’s cameras, you don’t need to get the blue keycard to disable them so you can ignore that guard and keycard.
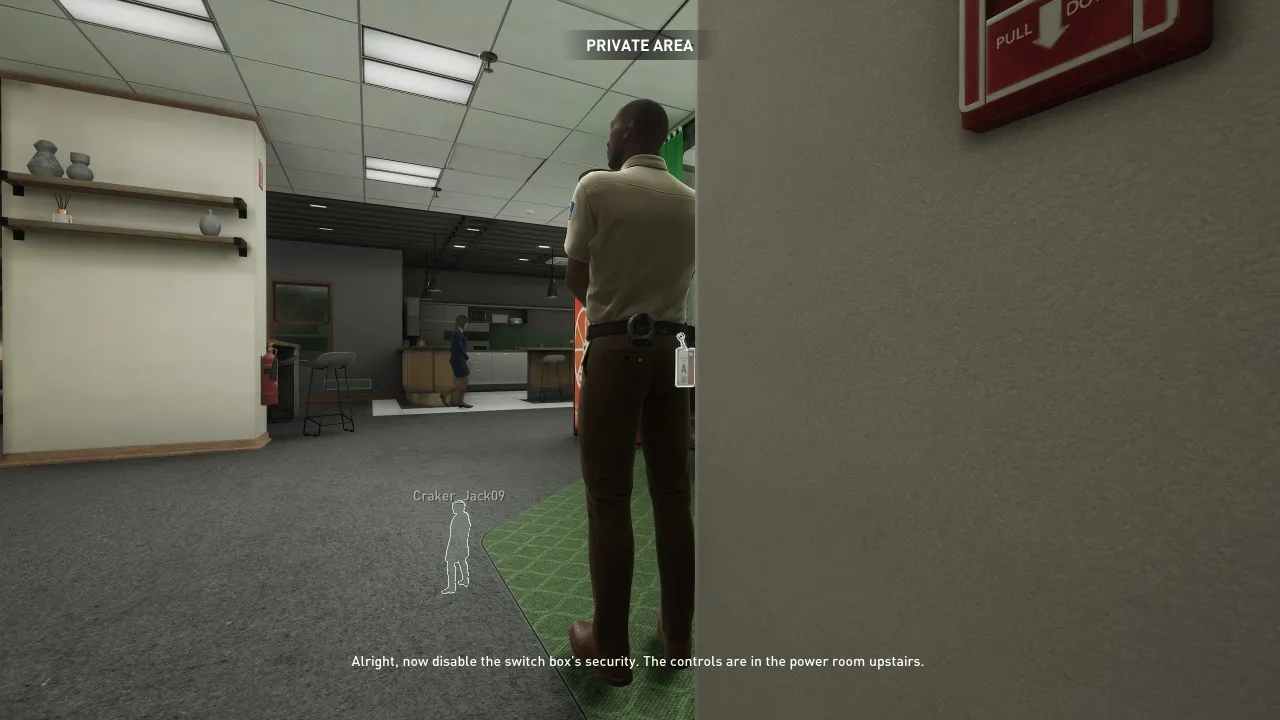
The red keycard is carried by the guard patrolling the second-floor private area. You can snag the blue one from the guard’s belt as he walks past the doorway to the stairwell. If you’re still in casing mode, then you can follow him along his patrol route and find several easy pickpocketing opportunities. Just keep an eye out for the cameras overlooking the hallway.
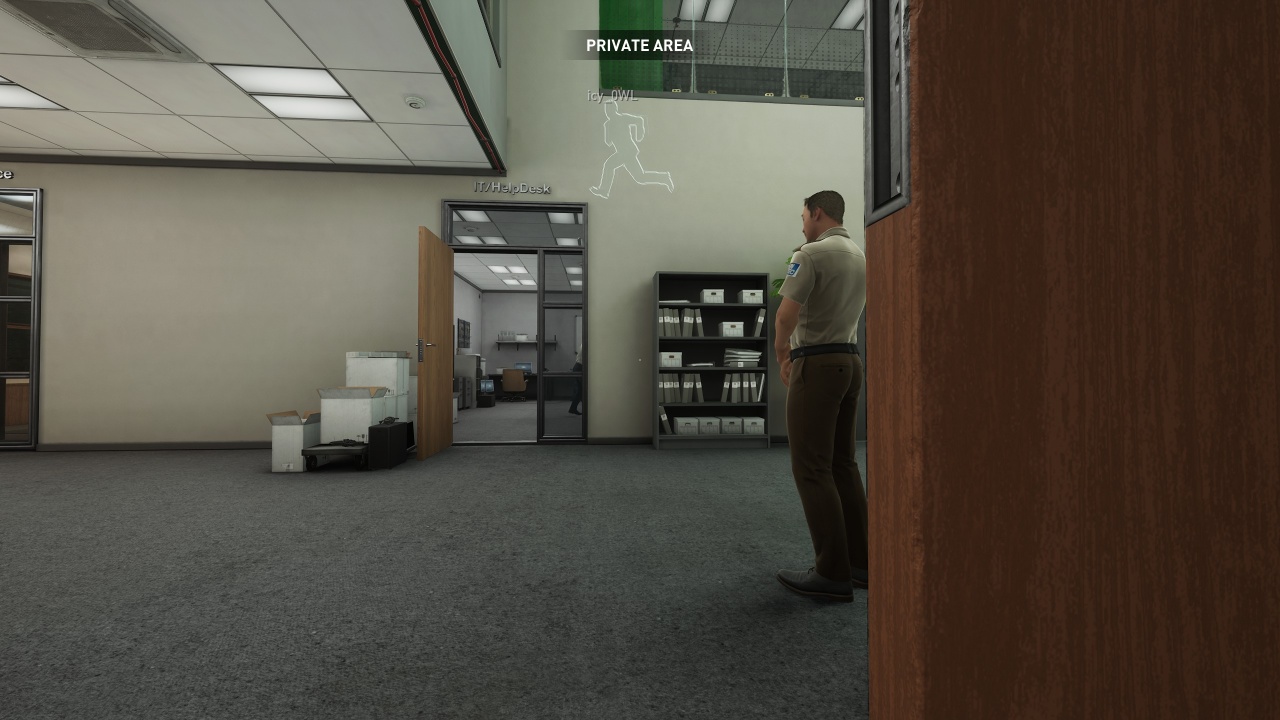
The blue keycard is carried by the guard patrolling the private area on the first floor. He patrols up and down the hallway near the staircase, meeting room, and IT room. The easiest way to grab the keycard from him is to wait in the stairwell until he reaches the corner in front of the IT room. He’ll stand there for a while and you can snag the red keycard from his belt easily.
Dealing With Civilians
However, you need to ziptie all the civilians in the bank anyway, so you might as well get the keycards after you take down the guards during this step. Start on the second floor and take down the guard with either a silenced weapon or melee takedown when he’s patrolling by the windows overlooking the main lobby. Then, deal with the cameras by shooting them out or paying a visit to the security room.
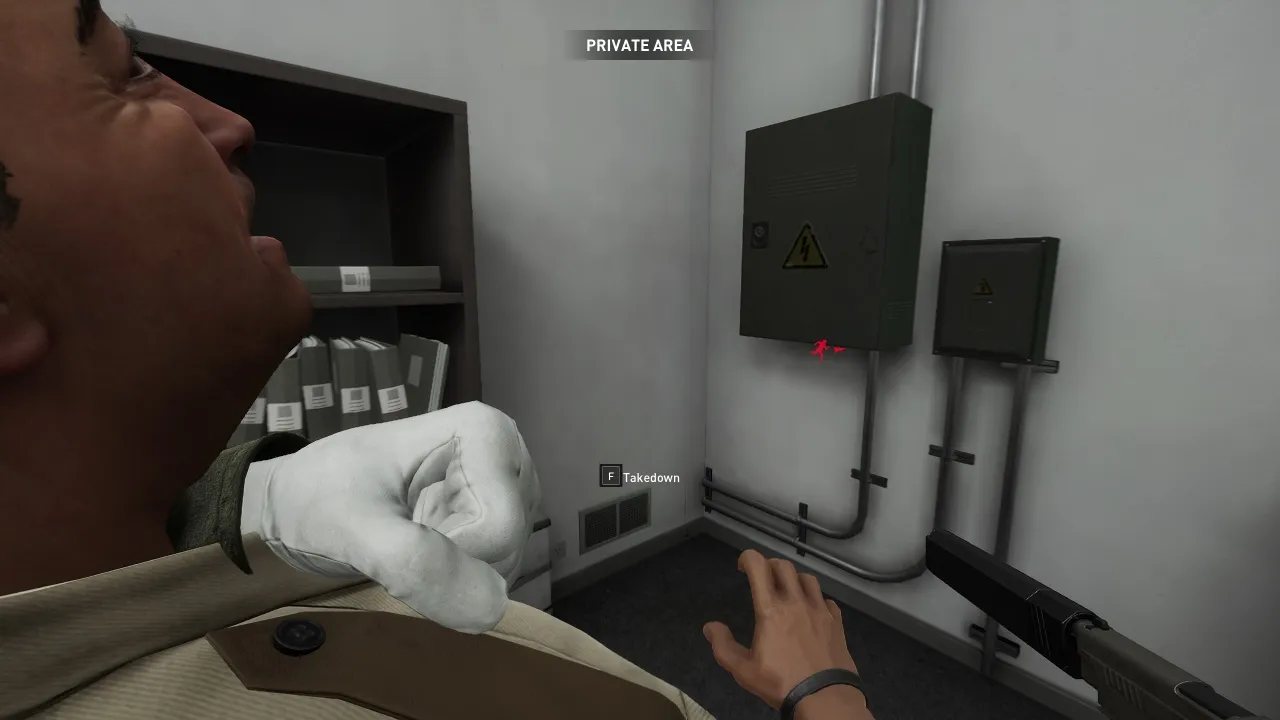
Once the guard is down and you have free reign on the second floor, go room by room and force all the civilians to the floor so you can ziptie them. Start with the office room by the stairwell, then get the group sitting in the lounge area before moving to the other side of the second floor to tie up the civilians in the kitchen.
Related: Payday 3 Leveling Guide: Fastest Way to Farm XP for Guns and Skills
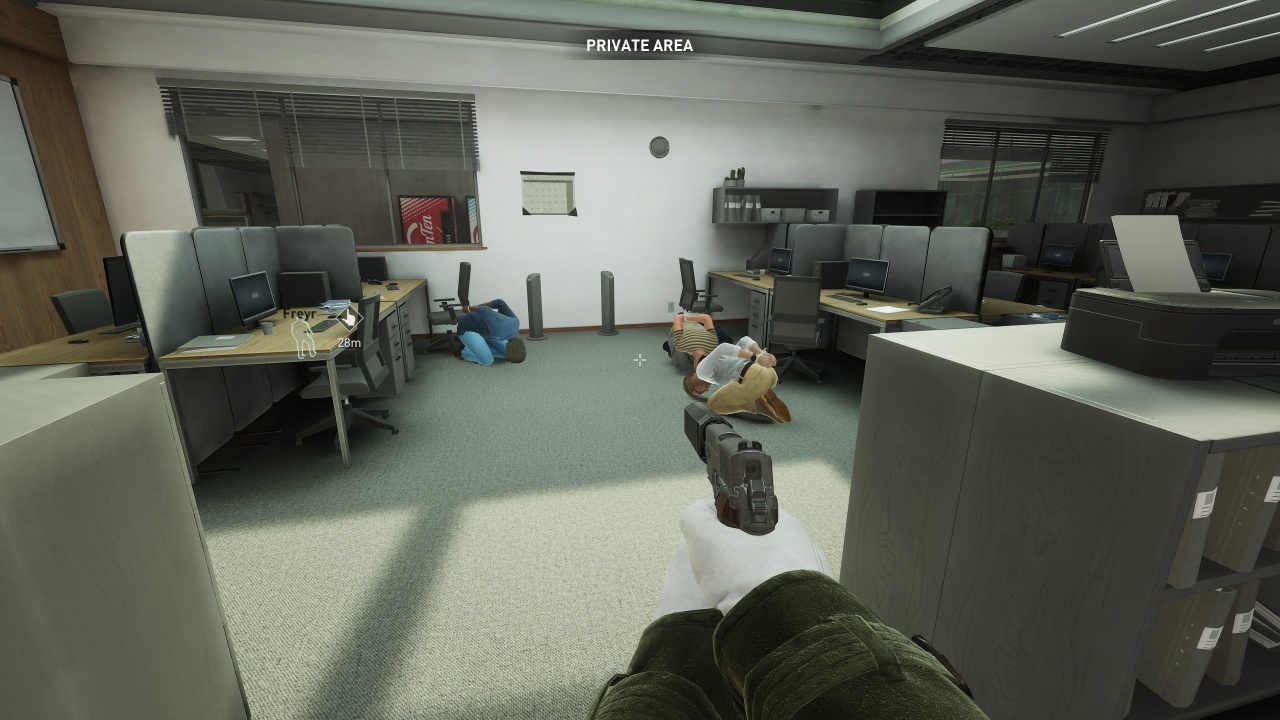
Once the second floor is subdued, repeat the process on the first floor by taking out the patrolling guard. Make sure everyone in the meeting room, executive office, and IT room are tied up. Keep them away from the back windows too; that way the alleyway guard won’t see them and get alerted. Avoid the main lobby since nobody up there needs to know about your nefarious activities in the back of the bank.
How to Get Past the Security Gate
Now that all the civilians are tied up and the patrolling guards are taken care of, you have complete freedom of movement in the private areas of the bank. All that’s left to do is get access to the vault.
Turn Off Power to the Gate
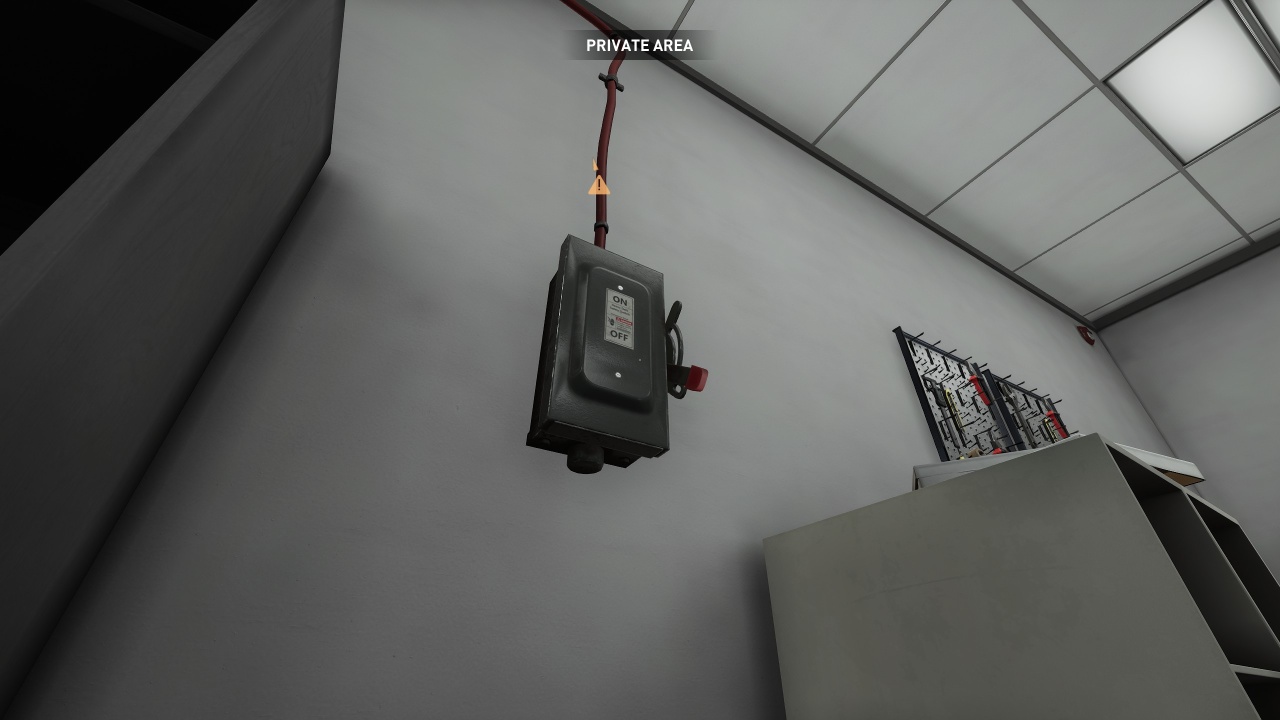
To turn off the power to the gate, follow the red wire that’s connected to the electrical box. It’s attached to the roof and leads to the IT room on the first floor near where the guard was patrolling. Inside, there’s a switch that you can interact with to disable the power. With all the civilians tied up, this step is a breeze.
Disable the Security System
The next step is to disable the security system. The security room is in the middle of the second floor. If you take the stairwell up, it’s immediately to your right. Use the red keycard from the first floor guard to get inside and then interact with the computer in the corner of the room to disable the vault’s security.
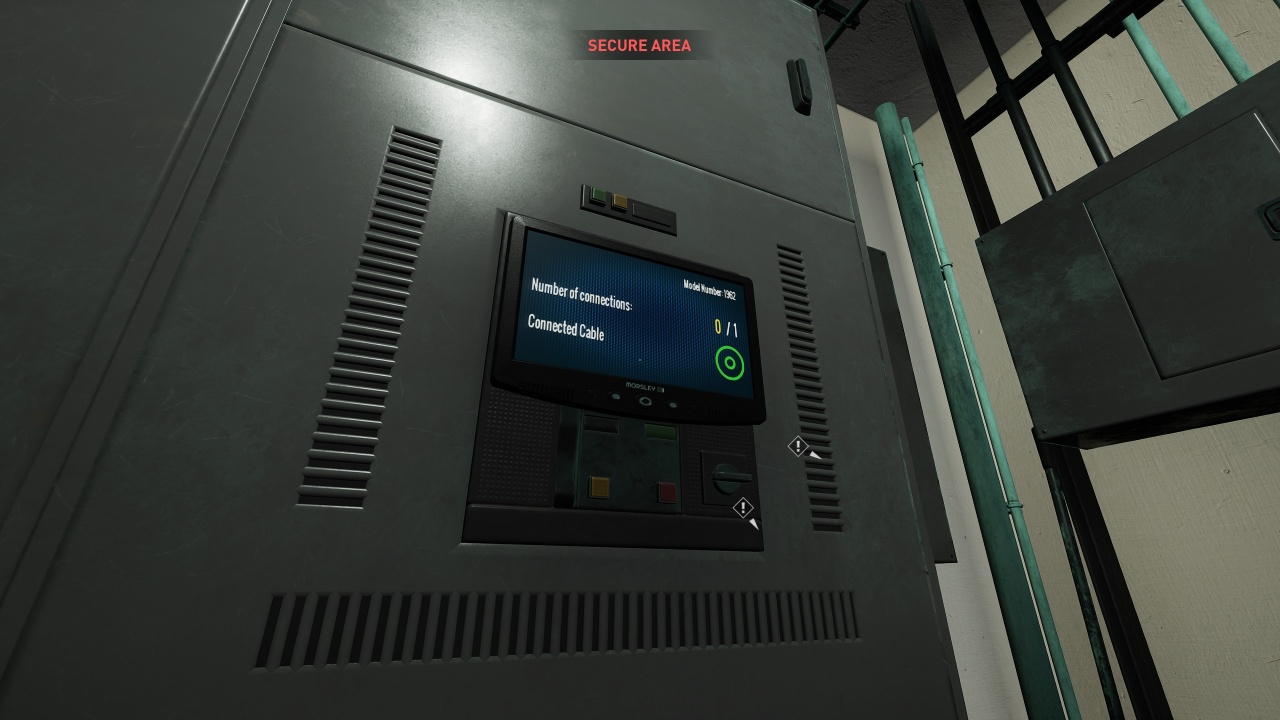
After you shut down the security system, look at the nearby monitor. It’ll display one of four colors next to the words “connected cable.” That’s the switch you need to flip to turn off the gate’s power. Head downstairs to the security door and open the electronic panel in the corner. Flip the switch that matches the color you saw on the monitor in the security room.
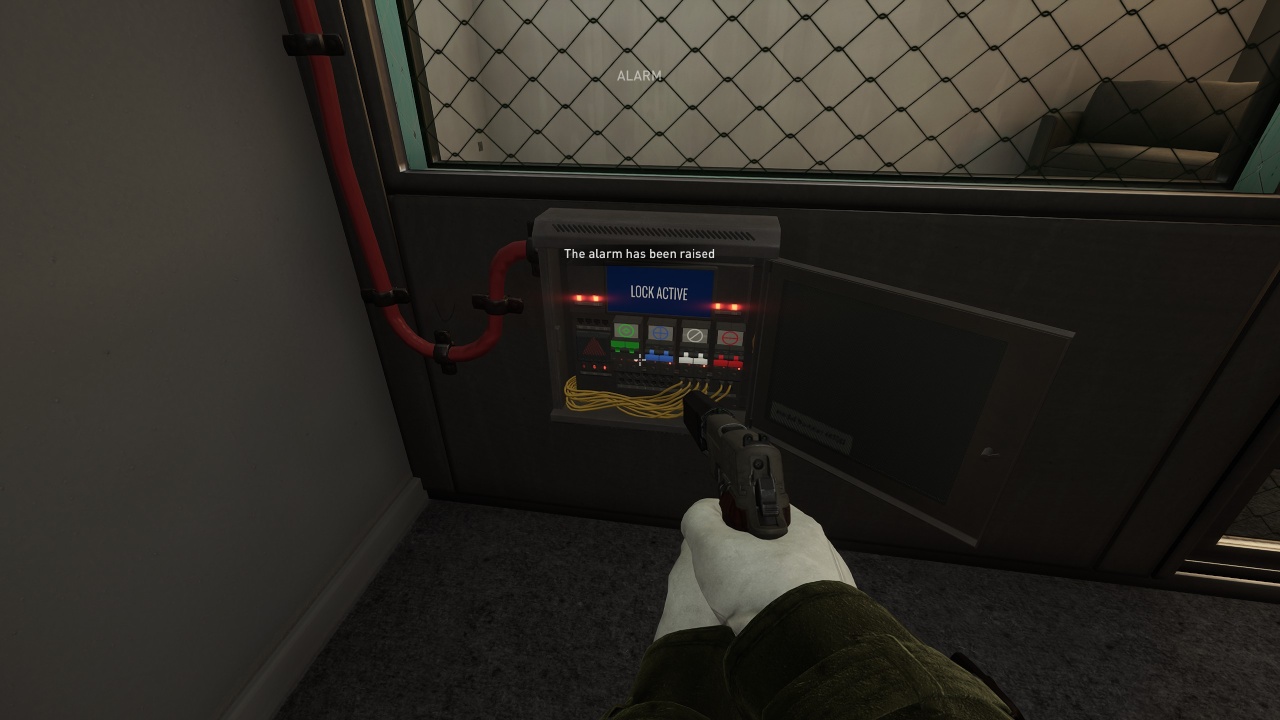
Once you flip the right switch, the security gate will open and you can finally get to the vault. Be careful here. Flipping the wrong switch will immediately activate the alarm.
Related: How to Create Custom Masks and Unlock New Designs in Payday 3
How to Find the Executive’s Deposit Box
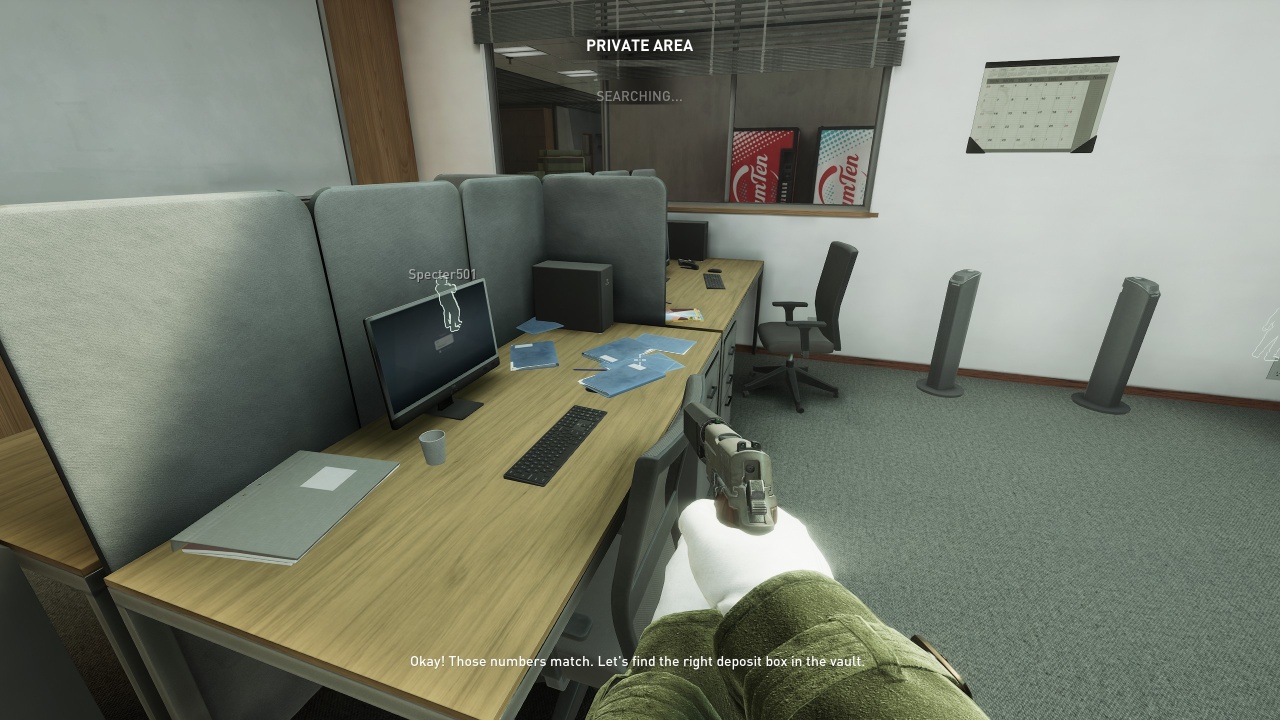
Before you open the vault, you can complete an optional objective and find a Wixia executive’s deposit box in the vault. To discover the location of the deposit box, head upstairs and enter the office room across the hallway from the stairwell. Search all of the documents in the room until the objective is marked as complete. It’ll be highlighted for you once you’re inside the vault.
How to Open the Vault
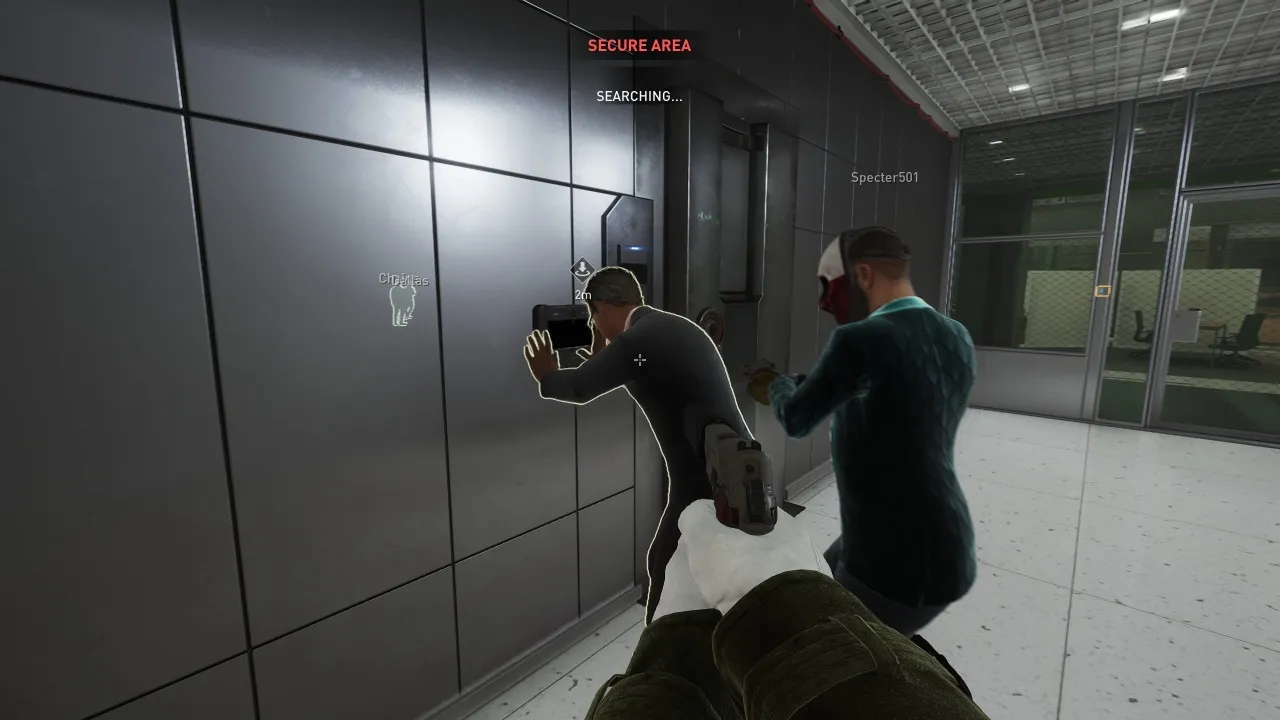
Finally, you need to input the correct vault code to gain access to the loot inside. Look for an executive among your hostages. They’re wearing a suit and will be highlighted with a bright outline. Take them as a human shield and bring them to the vault, shoving them into the eye scanner when you get there.
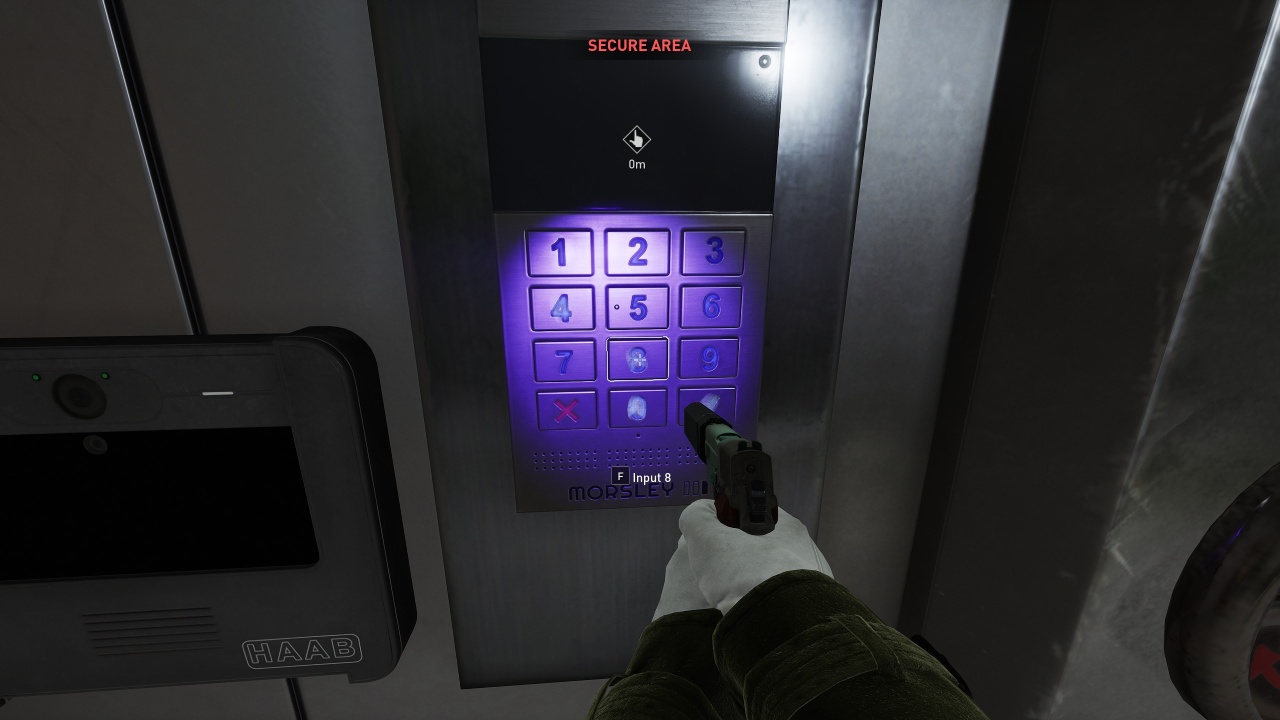
After the retinal scan, you need to input the right vault code. A manager’s computer will be marked for you nearby. Go interact with it to receive a set of combinations. Only one of them works, though, so this next part requires some quick thinking.
Related: How to Claim Payday 2 Infamous Rewards in Payday 3
Return to the vault keypad and you’ll see fingerprints on a few of the numbers. Use these fingerprints with the list of combinations that you collected from the computer to find the right solution. For example, if one of the possible codes is 8411 and there are fingerprints on the 8, 4, and 1 keys, that’s your answer.
Disarm the Dye Packs
Once you’re inside the vault, you can have your pick at all the safety deposit boxes on the wall. Since this is a stealth run, you have time to unlock them all. They mostly have jewelry and extra cash, but there are two extra money bags to find in some of them. Plus, there’s the executive deposit box too.
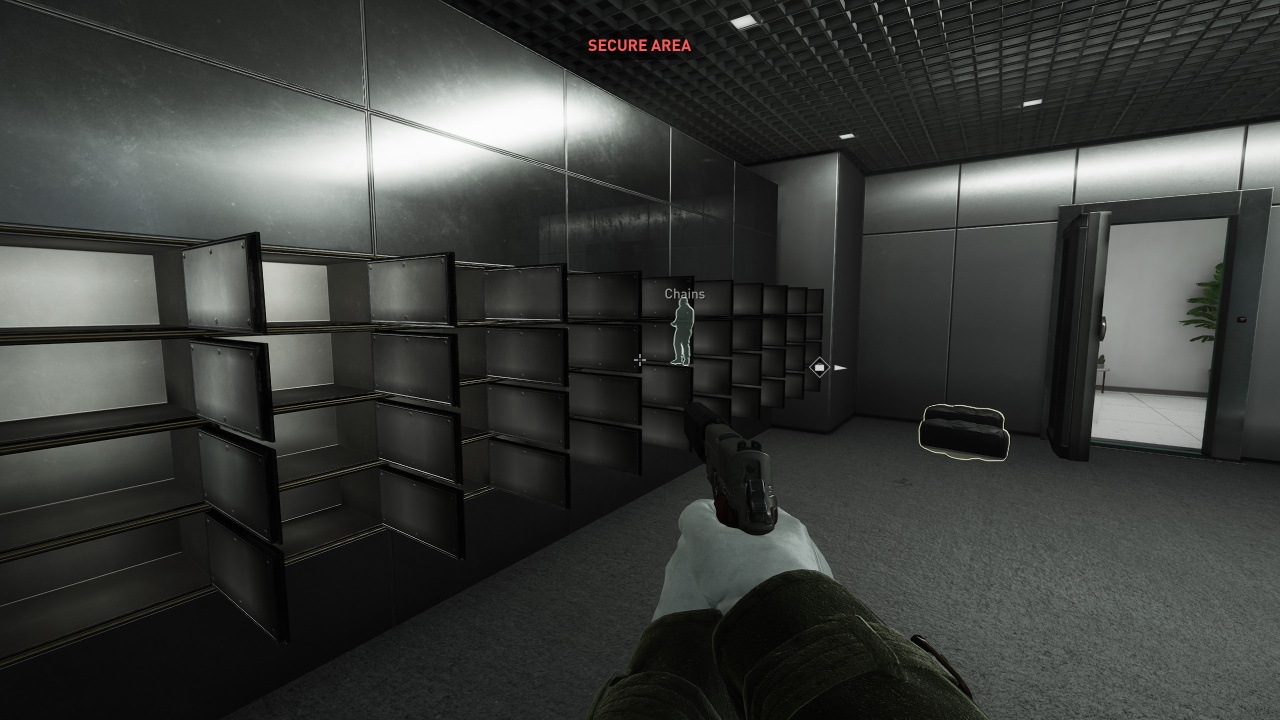
Once you’re ready for the main event, prepare to open the security door guarding the cash. When you open it, the dye packs will immediately start to go off. Coordinate with your team to ensure they all get disarmed. If you’re playing solo it’s basically impossible to get them all, but you can disarm most of them on your own.

At this point, it’s just a matter of getting the bags to the van. Stay low and exit through the alley, keeping an eye out for civilians as you make your way to the getaway. Pro tip: nobody will react if you carry bags to the van without your mask. If you or your allies are still in casing mode, you can walk all of the bags to the van without an issue. If you’re solo, though, you’re going to have to be sneaky.
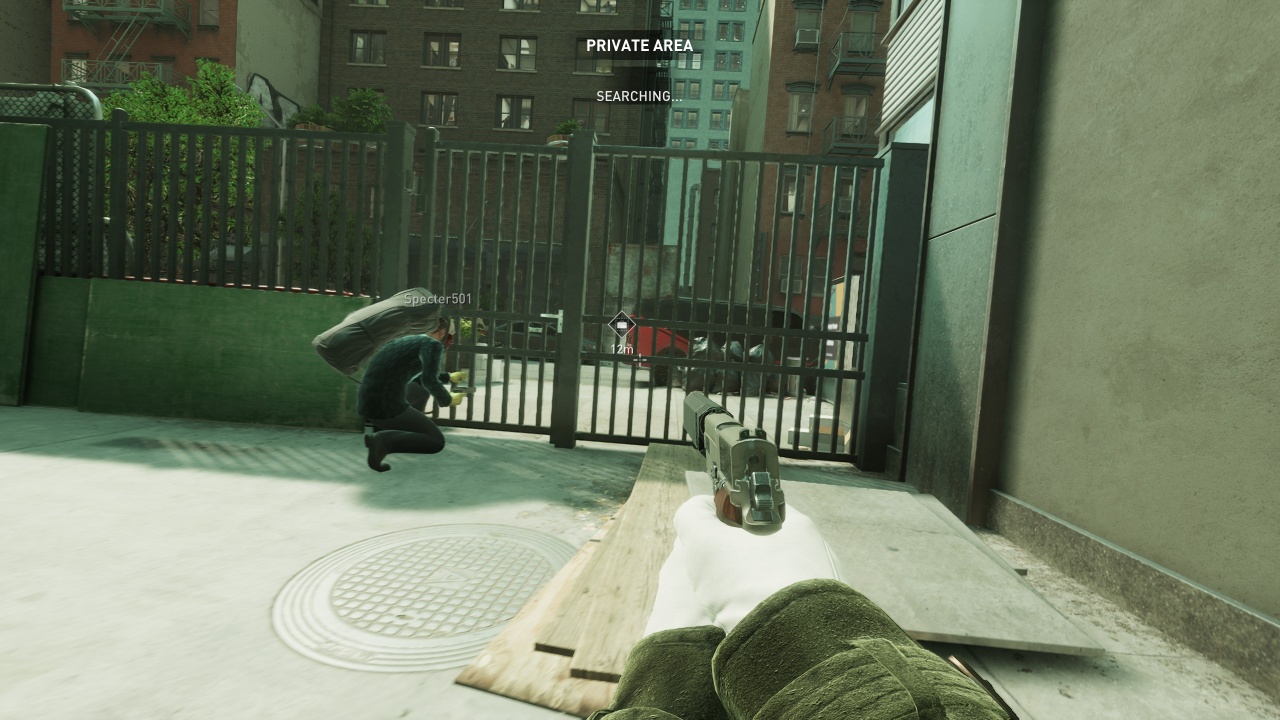
If you get spotted at the last second, there’s still time for a successful “stealth” run. If you can get the bags into the van and escape before the first police assault is triggered, then you’ll still get challenge progression for a No Rest for the Wicked Stealth run.
No Rest For the Wicked Overkill Differences

If you’re playing on Overkill difficulty, No Rest For the Wicked has a handful of changes to make your life even more difficult. Firstly, you need a QR code to access the second floor. You can find a phone with a QR code in the IT Room, Conference Room, in a locker in the side entrance room, or the Manager’s Office.
Secondly, all cameras are indestructible. The best way to tackle these is through the Secure Loop skill, which allows you to disable one camera at a time. Walk The Walk will also cause cameras to ignore you inside private areas for as long as you have Rush, which has saved my hide more times than I’d like to admit.
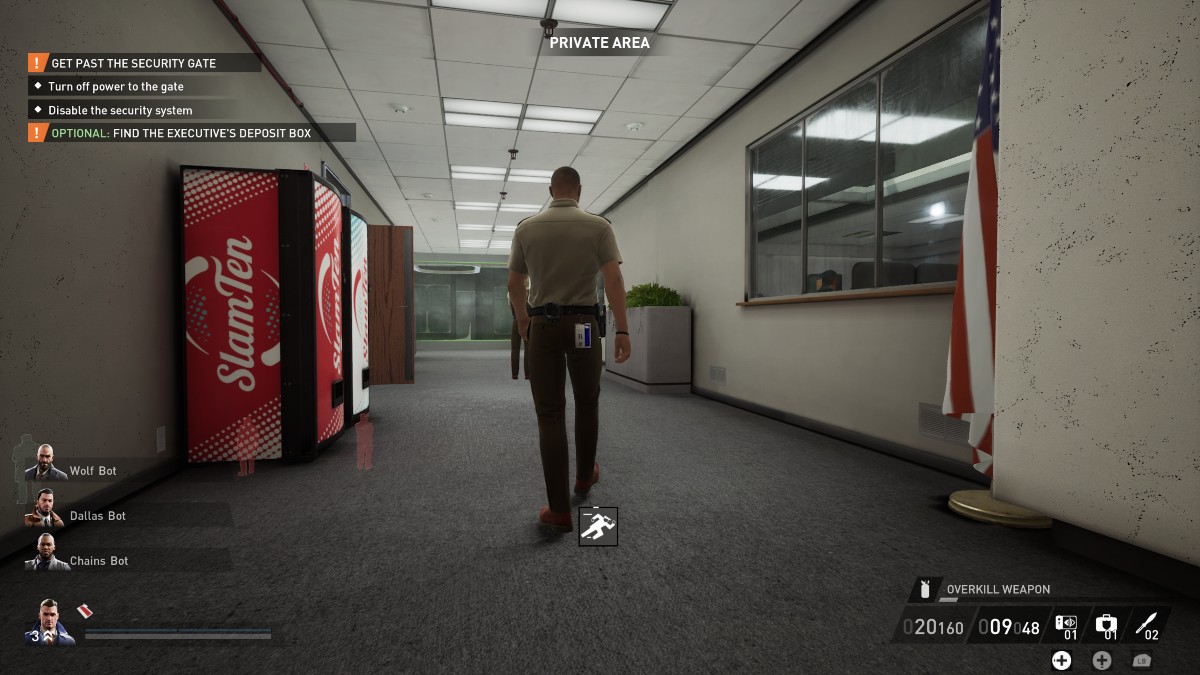
Once you’ve collected everything you need, taking out the guard in the Security Room by stealing the Blue Keycard is near-essential for transporting the executive to the iris scanner. You can only answer two radios, so there’s no taking out guards willy-nilly.
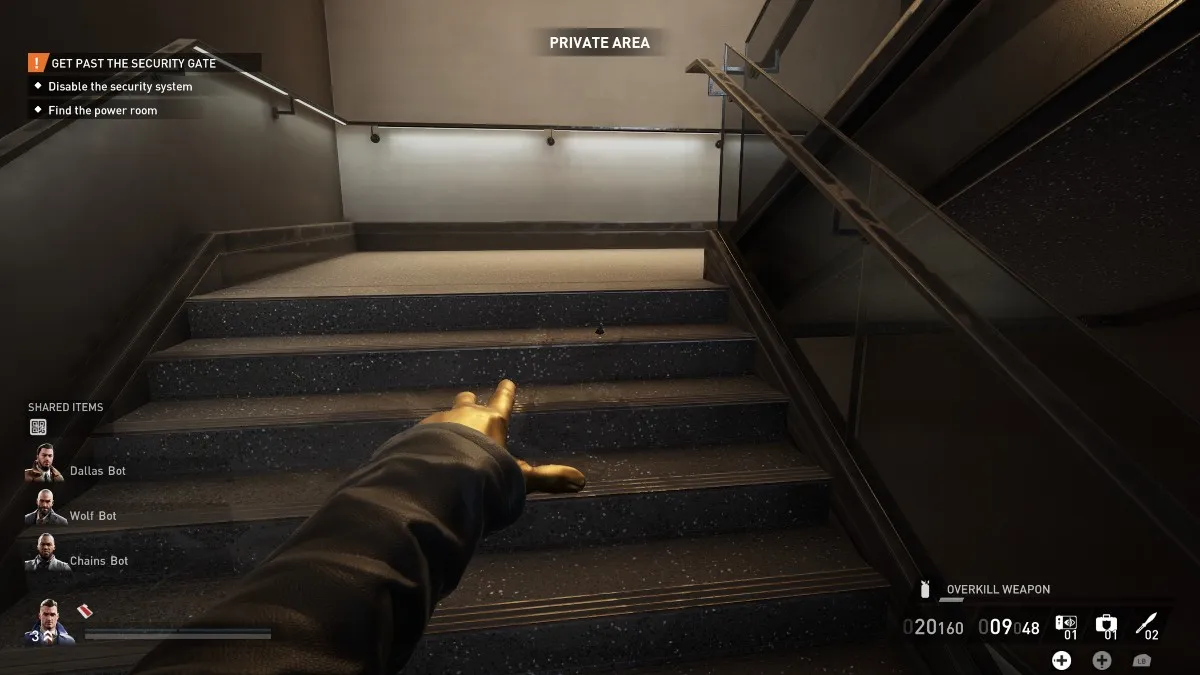
Speaking of guards, Overkill difficulty features a lead guard. This fella, who has ruined my ruins more times than I count, roams the entire building and has unlimited radios. That means you can’t take him out without eventually setting off the alarm. The best way to deal with him is by stealthily attaching a motion sensor to his back.
Finally, there are a few locked doors that are typically open on normal difficulty. Notably, the door in the main bank area that leads to the private area. Quick Fingers is a fantastic skill to equip for this, and all quiet heists in general.
If you fancy challenging Payday 3’s toughest difficulty, check out our full solo Overkill No Rest for the Wicked guide. From tips and tricks to the perfect skills, we’ve included everything you need to know to tackle this heist’s toughest challenge.
This guide was written while playing Payday 3 on PC and Xbox Series X.


Published: Oct 3, 2023 06:54 am